

WordPress sites management in Sites
Connecting an existing WordPress site via plugin
1
Install the HoopAI plugin
Log in to your WordPress admin dashboard. Go to Plugins > Add New and search for HoopAI. Click Install Now, then Activate.
2
Sign in to your account
In the WordPress left sidebar, click HoopAI. Click Sign in and log in to your Hoop account.
3
Select your account
If you have multiple accounts, select the correct one. Once selected, your CRM tools — including forms, chat widgets, and phone numbers — are connected to the WordPress site.
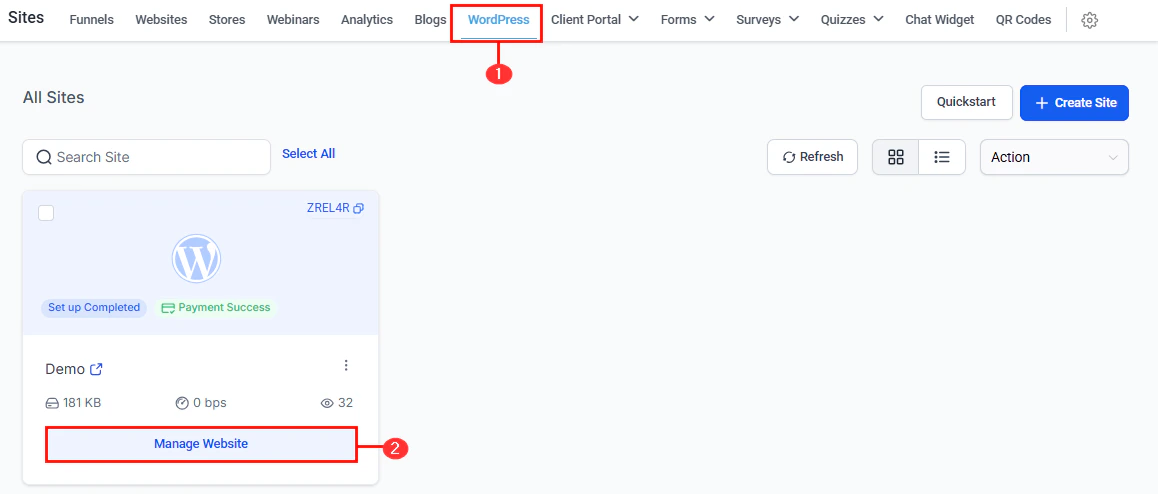
Managing a hosted WordPress site
Navigate to Sites > WordPress and click on any site to open the management panel.Info tab
Info tab
View your site and admin portal links. Manage domains and subdomains under Manage Your Domains. Import an existing WordPress site using the All-in-One WP Migration plugin or by uploading a file manually.
Analytics tab
Analytics tab
View site performance metrics including response codes, CDN usage, site traffic, visitors by location (map view), top client IPs, top browsers, and access logs.
Users
Users
Add and manage WordPress user accounts. Supported roles:
- Administrator — full access to all settings and content
- Editor — create and edit content, no settings access
- Author — create and edit their own content
- Contributor — write content but cannot publish
- Subscriber — view content only
Plugins
Plugins
View, enable/disable, and delete plugins. Enable automatic updates to keep plugins compatible and secure.
Themes
Themes
Activate themes. Only one theme can be active at a time. Enable automatic updates for themes.
Backups
Backups
Schedule automatic backups or create manual backups at any time. Restore a previous backup from this section if needed.
Pages
Pages
View all pages on the WordPress site. Add new HTML pages directly from the management panel.
Activity logs
Activity logs
Review every action taken on the site — who did it and when. Filter by date for targeted analysis.
WordPress site management — plugins, themes, backups, users, and analytics in one panel
Domain management
Click Add Domain in the Info > Manage Your Domains section. Enter the domain name and click Auto Configure to trigger the Domain Connect integration for automated DNS setup. You can also set thewww version as the primary domain from the Info menu.
Hosting management features
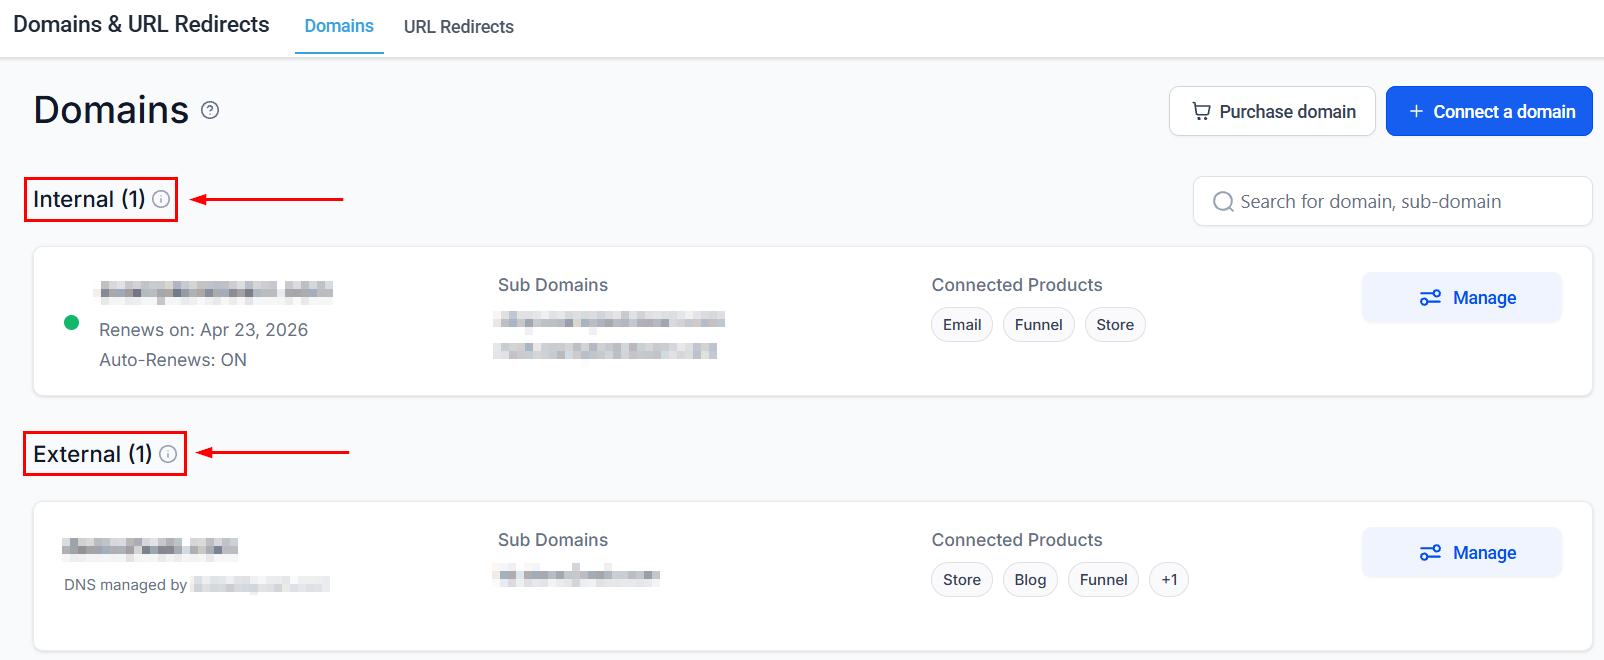
WordPress domain management — add a domain and use Auto Configure for automated DNS setup
Quick actions
From the WordPress site list, click the three-dot icon to access:- WP Admin — open the WordPress admin dashboard directly
- Clear Cache — force the site to fetch fresh data for improved performance
- Troubleshoot — run diagnostics on the site