

Import methods at a glance
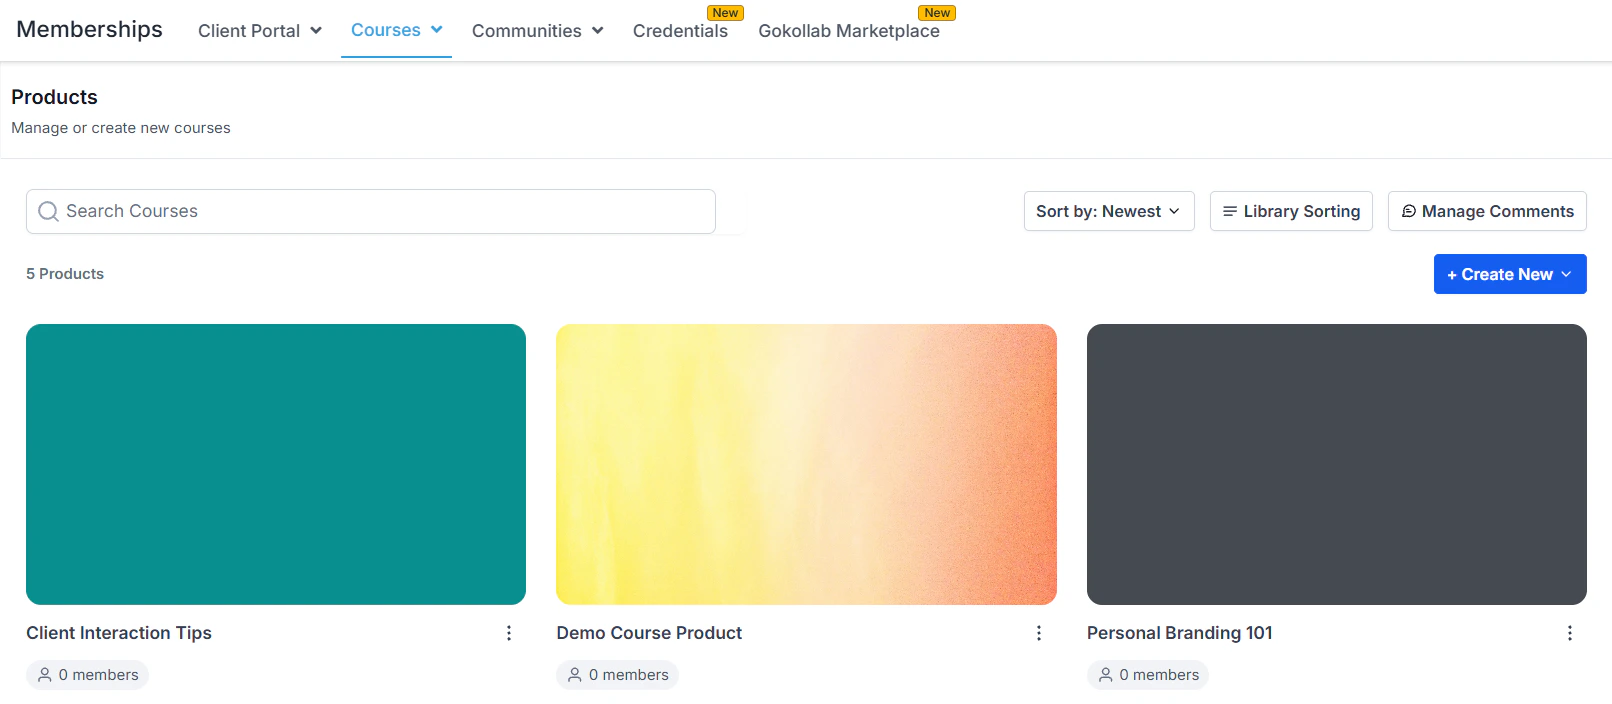
Course products list showing all courses in the membership area
Importing from Kajabi
The Kajabi import tool migrates your course structure and content directly into the HoopAI course builder.Before you begin
- Confirm you have active admin access to your Kajabi account
- Ensure the courses you want to import are published (or at minimum not archived) in Kajabi
- Note that member enrollment records and student progress data do not transfer — the import brings the content structure, not the learner history
Import steps
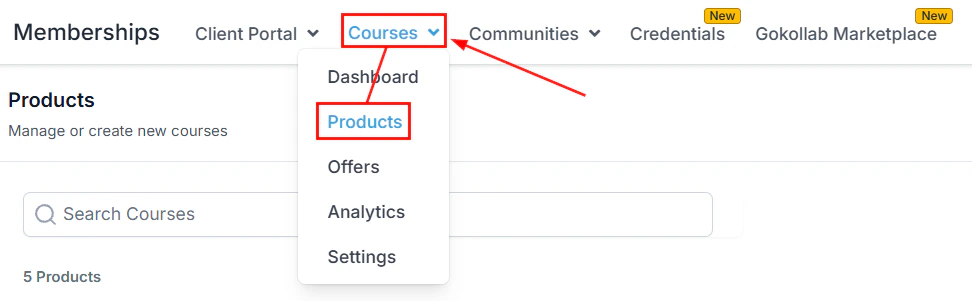
Navigate to Courses
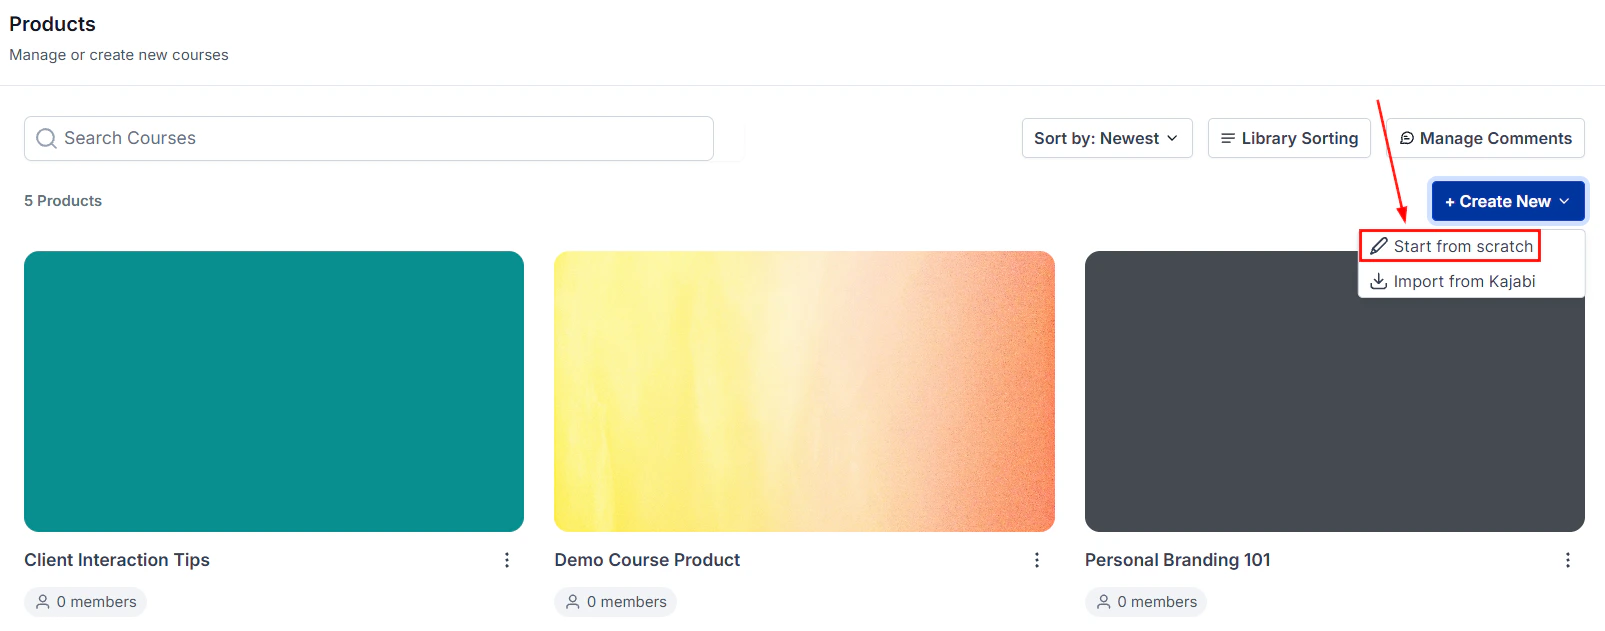
Click Create Product
Select Import from Kajabi
Authenticate with Kajabi
Select courses to import
Review the imported structure
- Module titles and order
- Lesson titles and content
- Embedded video links (these link to their original sources)
- Text content blocks
Fix any gaps
- Hosted videos — videos hosted on Kajabi’s servers cannot be transferred directly. Download them from Kajabi and re-upload them to the HoopAI lesson editor, or re-embed from YouTube or Vimeo.
- Downloadable files — re-upload PDFs, worksheets, and other file attachments to the HoopAI file storage and attach them to the relevant lessons.
- Quiz questions — quiz content may require manual recreation in the HoopAI quiz editor.
Publish when ready
New course creation dialog with Build a Course and import options
Importing from media storage
If you have already uploaded video files to the HoopAI media storage (via Media > Files or directly through the course builder file upload), you can pull those assets into course lessons without re-uploading them.Steps
Open the course builder
Add a Video or File block
Choose from Media Storage
Select the file
Save the lesson
Course details panel in the course builder showing title, description, and settings
Migrating from other platforms (manual)
For platforms that do not have a direct import connector (Teachable, Thinkific, Podia, etc.), migration requires a manual rebuild using the course builder. A structured approach reduces the time and effort involved:Recommended migration workflow
- Export your content inventory — in your existing platform, export a list of all courses, modules, and lessons. This becomes your checklist.
- Download all video files — download your hosted video files from the existing platform and store them locally or in cloud storage temporarily.
- Create the course structure — in the HoopAI course builder, create all modules with the correct titles in order. At this stage do not add lesson content yet — just the skeleton.
- Upload videos in bulk — navigate to Media > Files in your HoopAI account and upload all video files. This happens in the background while you continue building.
- Add lessons using media storage import — for each lesson, add a Video block and pull the already-uploaded file from media storage, rather than re-uploading it during the lesson edit step.
- Add text, PDFs, and quizzes — recreate text content, re-upload worksheets and PDFs, and rebuild quiz questions using the lesson editor.
- Test the full course — enroll a test member account and go through every lesson to verify content loads, videos play, and quizzes work correctly.
- Invite existing members — send existing students a migration email with their new login credentials and a link to your new portal.
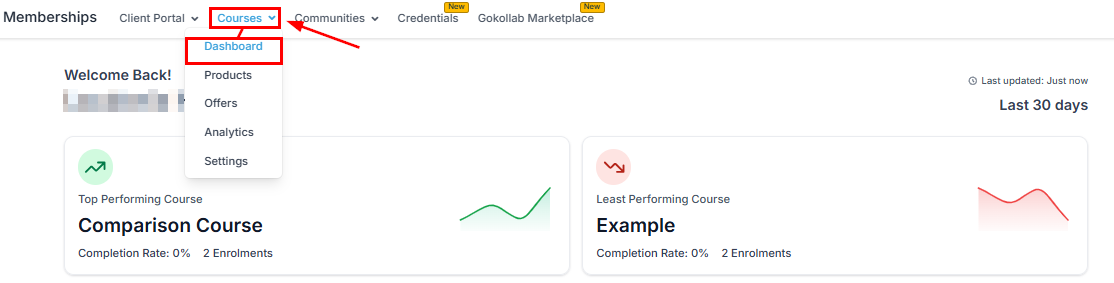
Courses dashboard showing performance metrics for imported and native courses
Migrating existing member enrollments
Member enrollment records (who has access to what) do not transfer automatically from any platform. After migration:- Export your enrollment list from the old platform as a CSV.
- Import the contacts into your HoopAI CRM (under Contacts > Import).
- Use an automation or bulk action to Grant Membership Access for the relevant offer to all migrated contacts.
- Send a welcome email with login instructions and encourage members to set their portal password.
Frequently asked questions
Does the Kajabi import bring over member login accounts?
Does the Kajabi import bring over member login accounts?
Can I import from Teachable, Thinkific, or other platforms directly?
Can I import from Teachable, Thinkific, or other platforms directly?
What happens to Kajabi-hosted videos during the import?
What happens to Kajabi-hosted videos during the import?
How long does a Kajabi import take?
How long does a Kajabi import take?
Can I run my old platform and the HoopAI platform simultaneously during migration?
Can I run my old platform and the HoopAI platform simultaneously during migration?
Is there a limit on how many courses I can import?
Is there a limit on how many courses I can import?