

Websites list in Sites
Websites vs funnels
Creating a website
Creating and managing a custom website in Sites
1
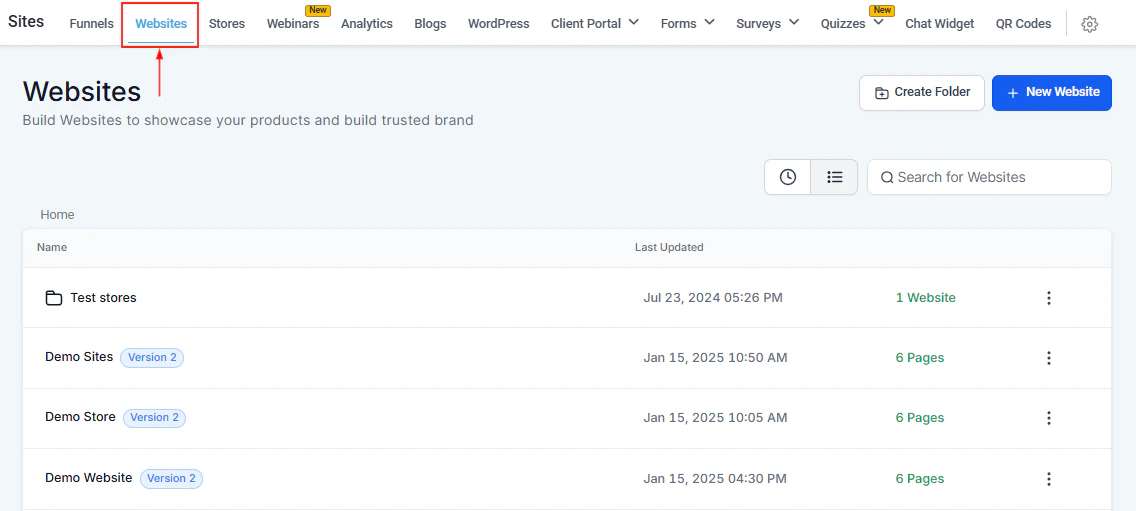
Navigate to Sites > Websites
Click Sites in the left sidebar, then Websites. Click + New Website.
2
Choose a template or start blank
Select from available website templates or choose a blank canvas. Templates provide pre-designed pages for common business types.
3
Name and create
Enter a website name (for internal use only — not visible to visitors) and click Create.
4
Add pages
Click + Add New Page to create pages. Give each page a name and URL path. Common pages include Home, About, Services, Contact, and Blog.
5
Design each page
Click Create from Blank or select a template to open the page in the drag-and-drop builder. Add sections, rows, columns, and elements to design the layout.
6
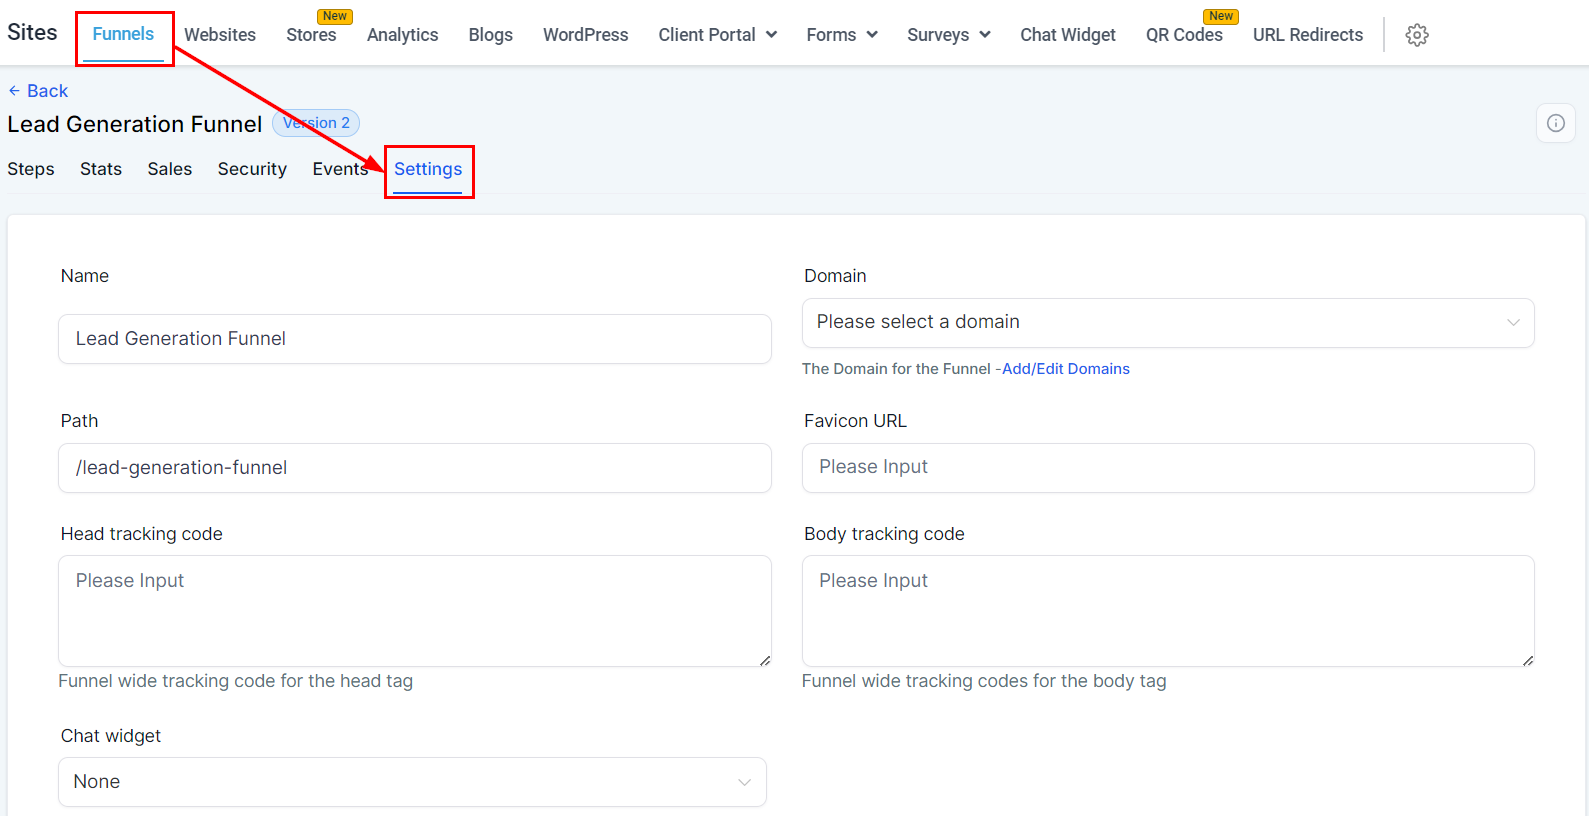
Connect a custom domain
Go to the website’s Settings tab, select the domain from the dropdown, and click Save.
7
Publish
Click Save and then Publish on each page to make it live.
Managing website pages
The Pages tab inside a website lists all pages and their statuses. From this view you can: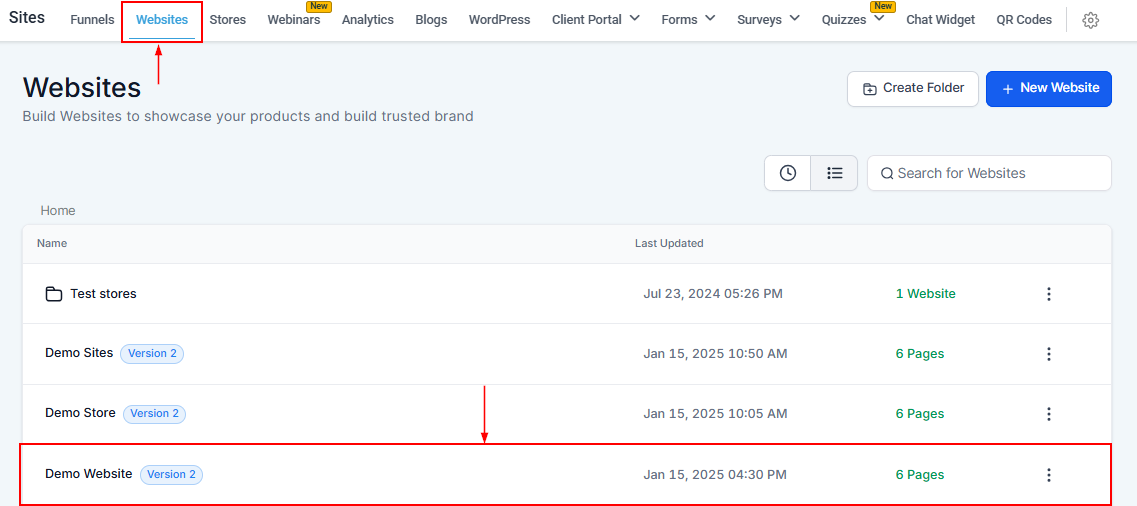
Website Pages tab
- Add new pages — click + Add new page and provide a name and path
- Edit pages — click any page name to open it in the builder
- Clone pages — duplicate a page within the same site or copy it to another website
- Import from ClickFunnels — paste a ClickFunnels URL to import a page directly
- Delete pages — permanently remove a page (this cannot be undone)
Website settings
The Settings tab configures your website’s global behavior:Global sections for consistent headers and footers
Use Global Sections to create a site-wide header and footer that updates across all pages at once:- Build your header as a section in the builder.
- Right-click the section and choose Save as Global Section.
- Add that saved global section to the top of every page.
- Any edit to the global section updates all pages automatically.
Website SEO settings — configure title, description, canonical URL, and social share image per page
SEO for websites
Each page has its own SEO settings:- Title — shown in browser tabs and search results
- Description — the snippet shown under the title in search results
- Keywords — help categorize the page for search engines
- Canonical URL — prevents duplicate content indexing issues
- Social share image — the image shown when the page is shared on social media
- Language — ensures correct indexing for international audiences
Your website name is for internal identification only. It is not visible to visitors and does not affect SEO or the live site title.
Keyboard shortcuts
The builder supports comprehensive keyboard shortcuts. Press Shift + / inside the builder to open the full shortcut directory. Common shortcuts include:- Navigate between elements, parent containers, and sections
- Toggle panels for Layers, Settings, Quick Add, and Custom Code
- Save, undo, redo, publish, and preview without a mouse
- Bold, italic, and hyperlink shortcuts for text editing
Saving sections for reuse
If you’ve designed a footer, hero, or feature block you want to reuse:- Click the section’s green bar to reveal its actions.
- Click the Save icon to save it as a Global Section or Saved Section.
- The section is added to your library and can be dragged onto any page or website in your account.
FAQs
How do I check website traffic stats?
How do I check website traffic stats?
Navigate to Sites > Websites, click your site, then open the Stats tab. You’ll see page views, opt-ins, and conversion rates for each page.
Can I clone a website or page?
Can I clone a website or page?
Yes. From the Sites > Websites list, click the three-dot menu next to a website to clone or delete it. Inside a website, you can clone individual pages and copy them to other websites in your account.
How do I set up a custom domain?
How do I set up a custom domain?
Open the website’s Settings tab, select your domain from the dropdown, and save. Check the Domains section of the docs for full setup guidance including DNS configuration.
Can I add blog content to a website page?
Can I add blog content to a website page?
Yes. In the builder, add a Blog Post element to any page. Set the blog source and filter by recent posts, category, or author to dynamically display content to visitors.
What are pre-built section templates?
What are pre-built section templates?
Pre-built section templates let you add ready-made sections (welcome, about, testimonials, etc.) directly into the builder. Click Add, select a template, and drag it into your layout. This speeds up page design significantly.