

Settings — business profile, staff, integrations, and platform configuration
Integrations — connect Google, Facebook, Stripe, and other platforms to your HoopAI account
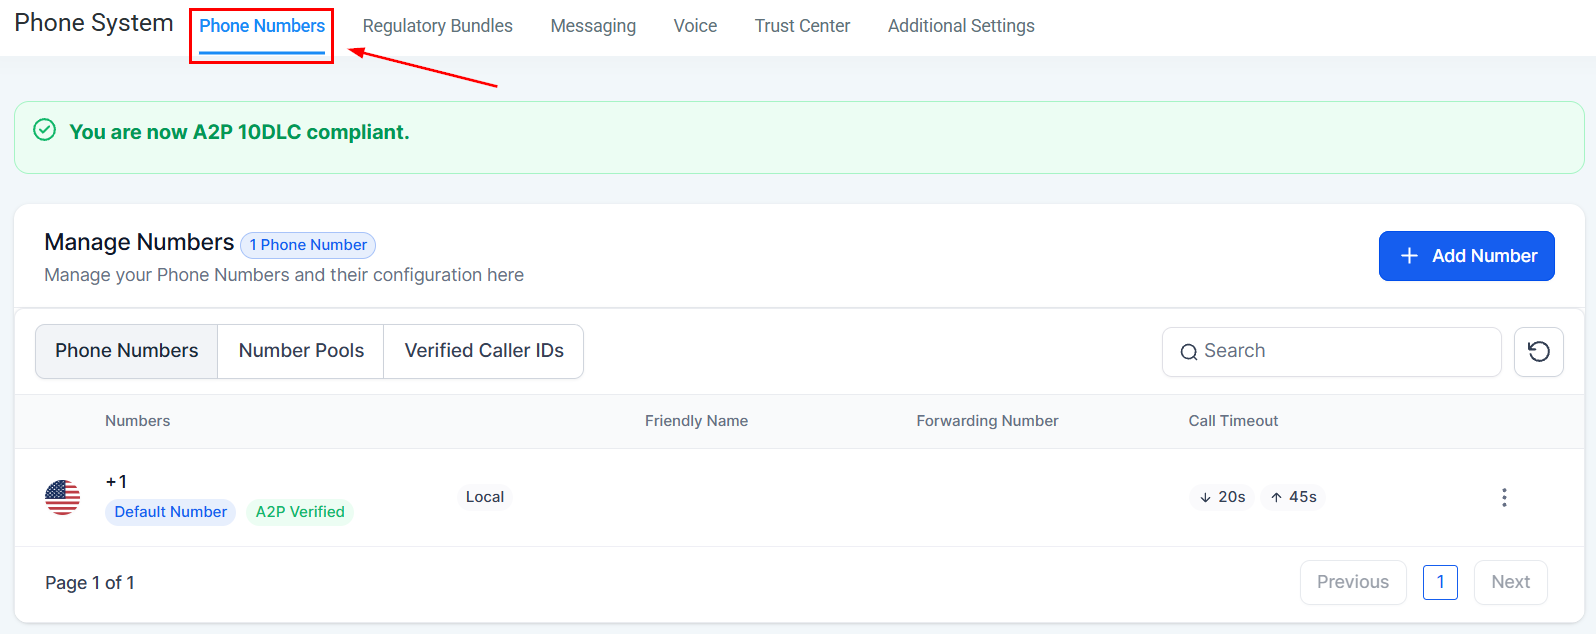
Phone system — purchase numbers, configure calling, and manage SMS settings
Account and team
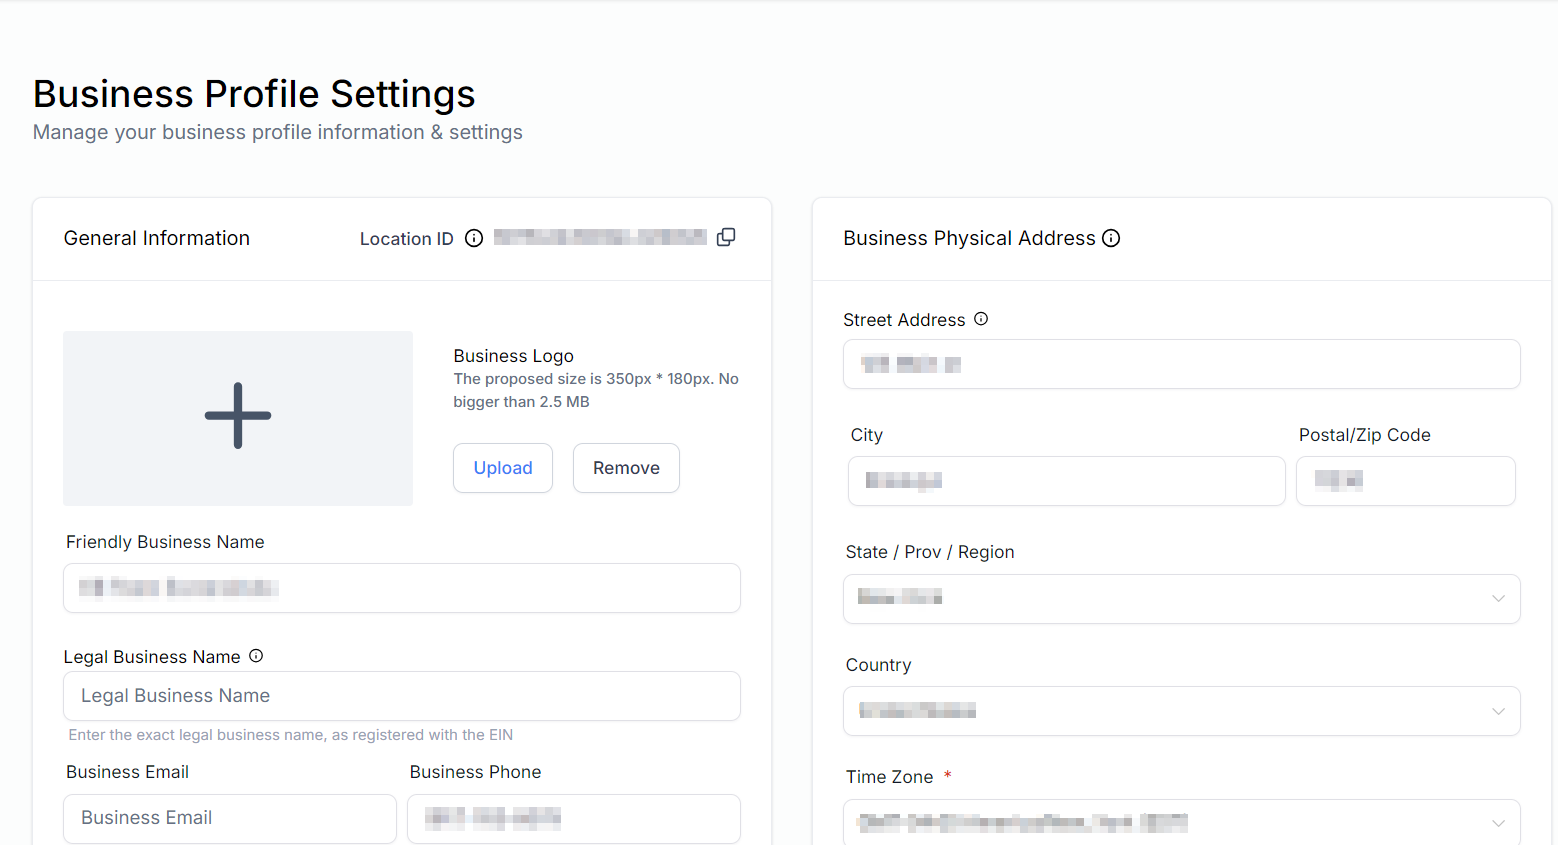
Business profile
Set your company name, address, logo, timezone, and other account-level details.
My profile
Update your personal details, avatar, email address, and login password.
Notifications
Control which system events send you email, SMS, or in-app notifications.
My staff
Add team members, assign user roles, and manage individual permissions.
Audit logs
Review a searchable history of account-level changes and user actions.
Communications
Email services
Configure sending domains, SMTP providers, and email authentication settings.
Phone system
Purchase phone numbers, configure calling behavior, and manage SMS settings.
Trust center
Complete A2P 10DLC registration and manage SMS compliance settings.
Connect and configure your WhatsApp Business account for two-way messaging.
Data and customization
Custom fields
Create fields to capture unique data on contact, opportunity, and other object records.
Custom values
Store reusable dynamic values — such as your brand name or phone number — for use in templates and automations.
Manage scoring
Define the engagement behaviors that increase or decrease a contact’s score.
Tags
Create and manage the master list of tags available for organizing contacts and other records.
Objects
Create custom object types to extend the CRM data model beyond contacts and opportunities.
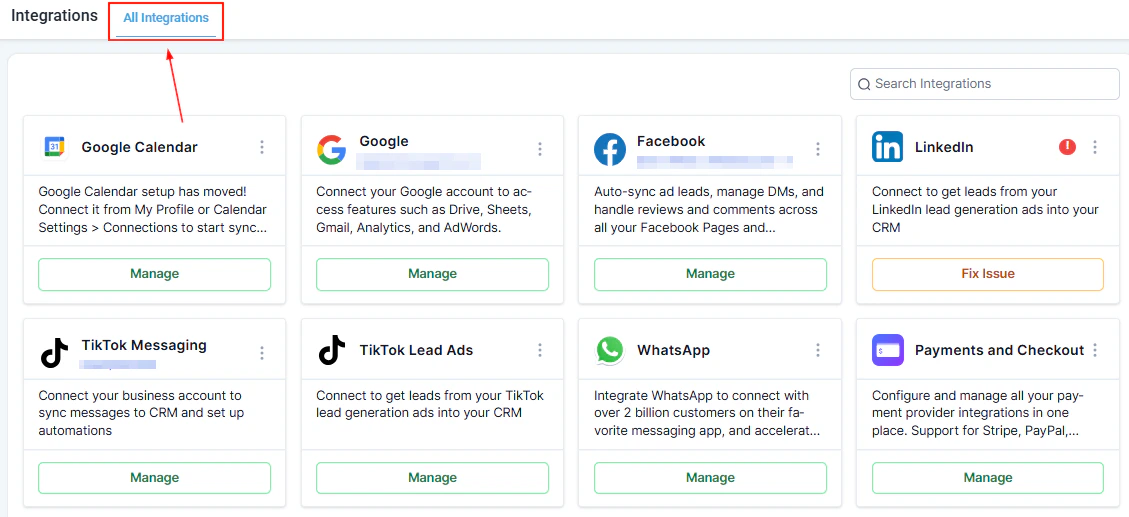
Integrations and connectivity
Integrations
Connect Google, Facebook, Stripe, and other third-party platforms to your HoopAI account.
Private integrations
Build and manage custom API integrations using HoopAI’s private app framework.
Domains & URL redirects
Connect custom domains to your funnels, websites, and stores, and configure URL redirects.
External tracking
Add tracking scripts, pixels, and analytics tags to your published pages globally.
Webhooks
Send real-time event data to external applications via outbound HTTP webhooks.
Getting started
1
Complete your business profile
Go to Settings → Business Profile and fill in your company name, address, logo, and timezone. This information is used across invoices, emails, and automation templates throughout the platform.
2
Add your team members
Navigate to Settings → My Staff and invite the people on your team. Assign each person a role that controls which sections and actions they can access.
3
Set up your communication channels
Configure your email sending domain under Settings → Email Services and purchase or import phone numbers under Settings → Phone System. If you plan to send SMS at volume, complete A2P 10DLC registration in Settings → Trust Center.
4
Connect your integrations
Go to Settings → Integrations and connect the external tools your business uses — Google Workspace, Facebook, Stripe, and any others. Integrations unlock features across the platform such as calendar sync, ad reporting, and payment processing.
5
Set up custom fields and custom values
Under Settings → Custom Fields, add any data fields your team needs that are not in the default contact or opportunity records. Under Settings → Custom Values, store reusable values (like your company phone number or brand color hex code) that can be dropped into any template.
Changes made in Settings apply account-wide and affect all users. Some settings — such as custom fields and custom values — are also accessible from inside specific modules. Changes made in either place are reflected everywhere.
Frequently asked questions
What is the difference between custom fields and custom values?
What is the difference between custom fields and custom values?
Custom fields are data fields that appear on individual records — for example, a “Preferred Location” field on a contact record. Each record has its own value for that field. Custom values are account-level constants — for example, your brand name or support phone number — that you store once and reference using a merge tag in any template or automation. Custom fields hold per-record data; custom values hold global account data.
What is the difference between integrations and private integrations?
What is the difference between integrations and private integrations?
Integrations are pre-built connectors to popular platforms like Google, Facebook, and Stripe — you authenticate and the connection is configured for you. Private integrations are custom API connections you build yourself using HoopAI’s developer tools, used when connecting to platforms that do not have a pre-built integration.
What is A2P 10DLC and why do I need to register?
What is A2P 10DLC and why do I need to register?
A2P 10DLC (Application-to-Person, 10-digit long code) is the US carrier standard for business SMS. If you send SMS messages in the United States at any volume, carrier regulations require you to register your business and messaging use case. Unregistered SMS traffic is blocked or filtered. Complete registration in Settings → Trust Center before running SMS campaigns.
What is the difference between external tracking and the analytics dashboard?
What is the difference between external tracking and the analytics dashboard?
External tracking is where you add third-party scripts — such as a Google Analytics tag or a Facebook Pixel — that run on your published pages and send data to those external platforms. The analytics dashboard built into HoopAI shows you first-party data about your pages and funnels within the platform itself. The two are complementary and independent.
Can I control what each team member can see and do?
Can I control what each team member can see and do?
Yes. Roles in Settings → My Staff determine which navigation items and actions each user can access. You can also configure user-level permissions for specific features like calendars and pipelines. Reach out to your account admin if you need a role with a custom permission set.
What do webhooks do and when should I use them?
What do webhooks do and when should I use them?
Webhooks send a real-time HTTP POST request to a URL of your choice whenever a specific event occurs in HoopAI — for example, when a contact is created, a form is submitted, or an opportunity changes stage. Use webhooks to push data into external tools (like a custom database, a BI platform, or a third-party automation tool) that are not covered by a pre-built integration.