


Funnels list in Sites
Creating a funnel
1
Navigate to Sites > Funnels
Click Sites in the left sidebar, then select Funnels. You will see a list of all existing funnels and folders.
2
Click + New Funnel
Click the + New Funnel button. Choose to start From Blank, use Funnel AI, or select From Templates. Name the funnel and click Create.
3
Add funnel steps
Inside the funnel, click Add New Step or Import to add steps. Each step becomes a page in the sequence. Assign a unique URL path to each step — this is required to save the step. Common steps include:
- Landing / opt-in page
- Order form page
- Upsell / OTO page
- Thank-you / confirmation page
4
Design each step
Click Edit Page or Edit in a New Tab to open the drag-and-drop builder and design the step content.
5
Configure step settings
Click the gear icon next to any step to open its publishing settings. Here you can update the step name and URL path.
6
Connect a domain and publish
Go to the Settings tab of the funnel and assign a domain. Without a connected domain, funnels cannot be made publicly accessible.
You can create and edit funnel content without a connected domain. However, a domain must be assigned before the funnel can be published and made publicly accessible.
Funnel steps tab
The Steps tab is the main hub for managing your funnel pages.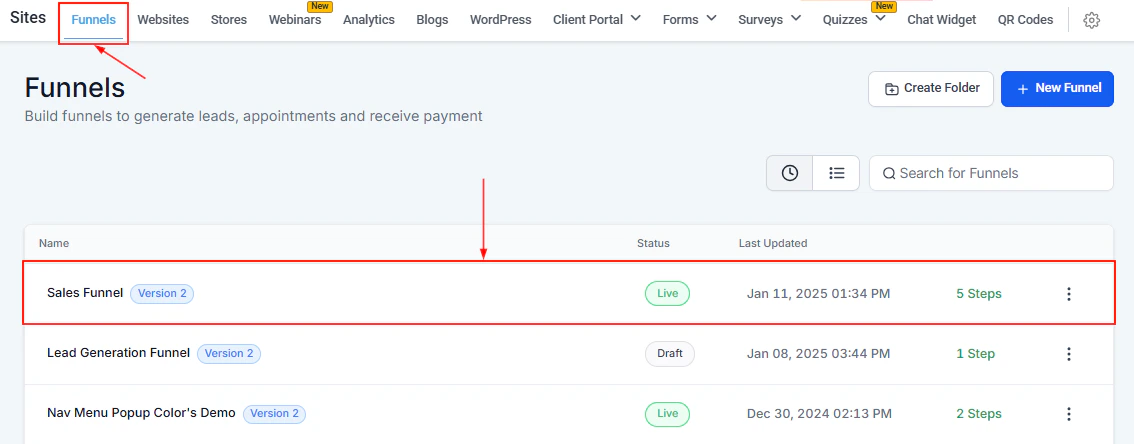
Funnel Steps tab
- View and rearrange steps via drag-and-drop
- Preview a step in the browser without affecting analytics
- Open the page editor to build or edit a step
- Manage products assigned to each step
- Import steps from ClickFunnels
Funnel settings tab
The Settings tab controls how the funnel behaves globally. Key settings include: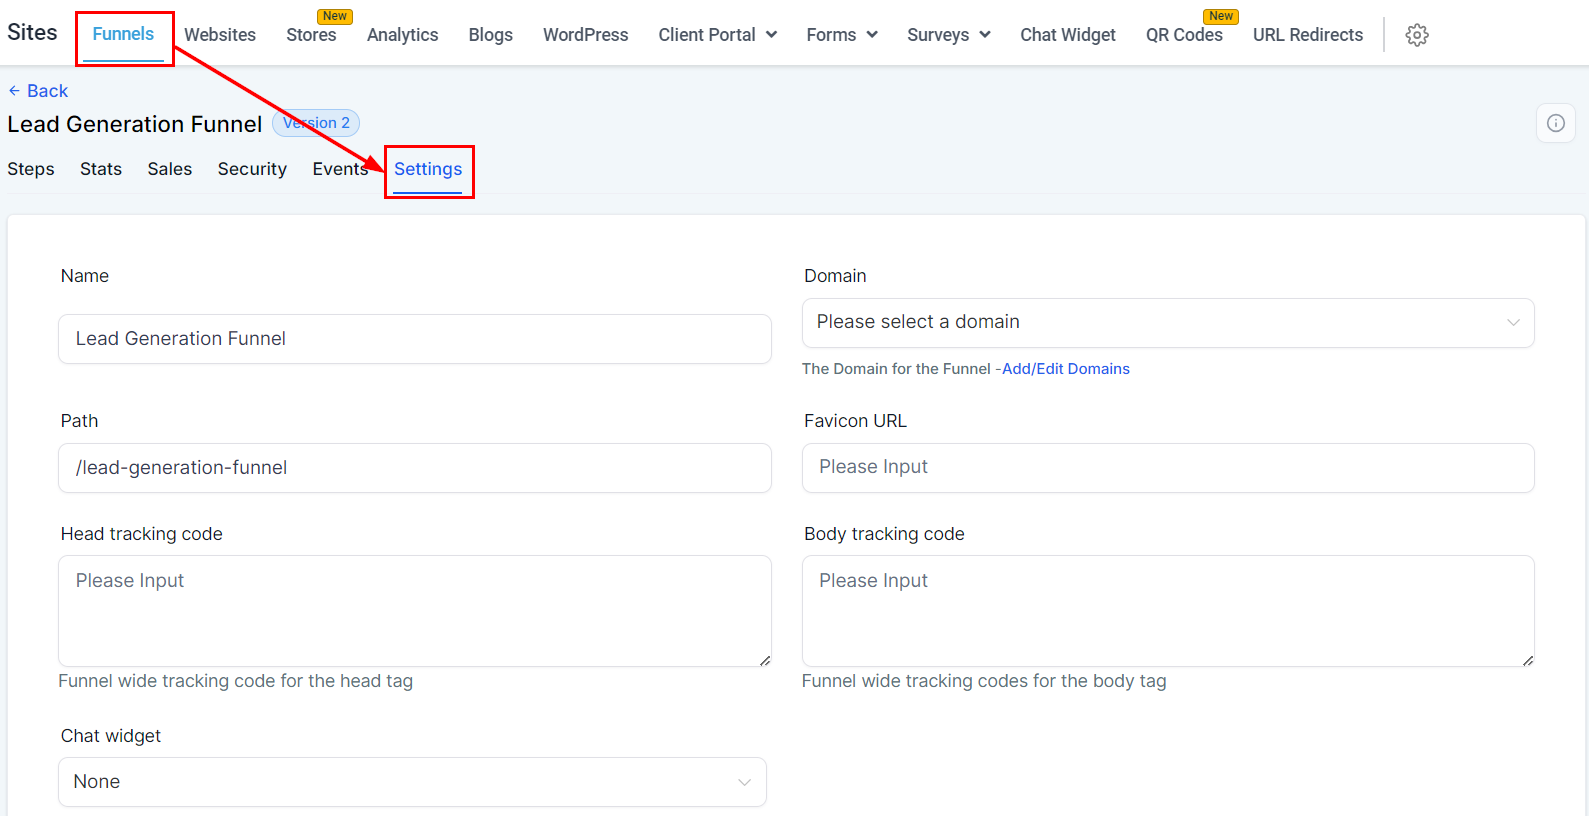
Funnel Settings tab
Funnel sales tab
The Sales tab shows a transaction-level breakdown of purchases made inside the funnel. The table columns are: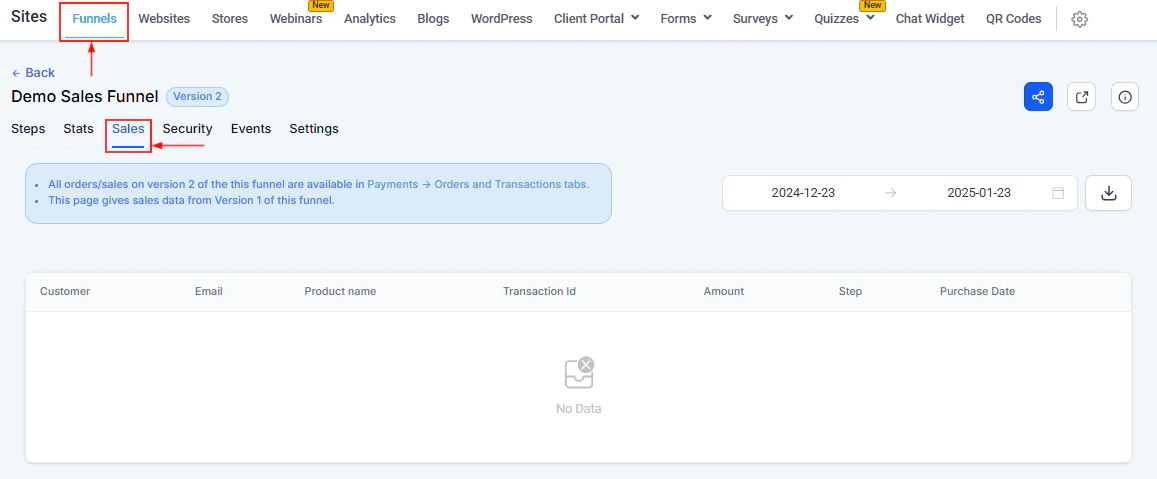
Funnel Sales tab
Use the Date Range filter to narrow the view and the Download button to export as CSV.
Funnel stats tab
The Stats tab provides conversion analytics for each step in the funnel.
Funnel Stats tab
Funnel URL paths
Every funnel URL is made up of three configurable parts:- Funnel URL — the main entry point for the funnel; configured in the Settings tab
- Step URL — the path for each individual step; configured in the step’s Publishing tab
- Page URL — the path for A/B test variants; configured via the gear icon next to Edit Page
Funnel actions
From the funnel list, click the three-dot icon on any funnel to access:Edit
Edit
Opens the funnel and takes you to the Steps tab for editing.
Clone
Clone
Duplicates the entire funnel including all steps, pages, and settings. Use this before making major changes to preserve a working version.
Move to Folder
Move to Folder
Moves the funnel into a named folder to keep the Funnels list organized.
Upload to Funnel Templates
Upload to Funnel Templates
Saves the funnel as a reusable template for future use.
Delete
Delete
Permanently removes the funnel. You must type DELETE to confirm. This action is irreversible.