

Folder actions
Renaming a folder
To update the name of a folder, select the three-dot action dropdown corresponding to the folder and select Rename. Enter the new name and confirm to save.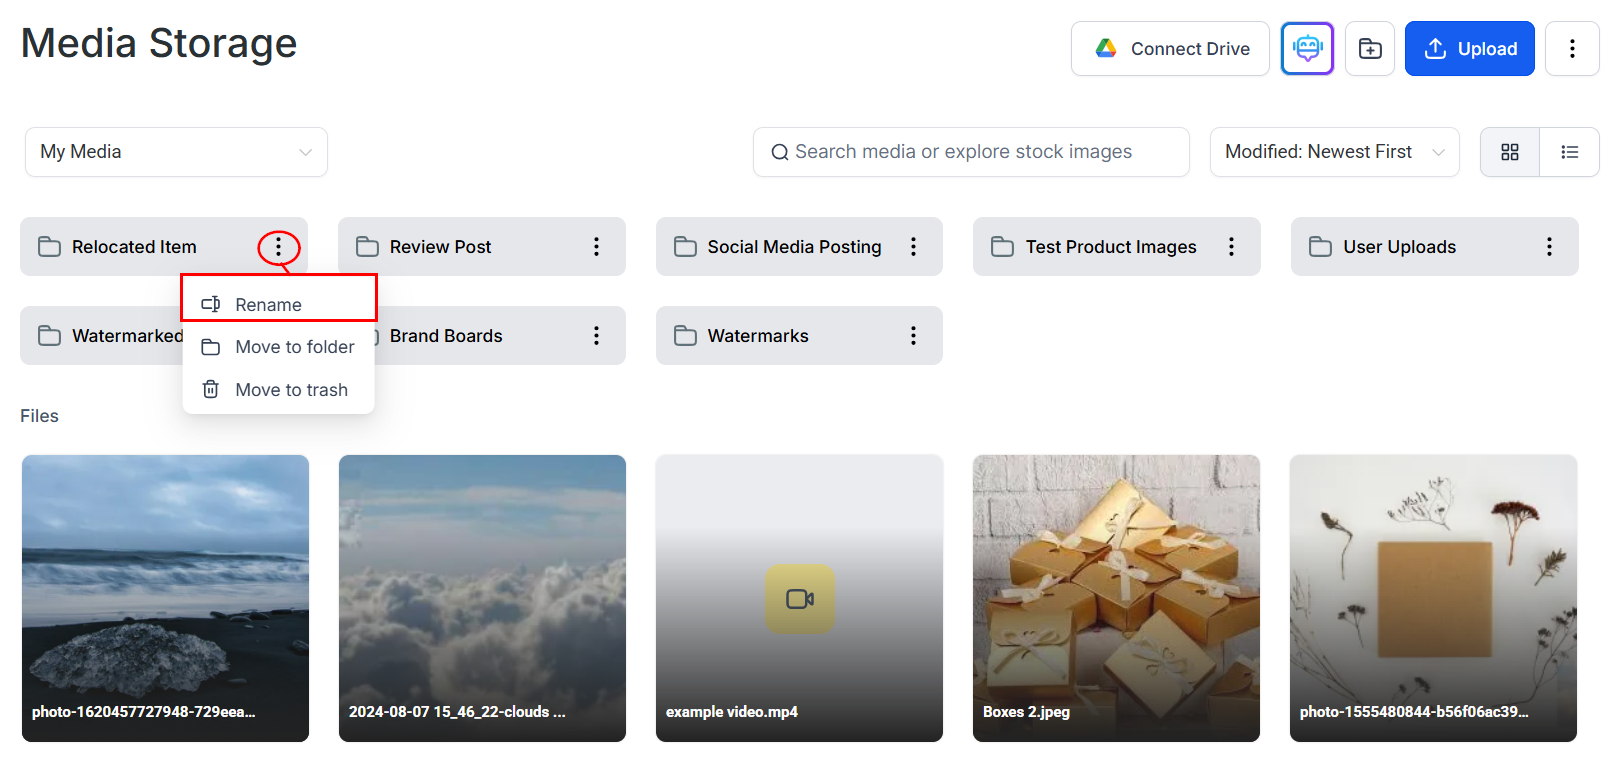
Rename option in the folder action menu
Moving a folder
Move folders and their entire contents — including files and subfolders — using the Move to Folder option. Choose the destination folder or create a new one. The folder and all its contents move to the new location.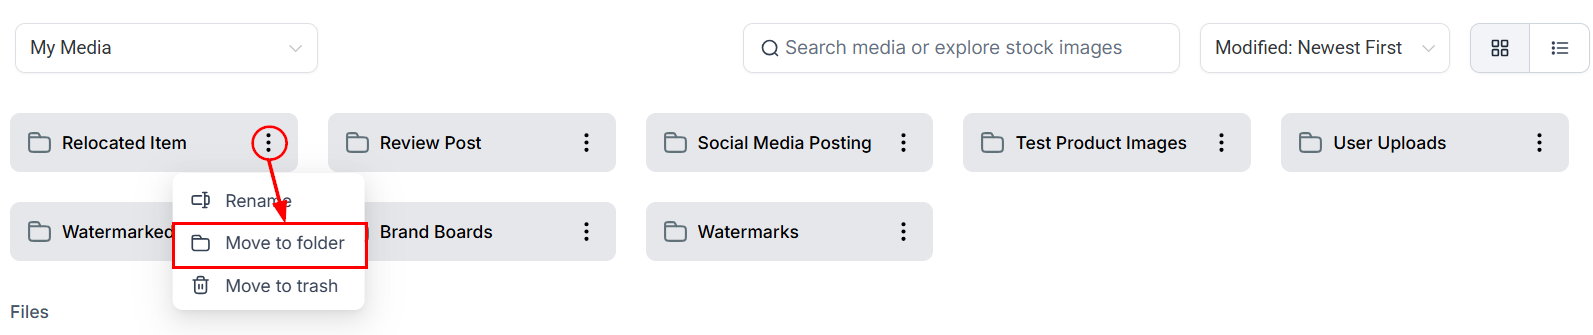
Move to Folder dialog for relocating folders
Deleting a folder
Delete unused or irrelevant folders to keep your media library organized and free up space. Confirm the deletion when prompted to remove the folder and its contents.Delete folder confirmation dialog
File actions
Right-click on any image or file, or click the three-dot icon, to access the file actions menu.Select
Click Select to execute bulk actions on a single image or multiple images. This allows you to efficiently manage and apply changes to multiple files simultaneously.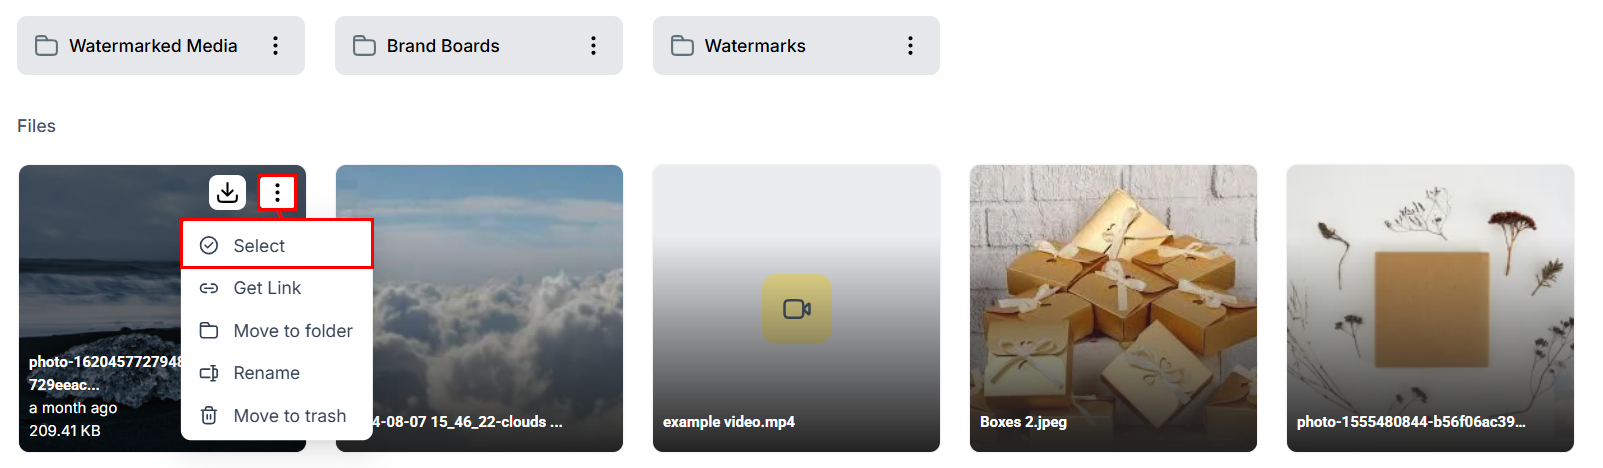
Select button for activating bulk file actions
Get link
The Get Link option generates a unique URL for the file. The link is automatically copied to your clipboard. You can paste this link into the Image field within the Image Options section of your funnel or website builder.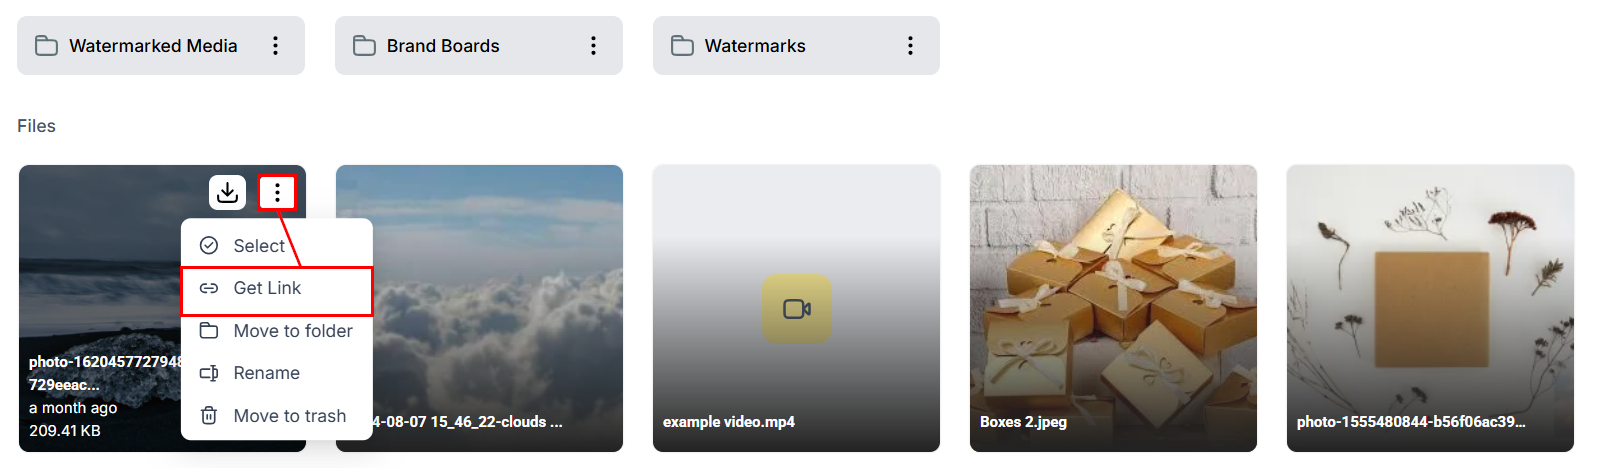
Get Link option copies the file URL to your clipboard
Move to folder
Quickly move the selected file to a specific folder within the Media Library using the Move to Folder option.Rename
Select Rename to give your file a new descriptive name.Move to trash
Remove a file from your media library by selecting Move to Trash.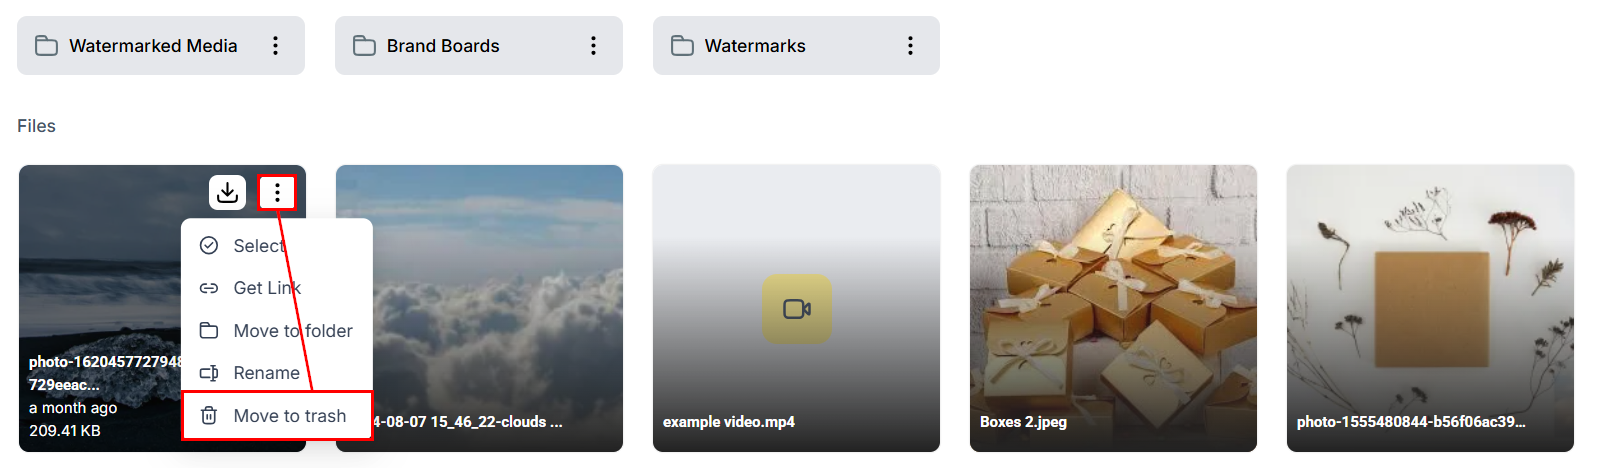
Move to Trash option for removing a file from your library
Uploading files
1
Open Media Storage
Click Media Storage in the left navigation sidebar.
2
Click Upload
Click the Upload button. A file picker opens giving you access to your local storage.
3
Select files
Choose one or more files. Once the upload completes, the files appear in your media library.
Creating folders
1
Click New Folder
Click the New Folder button. A dialog appears.
2
Name the folder
Enter a descriptive name (e.g. “Blog Images,” “Client Logos,” “Social Media Assets”) and confirm.
3
Navigate into the folder
Click the folder to open it and upload or move files inside.
Multi-select and bulk actions
Select multiple files simultaneously:- Use the action dropdown to enter select mode, or click and drag your mouse across the desired items
- With files selected, you can move them to a folder, download them, or delete them in bulk
Click and drag or use the action dropdown to select multiple files for bulk actions
You can select and download up to 100 files at a time. Files larger than 2 GB will be skipped in multi-download and must be downloaded individually. In multi-select mode, the Rename, Get Link, and Preview options are disabled.
Trash and file recovery
Deleted files can be recovered for up to 30 days from the trash. To access the trash, click the three-dot menu at the top-right of the media library and select Deleted Items. From the trash view:- Restore — move a specific file back to the library
- Delete Forever — permanently remove a file
- Restore All — restore all files currently in the trash
- Empty Trash — permanently delete all trashed files
File size limits
FAQs
Can I move files into a subfolder inside another folder?
Can I move files into a subfolder inside another folder?
Yes. Use the Move to Folder action on any file or folder. In the destination picker, you can navigate into existing folders and select or create a subfolder as the destination.
What happens to files inside a folder when I delete the folder?
What happens to files inside a folder when I delete the folder?
Deleting a folder moves the folder and all its contents — including files and subfolders — to the trash. Files can be individually restored from the trash within 30 days.
Can I download multiple files at once?
Can I download multiple files at once?
Yes. Enter multi-select mode and select the files you want, then use the bulk download option. You can download up to 100 files at a time. Files over 2 GB must be downloaded individually.
Why are Rename and Get Link disabled when I have files selected?
Why are Rename and Get Link disabled when I have files selected?
These options require acting on a single file. In multi-select mode only bulk actions — move, download, and delete — are available. Deselect all files to use per-file options again.