

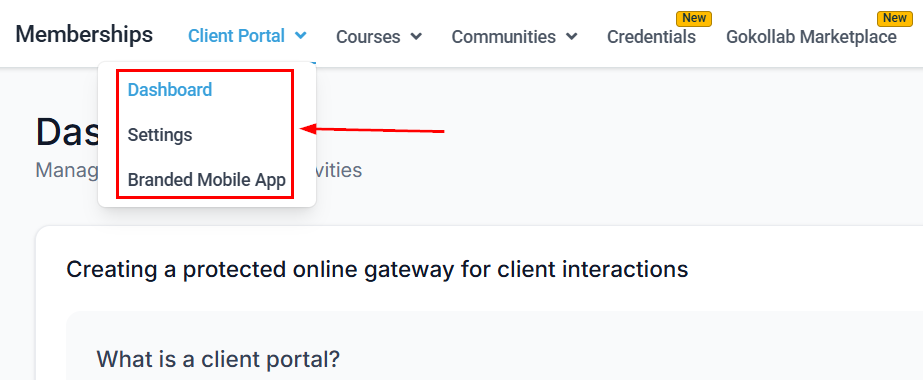
Memberships section in the Hoop platform sidebar
Membership products
Membership Products is the place to create and manage any educational content you offer your audience. In the Membership Product section, you can edit details and structure to ensure you have the products your audience deserves.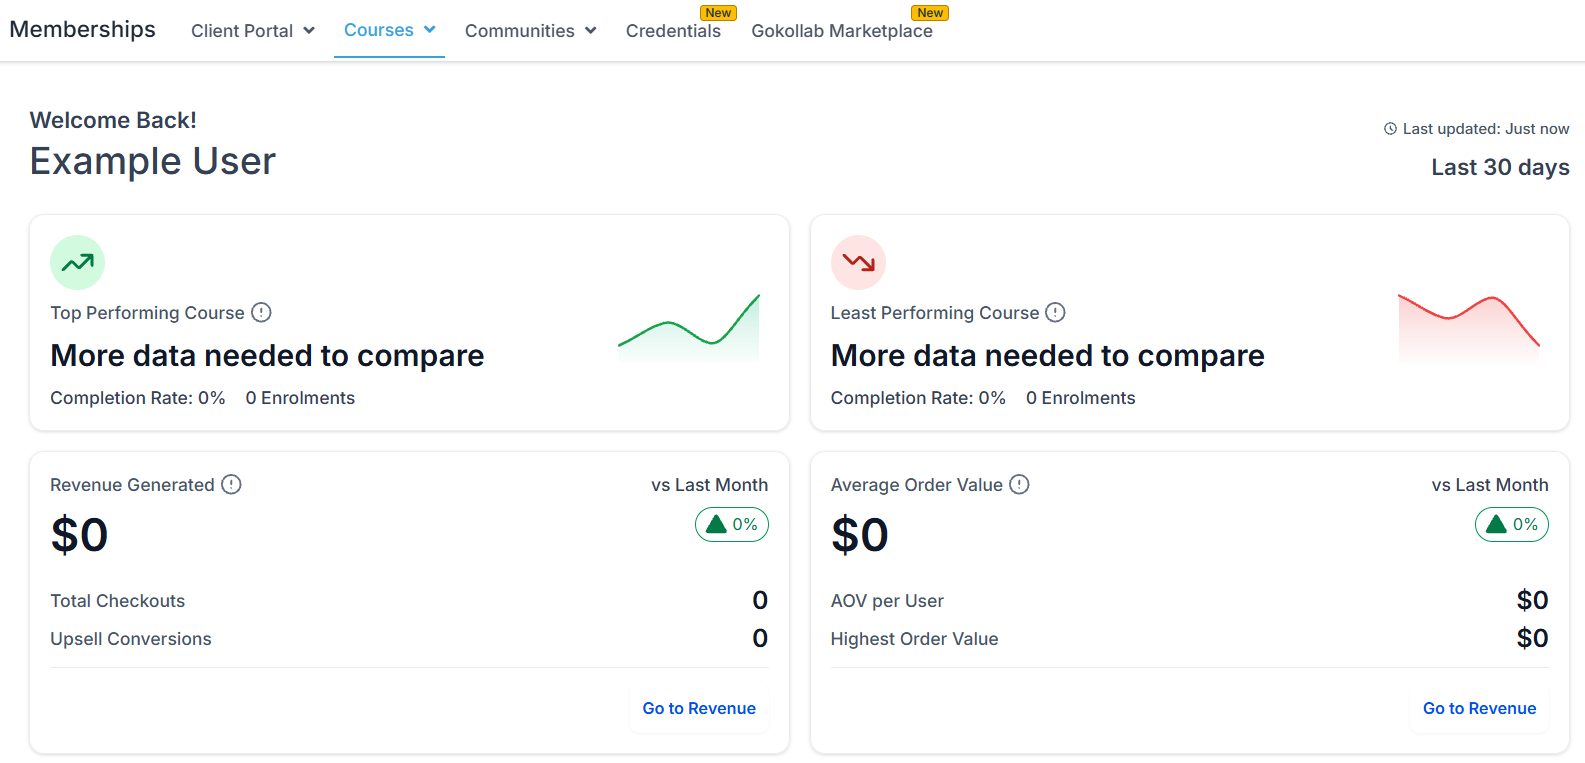
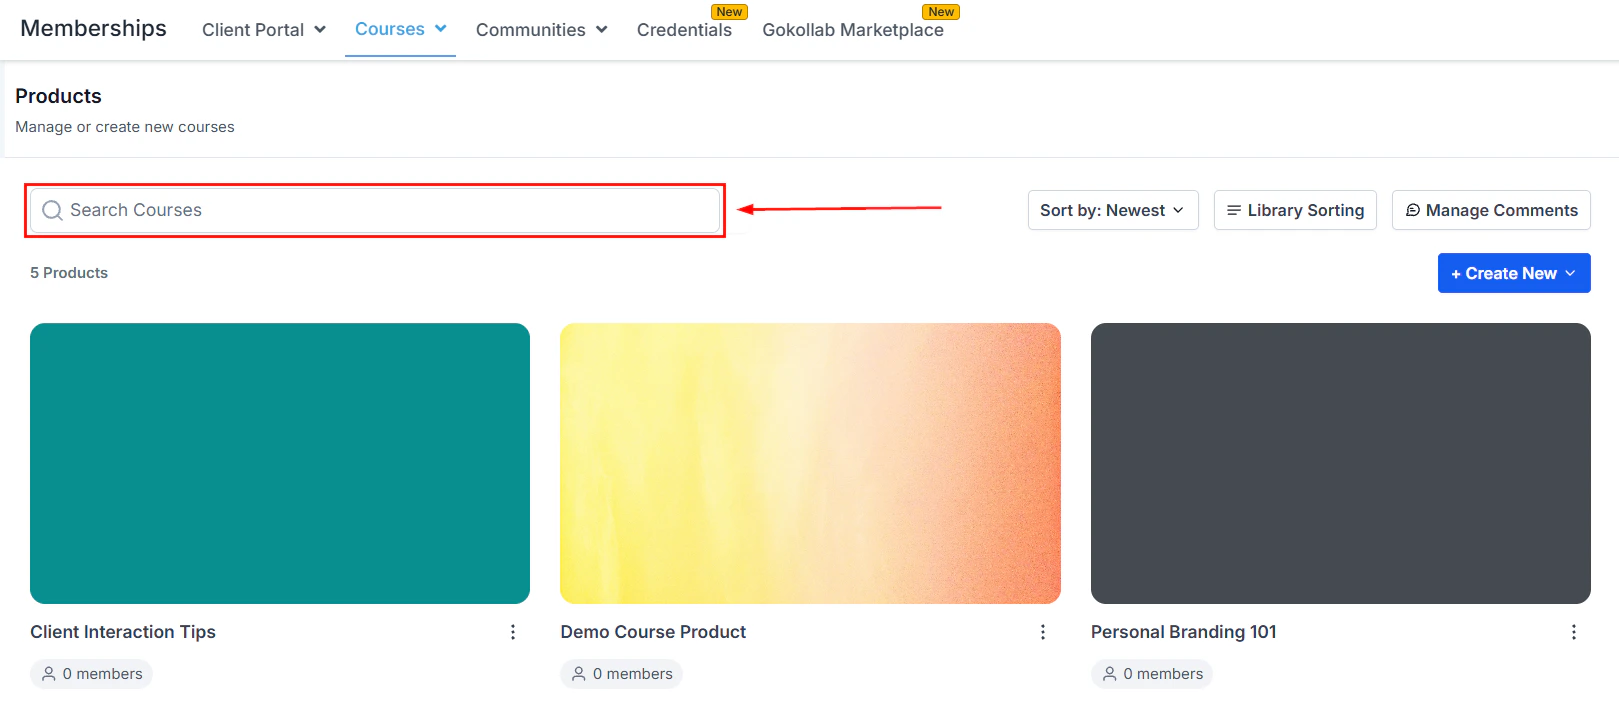
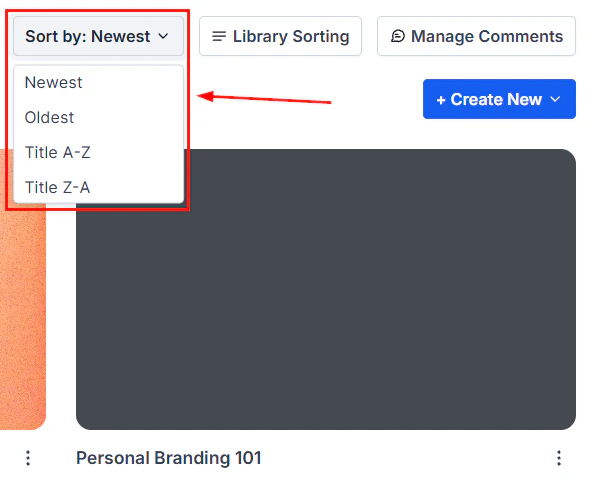
Membership Products page showing course options
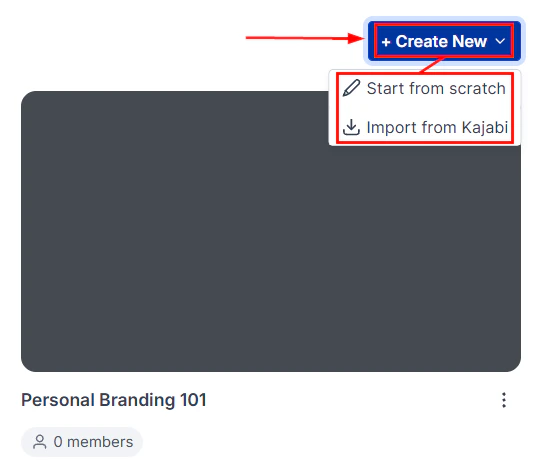
Creating a product
To build a product, click the Create Product button. You will be presented with options to build the course within the system or import courses from Kajabi.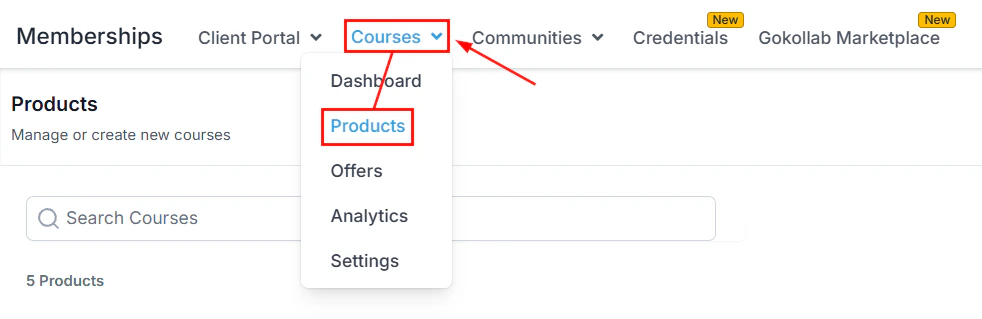
Create new membership product — entering product details
Membership product details and content access configuration
Configuring content access levels for a membership product
Publishing a membership product to make it available to members
Membership offers
Offers allow you to assign a price to your products — either individually or in bundles of multiple products.Creating an offer
Go to the Offers tab
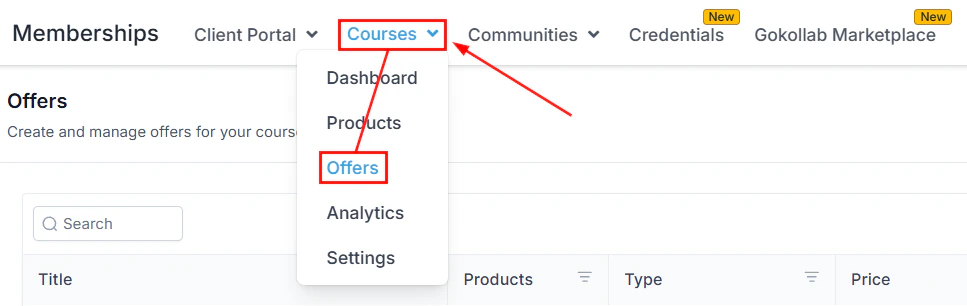
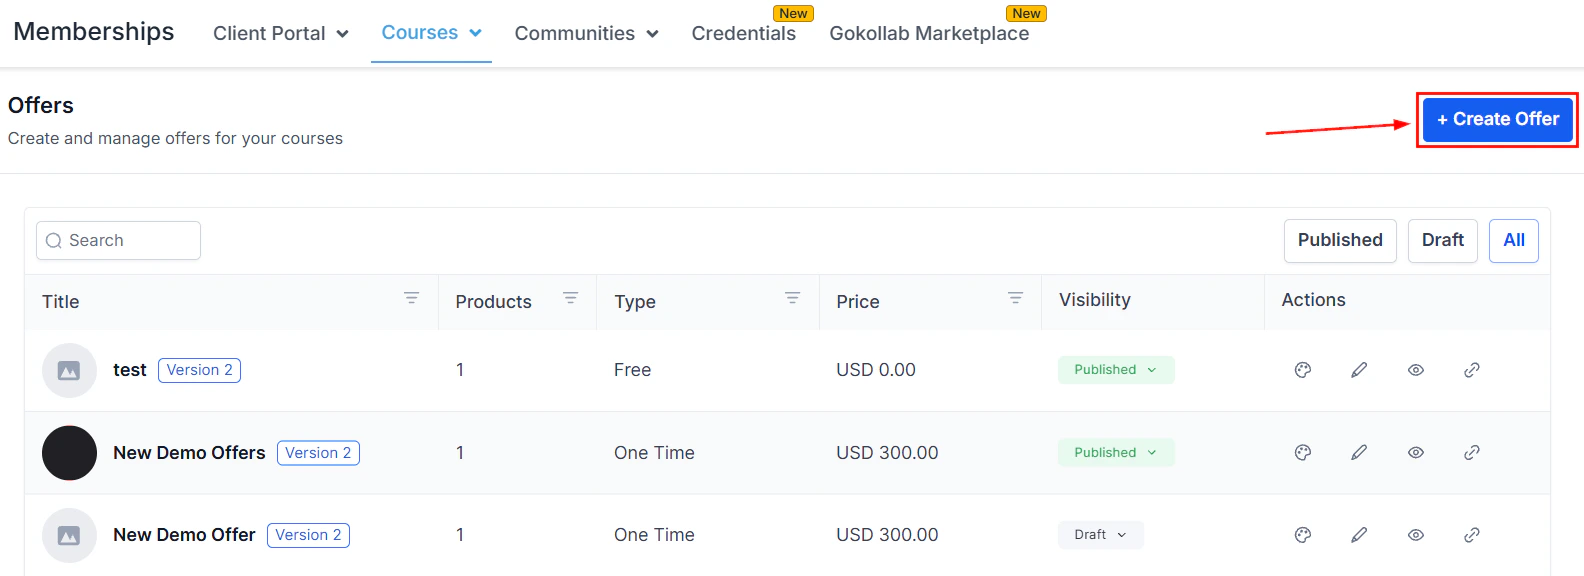
Creating a new offer from the Offers tab
Add offer details
Offer creation form — entering title and selecting products

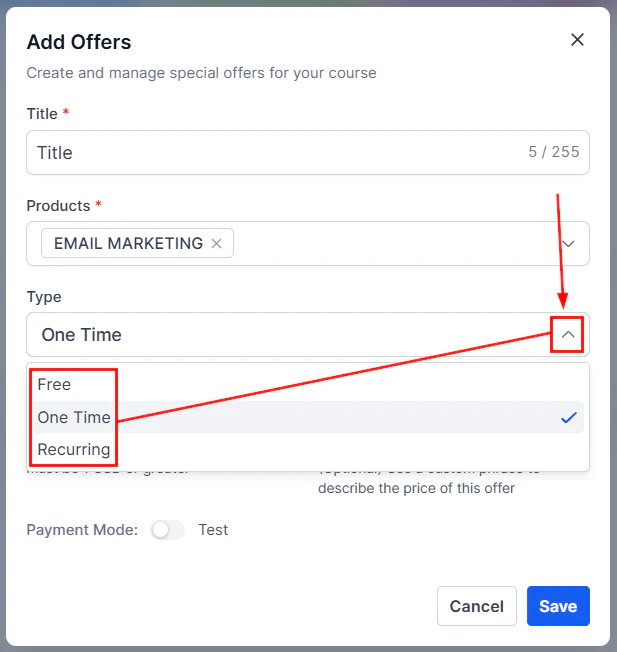
Selecting the pricing type for the offer
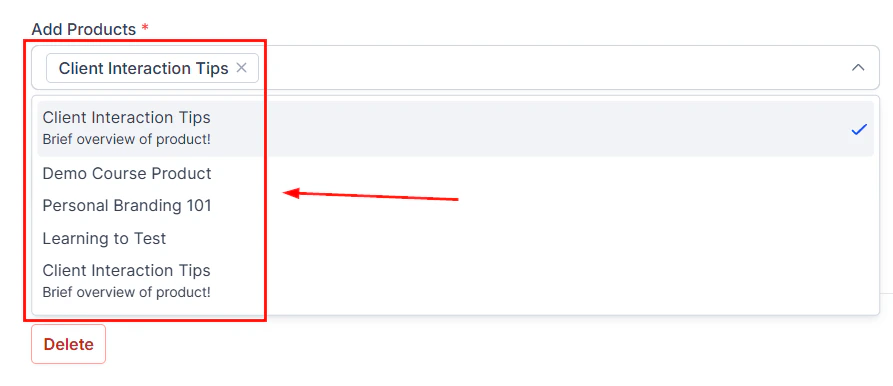
Add products to the offer
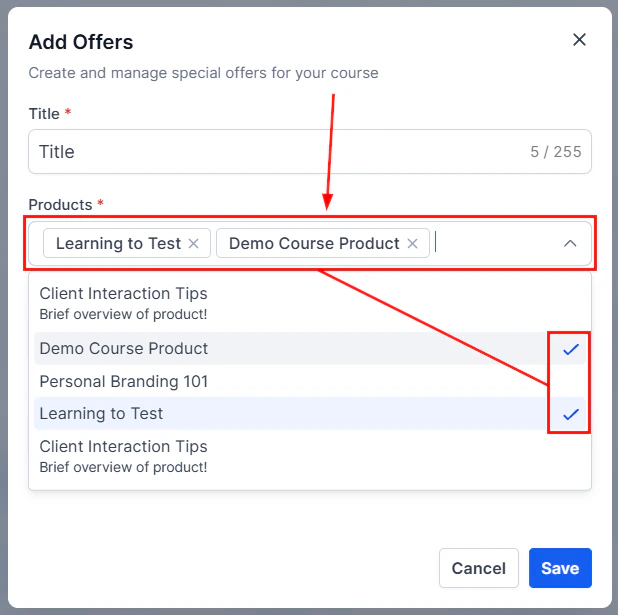
Adding products to a membership offer
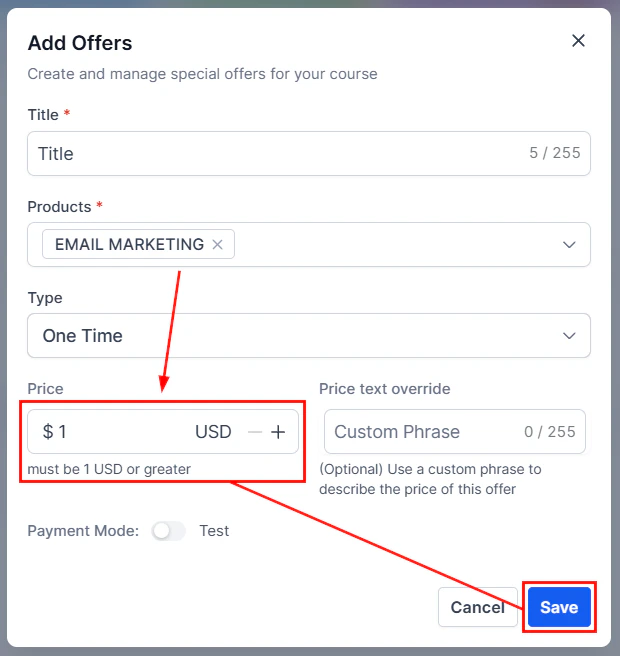
Configure payment options
Payment options including subscription, one-time, and trial settings
Setting a trial period on a membership offer
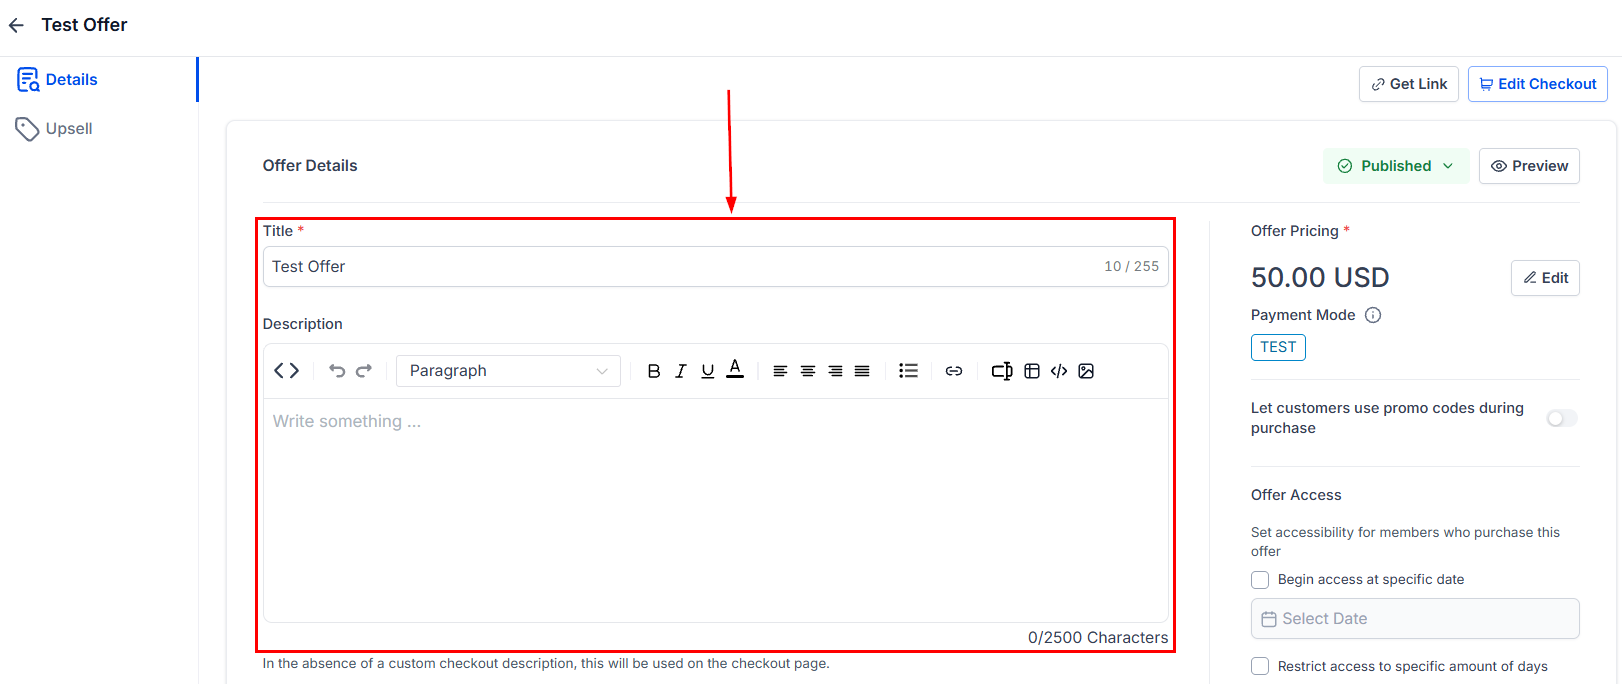
Configure offer settings
- Offer Status — toggle between Published and Draft
- Offer Pricing — click Edit to change the pricing plan type and amount
- Offer Access — manage start and end of customer access
- Image — select an image to display on the offer page
Checkout page settings for the membership offer
Add an upsell (optional)
Edit checkout page
Published offers list showing all active membership offers
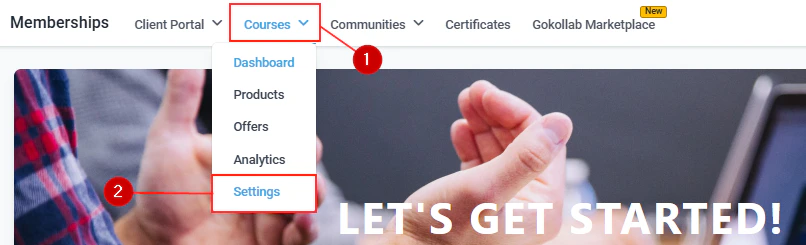
Membership settings
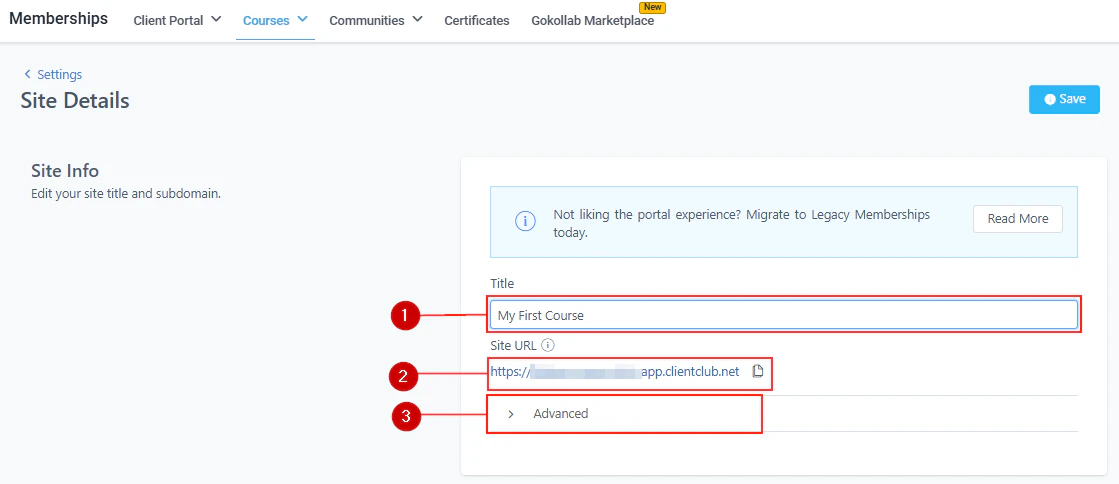
This section allows you to customize your entire membership portal. Before going live, configure these three sections:Site details
- Site Info — set the title of your membership portal (use your company name as it applies to the entire portal) and find the URL members will use to access the site
- Advanced — manage Custom JS, CSS, and Tracking Code
- Branding — add your logo (recommended 640×640) and Favicon (recommended 32×32)
- Builder Settings — enable the Download option to allow users to download original videos
Site details configuration in membership settings
Domain setup
Customize your portal’s Sub-Domain or add a Custom Domain for a personalized web address. Click Update Domain to save changes.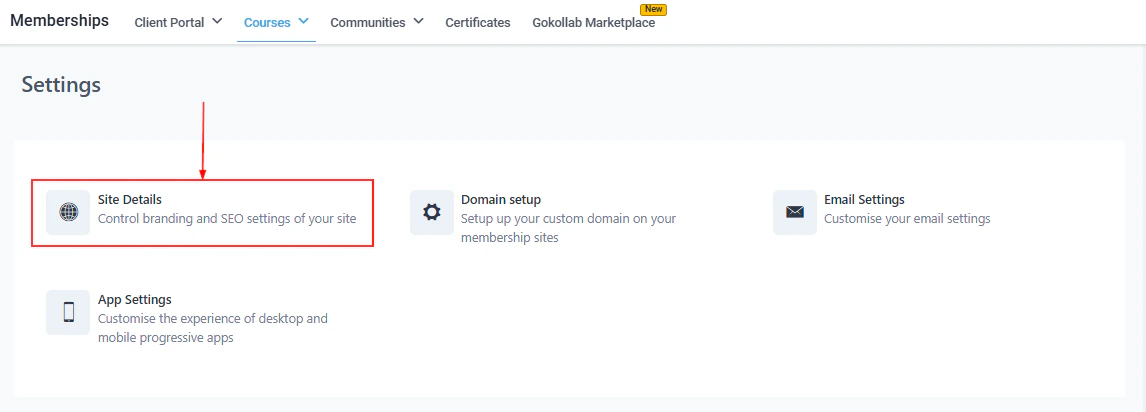
Custom domain setup for the membership portal
Email settings
Configure automated membership emails including:- Send Welcome Message
- Send Drip Message
- Send Offer Access Email
- New Comments In Courses
- New Course Materials Unlocked
Email settings configuration for membership notifications
App settings
Customize the desktop and mobile experience:- Enable PWA — toggle on the Progressive Web Application to make your portal available as a mobile app
- App Details — set app name, short name, and description
- App Icon — upload icons (recommended 512×512 for the app drawer and splash screen)
Membership analytics
The Analytics section lets you review member progress across your courses and membership products.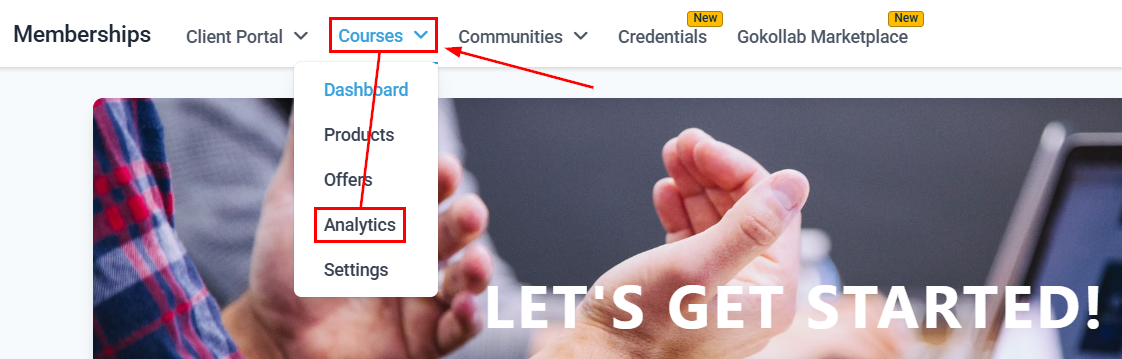
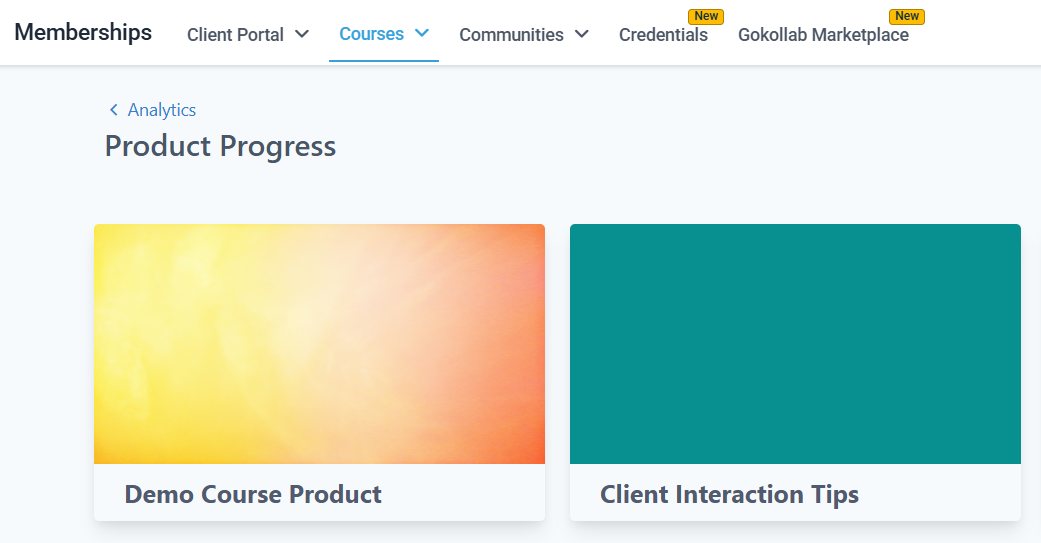
Membership Analytics dashboard showing revenue overview

Member progress tracking across all courses and products
Assessment results for all members in the analytics dashboard
Revenue chart showing membership revenue over time
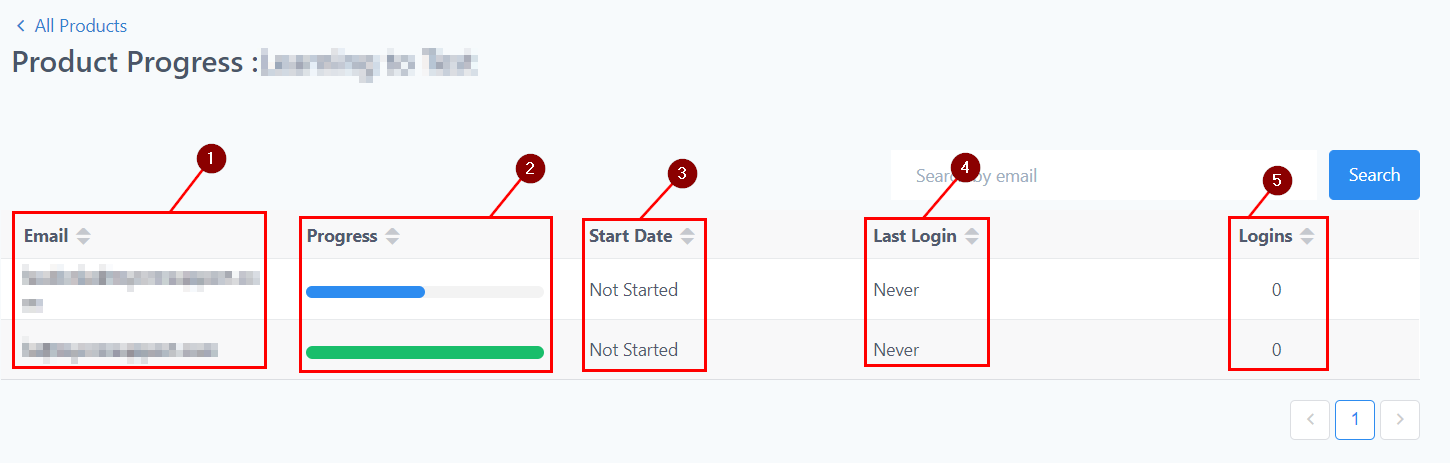
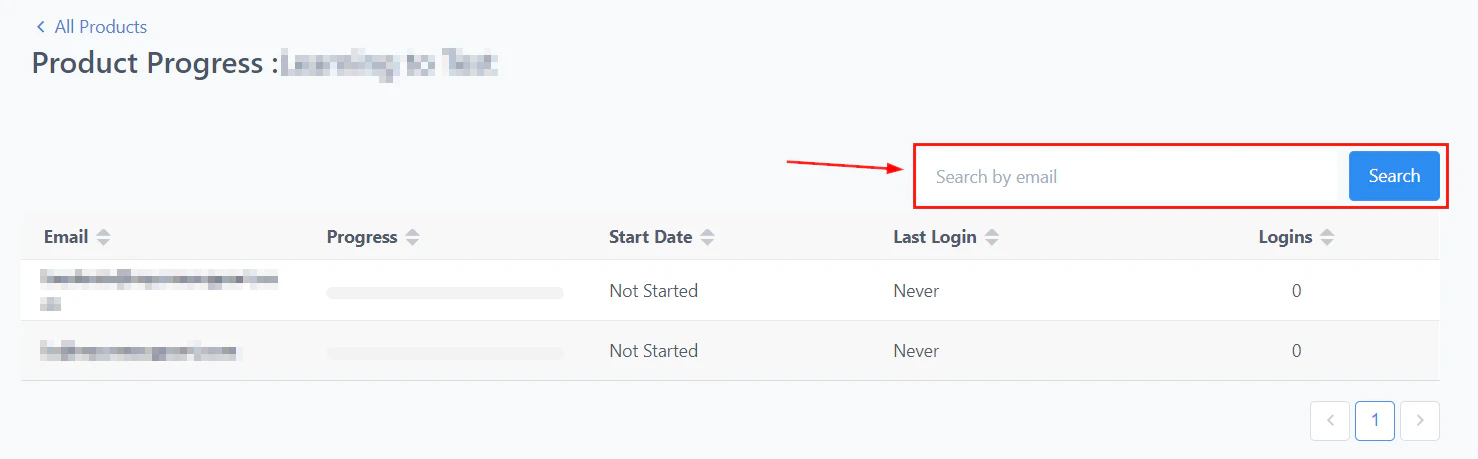
Member data tab showing individual member activity and stats
- Course completion rates
- Assessment scores and results
- Revenue generated
- Member activity data
Managing member access
Changing member passwords
To reset a member’s password, navigate to Contacts, select the contact, and switch to the Actions tab. Under the Client Portal tab, you can:- Change Password — enter and confirm a new password of your choice
- Send Password Reset Link — emails the contact a secure link to reset their own password
Sending custom welcome emails
To use a branded welcome email instead of the default:Create your welcome email template
Go to Membership Settings
Select your template
Frequently asked questions
What pricing models are available for membership offers?
What pricing models are available for membership offers?
Can I bundle multiple courses into a single offer?
Can I bundle multiple courses into a single offer?
How do I add an upsell to my checkout?
How do I add an upsell to my checkout?
What happens when a subscription is cancelled?
What happens when a subscription is cancelled?
Can I use a custom domain for my membership portal?
Can I use a custom domain for my membership portal?
How do I import courses from Kajabi?
How do I import courses from Kajabi?
How do I send a password reset to a member?
How do I send a password reset to a member?