

Certificate management section in Memberships
Certificates
Creating and issuing certificates
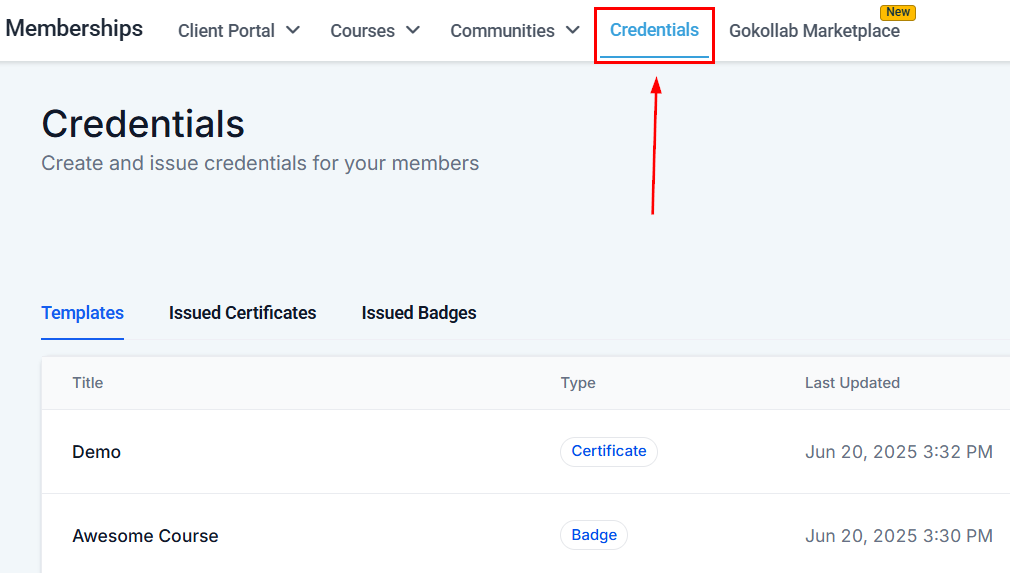
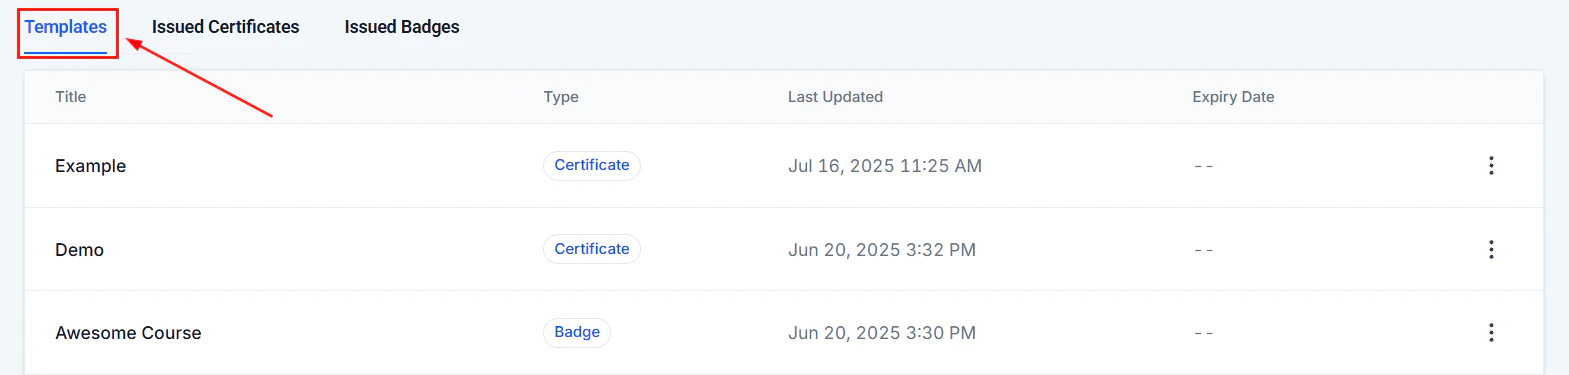
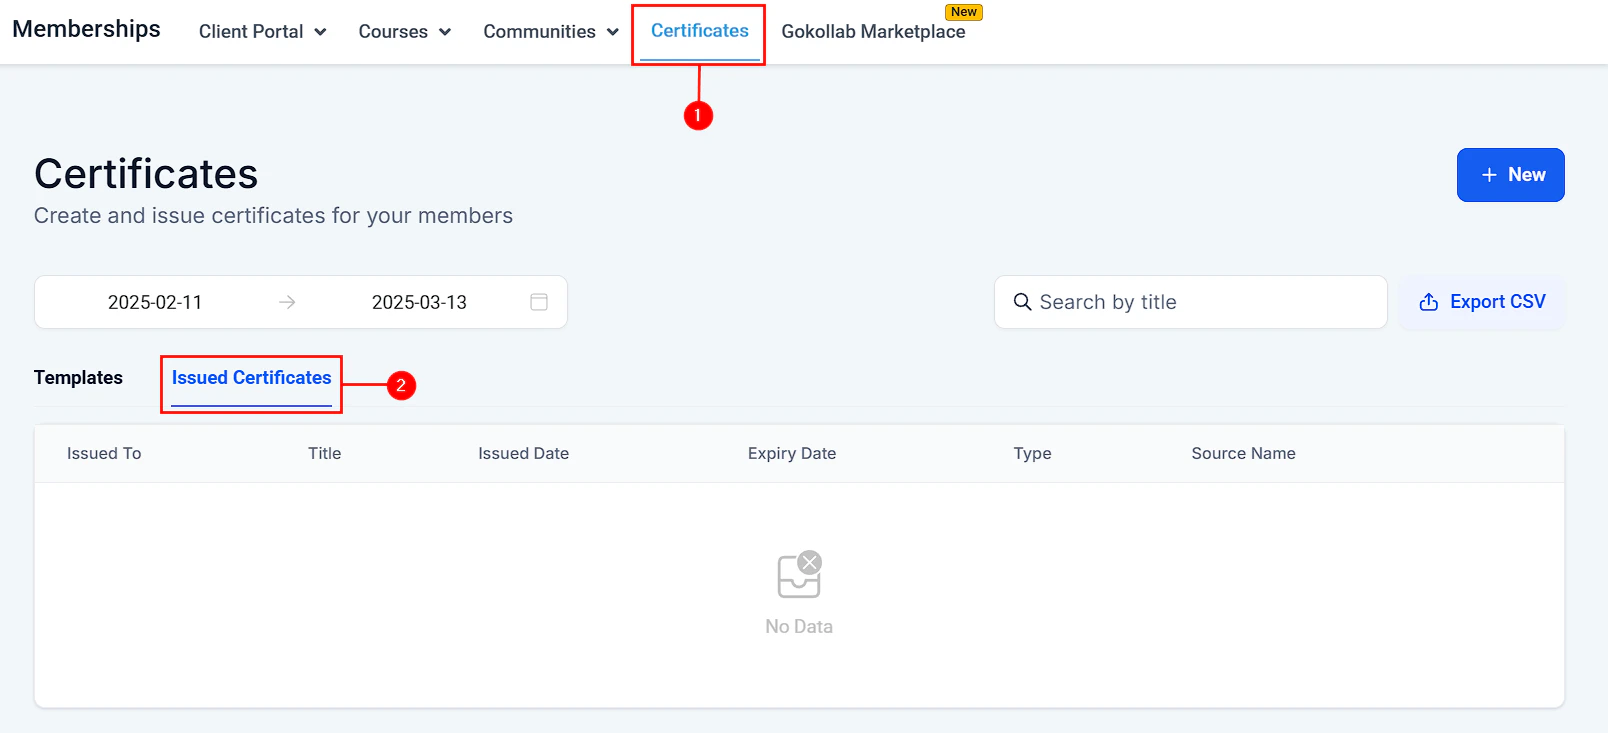
Navigate to Certificates
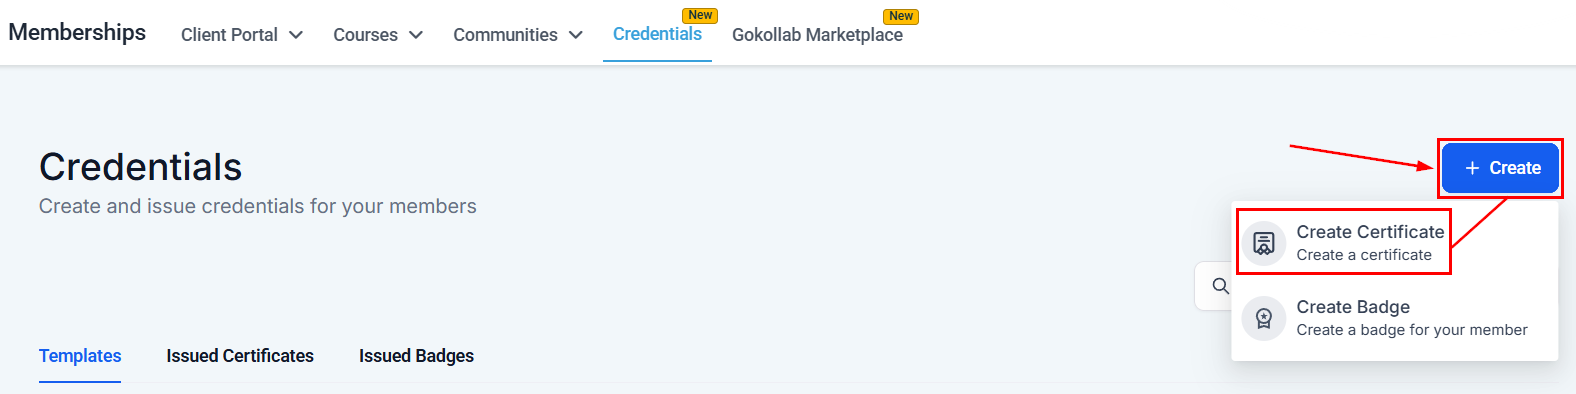
Certificates section showing all certificate templates
Choose a template
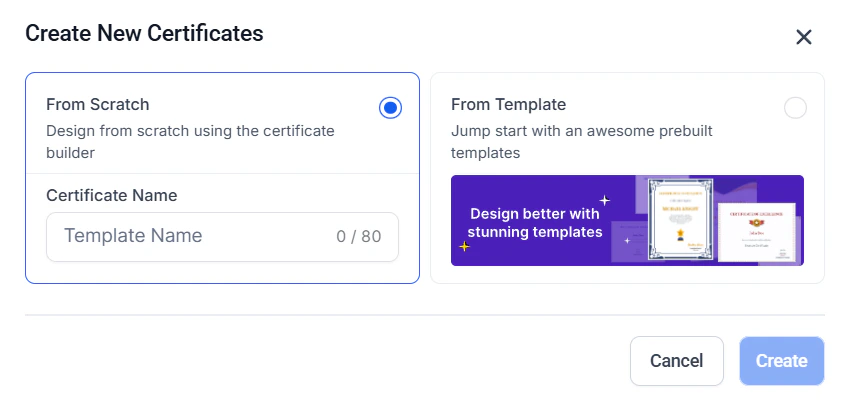
Certificate template editor with design customization options
Customize the design
- Upload your logo
- Change the title text (e.g. “Certificate of Completion”)
- Add a subtitle (e.g. “This certifies that”)
- Adjust fonts, sizes, and colors
- Modify border and background design
- Add a signature image or signatory name and title
Customizing the certificate design — fonts, colors, and layout
Add merge fields
{{contact.first_name}}— member’s first name{{contact.full_name}}— member’s full name{{course.name}}— name of the completed course{{certificate.date}}— date the certificate was issued{{certificate.id}}— unique certificate ID for verification
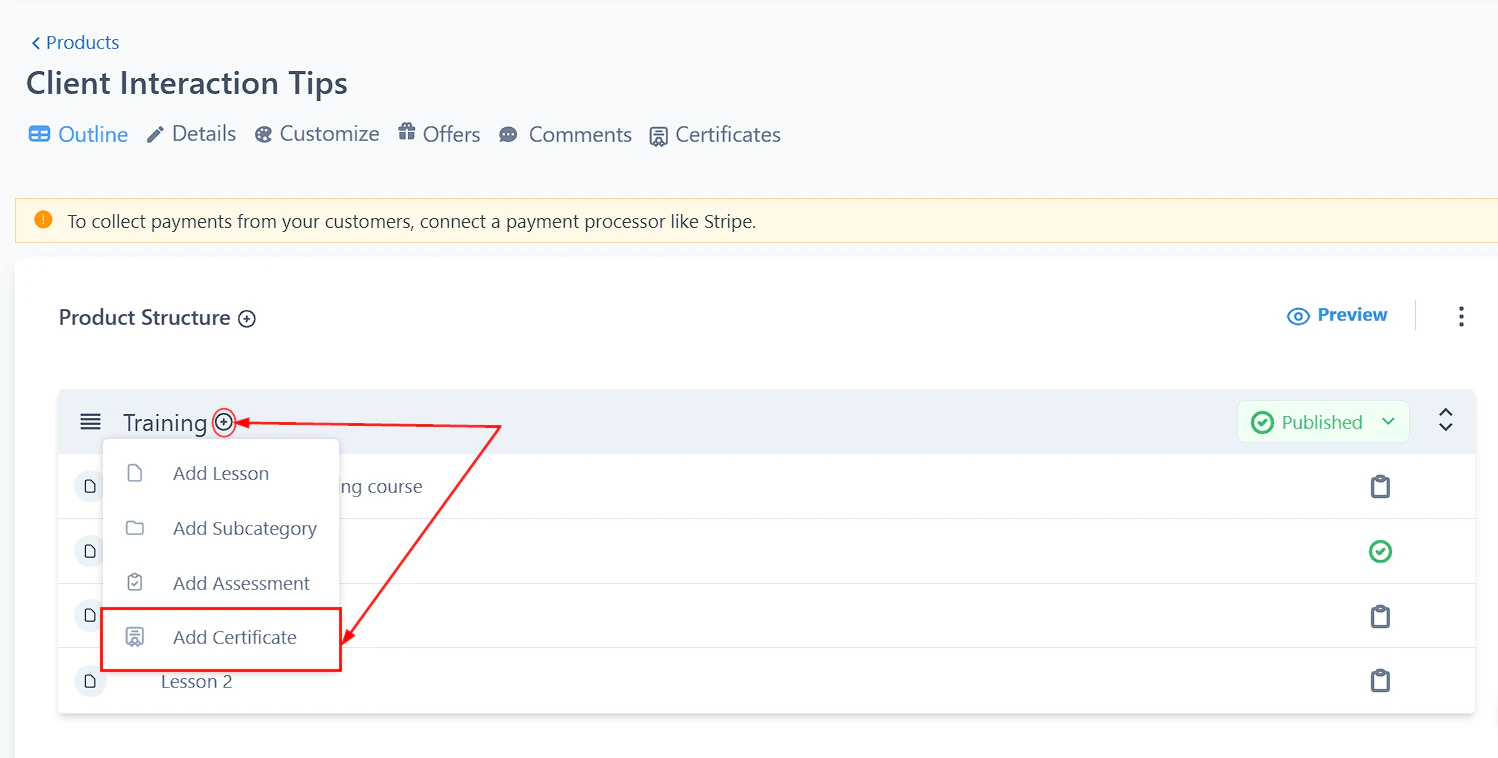
Link to a course trigger

Linking a certificate to a course completion trigger
Issuing a certificate — selecting the template and confirming issuance
Save the template
Setting an expiry date
You can set an expiration date on certificates to indicate a validity period:- Open the certificate template settings
- Enable the Expiry Date option
- Set the duration (e.g. 1 year from issue date) or a fixed date
- The expiry date appears on the certificate and is tracked in the issued certificates list
Certificate expiry settings — enabling and configuring the validity period
Expiry date picker — setting a fixed or relative expiry date on certificates
Category completion certificates
Issue certificates when a member completes a specific category (module) within a course rather than the full course:- In the certificate settings, select Category Completion as the trigger type
- Choose the course and the specific category/module
- The certificate is issued automatically when that module is complete
Category completion certificate setup — selecting course and module trigger
Issuing certificates automatically
Set up an automation to issue a certificate when a member completes a course:Create a new automation
Set the trigger
Add the Grant Certificate action
Add a notification (optional)
{{certificate.link}}.Activate the workflow
Manually issuing a certificate
To grant a certificate to a specific member:- Go to the member’s contact record
- Click Actions > Grant Certificate
- Select the certificate template and confirm
Exporting certificate data
To export a CSV of all issued certificates:- Go to Certificates in the Memberships section
- Click the Export button
- The CSV includes certificate ID, recipient name, course name, issue date, and expiry date
Exporting issued certificate data as a CSV file
Badges
Badges are visual credentials that can be issued for course completion or other achievements, providing a lighter-weight alternative to full certificates.Creating and issuing badges
Navigate to Certificates
Badge creation section within the Certificates area
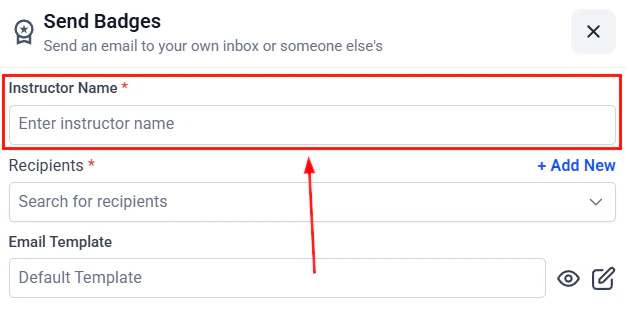
Create a badge
Uploading a custom badge image and setting the badge name
Issue the badge
Linking a badge to a course completion trigger for automatic issuance
Member experience
Members find their certificates and badges in the Certificates section of the Client Portal. From there they can:- Preview the certificate in the browser
- Download a high-resolution PDF
- Share the certificate link publicly
Frequently asked questions
Can I customize the certificate design with my own branding?
Can I customize the certificate design with my own branding?
What merge fields are available to personalize certificates?
What merge fields are available to personalize certificates?
{{contact.first_name}}, {{contact.full_name}}, {{course.name}}, {{certificate.date}}, and {{certificate.id}}. These are replaced with real values when the certificate is generated for each member.How do I issue a certificate automatically when a course is completed?
How do I issue a certificate automatically when a course is completed?
{{certificate.link}} so the member is notified immediately.Can I issue a certificate for completing a module rather than the full course?
Can I issue a certificate for completing a module rather than the full course?
Do certificates expire?
Do certificates expire?
How do members download their certificate?
How do members download their certificate?
What is the difference between a certificate and a badge?
What is the difference between a certificate and a badge?
How do I export a record of all issued certificates?
How do I export a record of all issued certificates?