

Surveys builder — multi-slide survey editor with element panel, styles, and themes
Creating a survey
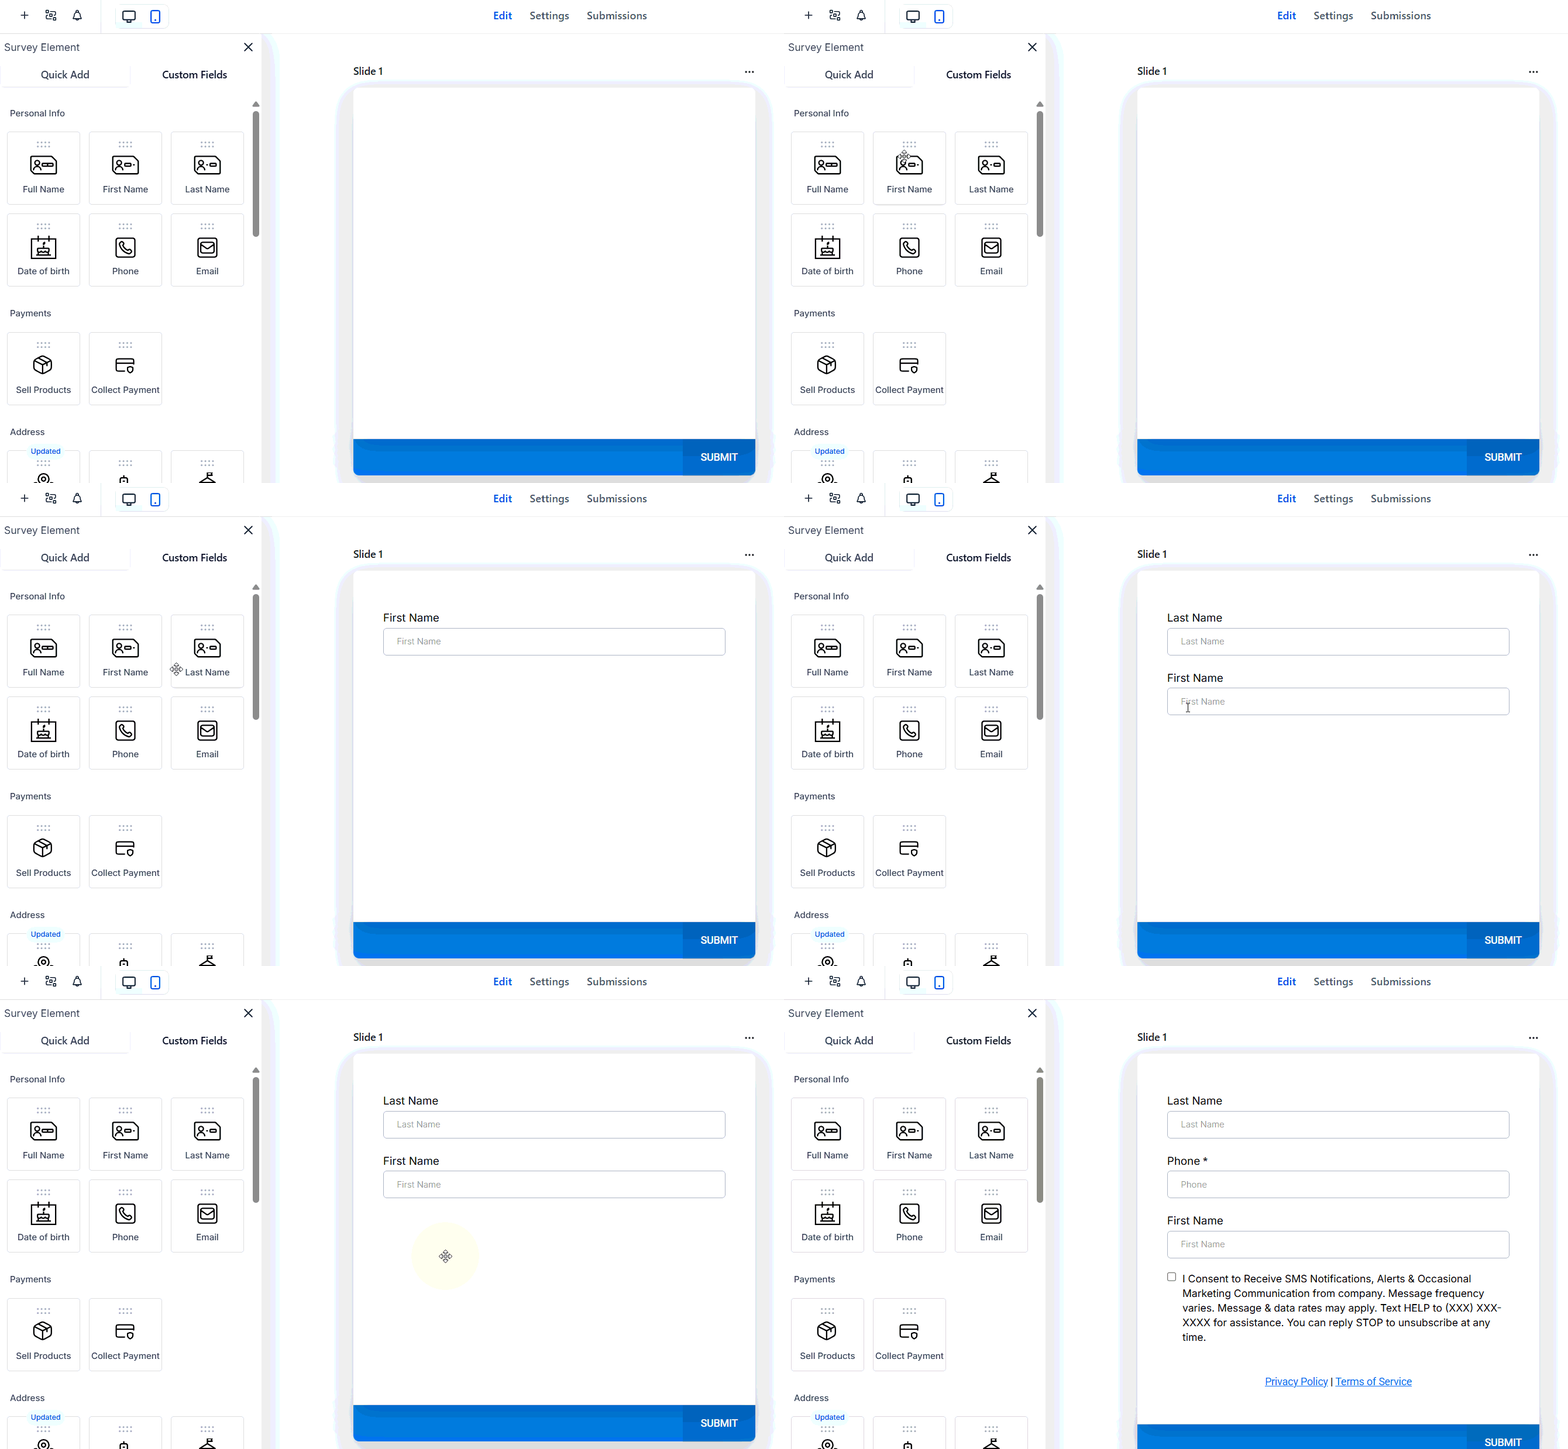
Adding elements to a survey slide by drag and drop
1
Navigate to Sites > Surveys
Click Sites in the left sidebar, then select Surveys. Click + Add Survey.
2
Choose a starting point
Select Start from Scratch or pick a template to get a head start.
3
Add slides
Each slide is a page in your survey. Click the + button to add more slides. Rename each slide by clicking the three-dot icon and selecting Settings.
4
Add elements to each slide
Click the + icon in the top-left to open the elements panel. Drag and drop fields onto the slide:
- Quick Add — standard fields (name, email, phone, etc.)
- Custom Fields — fields mapped to contact or opportunity data in your CRM Click a field to open its settings, mark it as required if needed.
5
Apply styles and themes
Switch to the Styles tab to customize colors, fonts, and layout. Use the Themes tab to apply a preset design.
6
Configure survey settings
Switch to the Options tab to set the on-submit behavior, notification emails, sticky contact, timezone capture, and GDPR fonts.
7
Save and integrate
Click Save, then click Integrate to get the embed code for placing the survey on a funnel, website, or external page.
Survey list and actions
The Surveys list shows the name, last-updated date, and the user who last edited each survey. Use the three-dot Actions menu to:- Edit — open the survey builder
- Preview — view the survey as a respondent
- View Submissions — access all submitted responses
- Duplicate — copy the survey including all slides and settings
- Upload to Survey Templates — save the survey as a reusable template
- Share — share the survey to another CRM location
- Move to Folder — organize surveys into folders
- Delete — permanently remove the survey
Analyzing survey responses
Click Analyze Surveys from the surveys list to view response rates, individual field completion, and aggregate answer distributions.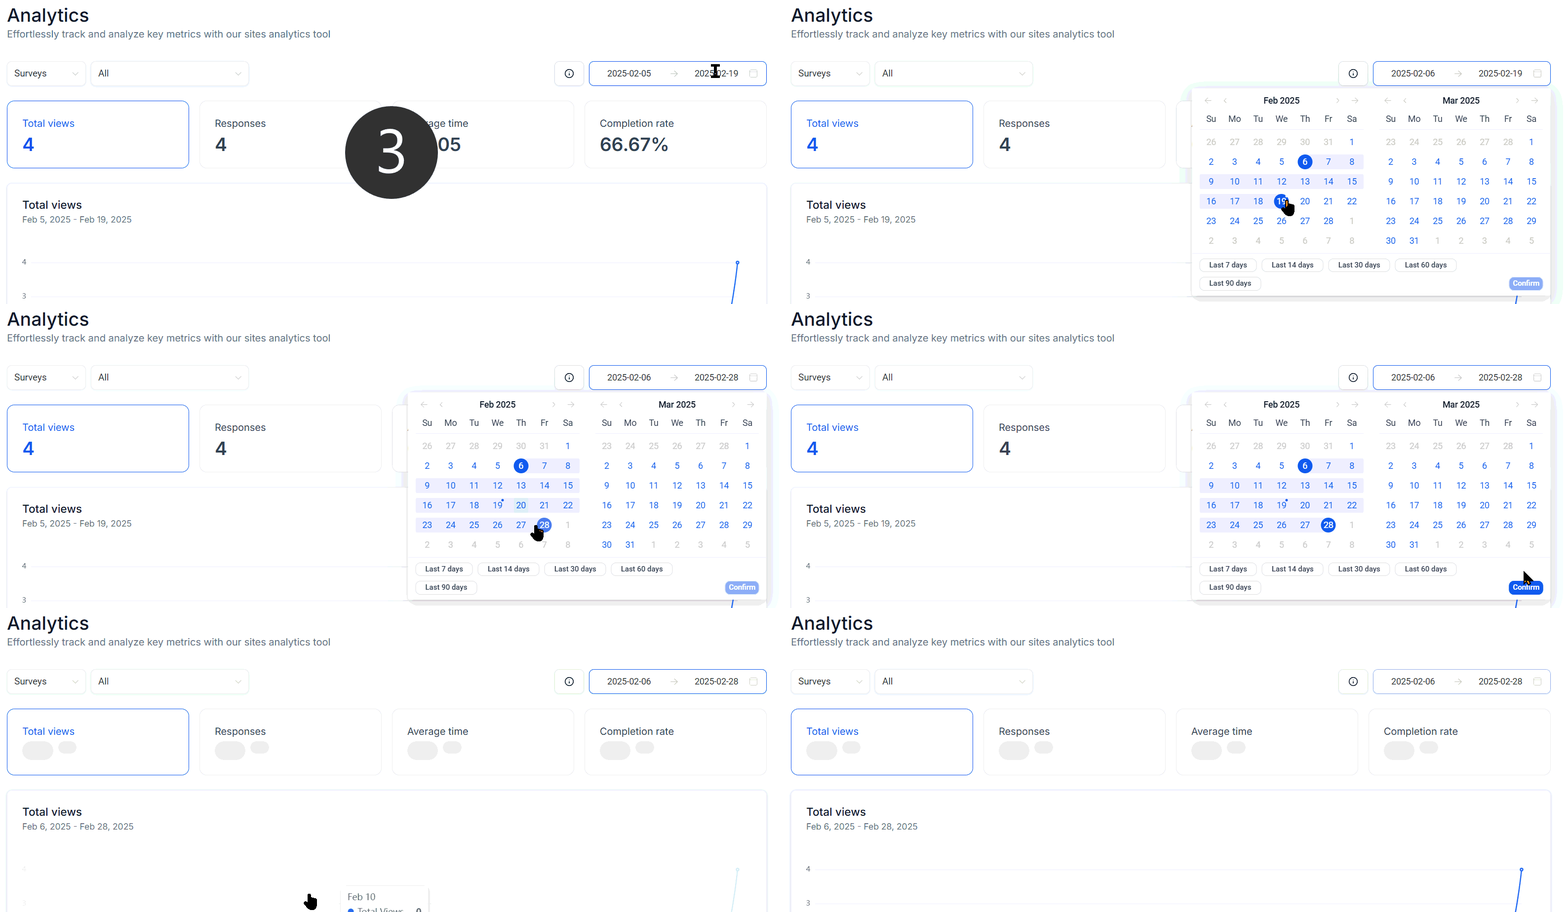
Survey responses — view submission rates, field completion, and aggregate answer distributions
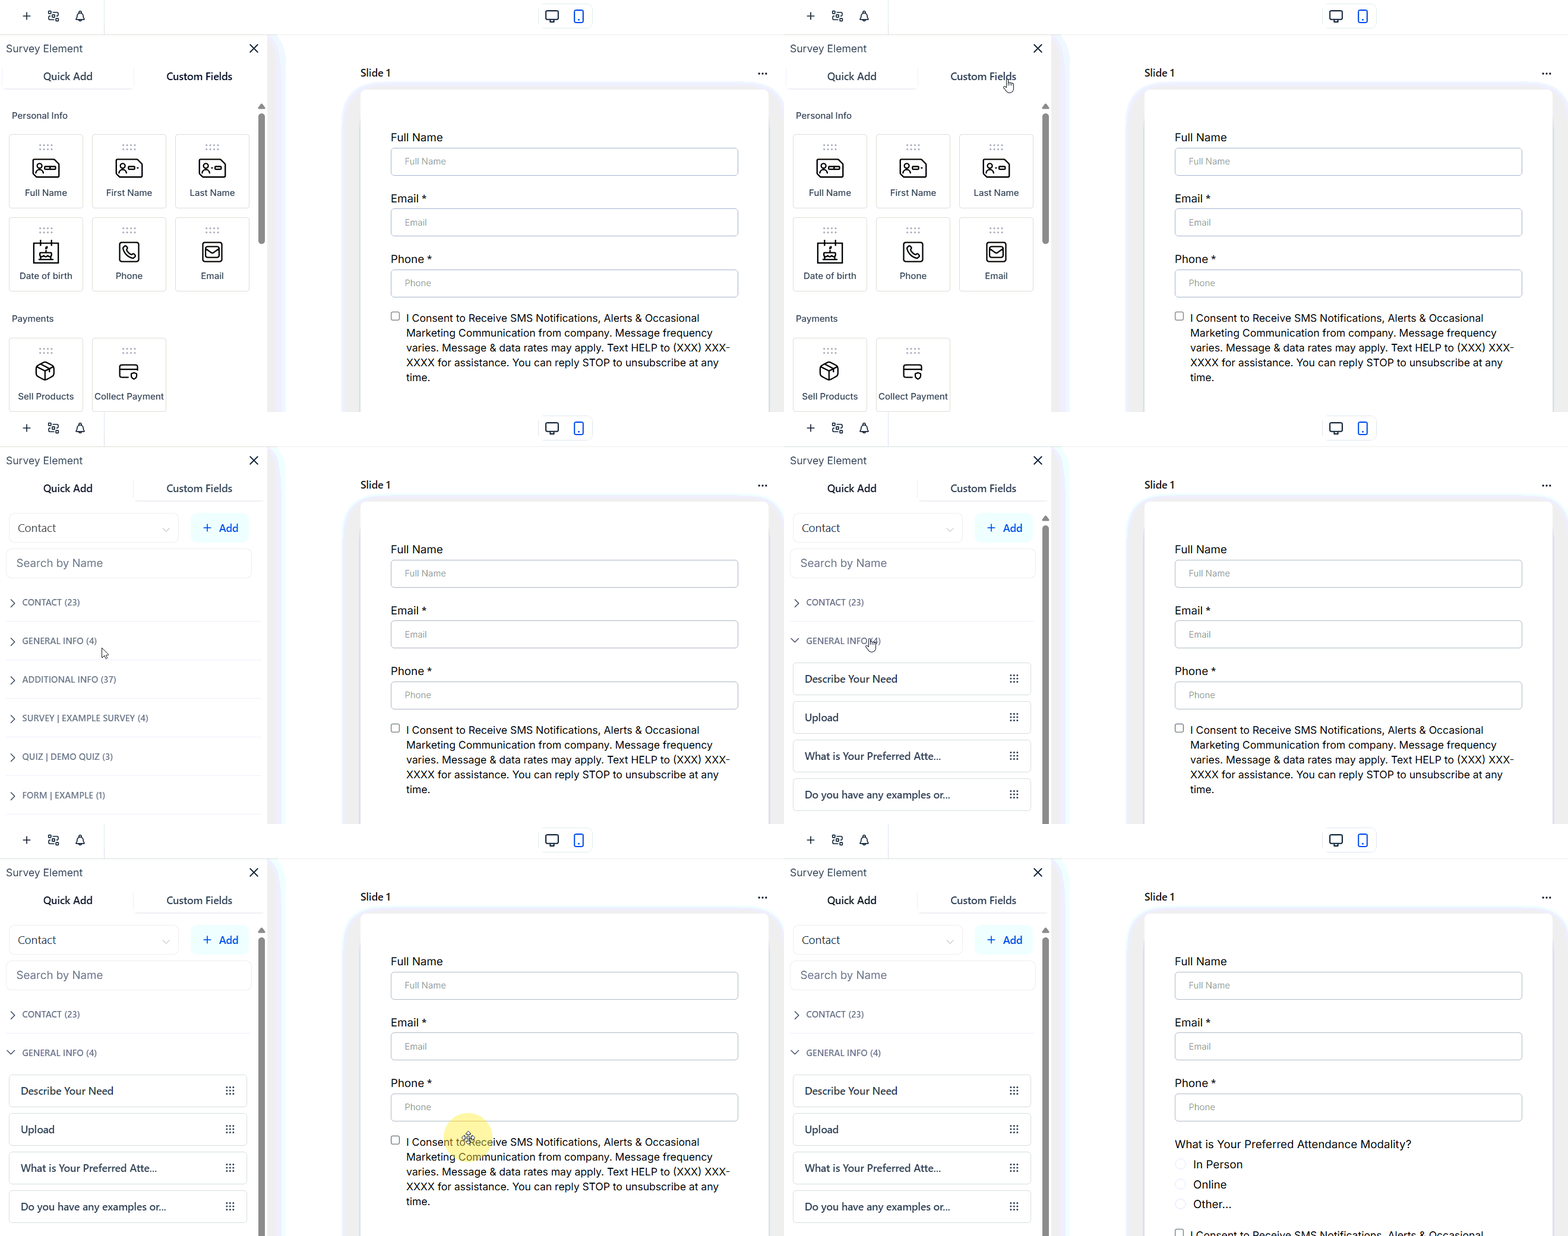
Conditional logic — show or hide slides based on previous answers to keep surveys relevant
Conditional logic in surveys
Show or hide slides or fields based on a respondent’s previous answers:- Click a field or slide.
- Open the Conditional Logic tab.
- Set the condition (e.g. if answer to Question 1 is “Yes”, show Slide 3; otherwise skip to Slide 5).
Customizing the survey footer
The survey footer appears at the bottom of each slide and contains the navigation buttons (Back / Next / Submit). Go to Surveys > your survey > Styles to customize the footer text, button labels, and colors.Mobile progress bar
Mobile progress bar
Enable a mobile progress bar to show respondents how far through the survey they are. Go to Settings inside the survey builder and toggle Mobile Progress Bar on.
Setting up auto responders
Setting up auto responders
After a survey is submitted, you can automatically send a response email. Configure this in the Notifications section of the survey settings. Use merge fields to personalize the email with the respondent’s answers.