

Uploading with the Upload button
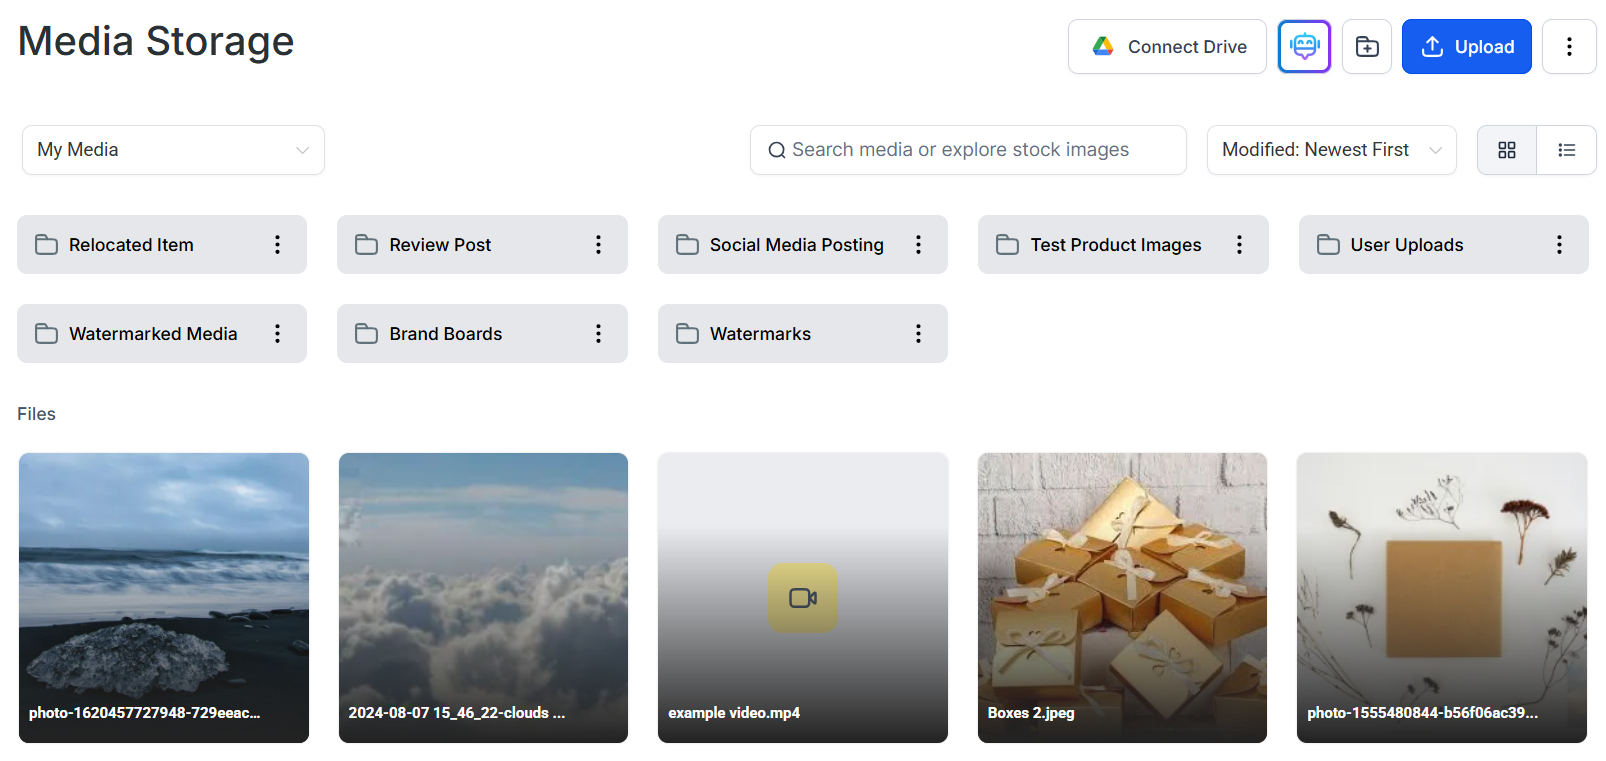
Media Storage library with the Upload button in the top-right toolbar
1
Open Media Storage
Click Media Storage in the left navigation sidebar of your HoopAI account.
2
Click Upload
Click the Upload button in the top-right area of the media library toolbar. Your operating system’s file picker opens.
3
Select your files
Browse to the files you want to upload. To upload a single file, click it. To upload multiple files at once, hold Ctrl (Windows) or Command (Mac) and click each file, or hold Shift to select a range of files.
4
Confirm the selection
Click Open (or the equivalent button in your file picker). The files begin uploading immediately. A progress indicator appears for each file.
5
Wait for processing
Once the progress indicator clears, your files appear in the media library and are ready to use. Video files may take additional time to encode after upload completes — this happens in the background.
Uploading with drag-and-drop
Drag-and-drop lets you add files without using any buttons. Open Media Storage, then drag one or more files from your computer’s file explorer directly onto the media library interface. When you release the mouse button, the upload starts automatically. You can drag files into:- The main library area to upload to the root level
- An open folder to upload directly into that folder
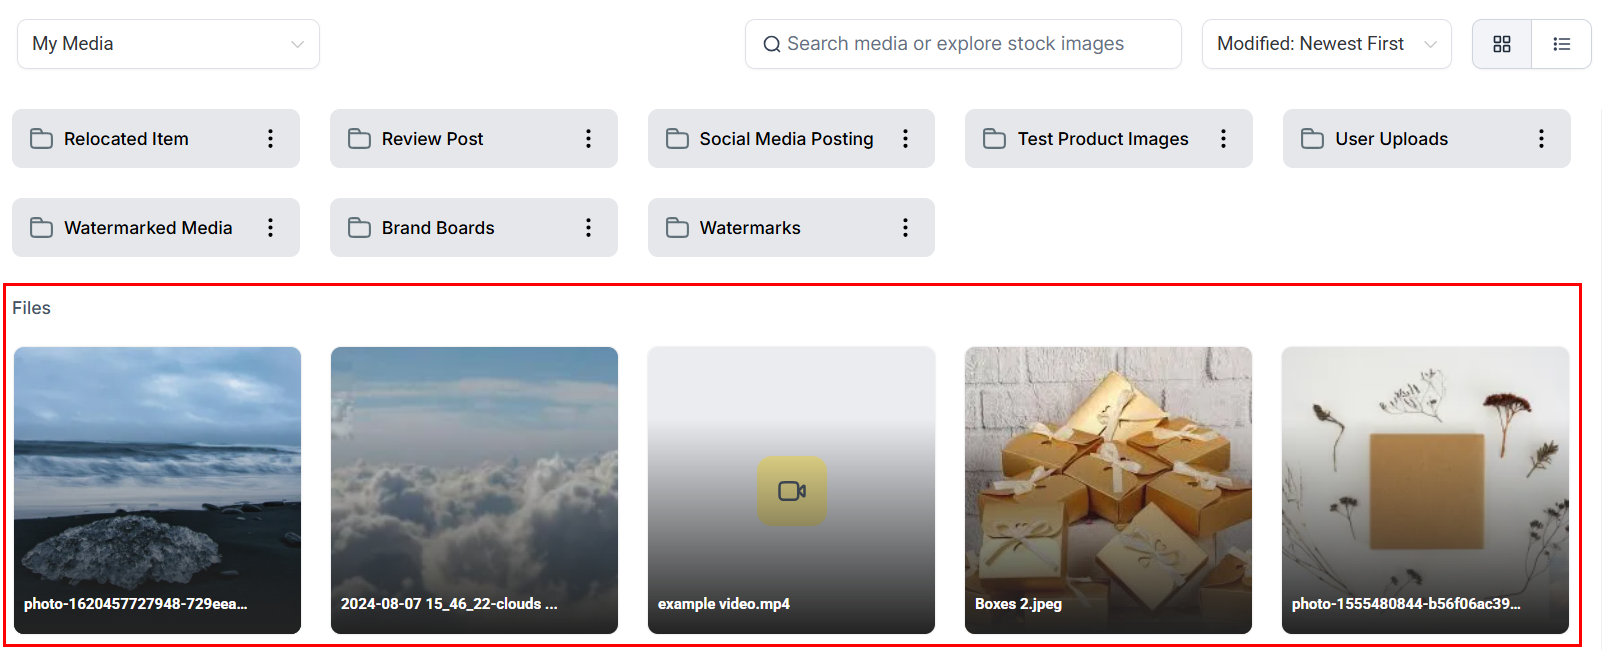
Files appear in the library immediately after upload completes
Bulk uploads
Both the Upload button and drag-and-drop support selecting multiple files at once. All selected files upload simultaneously — there is no need to upload one file at a time. Uploads are processed in parallel, so a batch of twenty images takes roughly the same time as uploading one.There is no limit on the number of files you can upload in a single batch. However, individual file size limits apply per file type. Videos must be under 4 GB, and all other file types (images, audio, documents) must be under 100 MB each. Files that exceed these limits will fail to upload and display an error.
Uploading into a specific folder
To keep uploads organized, navigate into a folder before uploading. Click the folder name to open it, then use the Upload button or drag-and-drop as normal. All files added during that session go directly into the open folder. If you upload to the root level by mistake, use the Move to Folder option from any file’s three-dot action menu to relocate it after the fact.Uploading from Google Drive
If you have connected your Google Drive account, you can access files stored there without downloading them to your computer first. See the Google Drive integration guide for setup steps.What happens after upload
Once a file finishes uploading:- It appears in the media library (or inside the open folder)
- It is immediately available in the file picker across all platform tools
- It receives a permanent CDN-backed URL you can use to embed or share the file
- For video files, a transcoding process begins in the background to optimize the file for streaming
File size limits
See Supported media types for the full list of accepted file formats.
FAQs
Can I upload files while browsing another part of the platform?
Can I upload files while browsing another part of the platform?
Uploads require Media Storage to remain open. If you navigate away before an upload finishes, the transfer may be interrupted. For large files, wait until the progress indicator confirms the upload is complete before navigating elsewhere.
Why did my file fail to upload?
Why did my file fail to upload?
The most common causes are an unsupported file format or a file that exceeds the size limit for its type. Check that your file is within the 4 GB limit for video or 100 MB for all other types, and that the format is on the supported formats list.
Can I upload files directly from a URL?
Can I upload files directly from a URL?
The media library does not support importing files directly from an external URL. Download the file to your computer first, then upload it using the Upload button or drag-and-drop.
Do uploaded files count against a storage quota?
Do uploaded files count against a storage quota?
There is no overall account storage cap. You can upload as many files as needed within the per-file size limits. See Storage limits for more detail.