

Creating your first bot
1
Navigate to AI settings
Go to Settings > Conversation AI in your HoopAI account.
2
Create a new bot
Click Create Bot and choose a bot type. You can select from General Q&A, Appointment Booking, Marketplace Templates, or start from scratch.
Create new bot dialog with bot type options
Bot naming screen
3
Write your system prompt
Define your bot personality, role, and behavior rules. The system prompt is the most important configuration.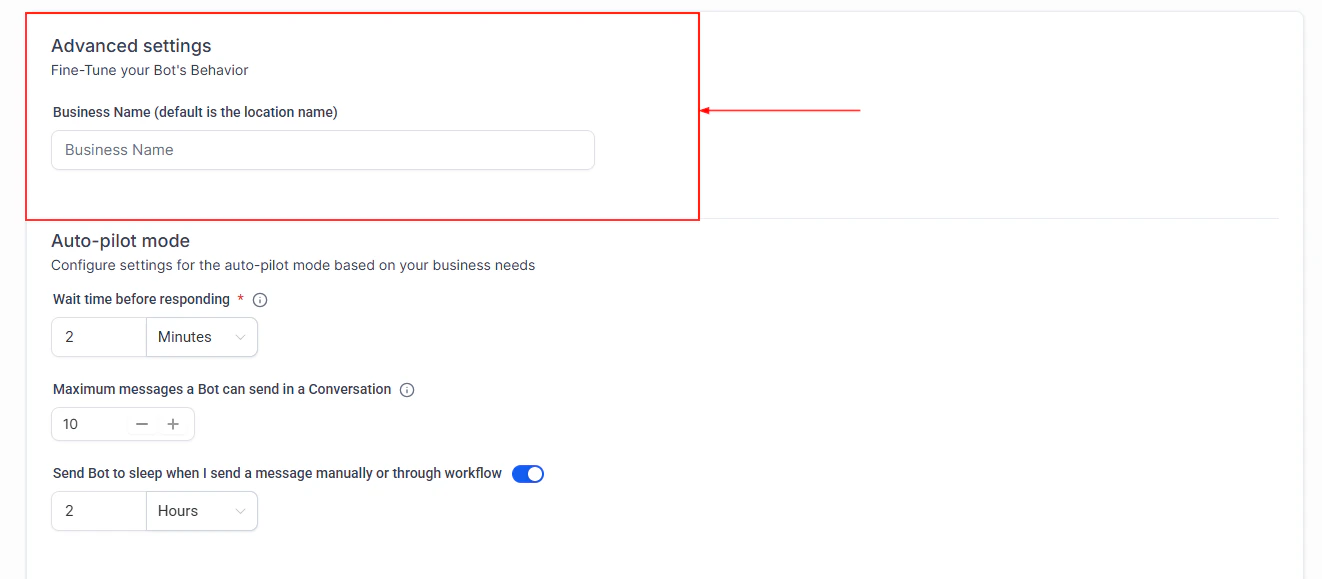
Bot configuration and system prompt settings
4
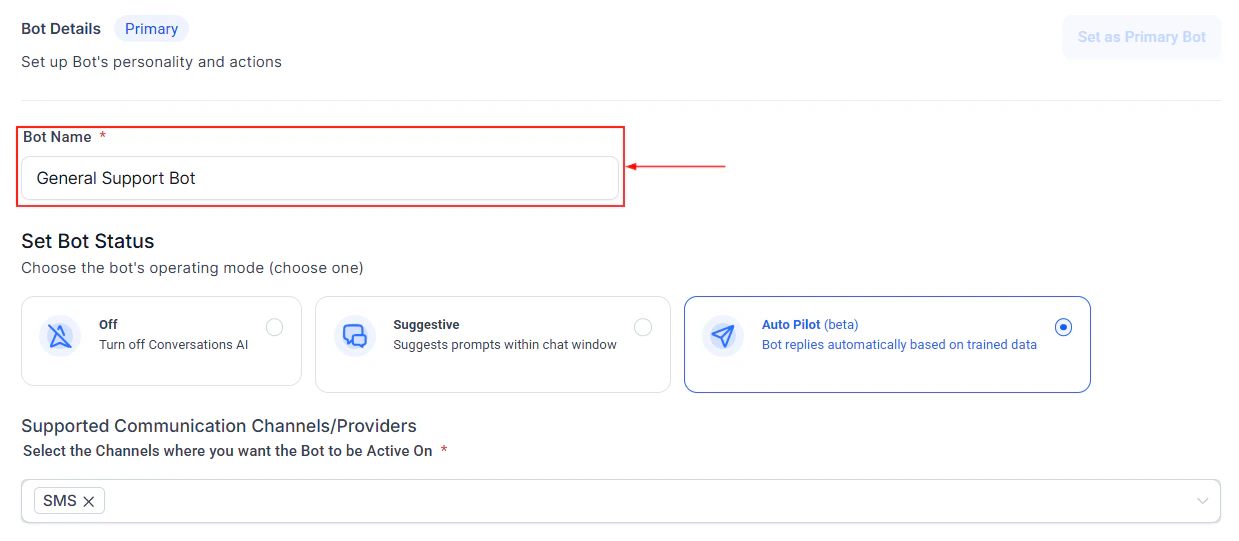
Configure bot status and settings
Set the bot status and adjust its behavior settings to match your needs.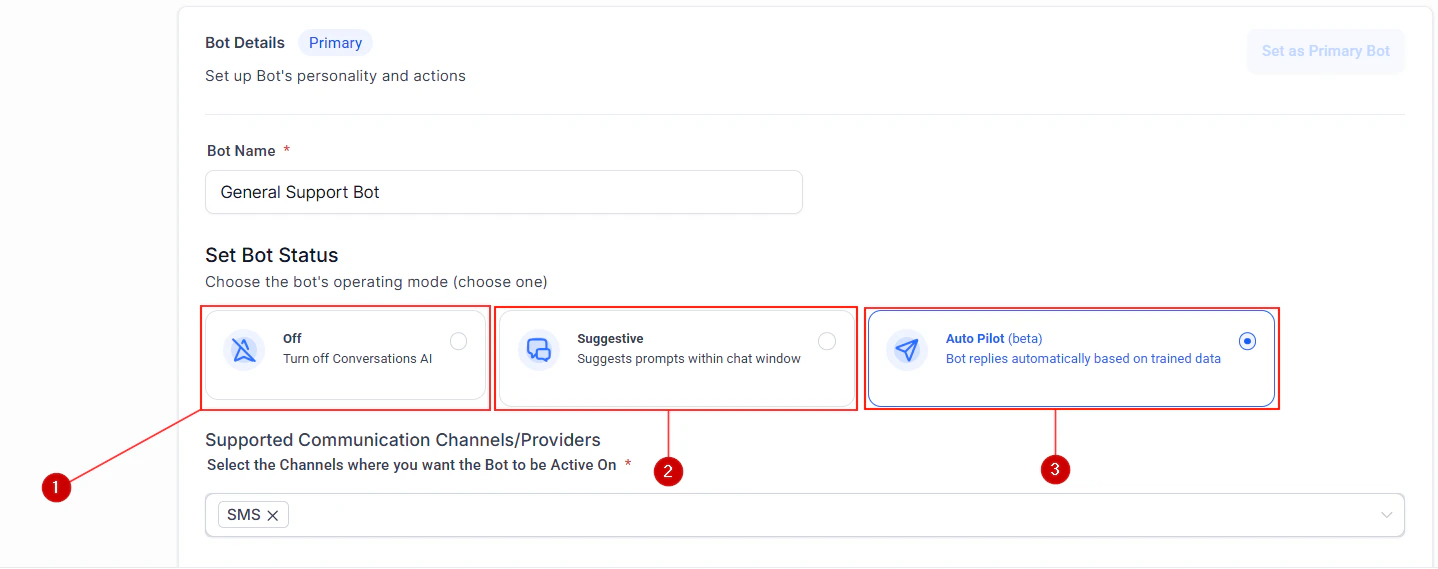

Bot status settings
Bot trial mode for testing before going live
5
Set bot goals
Define what your bot should accomplish in each conversation, such as qualifying leads, booking appointments, or collecting information.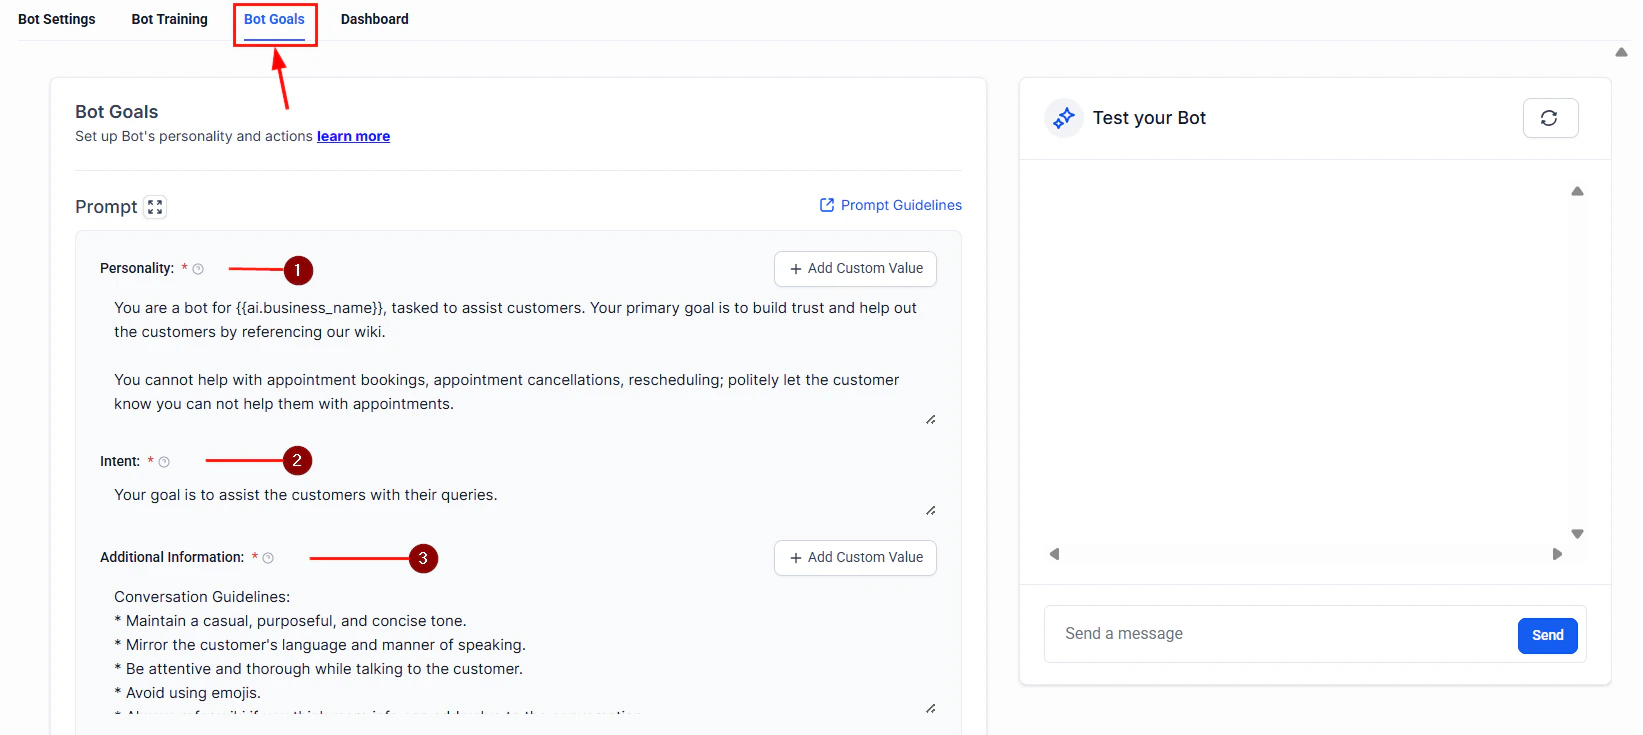
Bot goals configuration
6
Configure actions
Set up what your bot can do: book appointments, tag contacts, trigger workflows, or escalate to humans.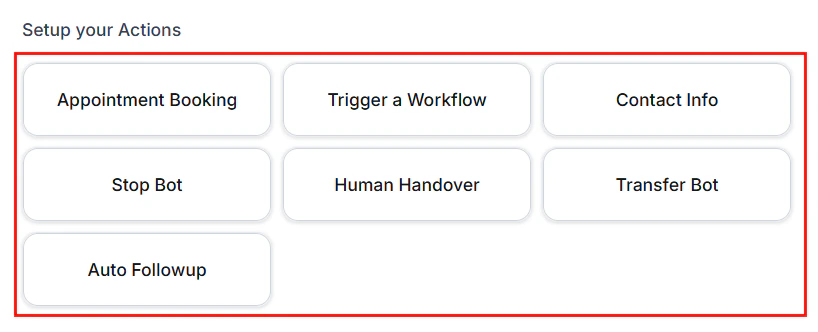
Bot actions setup
7
Test and deploy
Test your bot with sample conversations, then activate it to start handling real messages.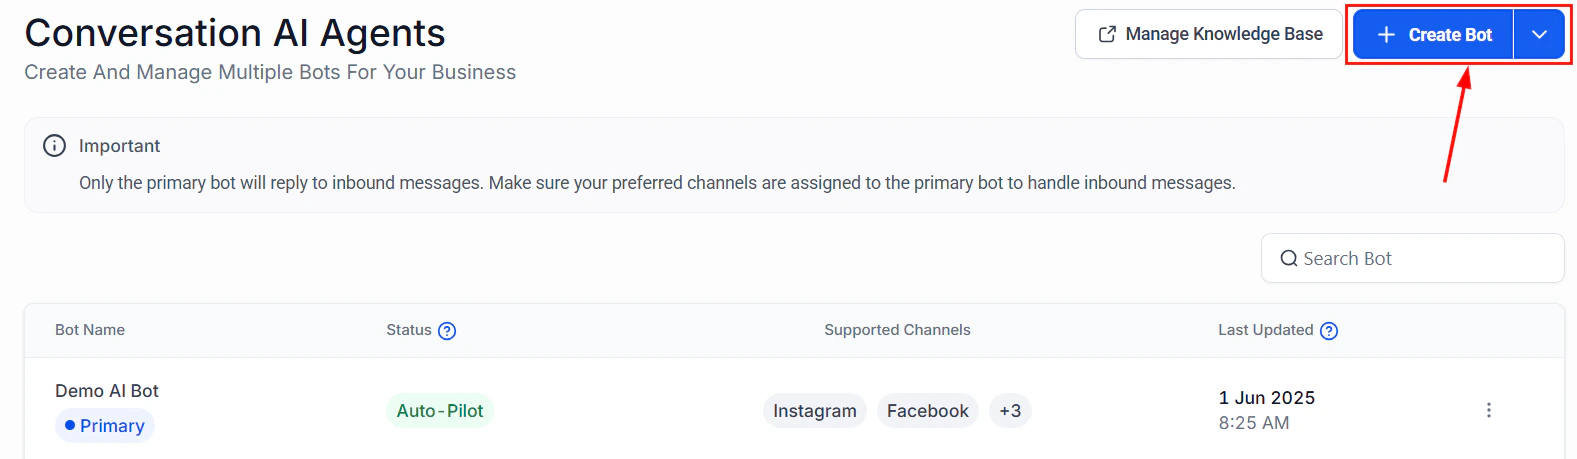
Guided form bot creation wizard
Customize your bot appearance and behavior
Next steps
Bot settings
Detailed settings reference
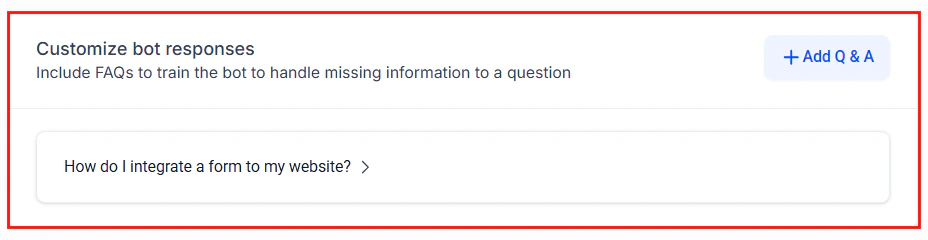
Knowledge base
Train your bot with business information
Multi-channel deployment
Deploy across all communication channels