

Creating An Agent
Navigate to the Conversation AI tab inside the AI Agents section and switch to the Agents List Area.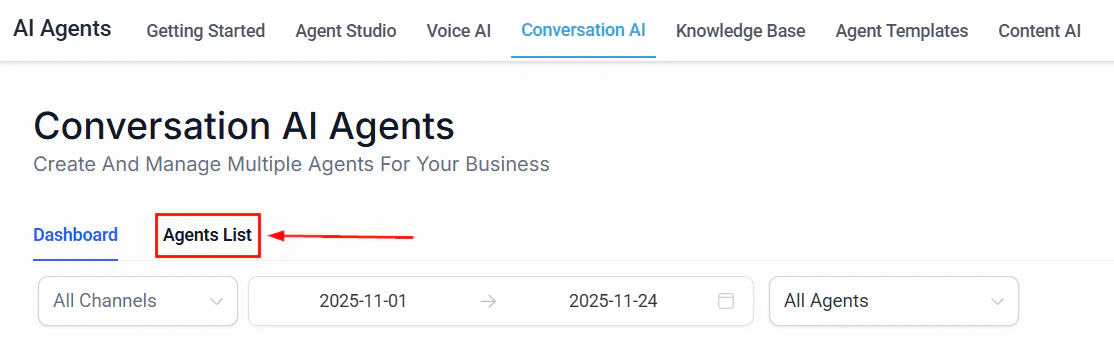
Screenshot

Screenshot
Screenshot

Screenshot
Setting Your Workflow
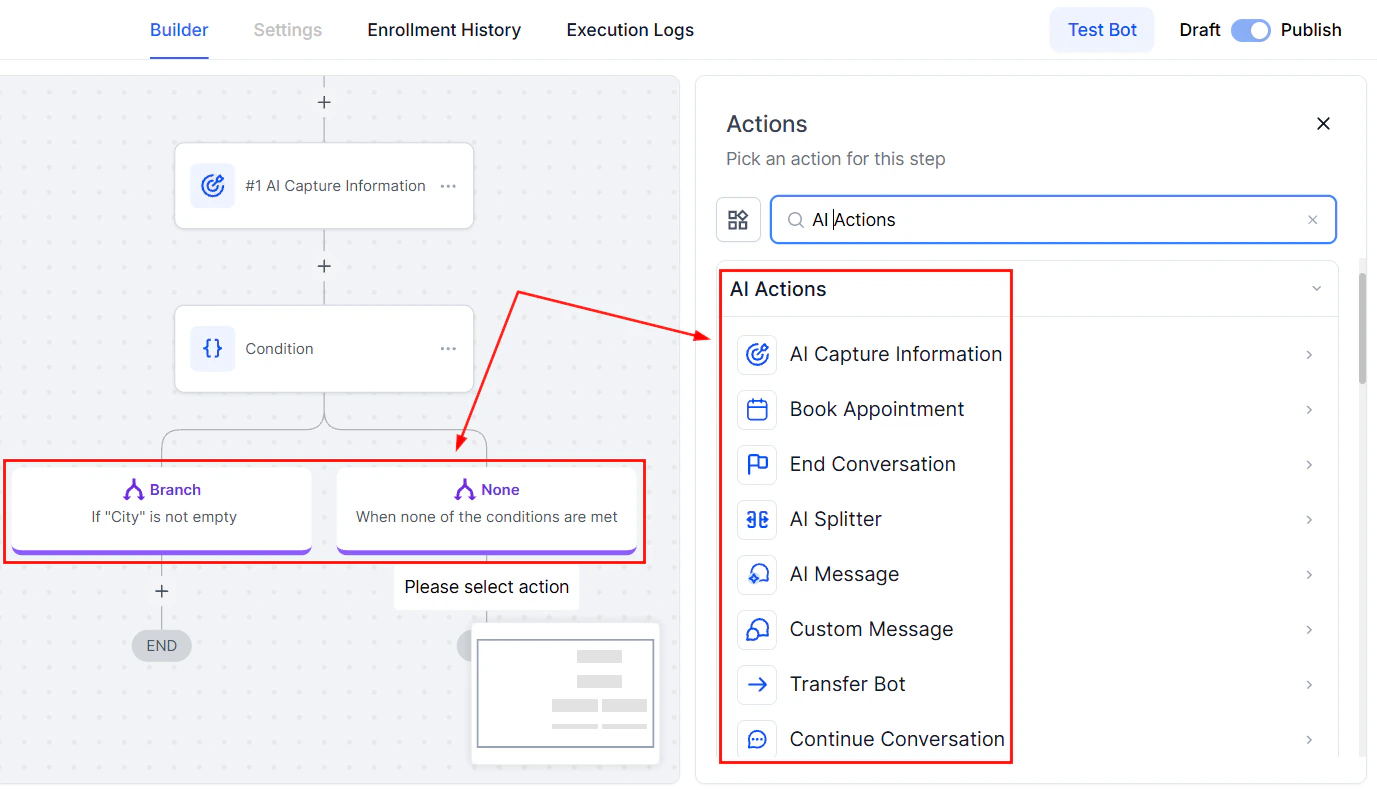
Add AI Actions such as AI Capture, AI Message, and Custom Triggers to design your flow.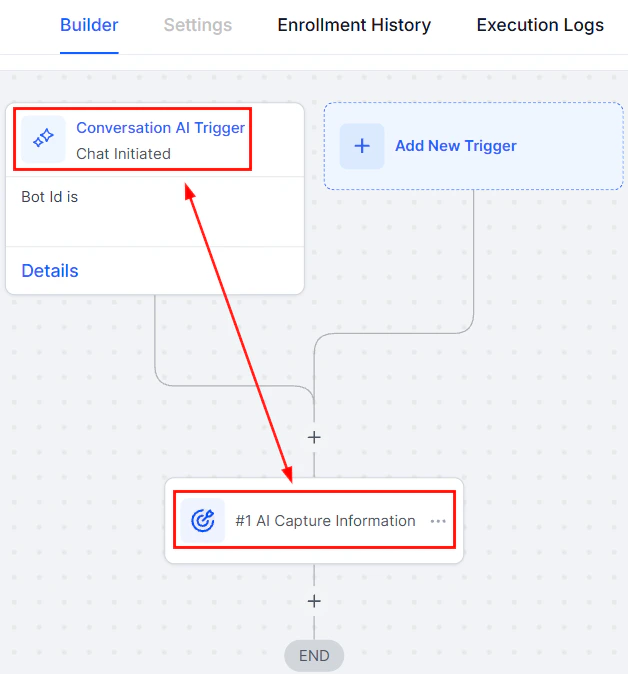
Screenshot
Screenshot
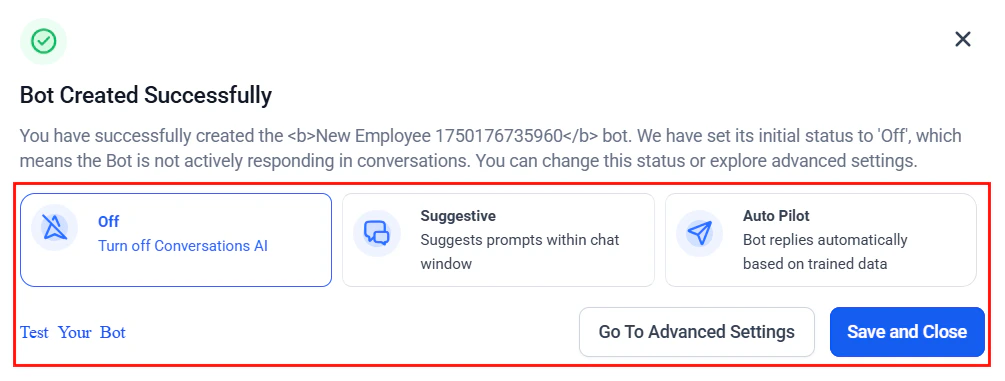
Completing Set Up
After saving your workflow, click Back to Conversation AI to complete your setup.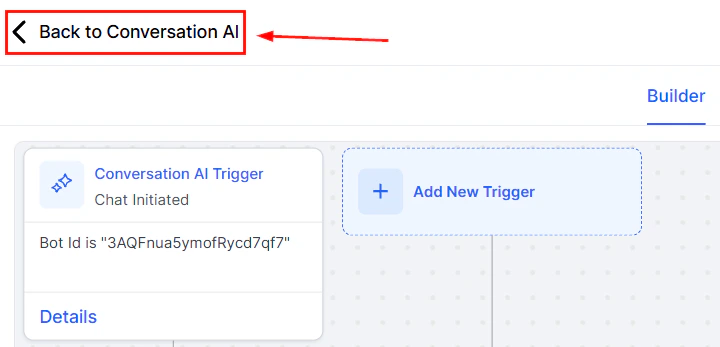
Screenshot
Screenshot
Screenshot
Screenshot
Creating a guided form bot
The Guided Form Bot is a simplified bot creation method within Conversation AI. Instead of writing custom prompts, you can complete a guided form that defines the bot’s objectives and key behavior. Behind the scenes, the system generates an intelligent, logic-based conversation flow tailored to your needs. Read on to learn how to launch effective AI interactions quickly, without requiring deep technical or conversational design expertise.Key Benefits of the Guided Form Bot
- ****No Prompt Writing Required: ****Skip manual scripting and let the system build the conversation for you.
- Fast Setup: Build a fully functional bot in under 3 minutes.
- Smart Responses: Logic-based replies customized to your objectives.
- Lead Capture & Qualification: Collect contact data, schedule calls, and qualify leads with ease.
- Reusable Templates: Save time by reusing bots across different campaigns.
- Seamless Integration: Connects easily with workflows, tags, and channels within your account.
How to Set Up the Guided Form Bot
Access the Bot Builder
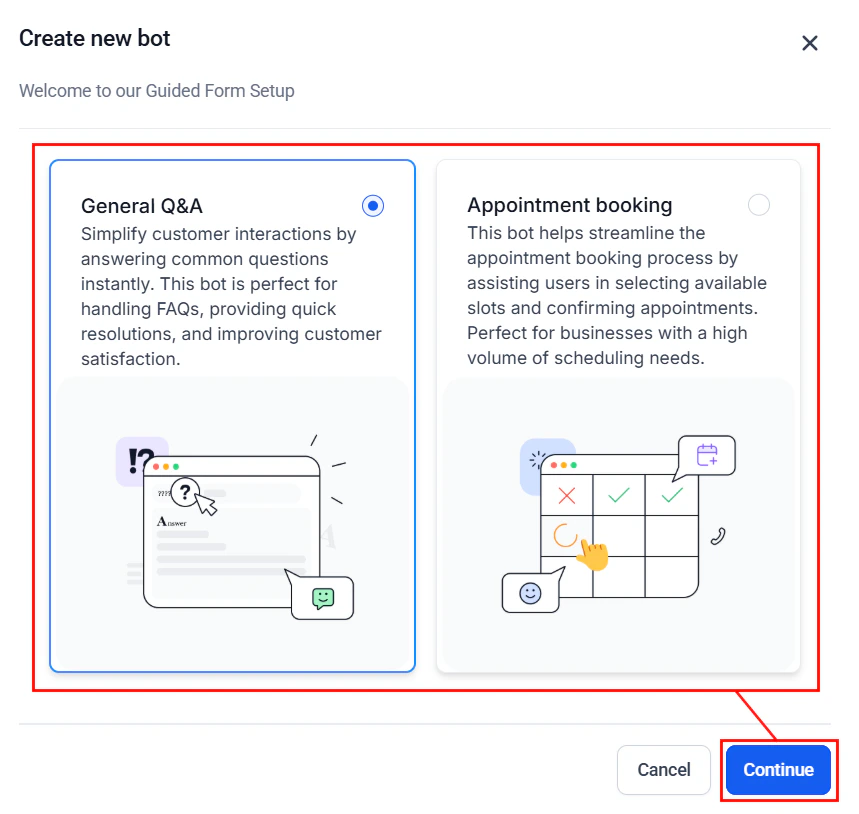
Navigate to Conversation AI from the AI Agents tab or your account settings, then click Create Bot.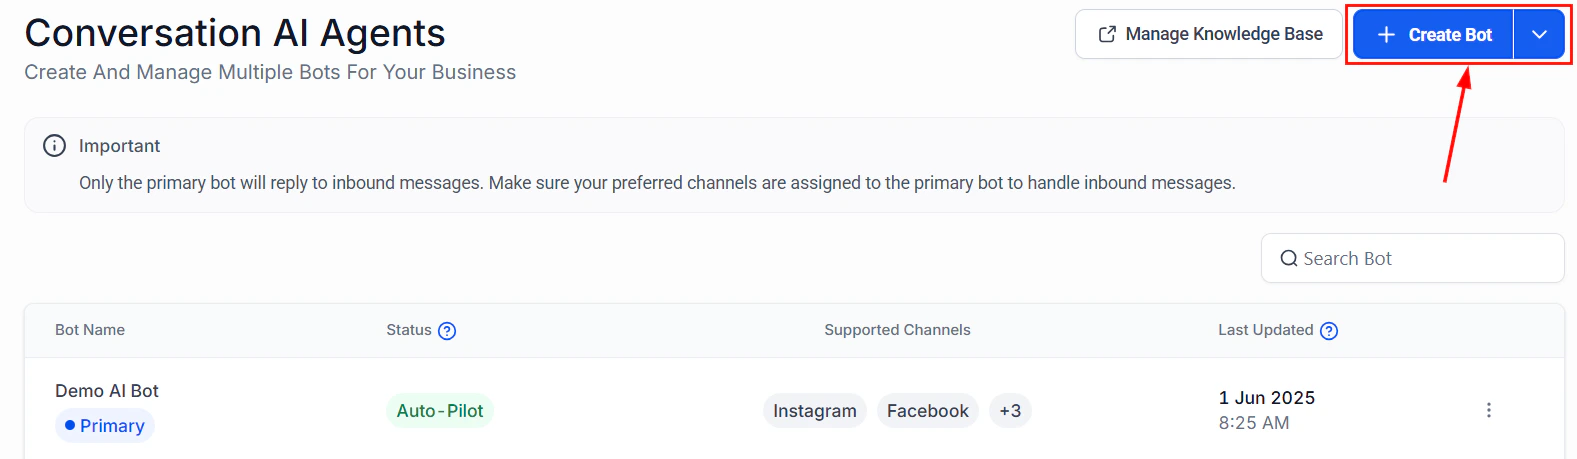
Screenshot
Screenshot
Input Brand Information
Select an existing Brand Voice from the dropdown menu (1), or create a new one tailored to your needs (2). The Company Name and Tone of Voice will appear in the preview window and can be modified directly within this view (3). Once you’ve confirmed your selections, click Next to proceed (4). Supplying brand-specific details helps ensure the AI communicates in a tone and style that aligns with your brand identity.**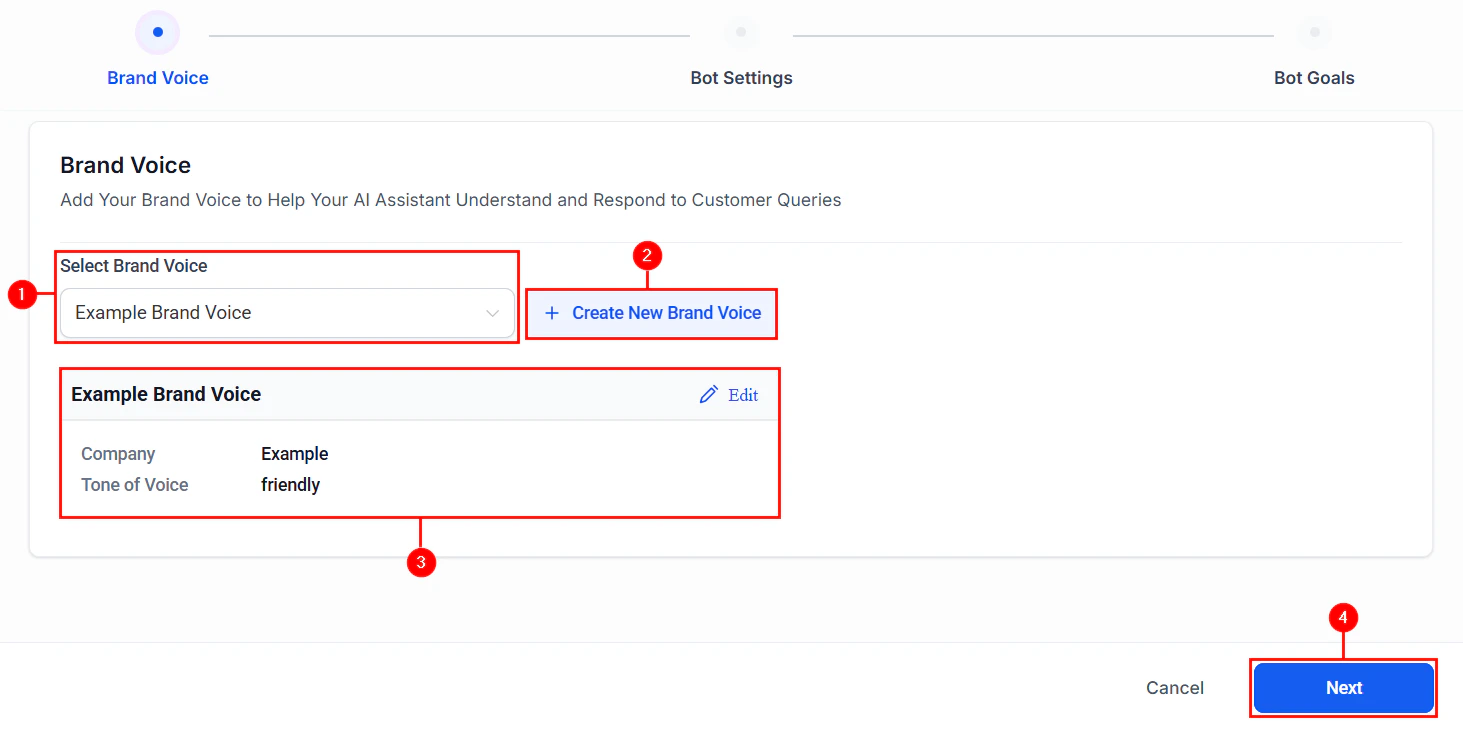
Screenshot
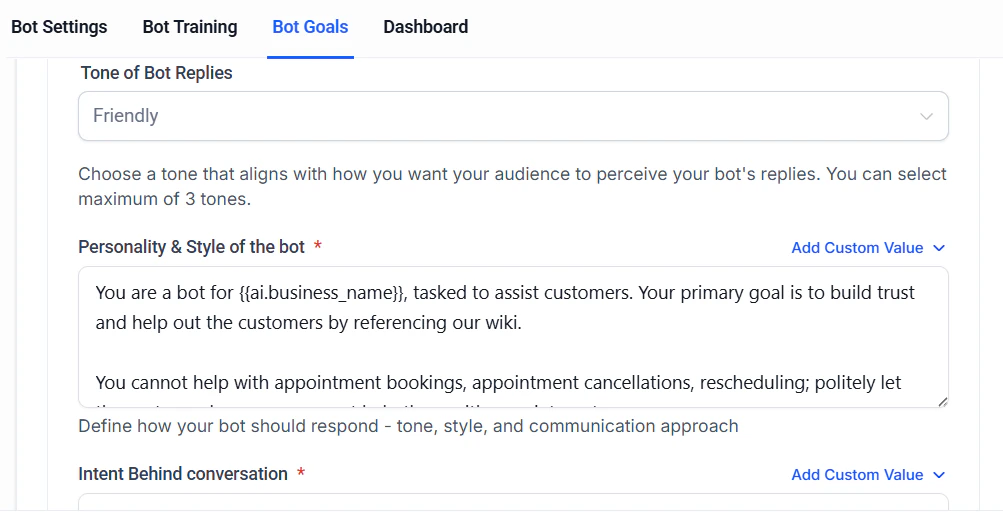
Configure Basic Bot Settings
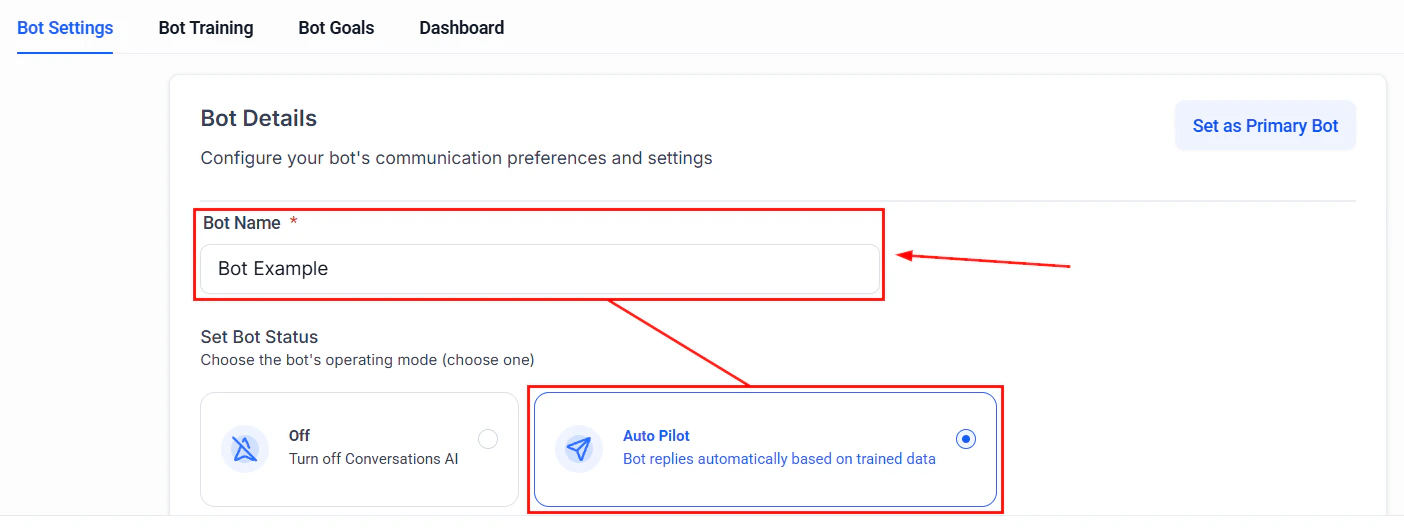
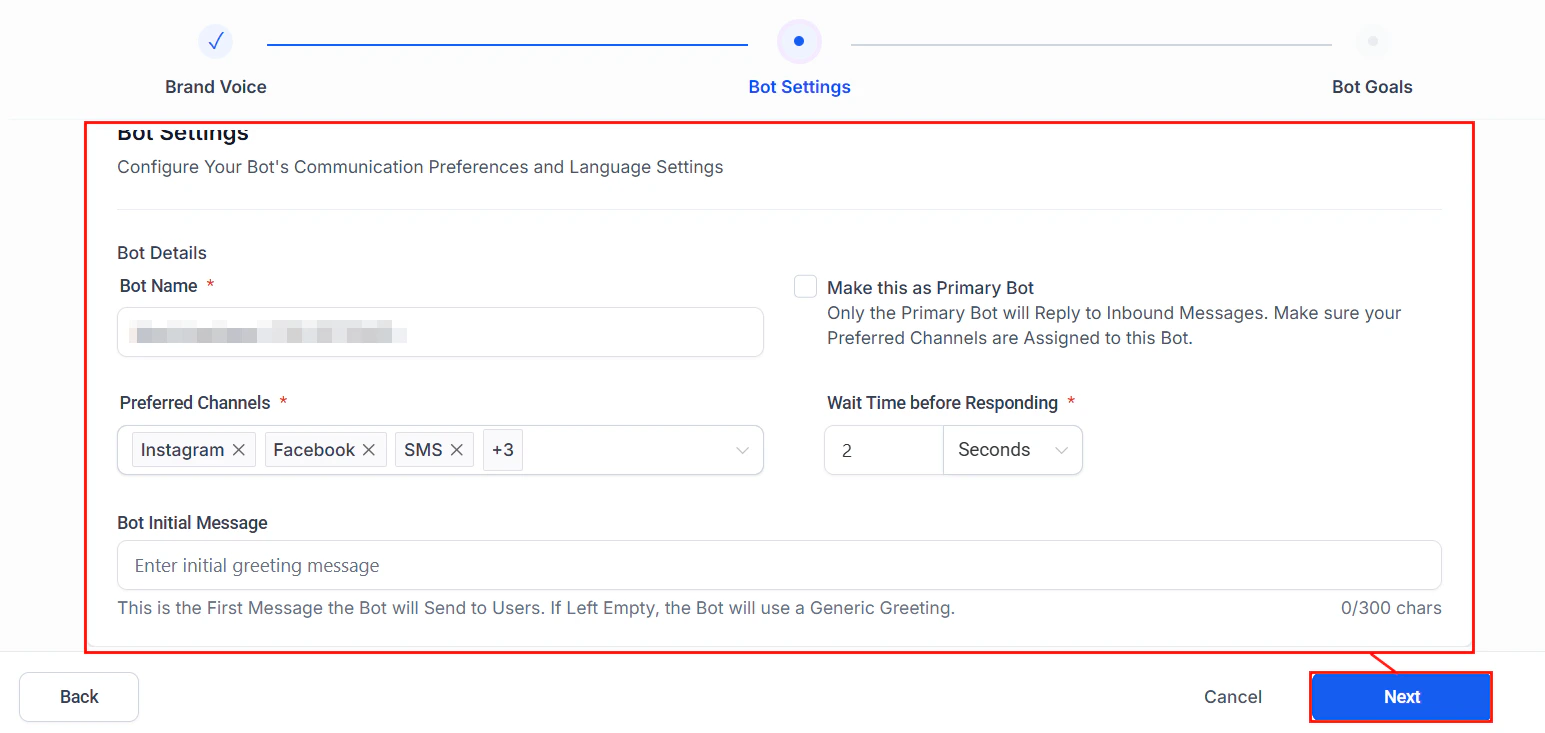
Define how the bot interacts with users:- Bot Name**: Assign a name that reflects your brand or creates a friendly, approachable identity for the bot.
- Preferred Channels: Select the communication channels where the bot will be active (e.g., SMS, WhatsApp, Instagram).
- Set as Primary Bot: Enable this option to designate the bot as the default for handling incoming conversations across selected channels.
- Wait Time Before Responding: Set a delay before the bot replies, to simulate a more natural response cadence.
- Initial Message: Define the first message users will see when the conversation begins; this sets the tone and invites engagement.
Screenshot
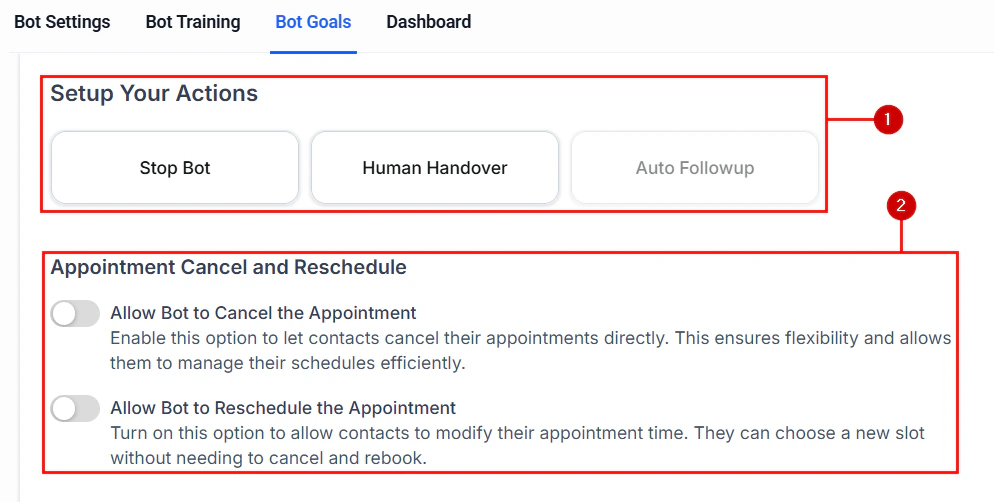
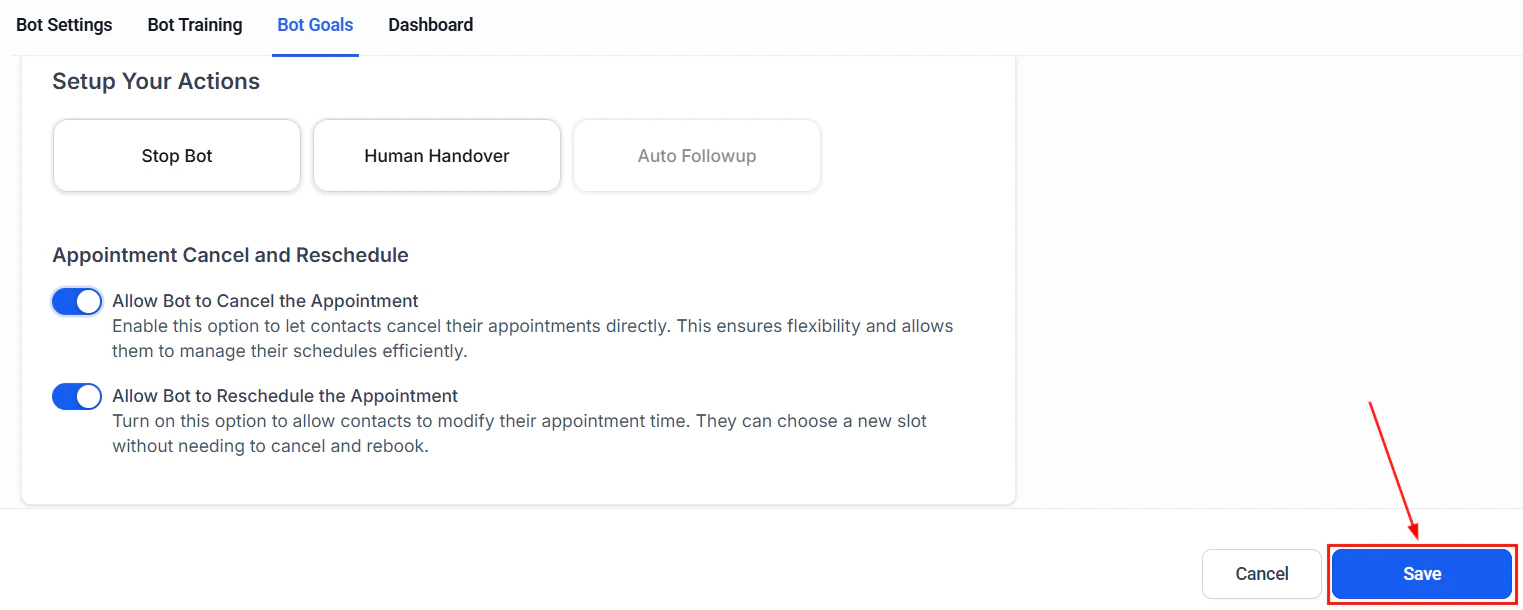
Define Objectives and Questions
In this step, define the specific objectives you want the bot to achieve. For example, you can add custom questions to collect user information such as name, phone number, or email address—ensuring each response is accurately mapped to the appropriate fields within your CRM.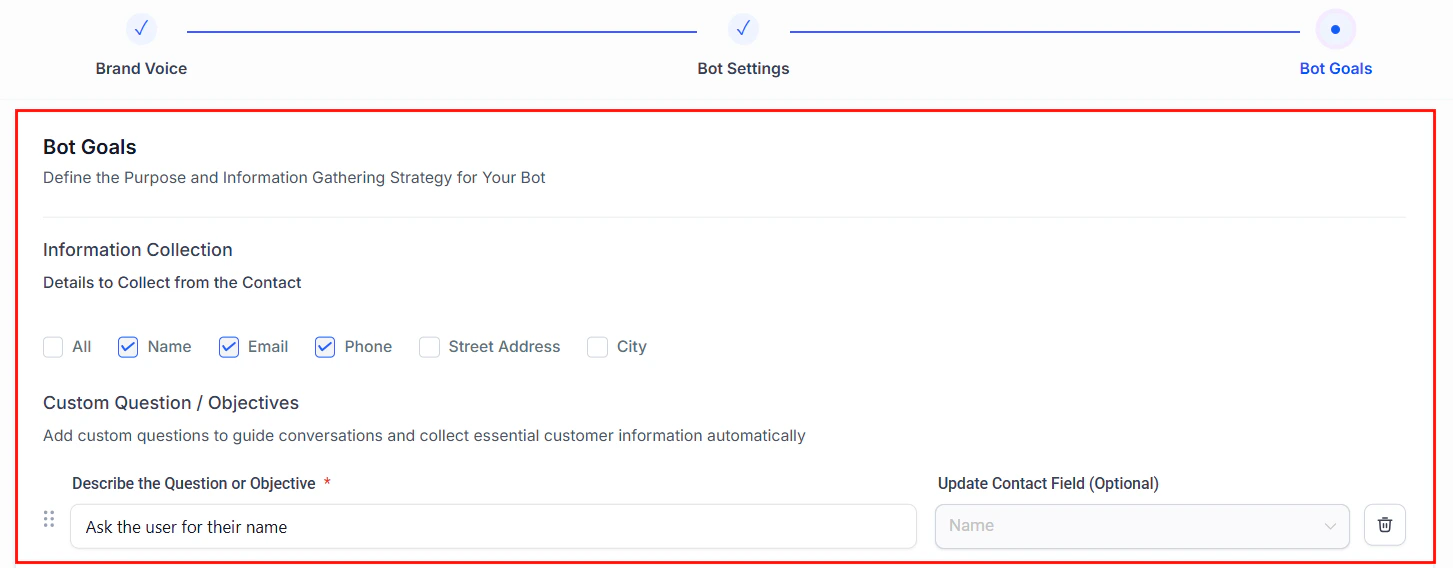
Screenshot
Screenshot
Screenshot

Screenshot

Screenshot
Screenshot
Frequently Asked Questions
Can I switch between Guided Form and prompt-based bots?
Can I switch between Guided Form and prompt-based bots?
Yes. Use the dropdown next to “Create Bot” to choose either method.
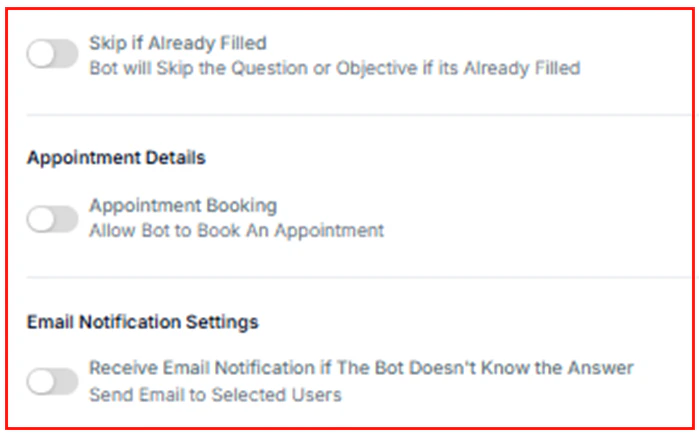
What happens if a user doesn't respond?
What happens if a user doesn't respond?
You can configure the bot to retry, skip, or end the conversation.
Can Guided Form bots work across multiple channels?
Can Guided Form bots work across multiple channels?
Yes, as long as the channel is integrated into your account.