

Prospecting section in the Marketing tab
Accessing the prospecting tool
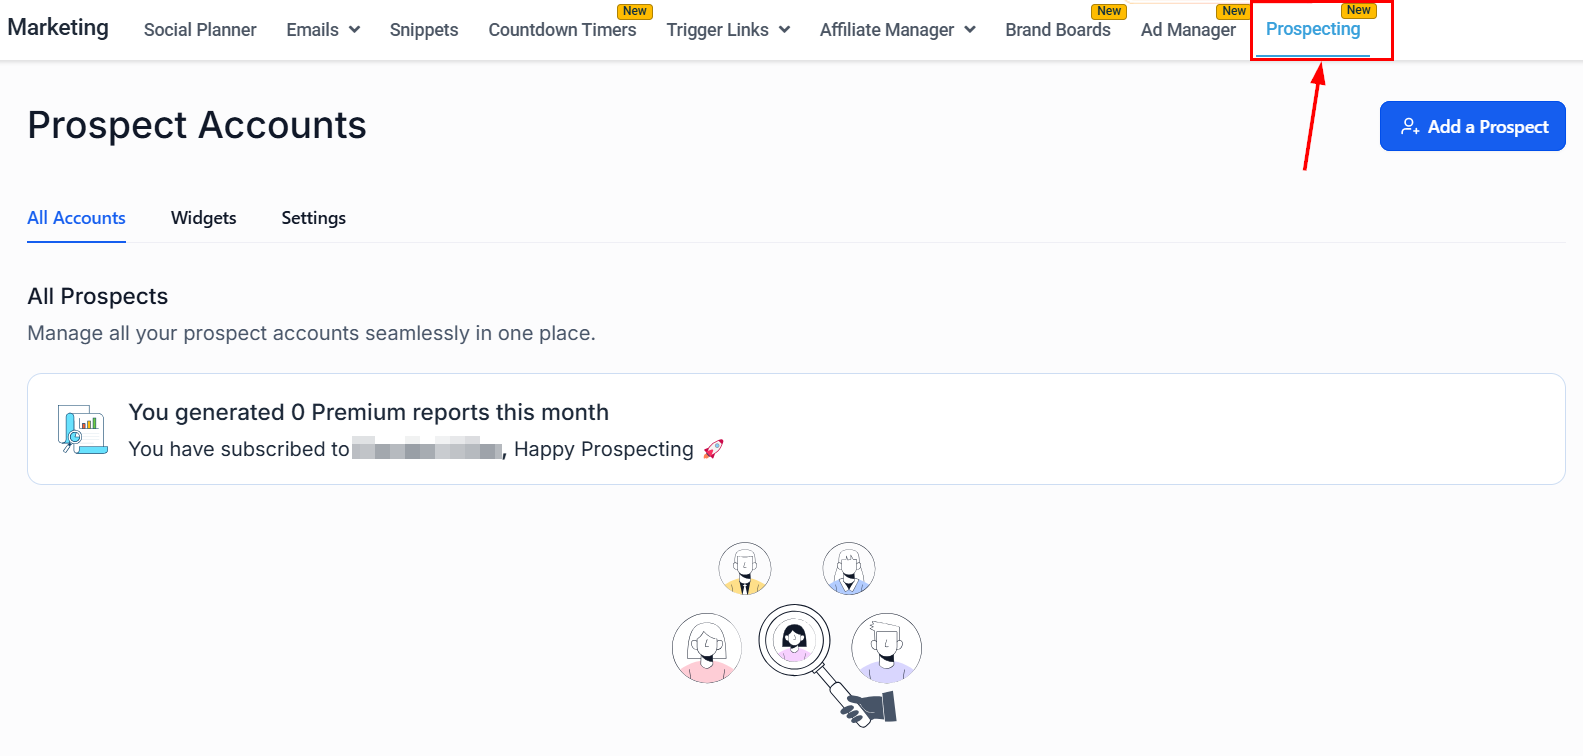
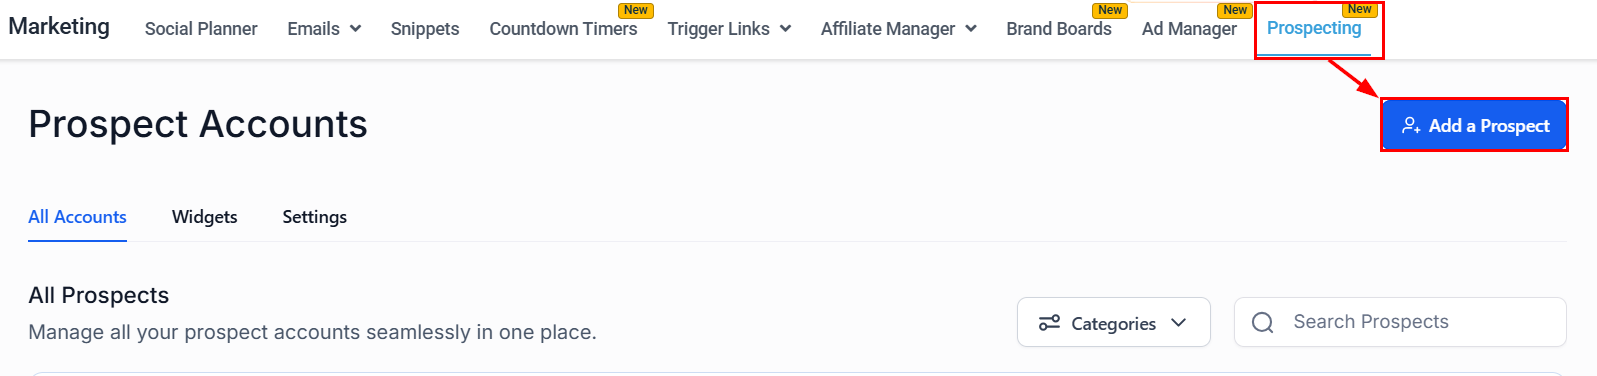
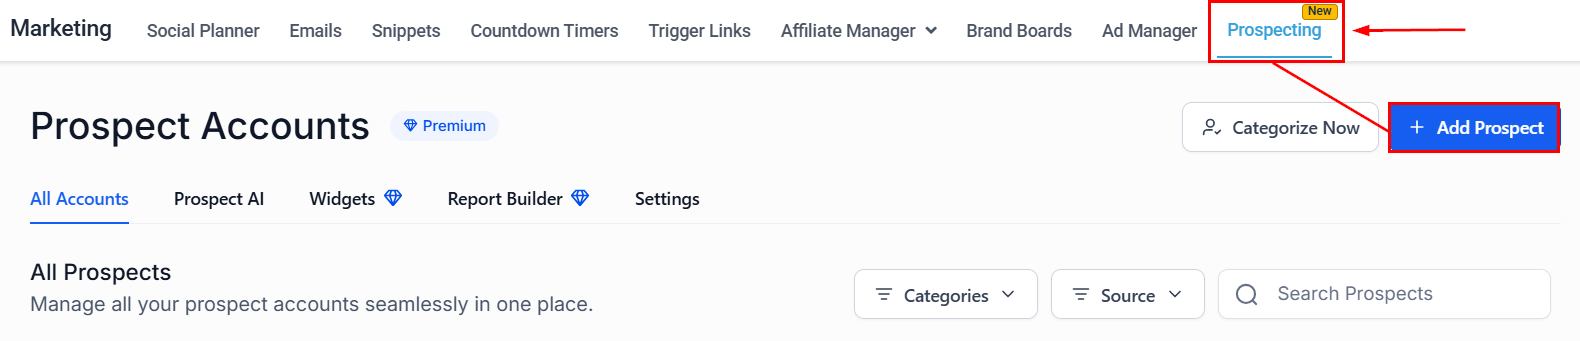
Navigate to the Marketing section in your account, then locate and click on Prospecting.Running your first search
Add a prospect
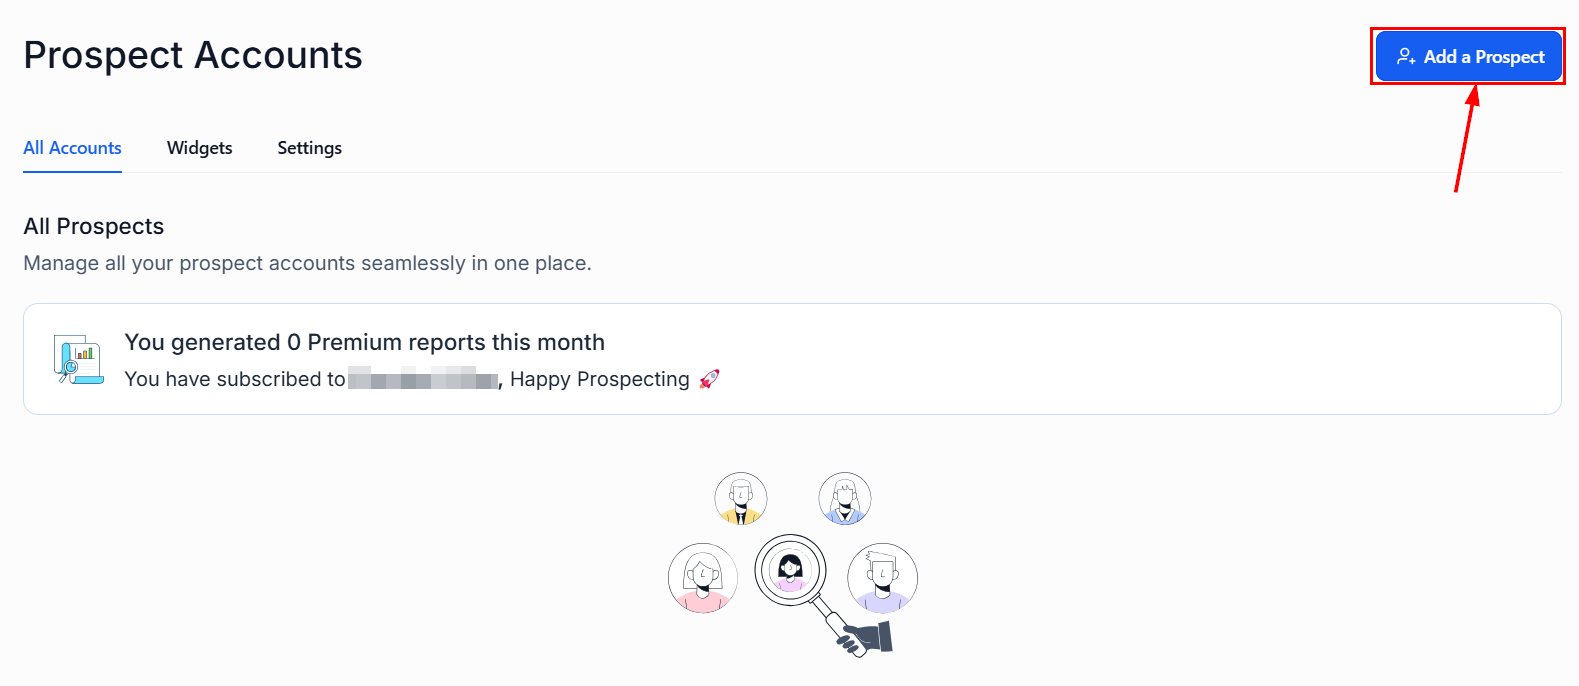
Add a Prospect button
Search for businesses

Search results with map and business details

Virtual business search option
Review search results
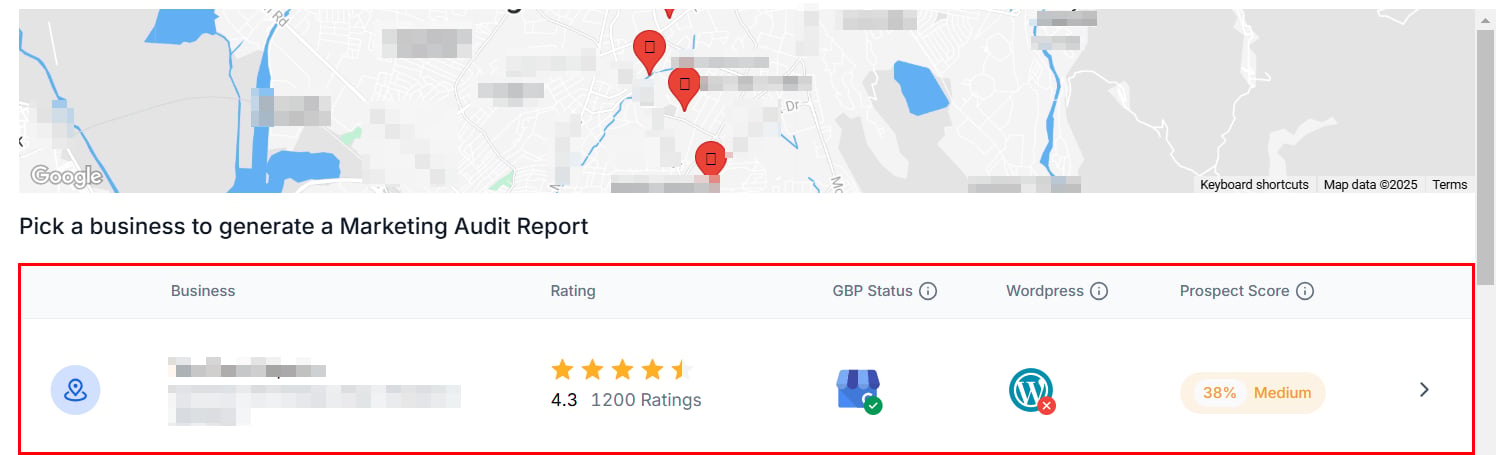
GBP status and business details in search results
Save a prospect

Saving a prospect
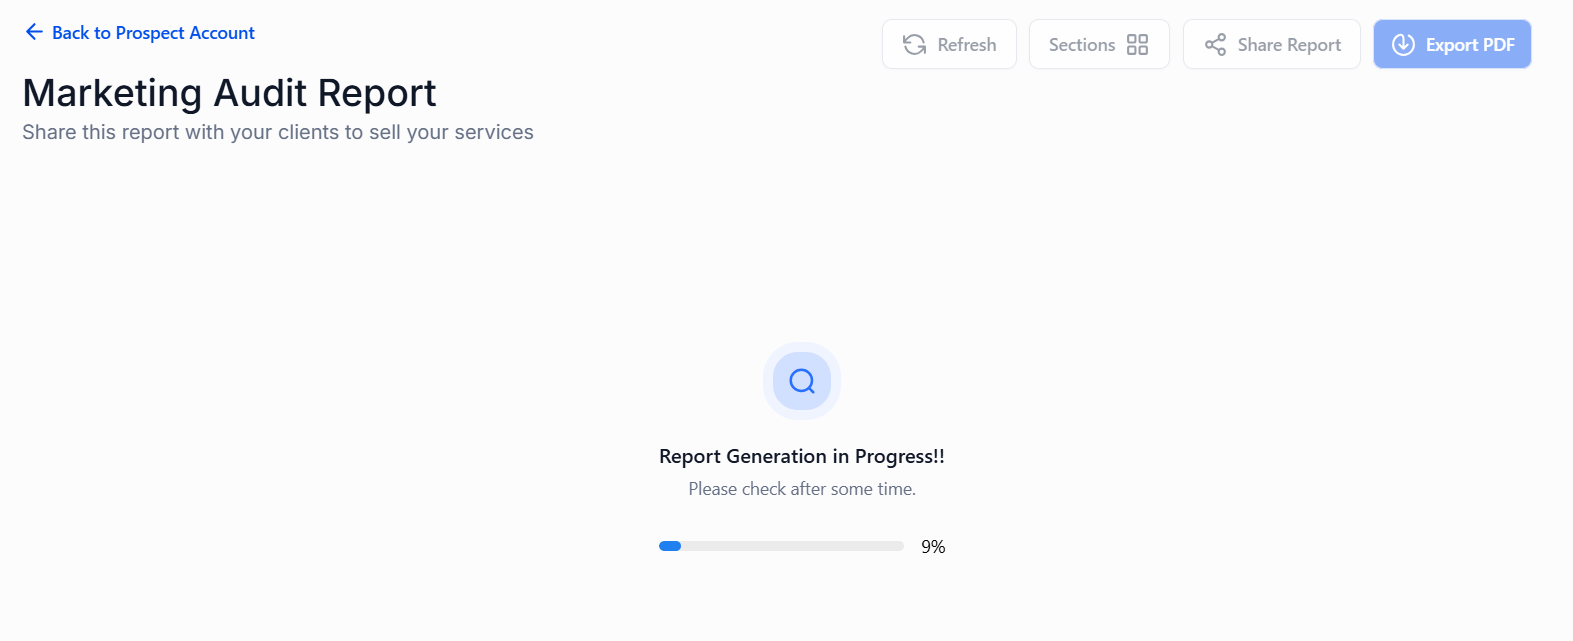
Marketing audit report generated on first save
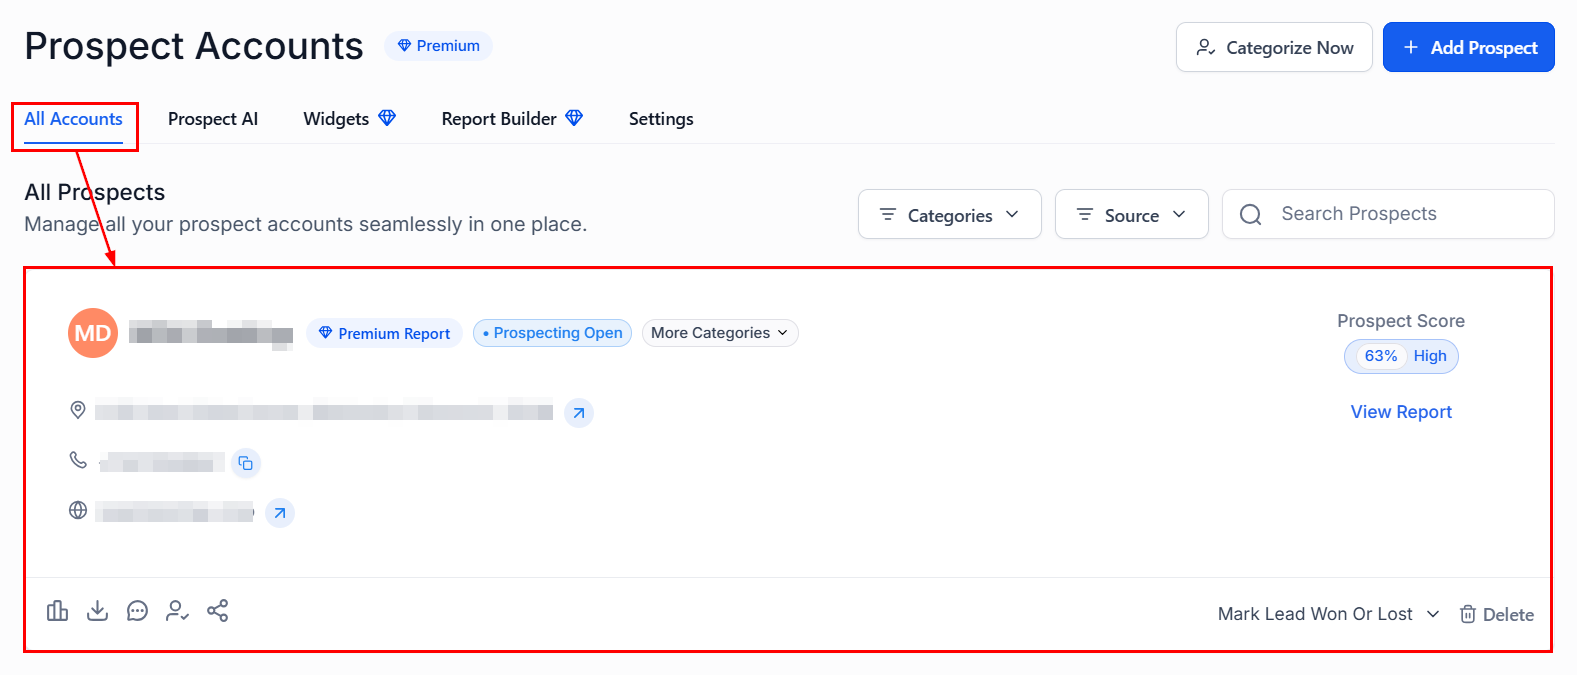
View the prospect account

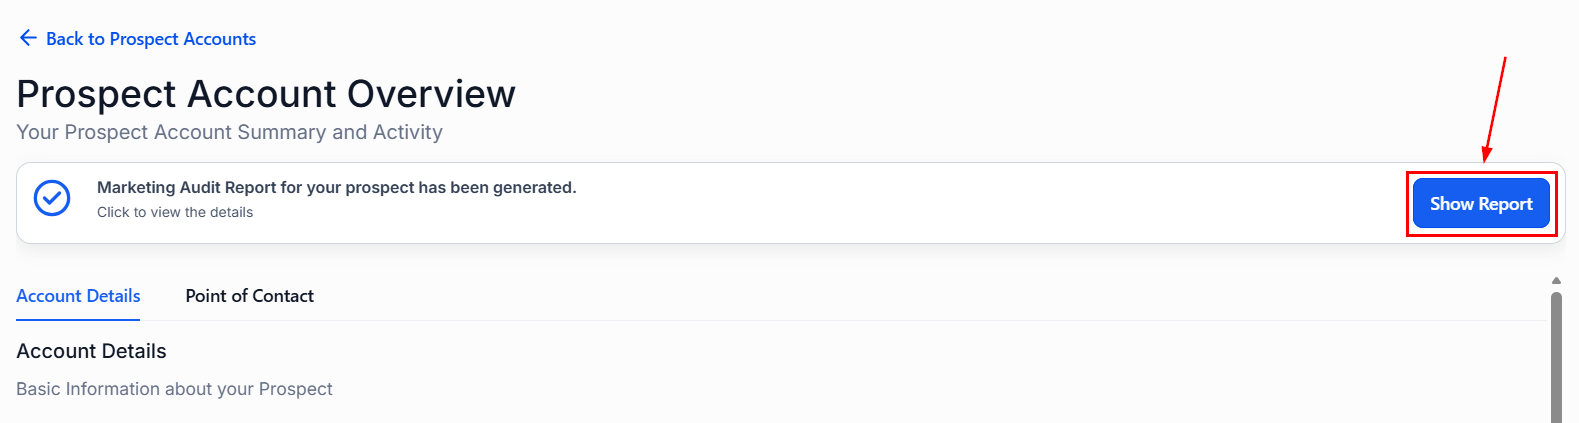
Prospect account overview
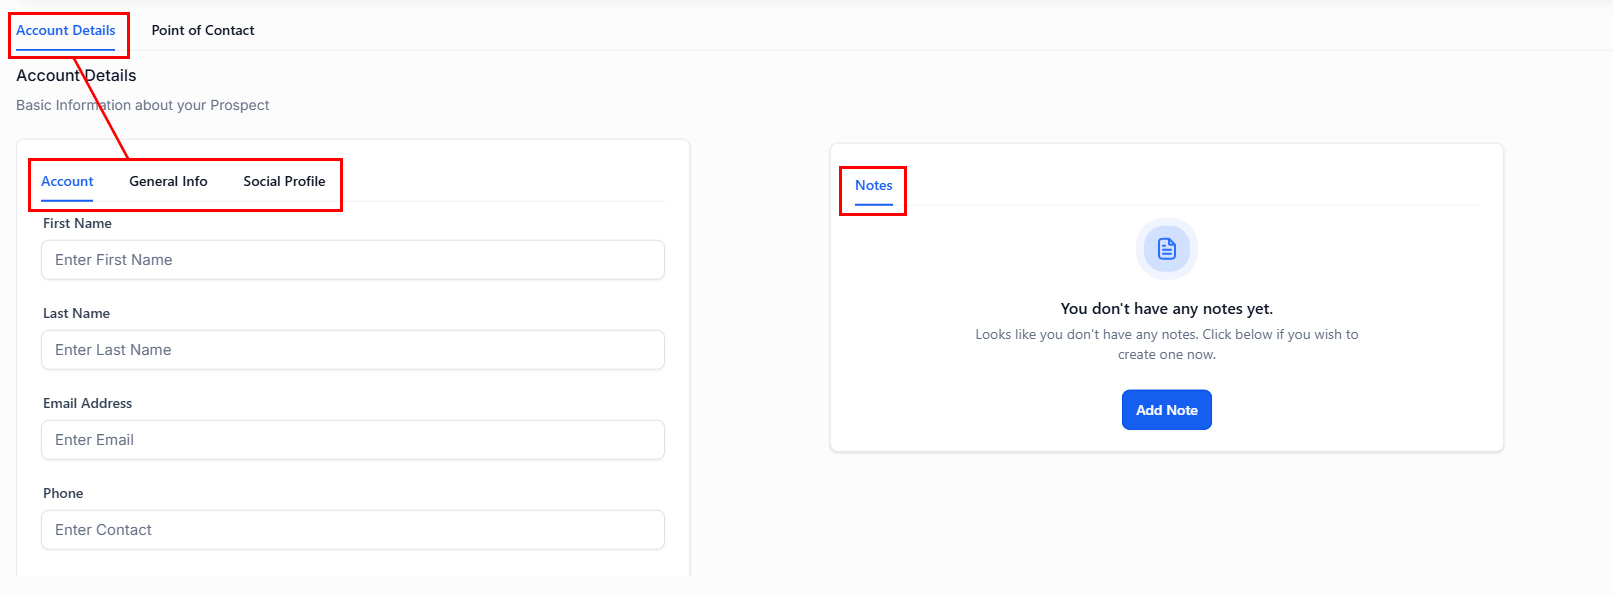
Account Details section
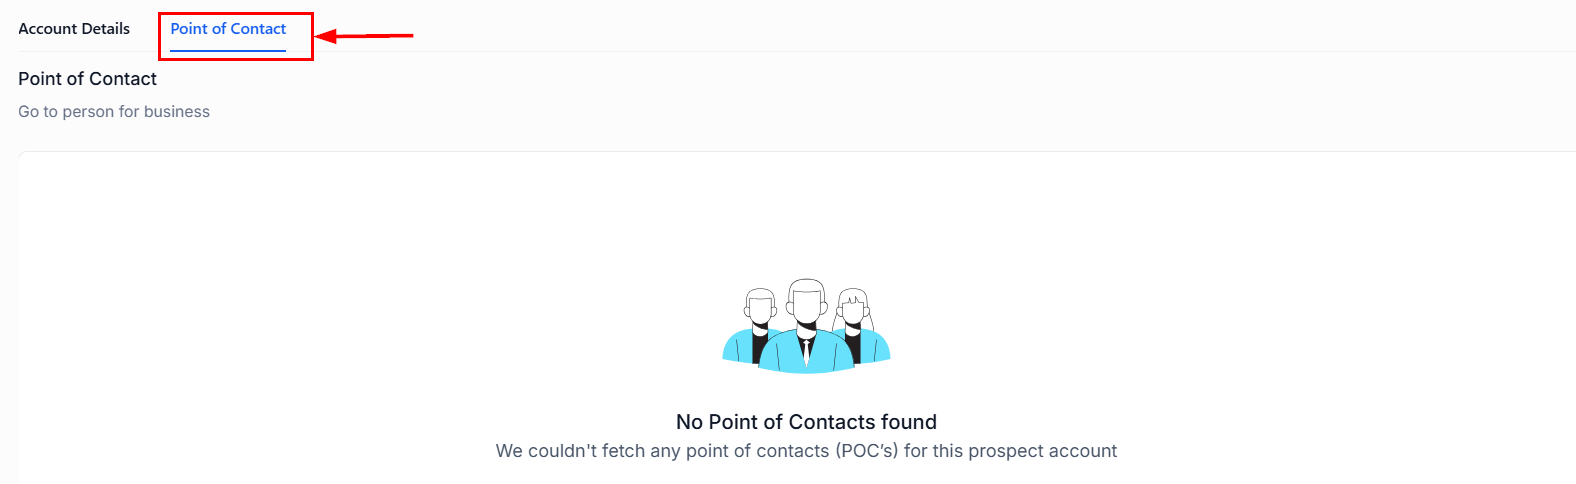
Point of Contacts tab
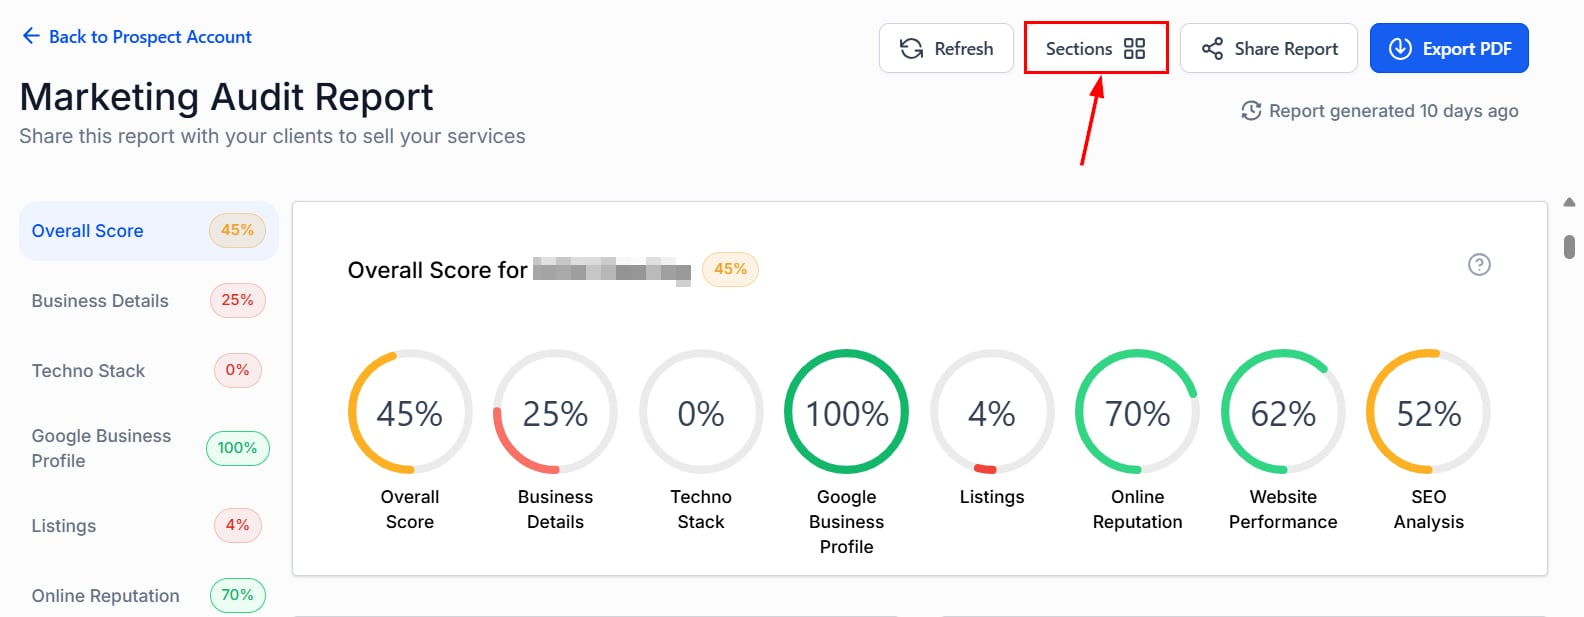
Marketing audit report
The marketing audit report assigns a score to each prospect based on listings, SEO, and key metrics, facilitating informed outreach. Visual ratings highlight strengths and areas for improvement.Viewing and refreshing the report
Open the report

Show Report button
Refresh the data

Refresh button for the audit report
Reorder sections
Sections button for reordering the report
Share or download

Share and download options
Understanding the overall score
The overall score provides a comprehensive evaluation of the prospect’s digital presence across seven equally weighted sections. Each section contributes 1/7 to the total score.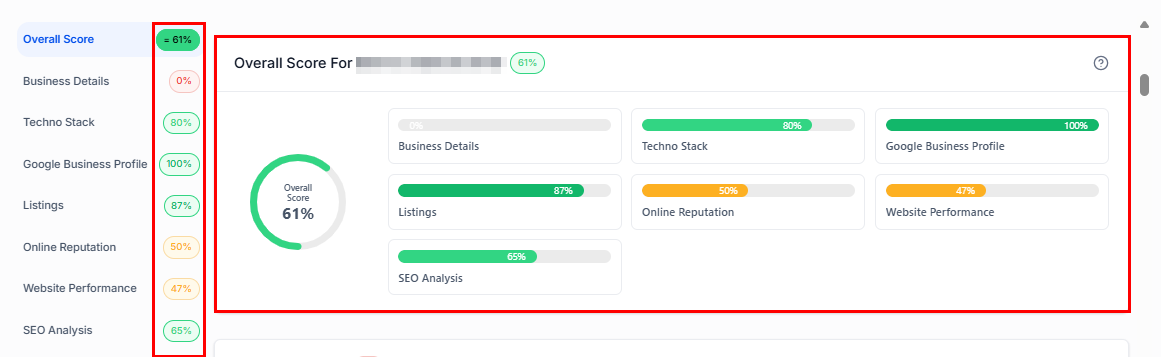
Overall score breakdown
Score components
Business details
Business details
- Chat Widget
- Text-Enabled Business Number
- Website Hosting
- Review Reply Percentage (Bad: 0–10%, Poor: 11–49%, Average: 50–89%, Good: 90–100%)
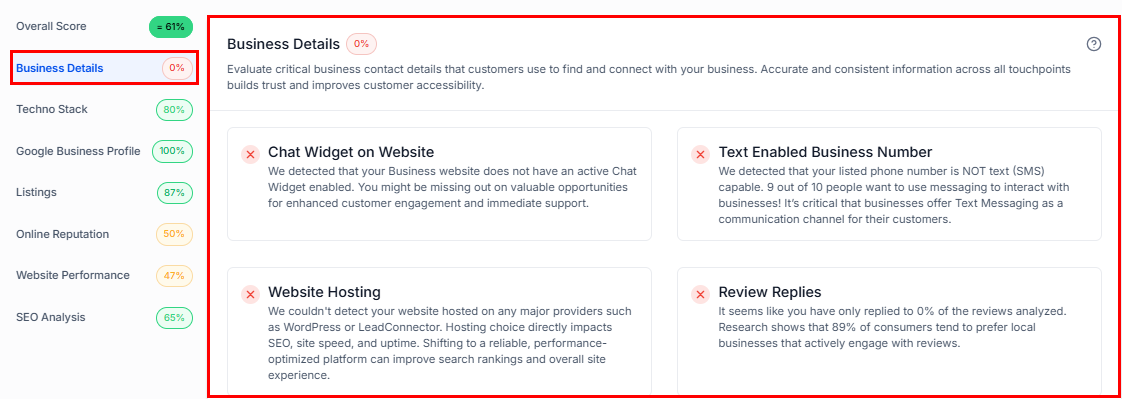
Business Details section
Techno stack
Techno stack
- Google Tag Manager (20%)
- Google Analytics Pixel (20%)
- Facebook Pixel (20%)
- Google Ads Pixel (20%)
- Google Ads (20%)
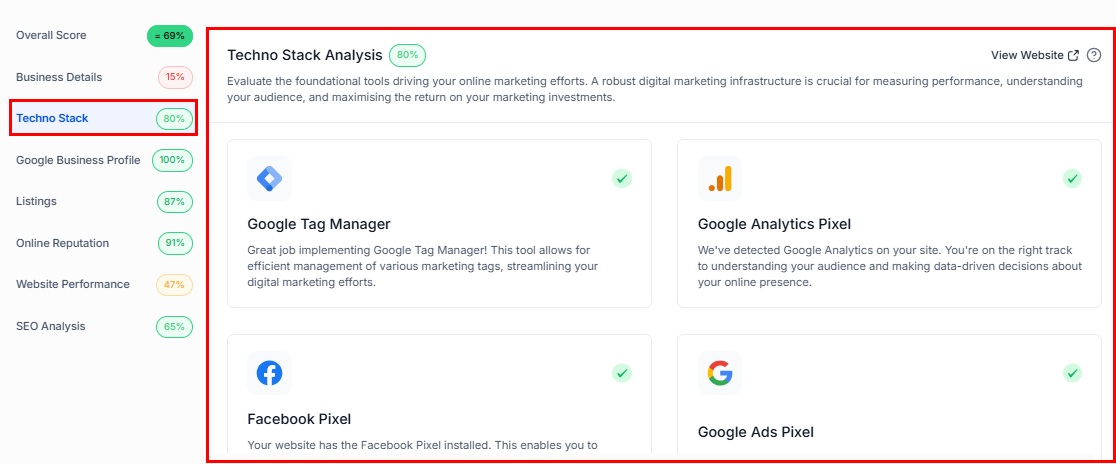
Techno Stack section
Google Business Profile
Google Business Profile
- Business Address (20%)
- Business Website (20%)
- Google Photos (20%)
- Operational Hours (20%)
- Phone Number (20%)
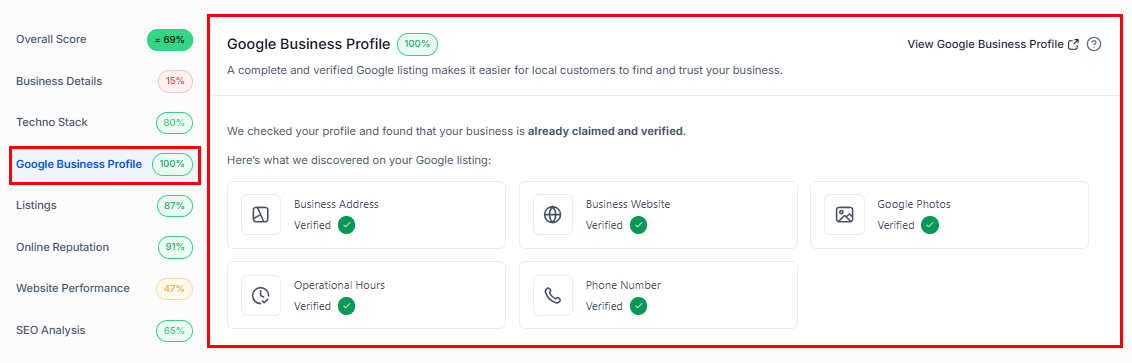
Google Business Profile section
Listings
Listings
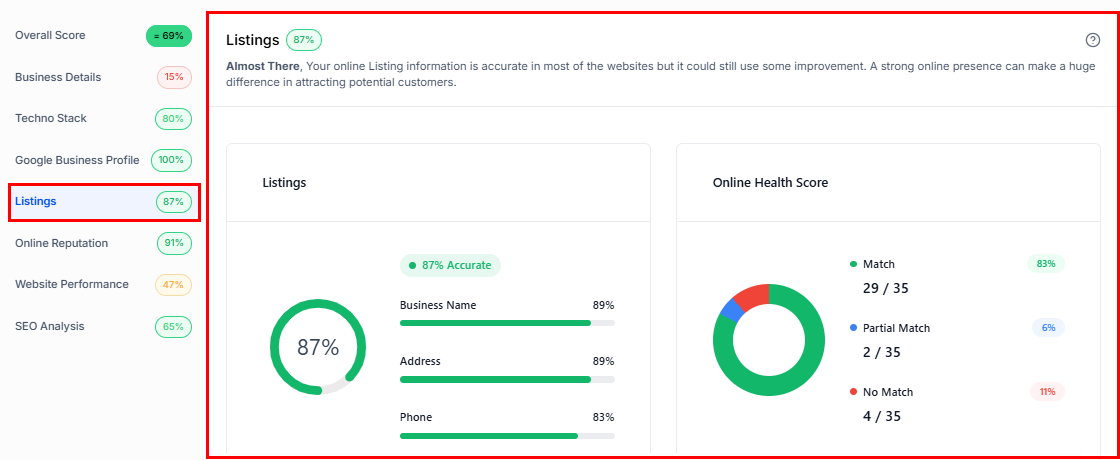
Listings section
Online reputation
Online reputation
- 50+ reviews: 100% reliability
- 20–49 reviews: 85% reliability
- 10–19 reviews: 70% reliability
- 5–9 reviews: 50% reliability
- Fewer than 5 reviews: 30% reliability

Online Reputation section
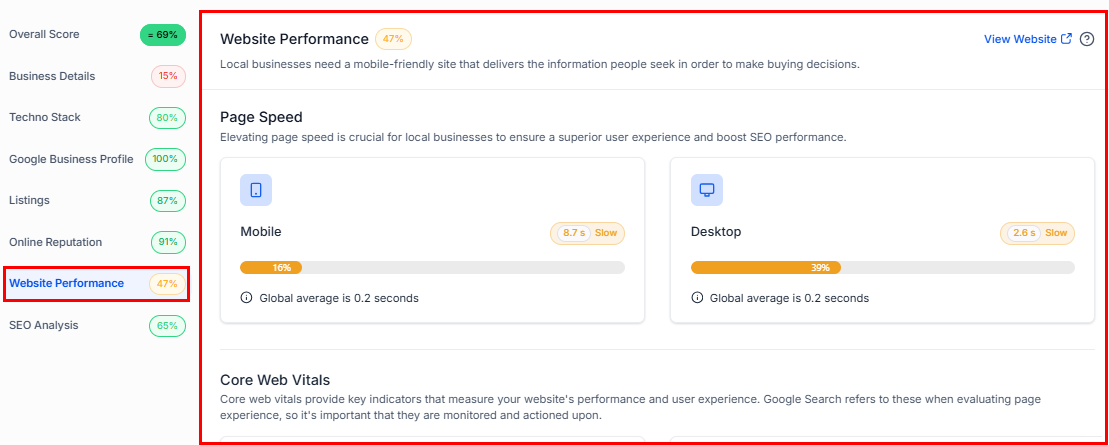
Website performance
Website performance
- Page Speed Mobile (25%)
- Page Speed Desktop (25%)
- Overall SEO (30%)
- Interactivity (10%)
- Large Content Elements (10%)
Website Performance section
SEO analysis
SEO analysis
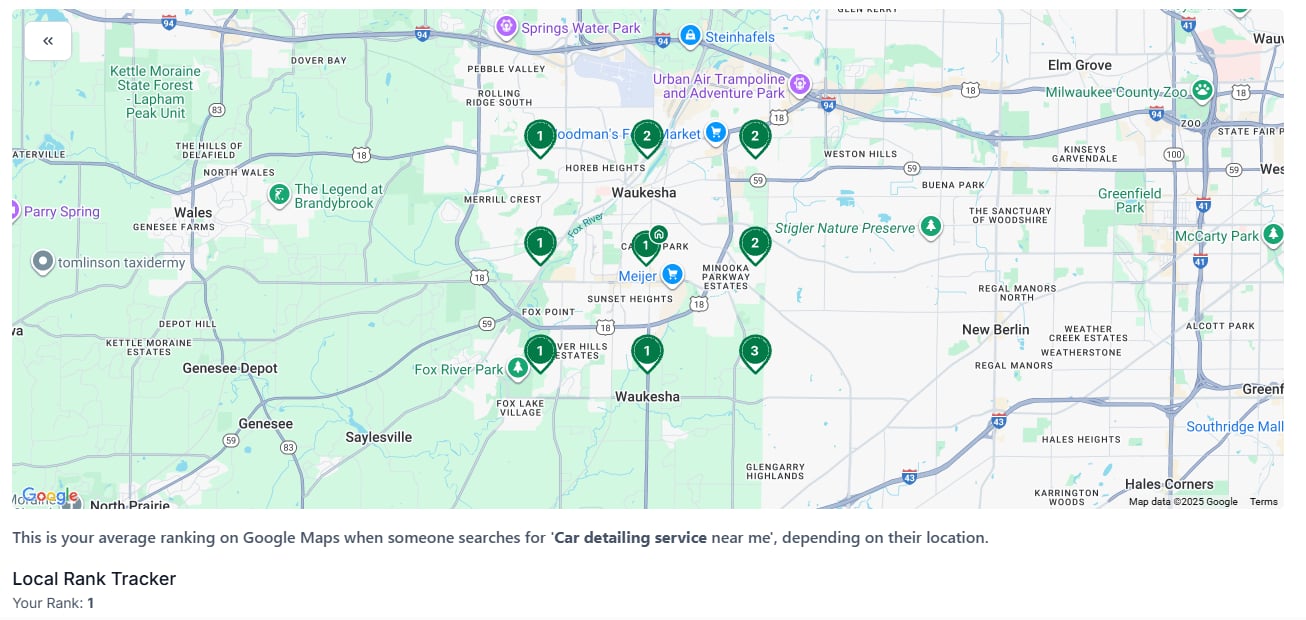
SEO Analysis heat map
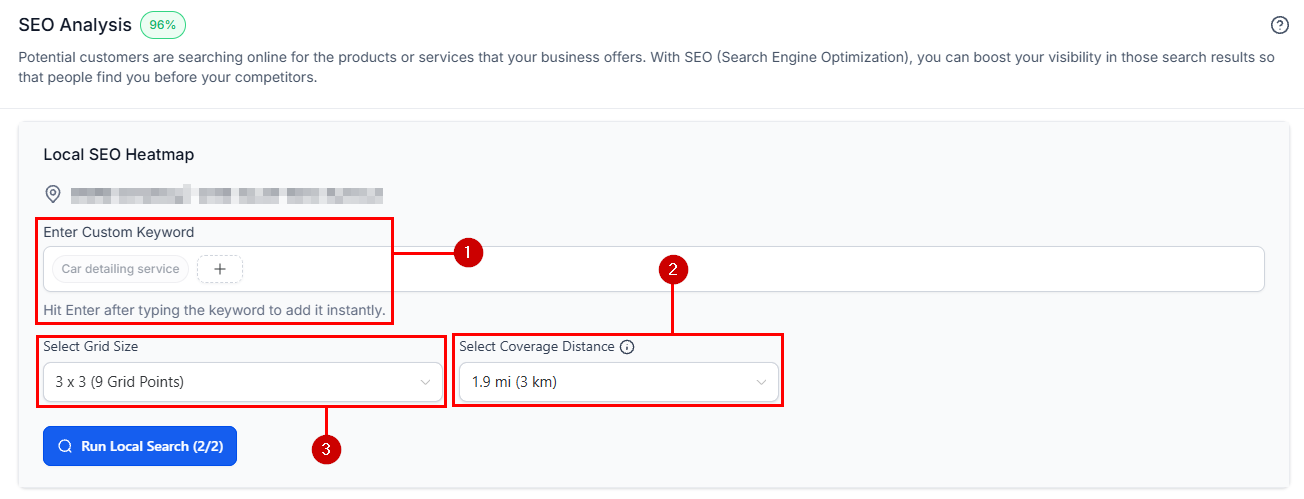
SEO grid configuration
Customizing the report layout
You can control which sections appear in the report and their order, both globally and per individual report.Global report layout
Global layout settings apply to all newly created and existing reports after saving.Open Settings
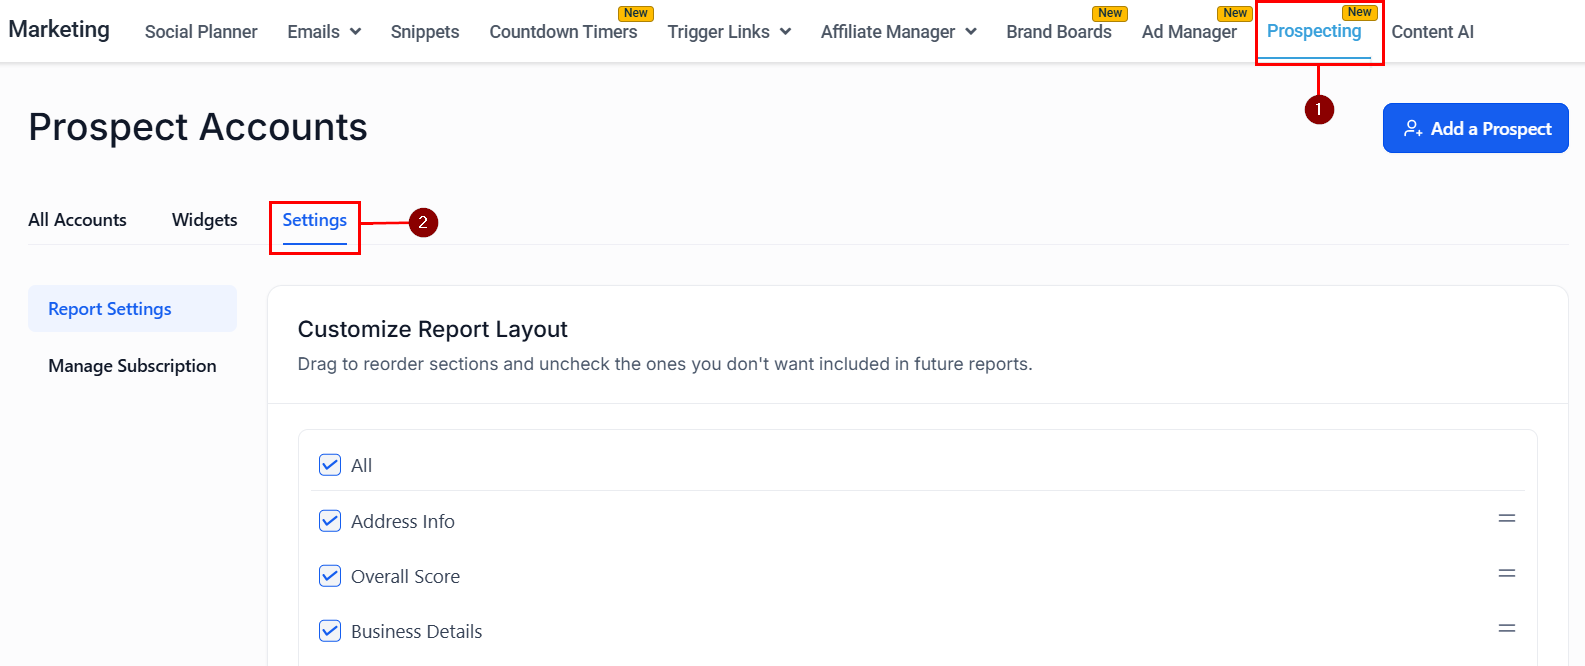
Prospecting settings navigation
Select sections
Checking and unchecking report sections
Reorder sections
Reordering sections by dragging
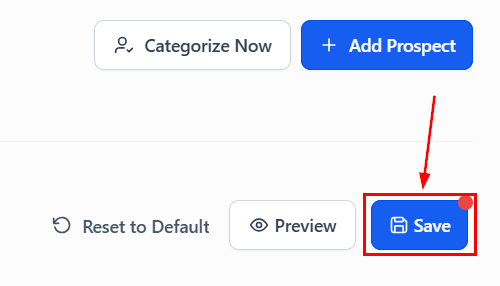
Save changes
Save global layout settings
Single report layout
Adjust the layout of an individual report without altering your global settings.Open the report

Show Report button for individual report
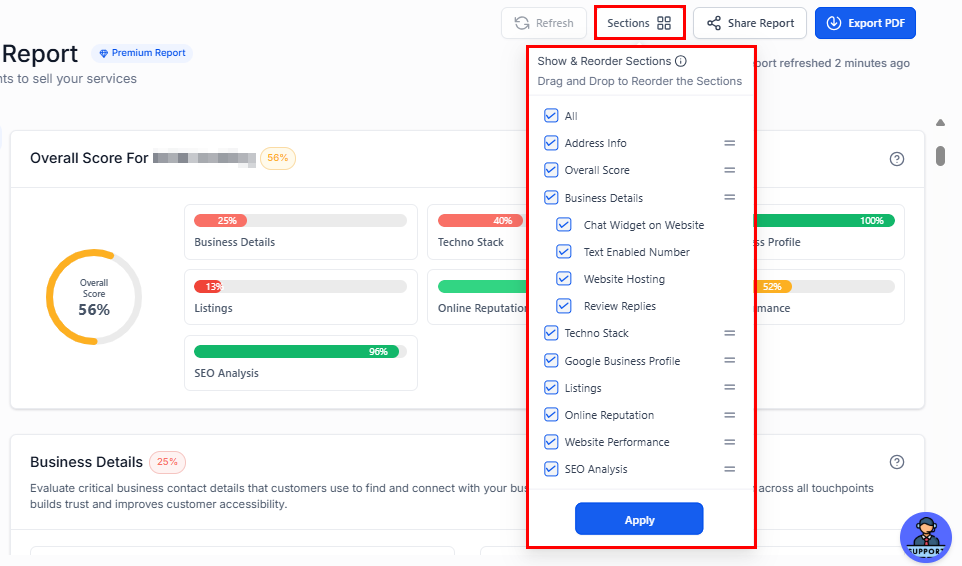
Click Sections
Sections button on a single report
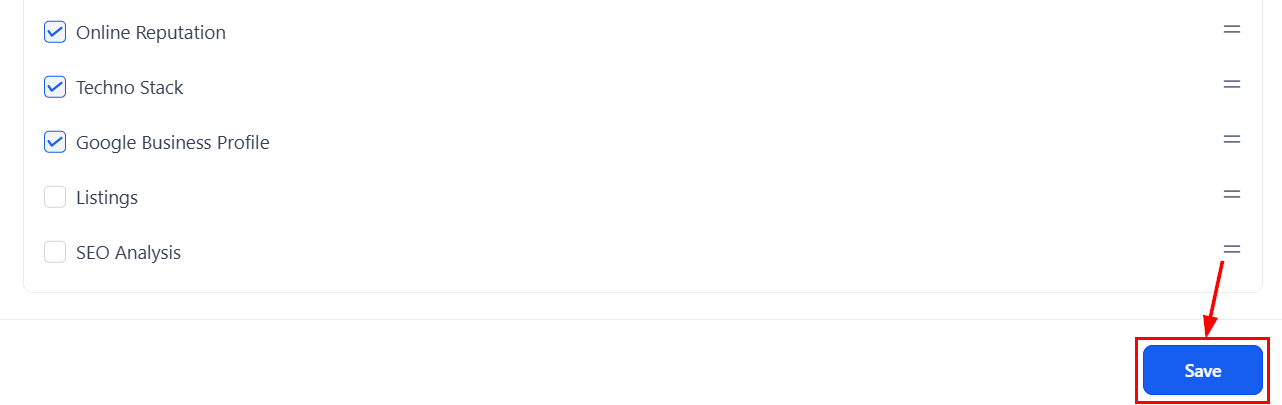
Reorder and check sections
Drag and drop to reorder single report sections

Show sections selection
Apply changes
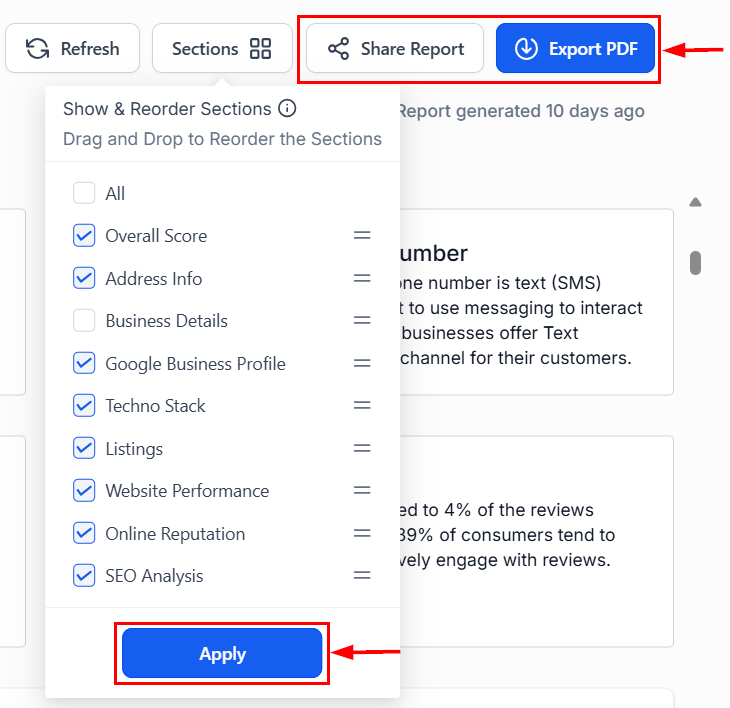
Apply button for single report changes
Sharing reports
Send audit reports directly to prospects via Email, SMS, or a shareable link.Find the prospect
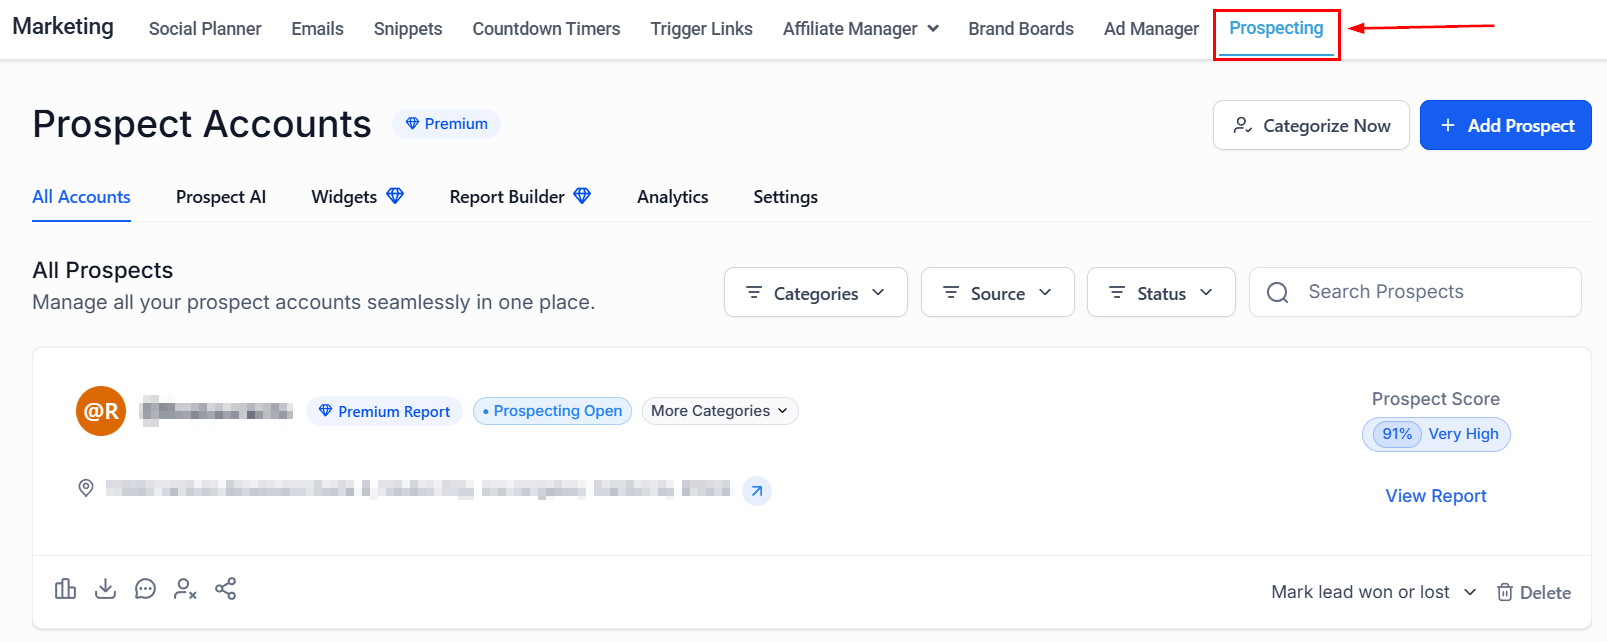
Prospecting tab
Click Share
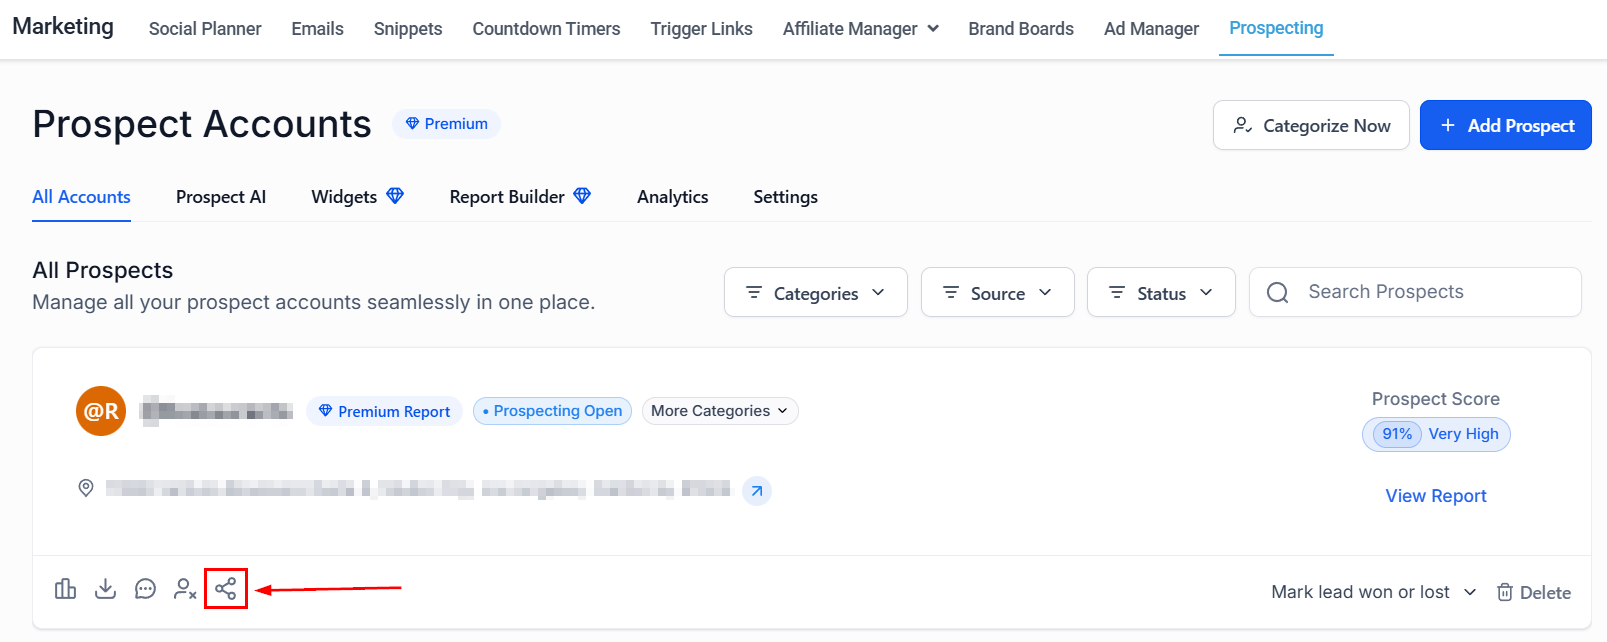
Share button on the prospect card
Choose a delivery method
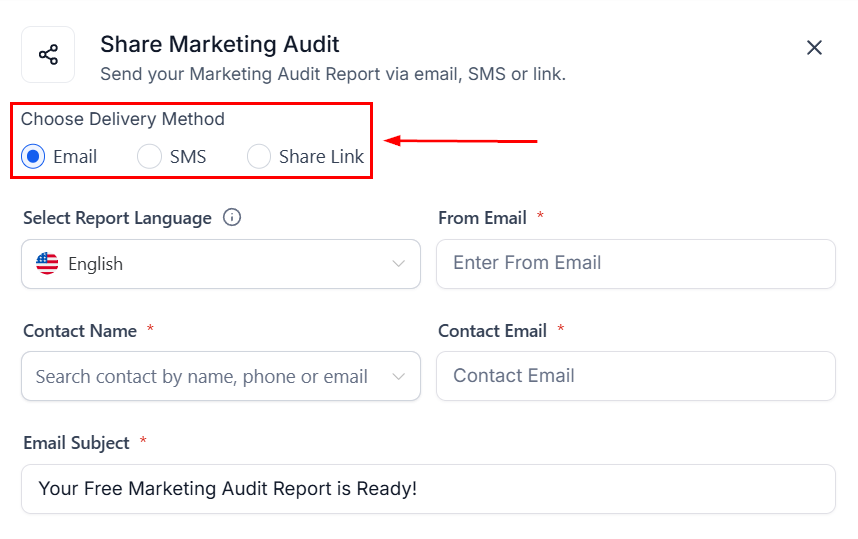
Share options pop-up
Search for recipient and send
Recipient search and send
Virtual business listings
Even if a prospect’s business has no physical location, you can use their Google Maps URL to generate accurate prospecting reports.Confirm the business is listed on Google
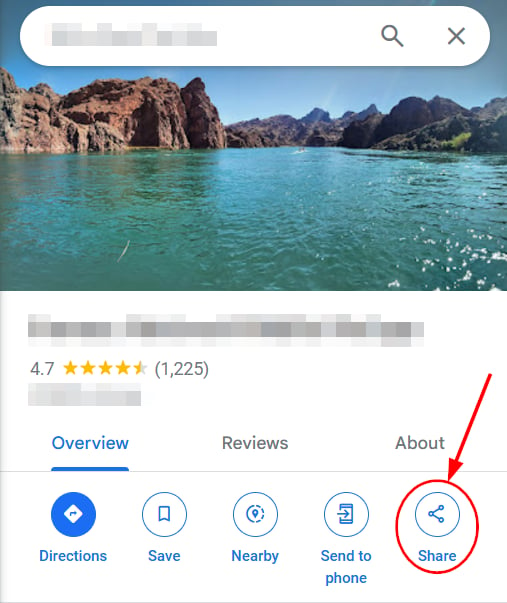
Search on Google Maps
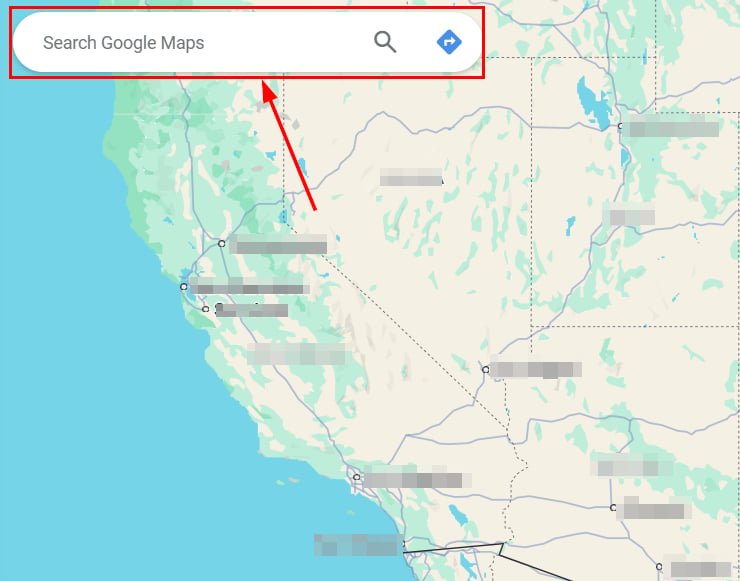
Searching for the business on Google Maps
Obtain the Maps URL
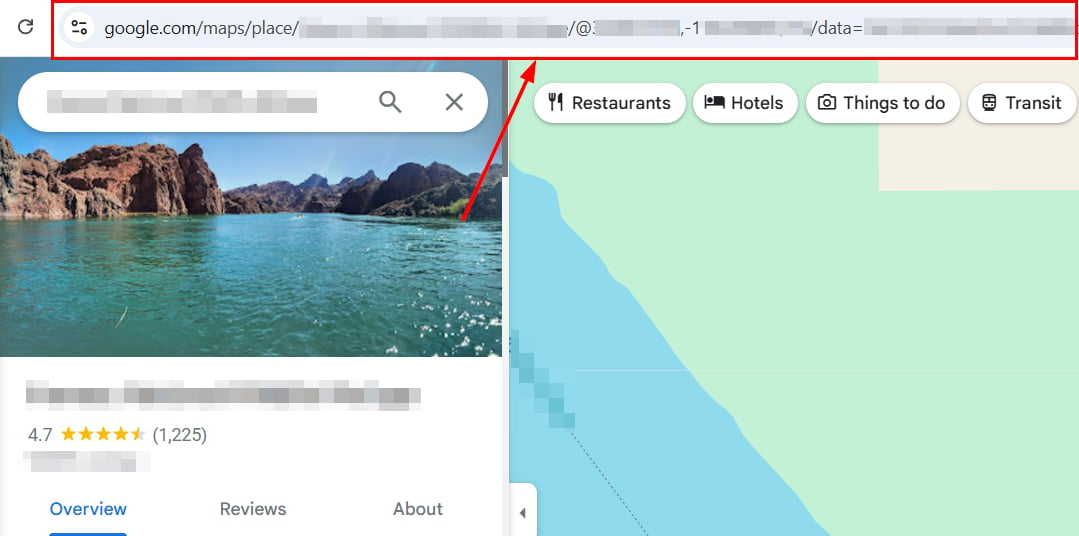
Copying the URL from the address bar
Share button on the Google Maps listing
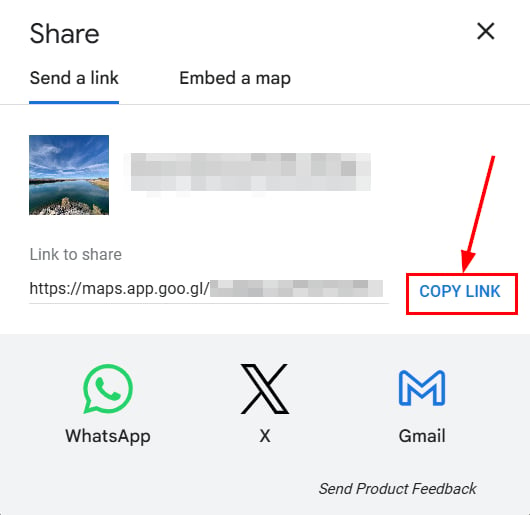
Copy link option in the share dialog
Add the virtual business as a prospect
Add Prospect button
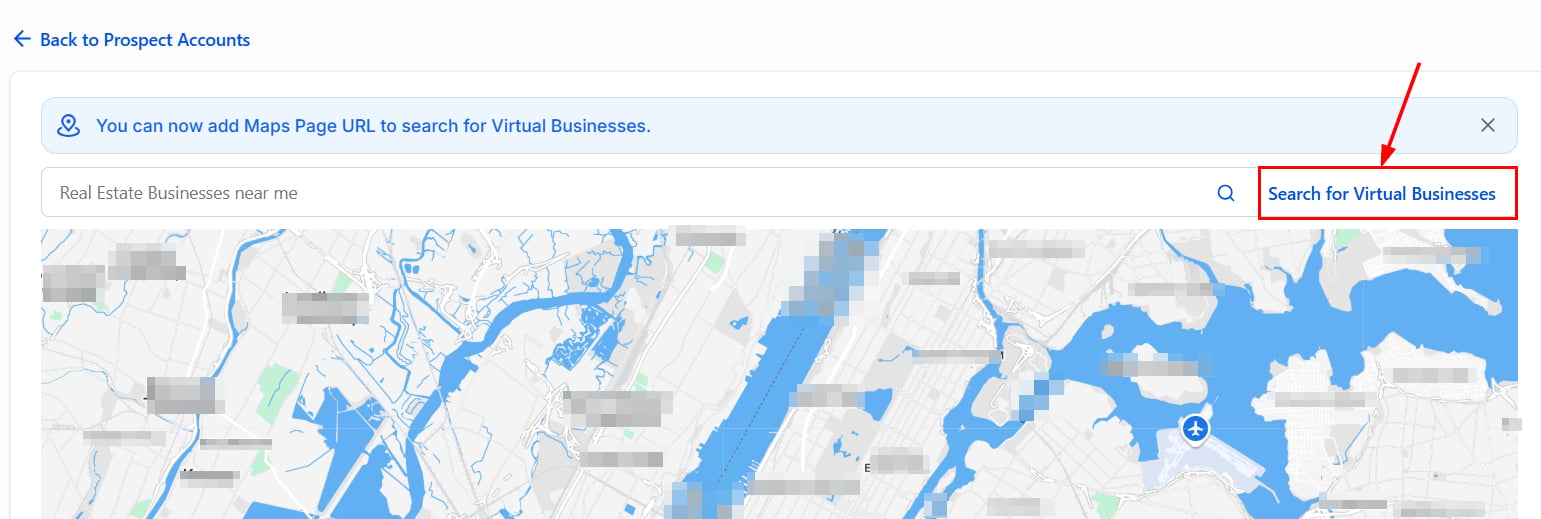
Search for Virtual Businesses option
Paste the Maps URL
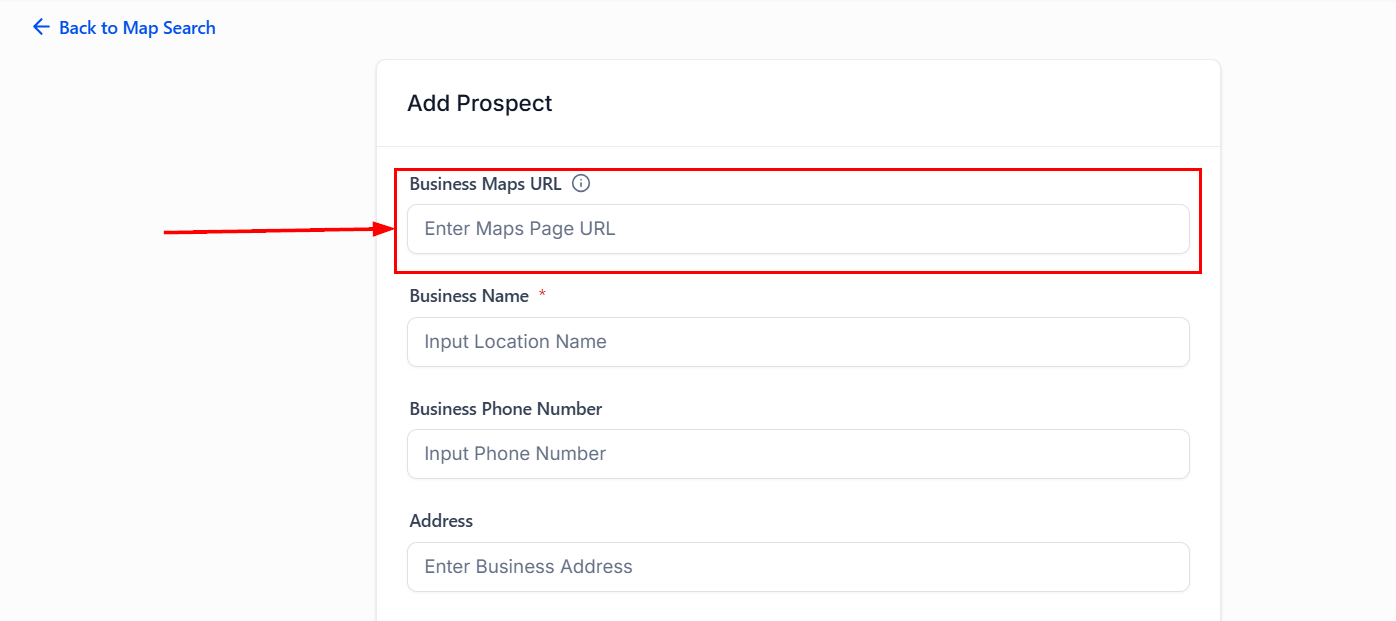
Maps URL field in the prospect form
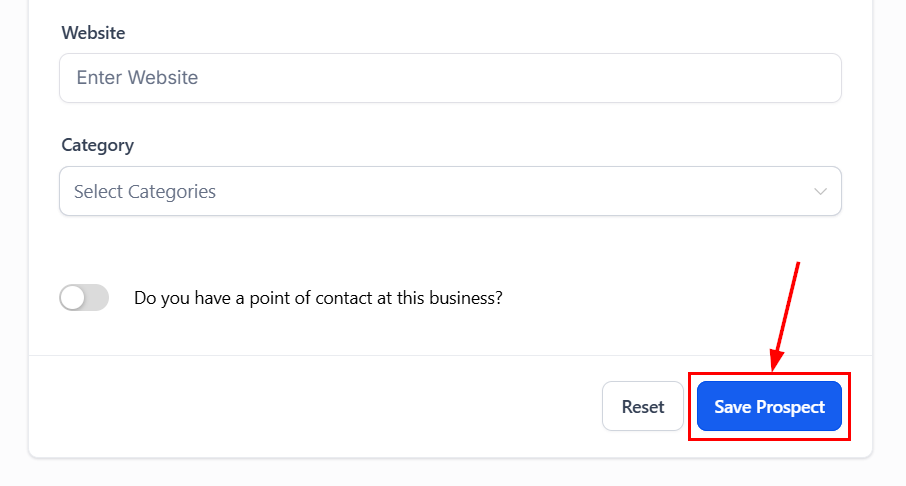
Saving the virtual business prospect
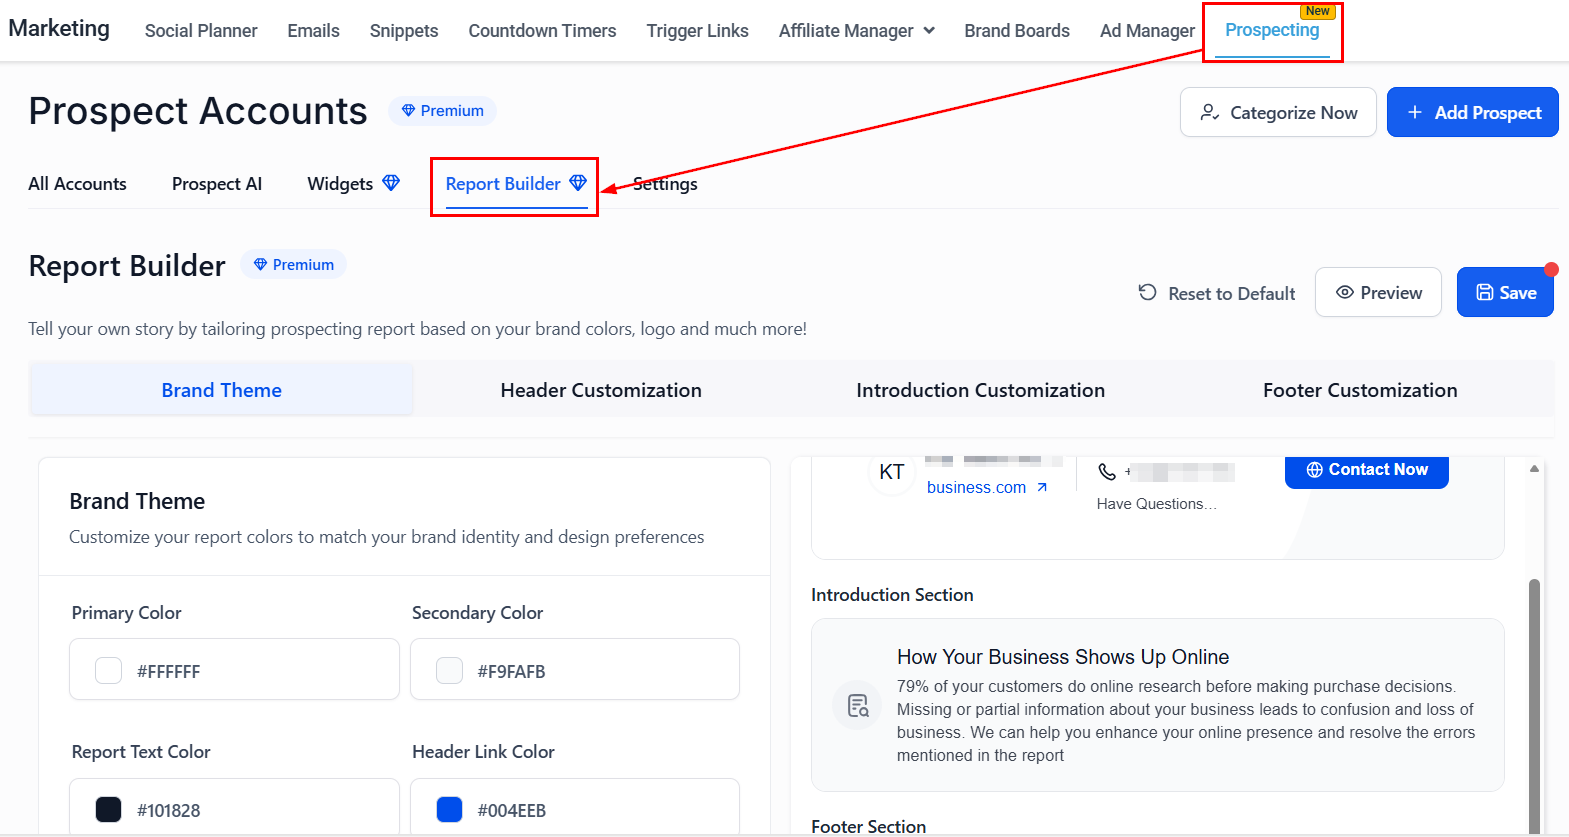
Report builder (premium)
The Prospect Report Builder gives you complete control over the design, structure, and messaging of your prospect reports.- Branded reports: Customize design elements to maintain a cohesive, on-brand presentation.
- Conversion-ready layouts: Structure reports to highlight CTAs and key information.
- Personalized messaging: Tailor messages for niche audiences.
- Live preview: View updates instantly before publishing.
Open the Report Builder
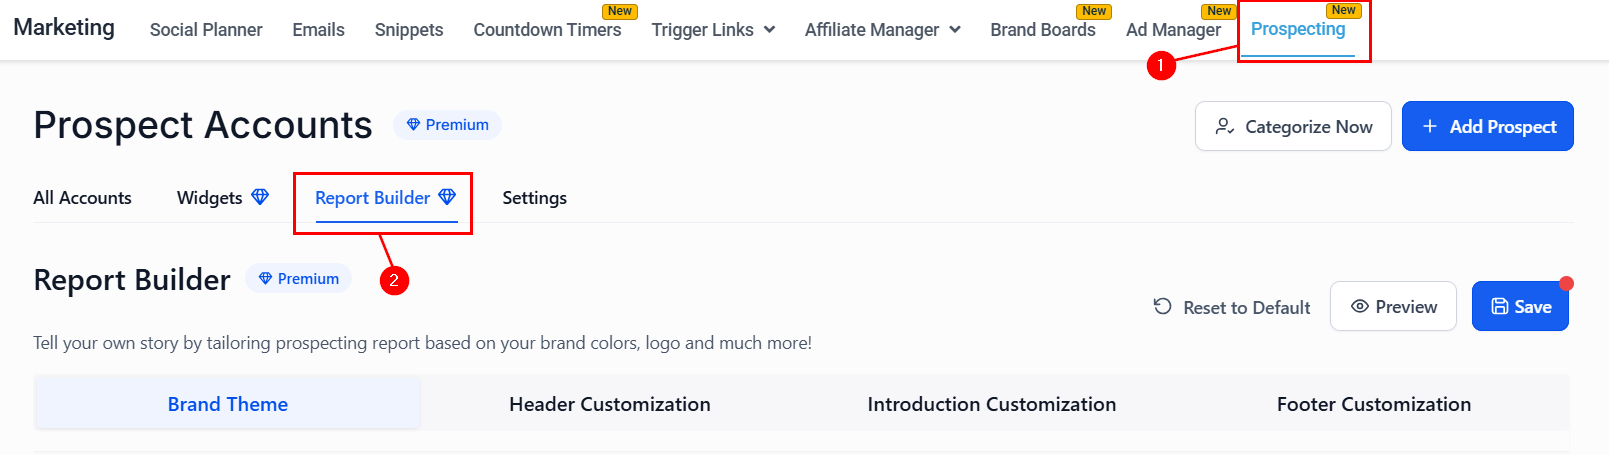
Report Builder tab in Prospecting
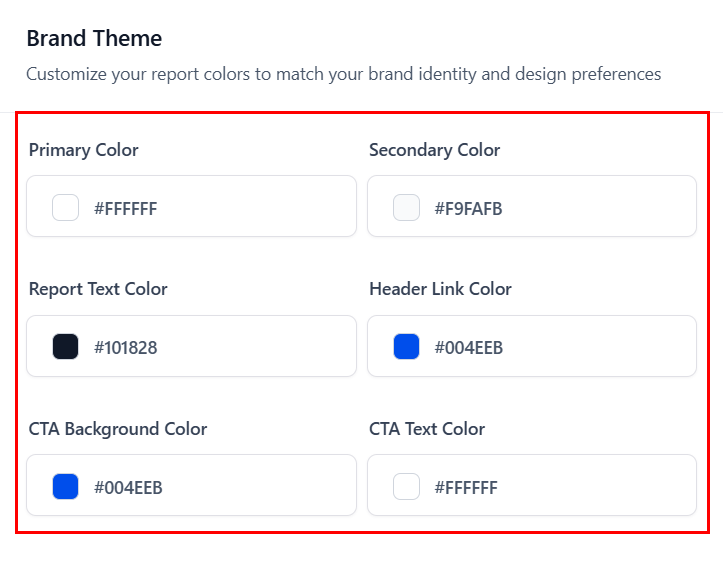
Set your brand theme
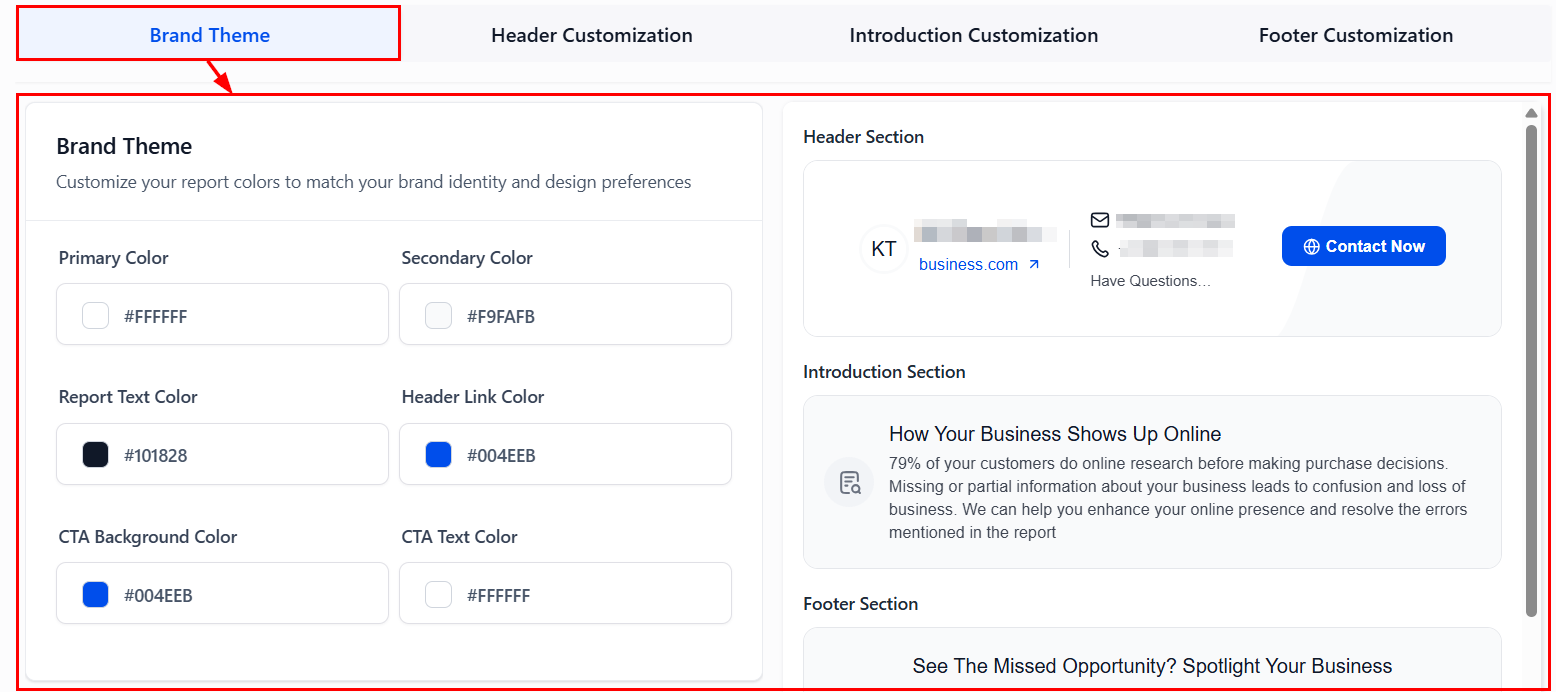
Brand Theme customization
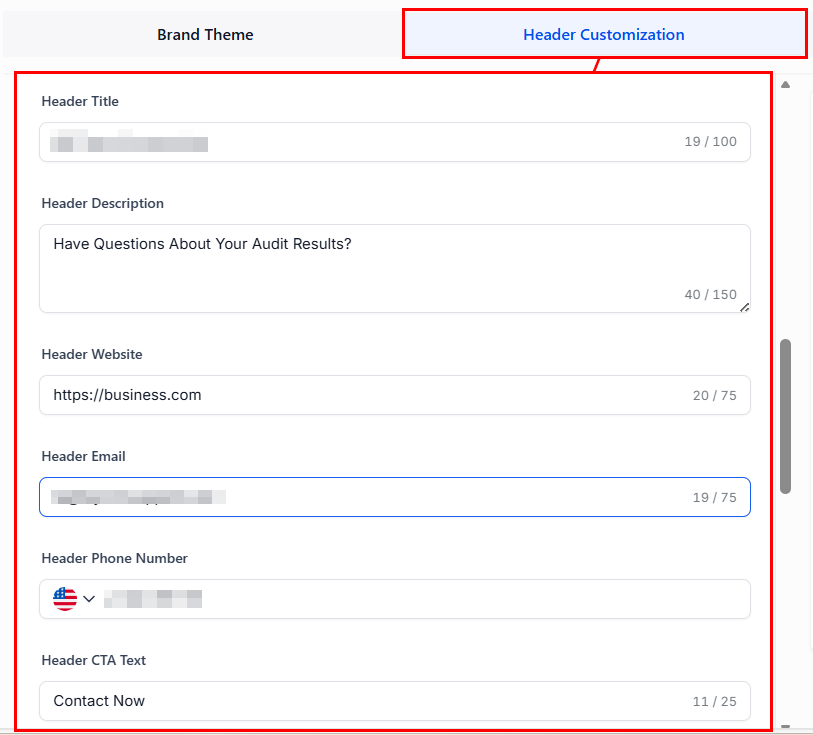
Customize the header
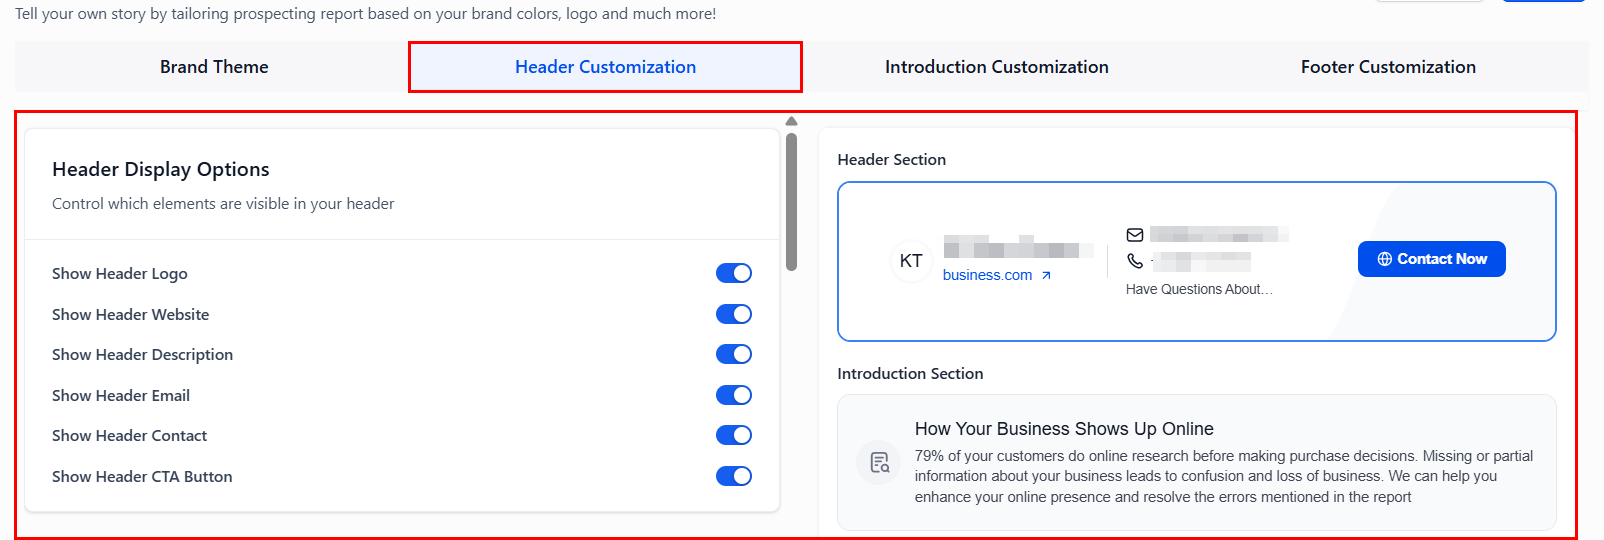
Header display options
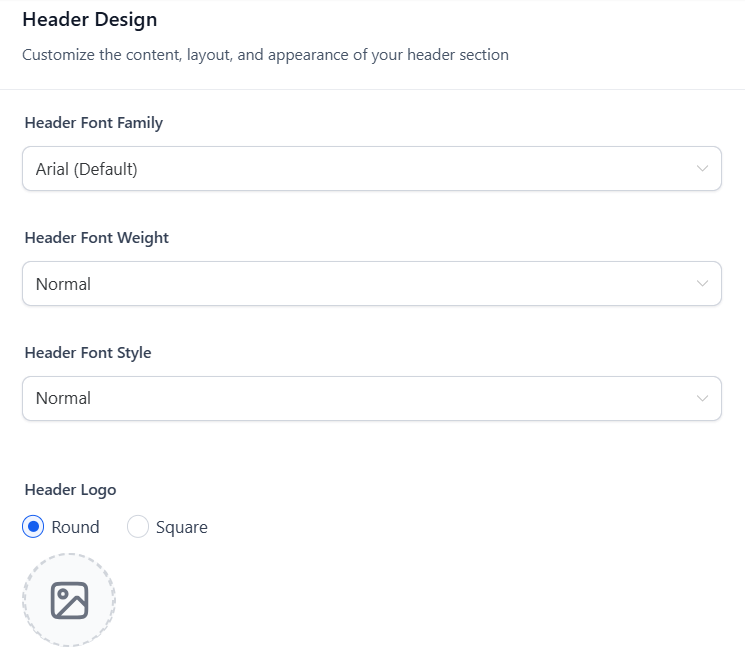
Header design options
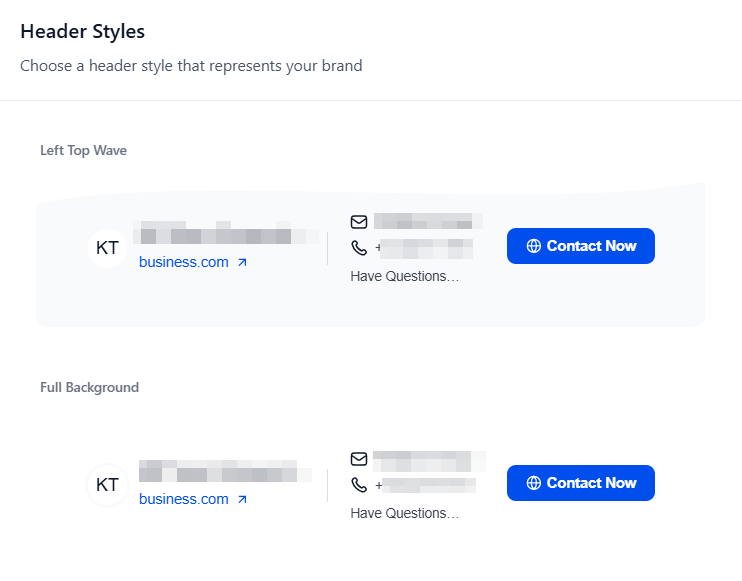
Header style variants
Add an introduction section
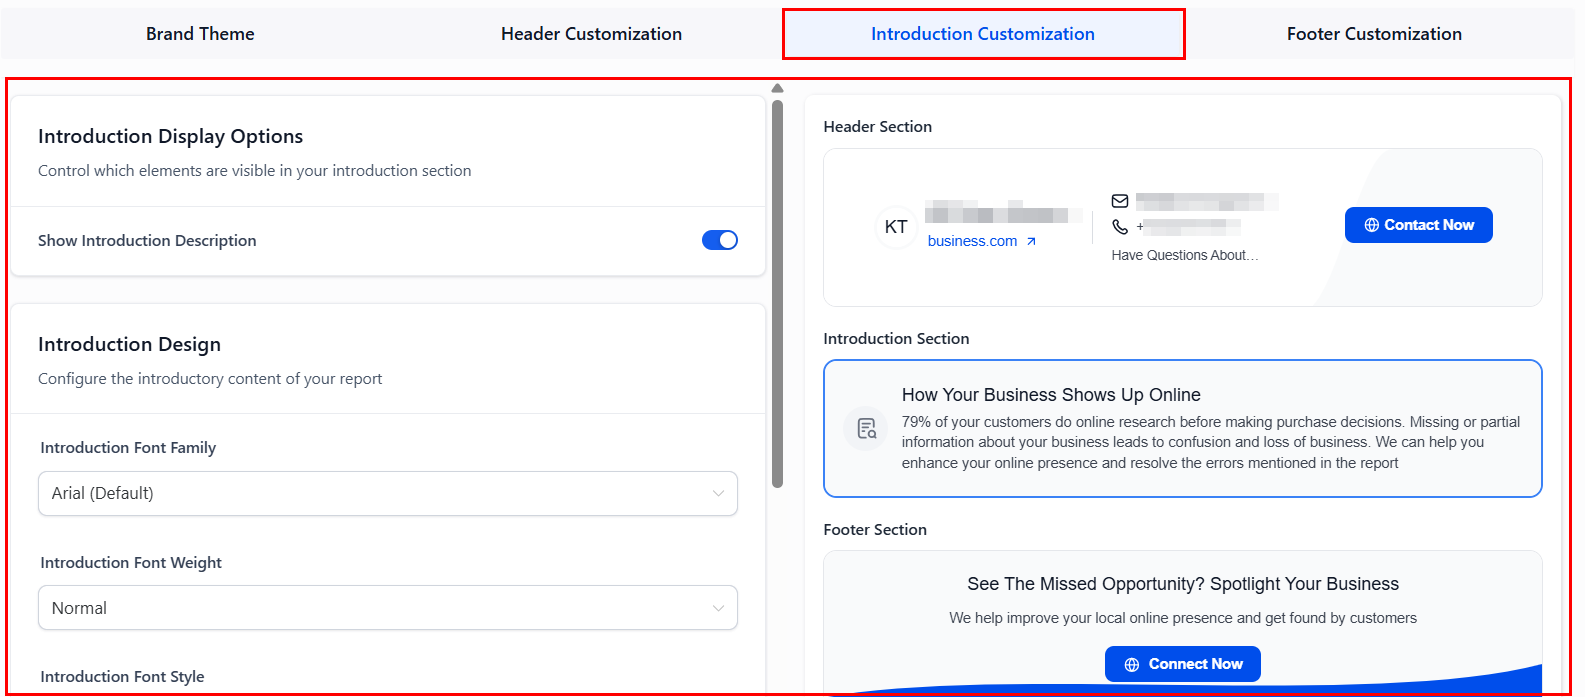
Introduction section customization
Customize the footer
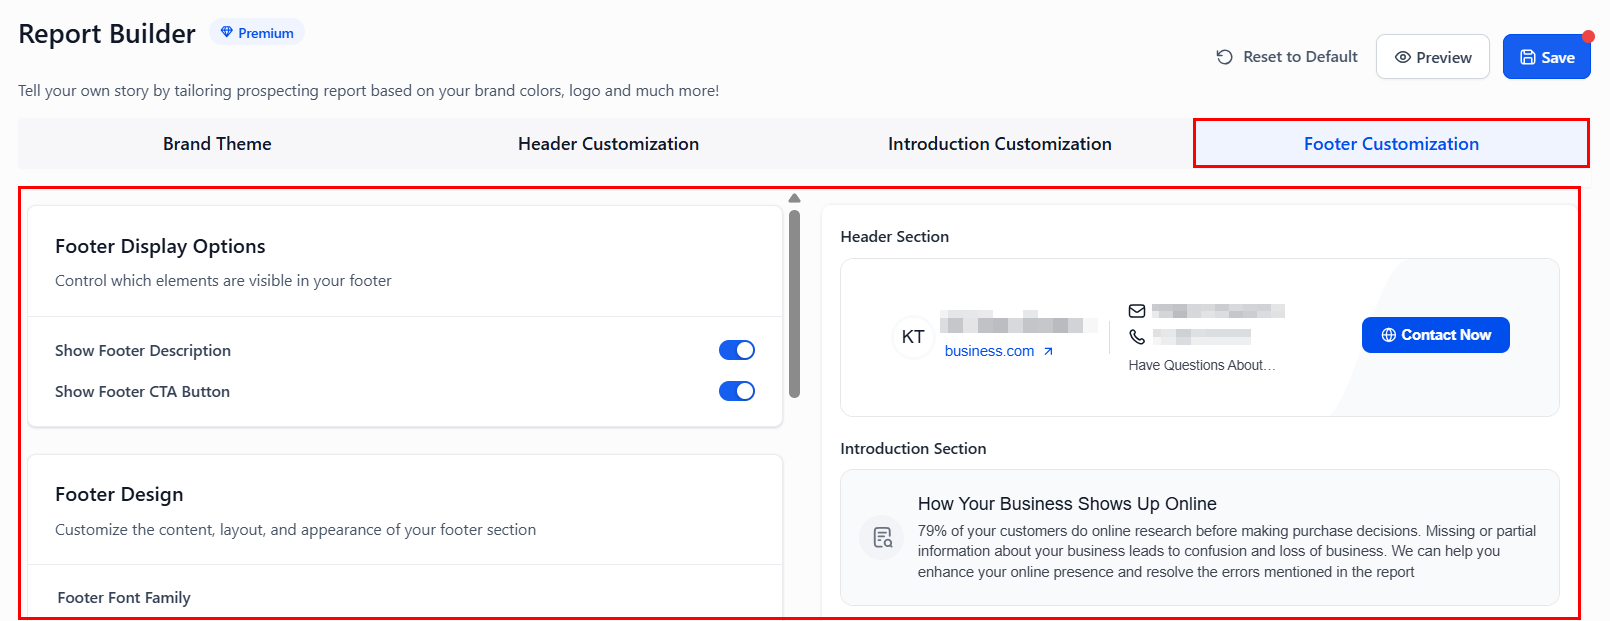
Footer display options
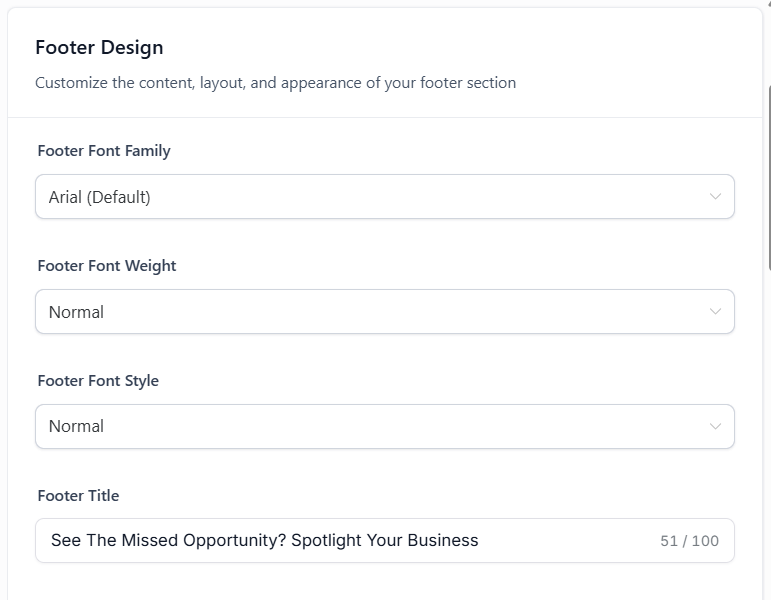
Footer design options
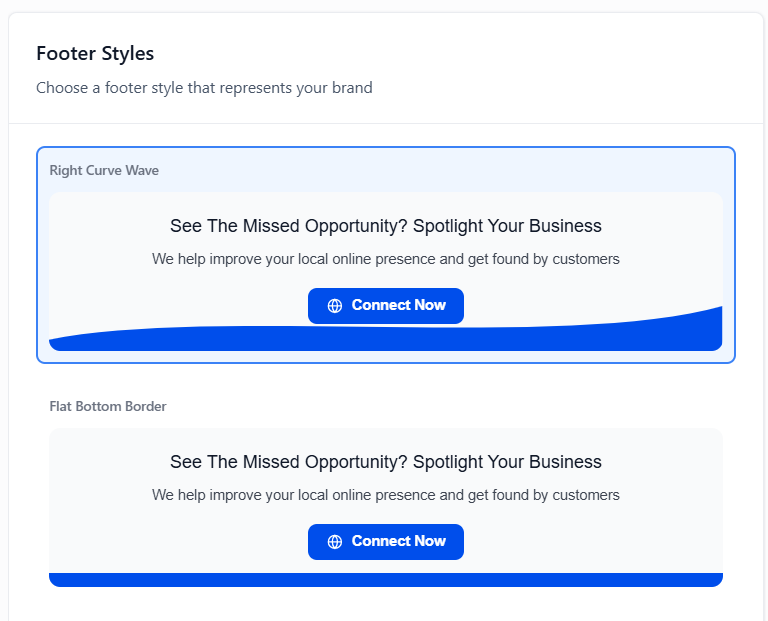
Footer style variants
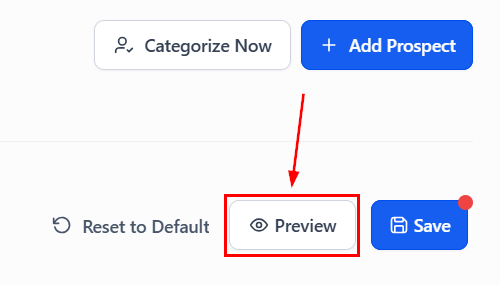
Preview and save
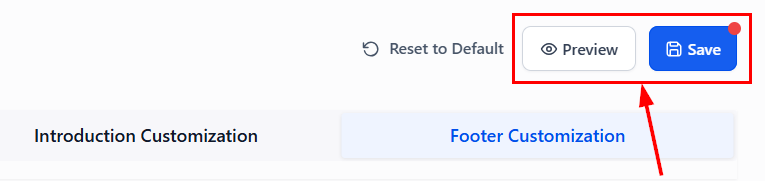
Preview and Save buttons
Customizing the PDF report
PDF Customization applies your brand theme, header, and footer settings from the Report Builder directly to exported audit PDFs.Configure the Report Builder
Opening the Report Builder
Border color customization for PDF
Business contact info in header
Preview and save
Preview the PDF design
Save PDF settings
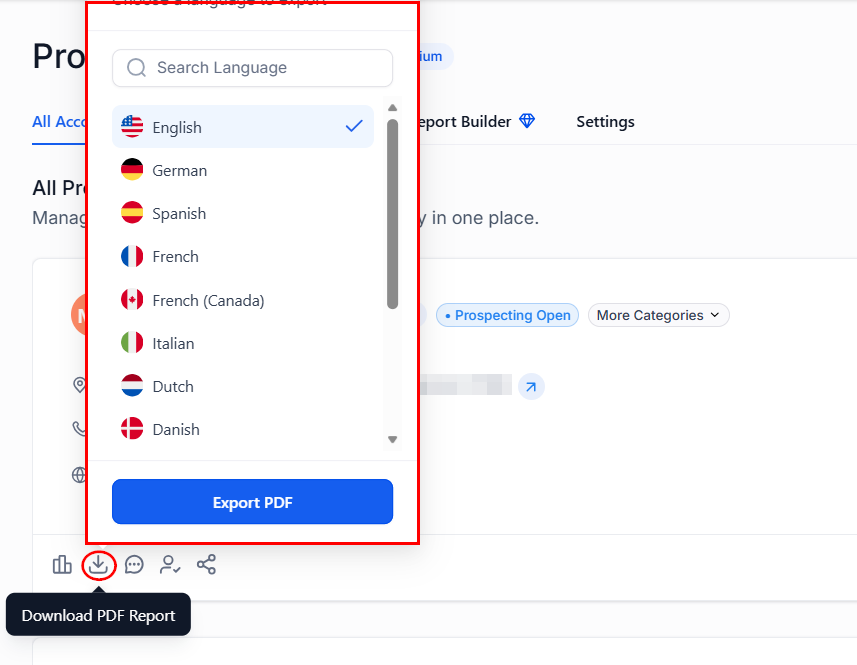
Export a PDF report
Selecting a prospect for PDF export
Show Report button
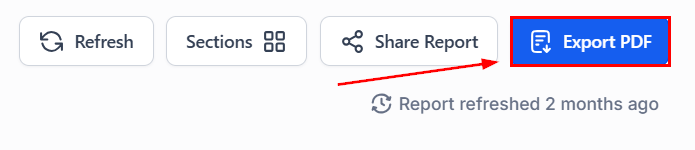
Export PDF button
Download PDF from list view
Prospecting lead widget
Prospecting widgets are fully customizable lead capture forms that can be embedded on your website to generate instant Marketing Audit Reports.Creating a widget
Open the Widgets tab
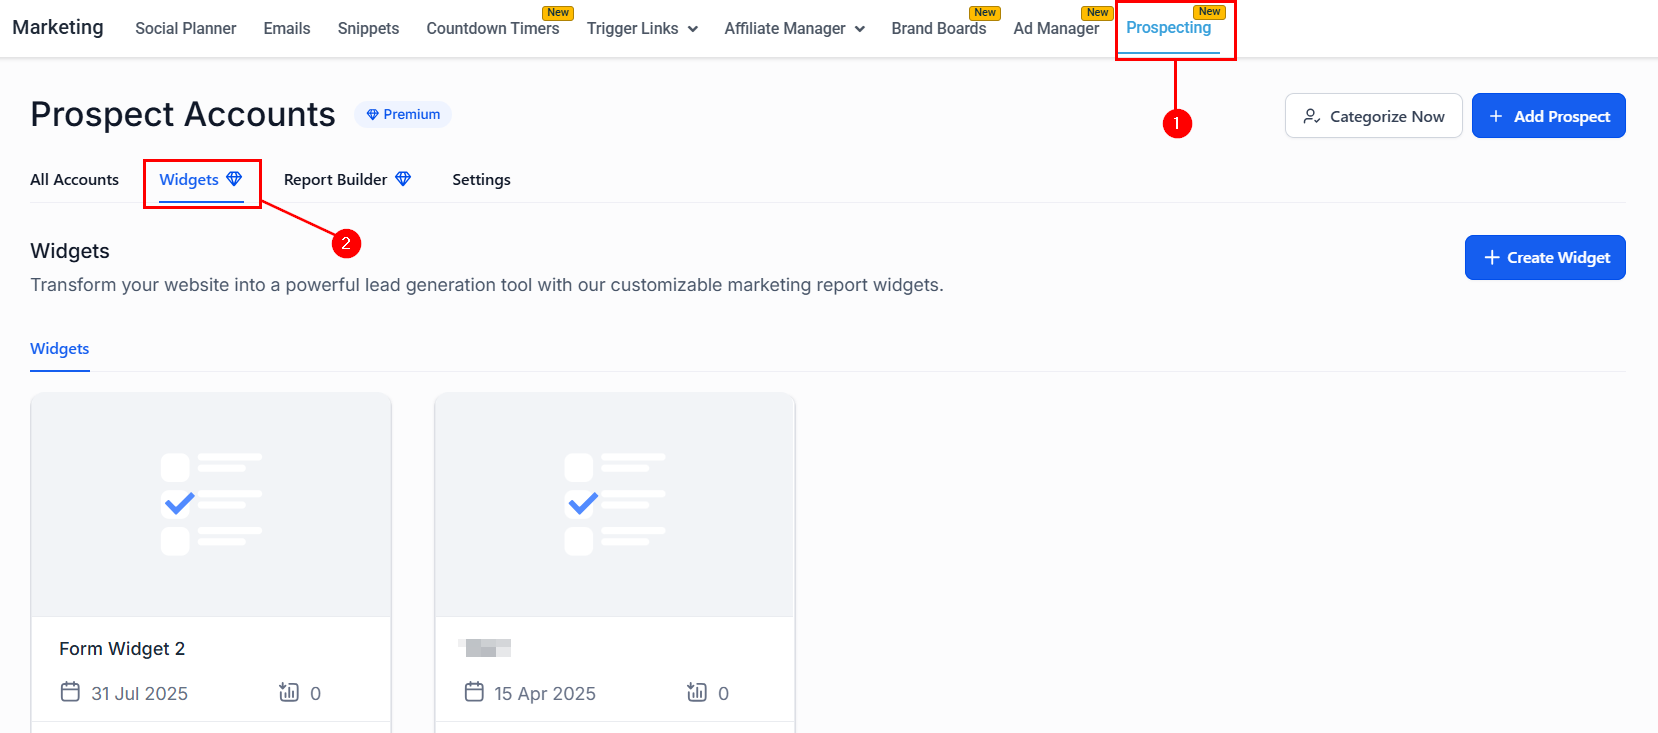
Widgets tab in Prospecting
Create a new widget
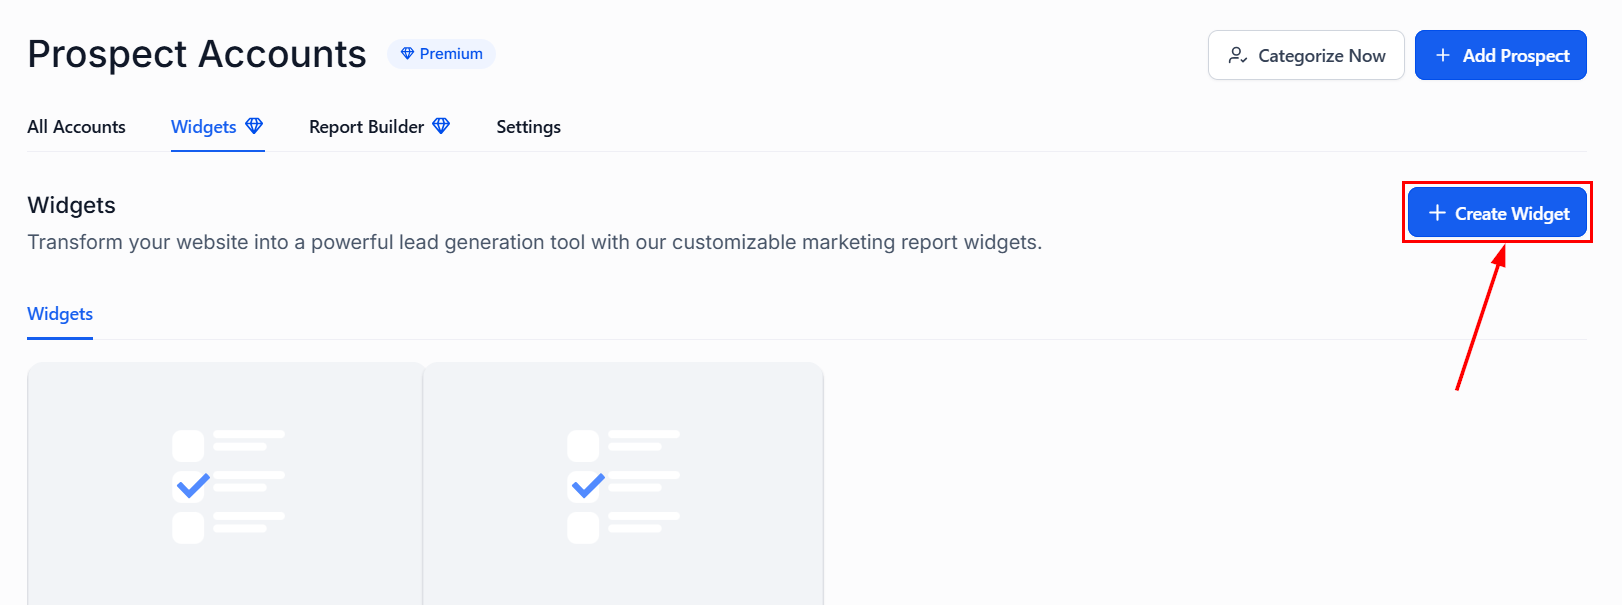
Create Widget button
Configure fields
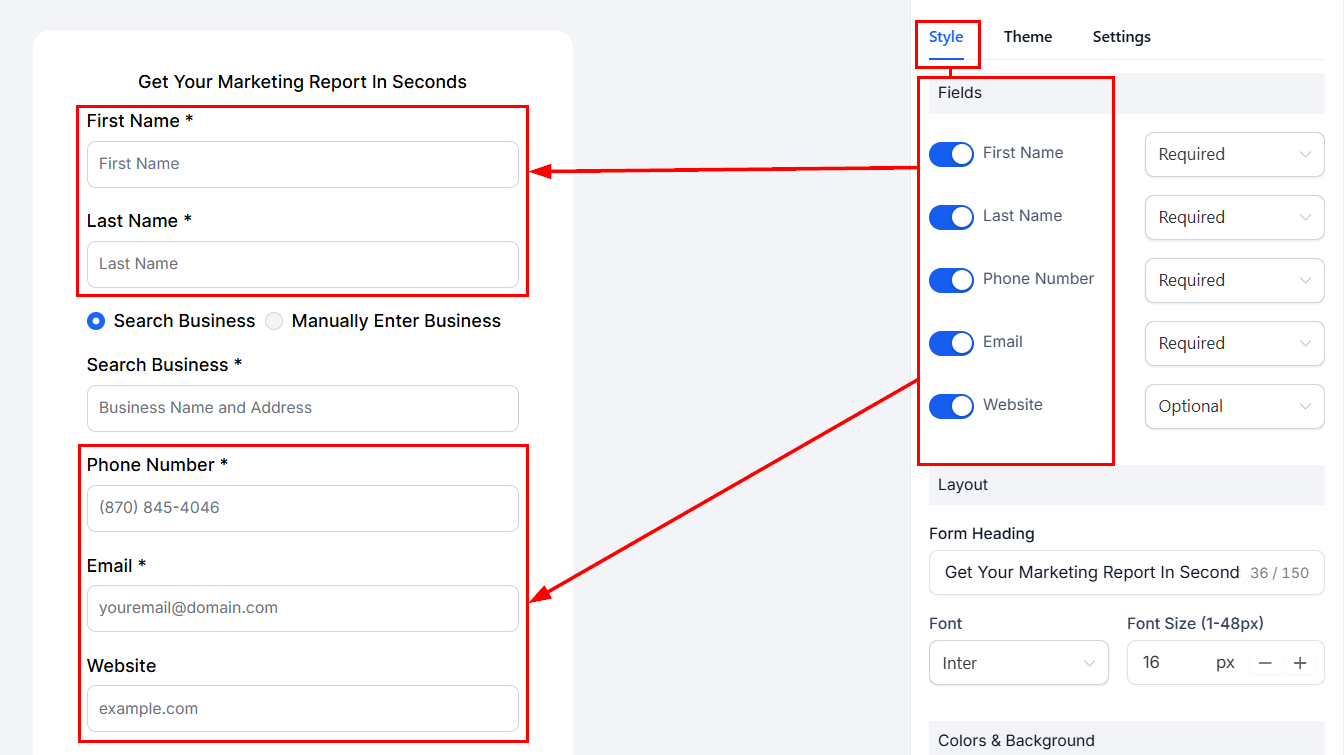
Field configuration in Styles view
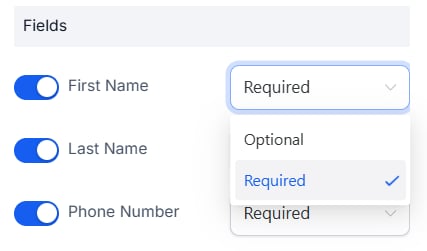
Required/optional field toggle
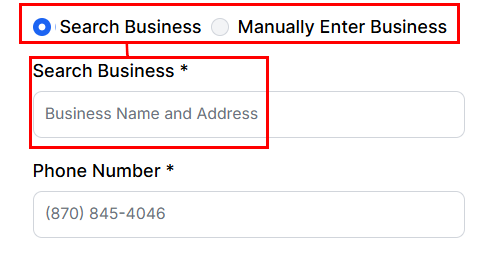
Business search option in the widget
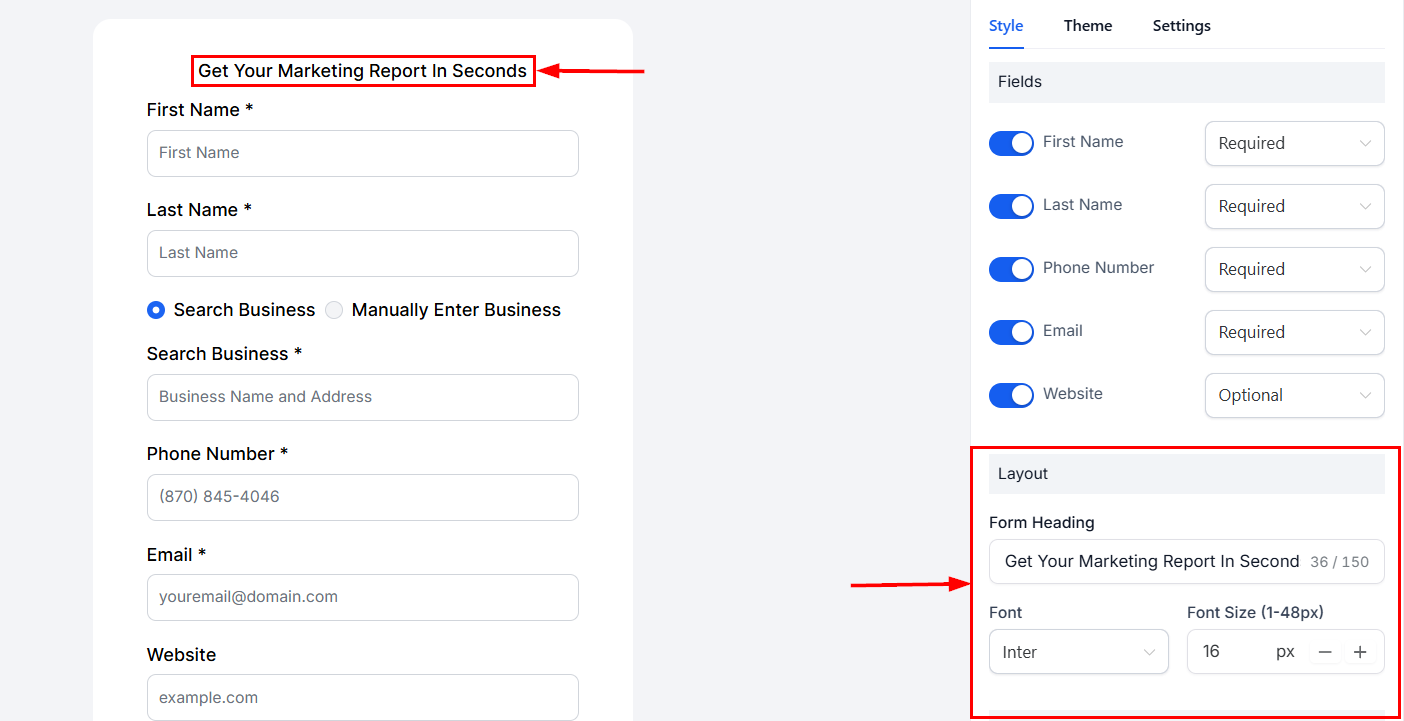
Report preview in widget editor
Style the widget
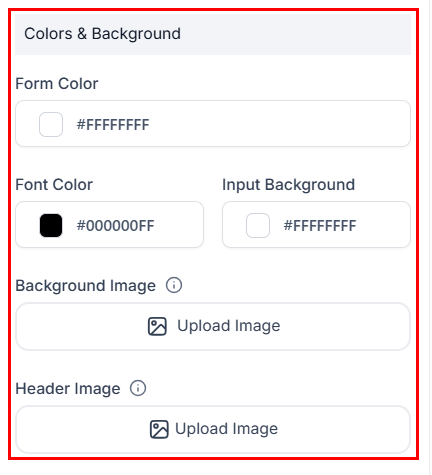
Color customization
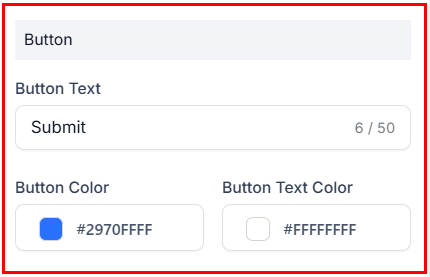
Submit button styling
Choose light or dark theme
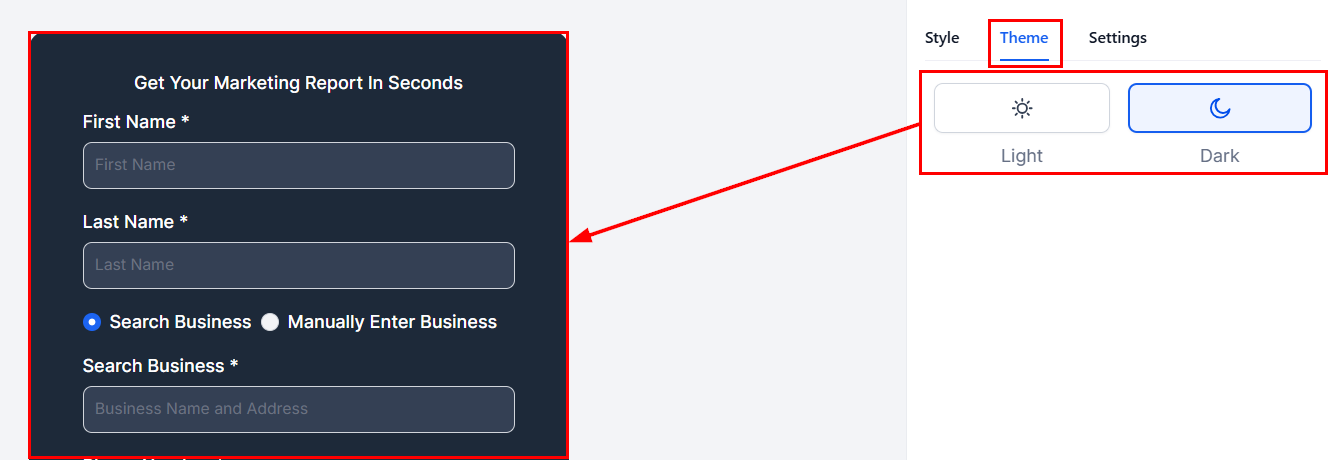
Light/dark theme selection
Save and embed
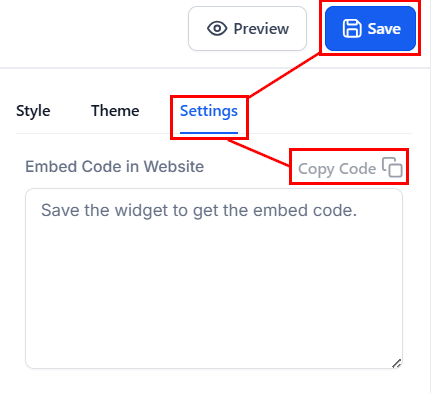
Save and get the embed code
Widget overview
From the Widgets tab you can manage all created widgets: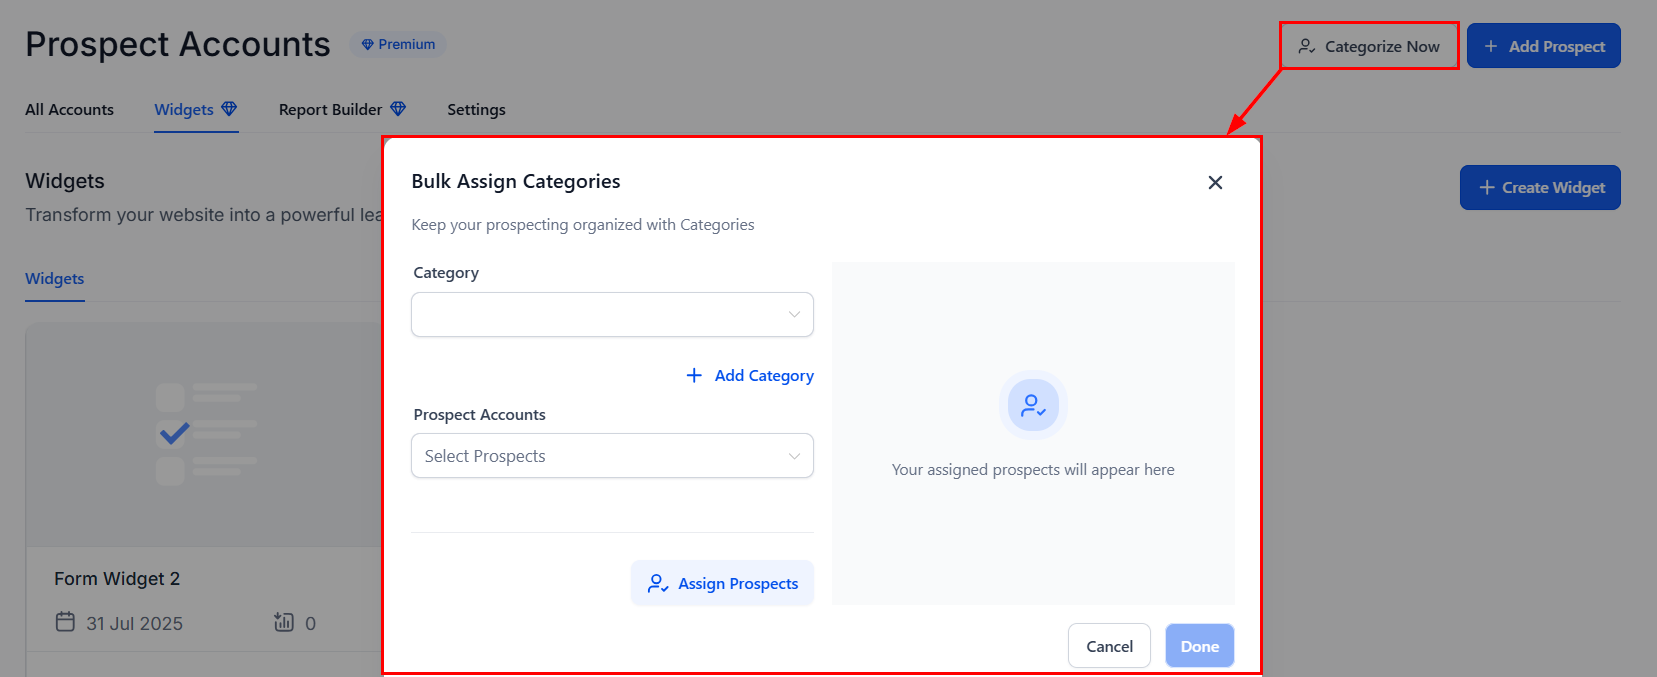
Categorize Now button for bulk categorization
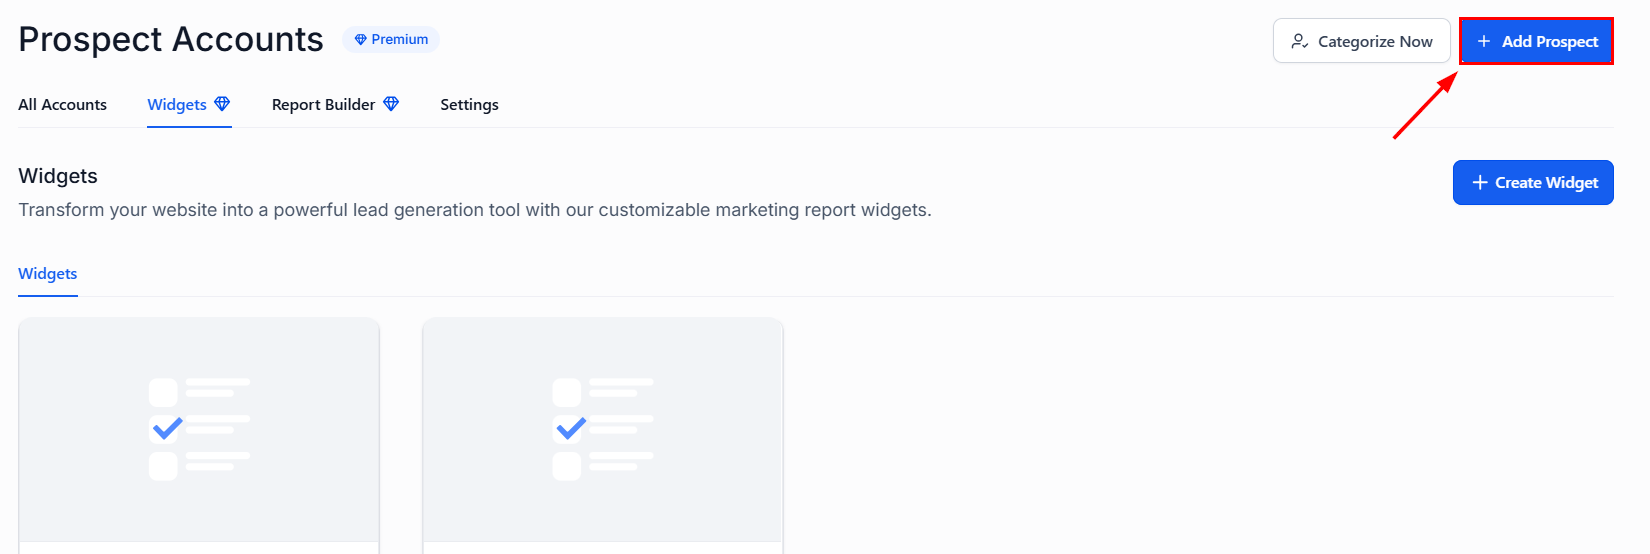
Add Prospect from the Widgets tab

Create Widget button in the overview
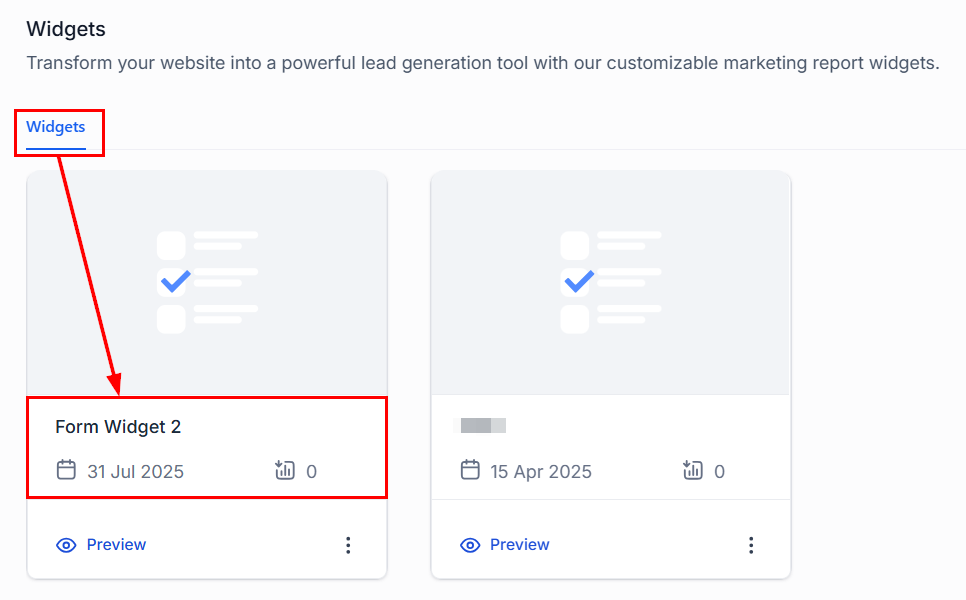
List of created widgets showing name, creation date, and prospect count
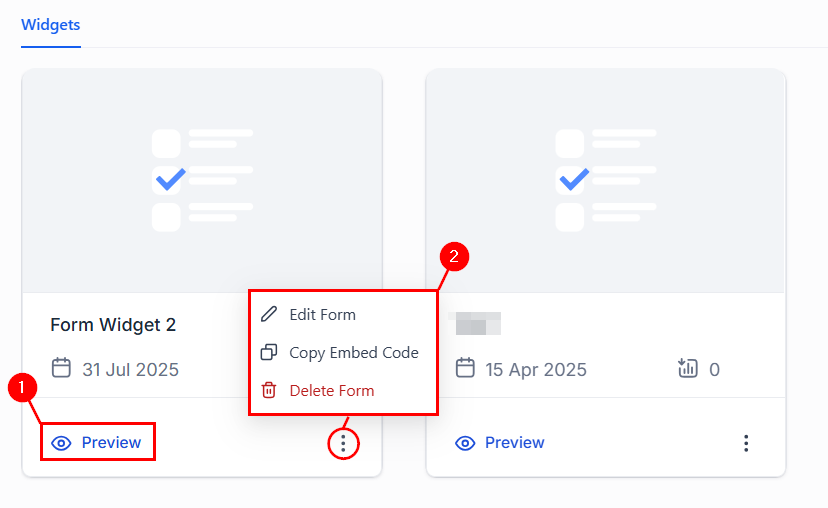
Preview a widget before embedding
Automating prospect workflows
When a new prospect is generated, workflows can be triggered automatically to send welcome emails, assign leads to pipelines, and more.Add the Prospect Generated trigger
Prospect Generated trigger in workflow builder
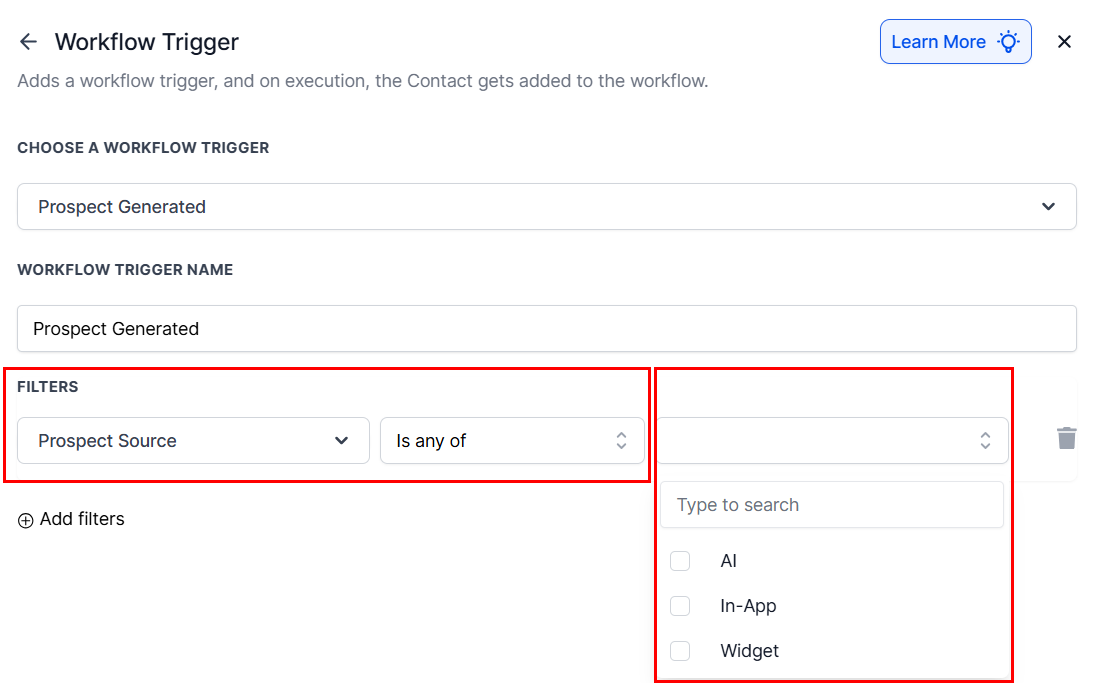
Trigger configuration
Send branded prospecting audit reports
Sending audit reports via email workflow
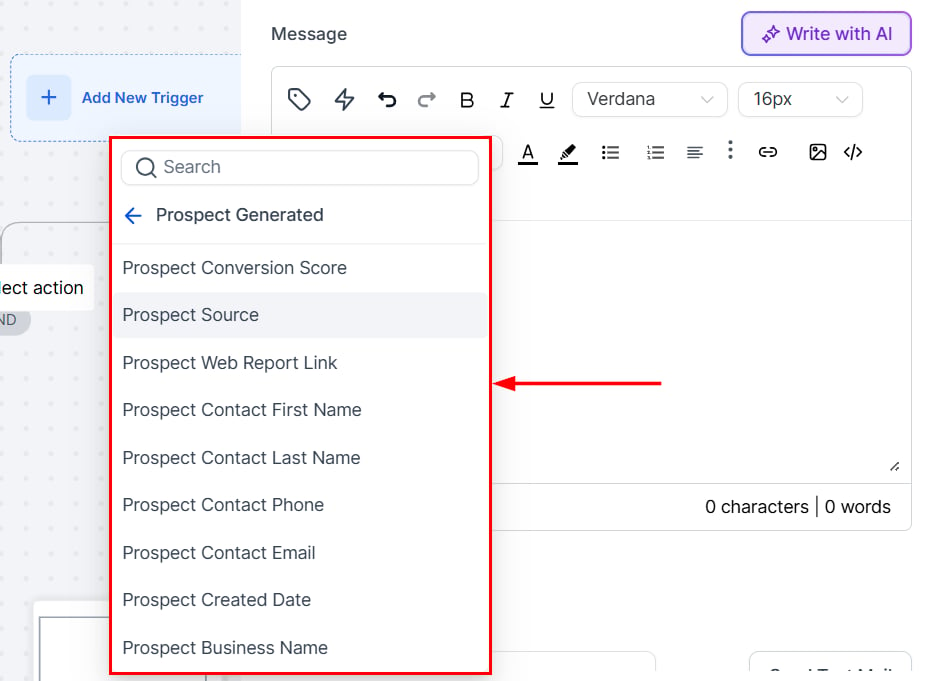
Custom values for prospecting
Create opportunities automatically
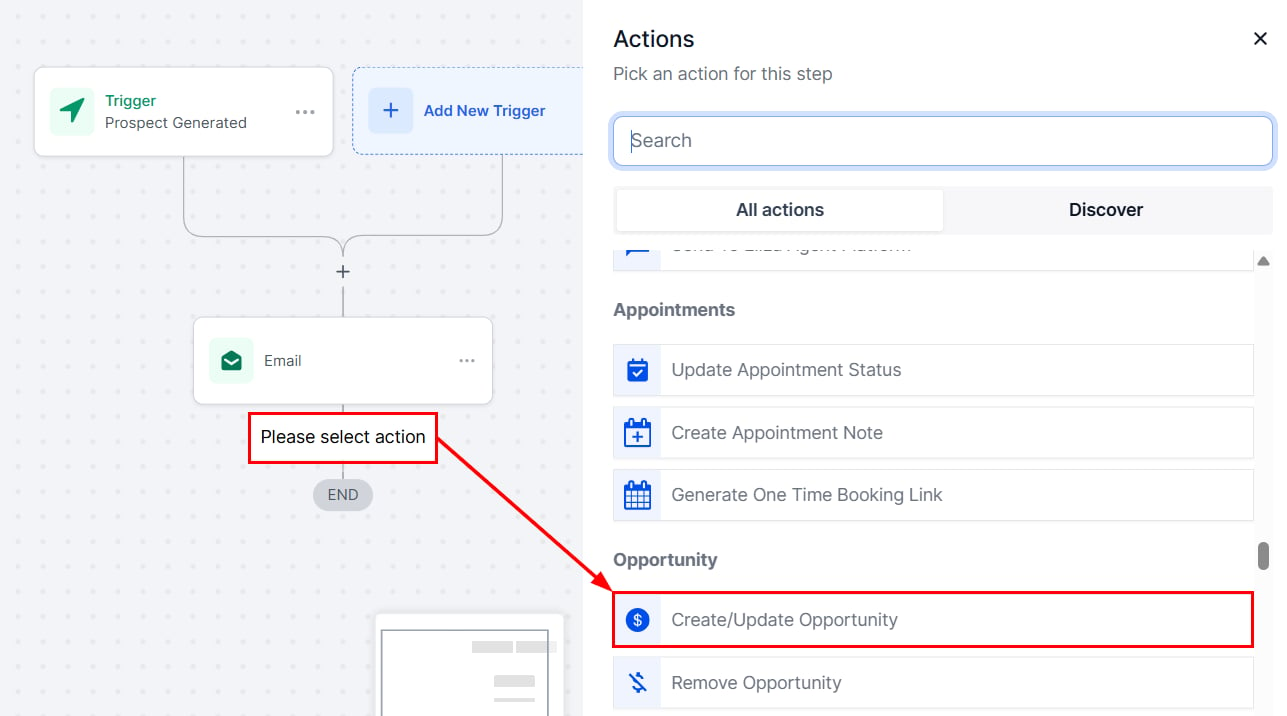
Create Opportunity action
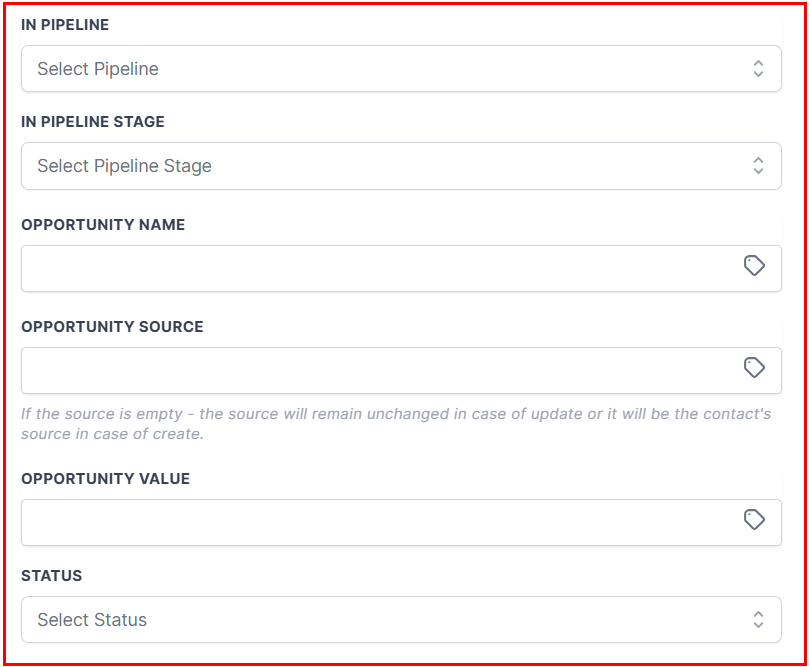
Pipeline stage assignment
Bulk prospecting
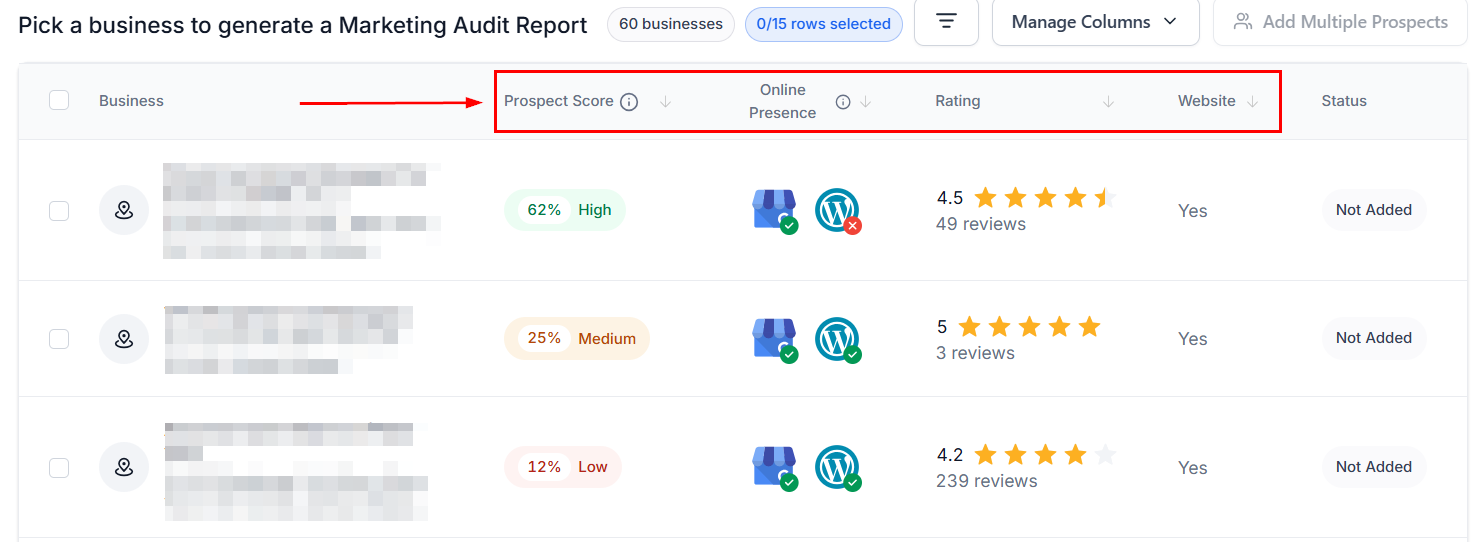
Bulk Prospecting provides a faster way to discover, evaluate, and capture multiple local leads directly from Google Maps — with higher-volume results, duplicate detection, and batch saving. Key benefits:- Smarter search controls: Use keywords, specific business names, locations, and radius targeting to refine your search.
- Higher result volume: Access up to 60 leads per search — triple the legacy limit.
- Batch saving: Select and save up to 15 prospects at a time, with selection preserved across result pages.
- Duplicate detection: Instantly identify prospects already saved or in progress.
Start a search
Add Prospect to start bulk search

Search results in list and map view
Sort and filter results
Sort options for search results

Filter tool
Customize columns
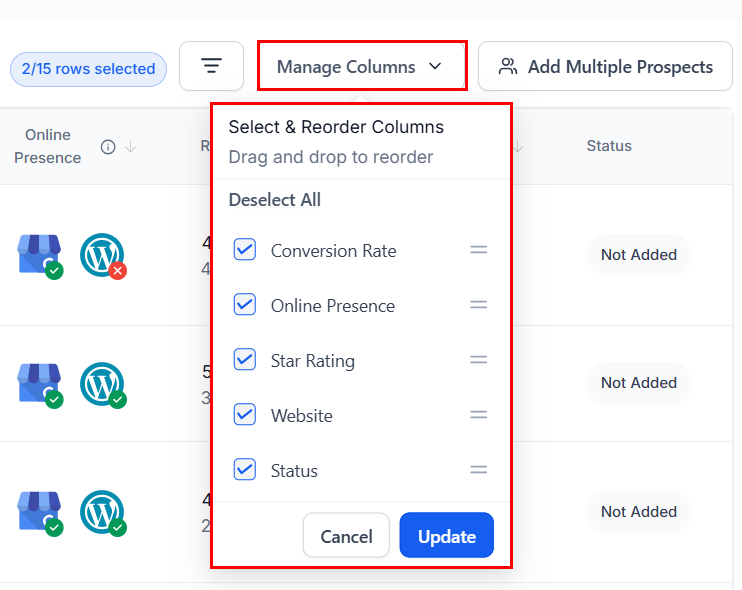
Manage Columns button
Choose rows per page
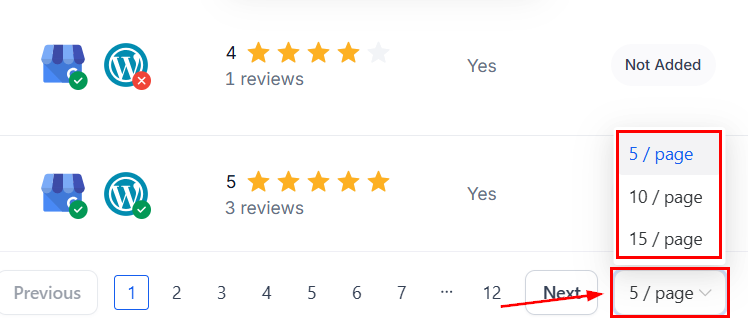
Rows per page selector
Select and save prospects
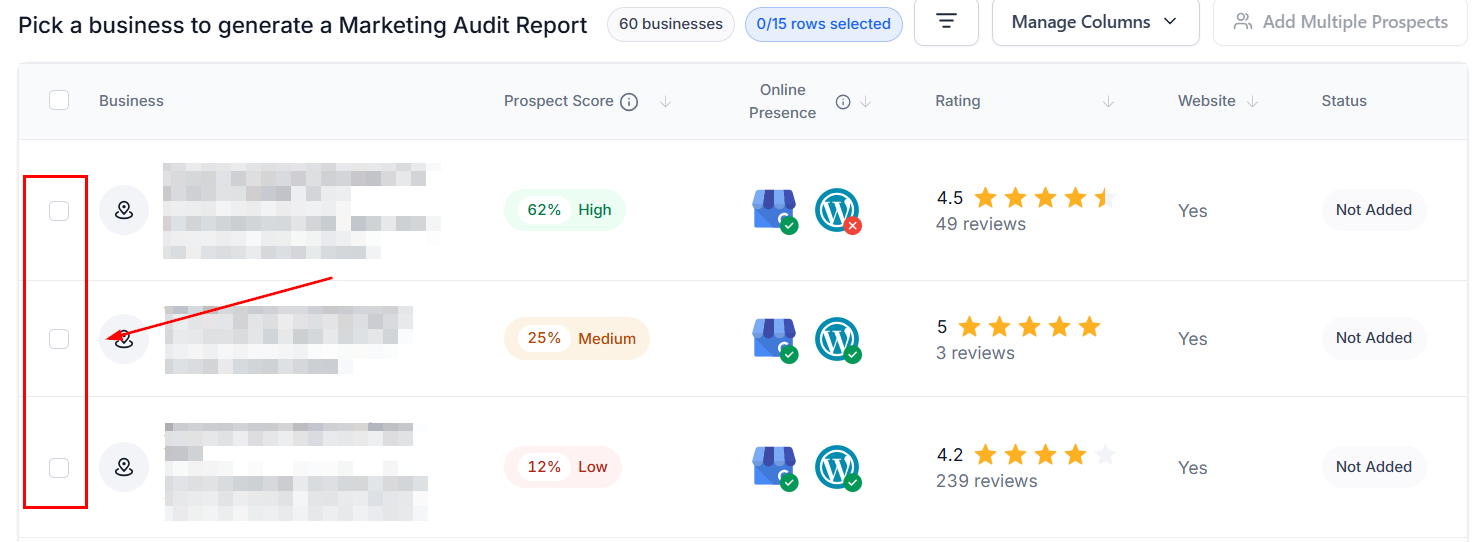
Selecting individual leads
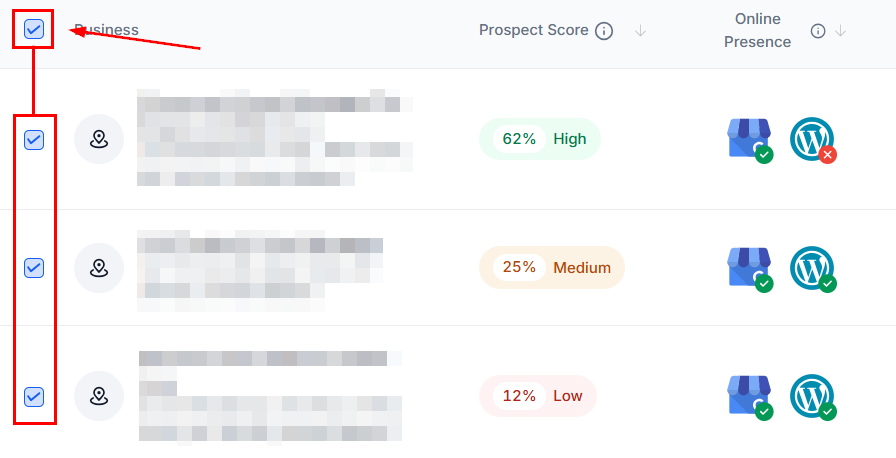
Select All and Unselect All buttons
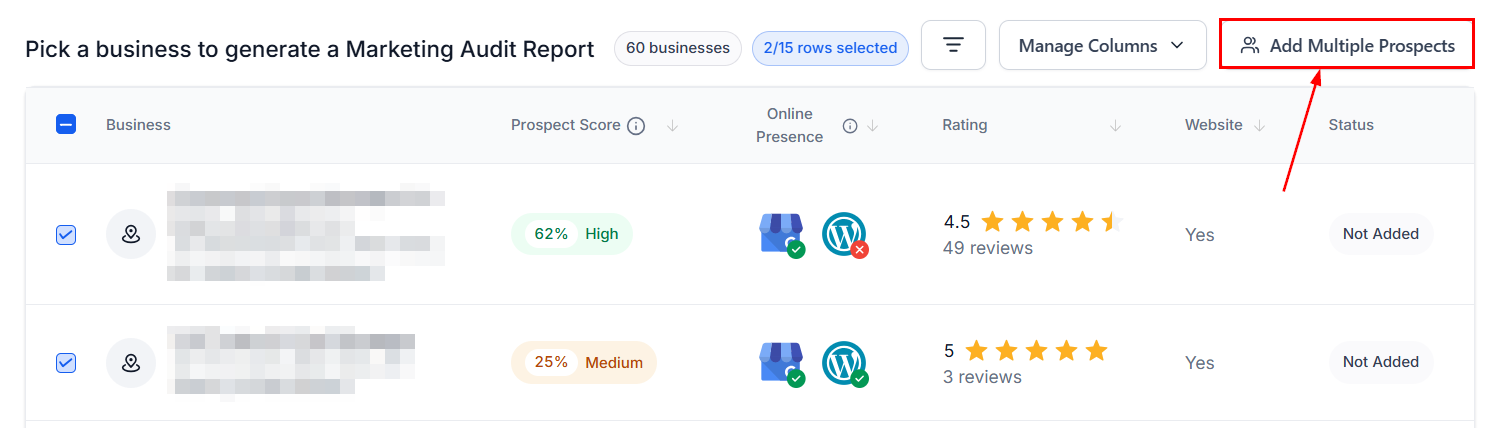
Add Multiple Prospects button
Monitor statuses
- Not Added: The prospect has not yet been saved.
- Added: The prospect already exists in your system.
- Generating Prospect (xx%): The system is creating the record and running its Marketing Audit.
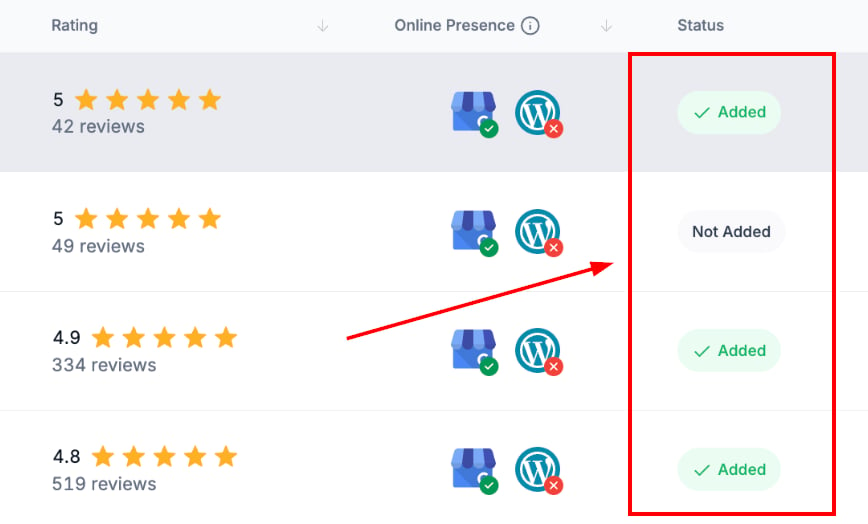
Status column showing prospect generation progress
- If you hit the 60-lead limit, expand the radius, vary keywords, or shift the search location.
- If “near me” gives unexpected results, verify your VPN or location settings.
Prospecting tool settings
Open settings
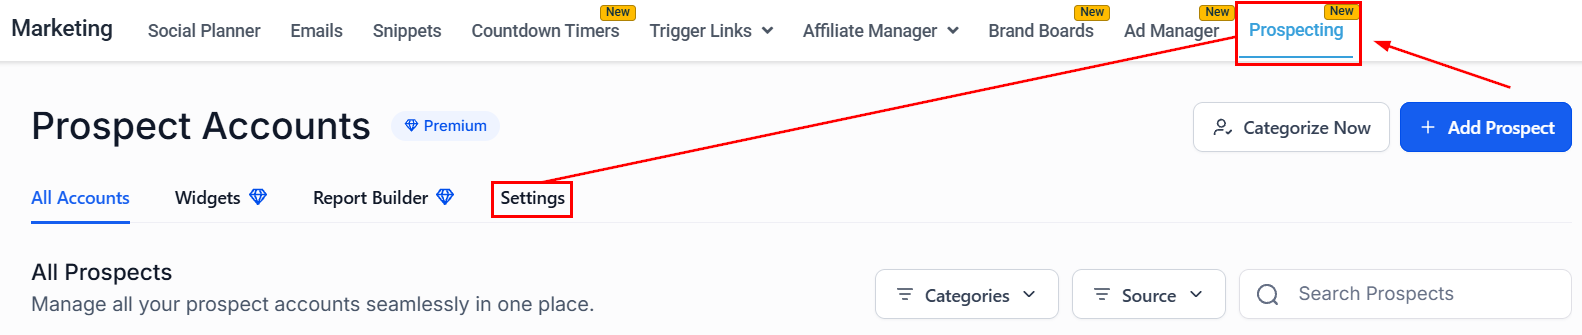
Settings tab in Prospecting
Configure report settings
Reordering report sections in settings
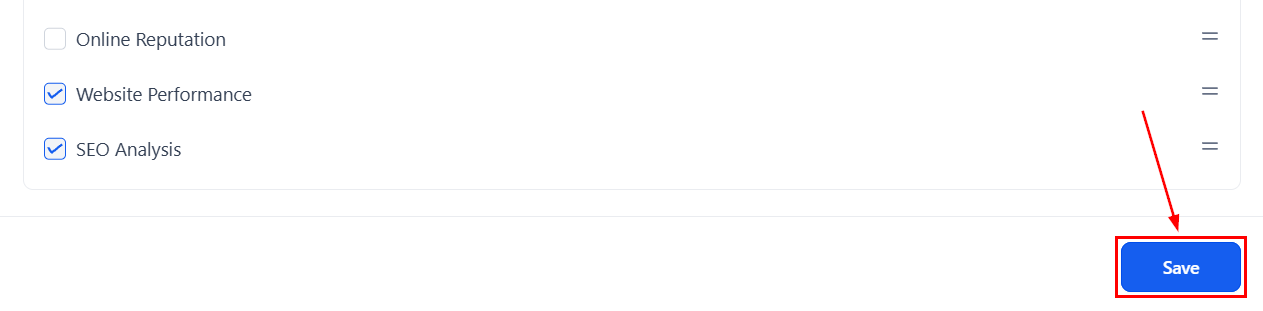
Report settings save
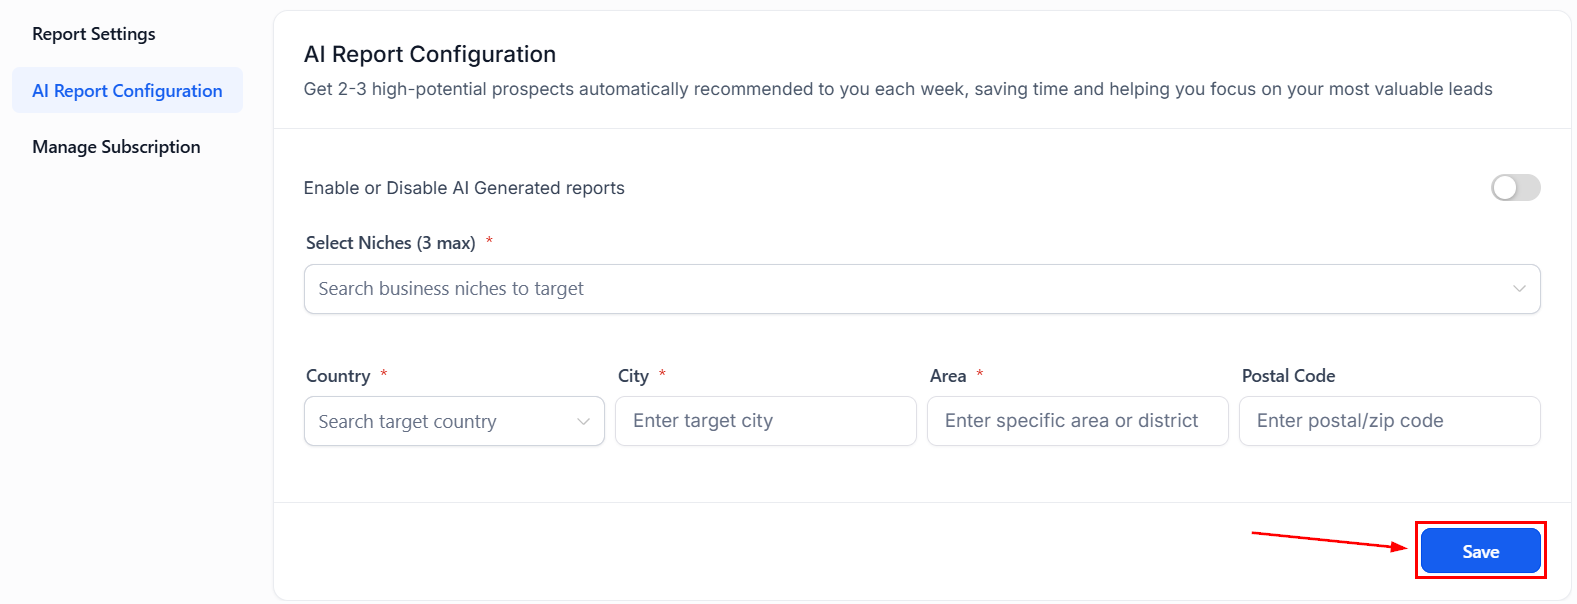
Configure AI report generation
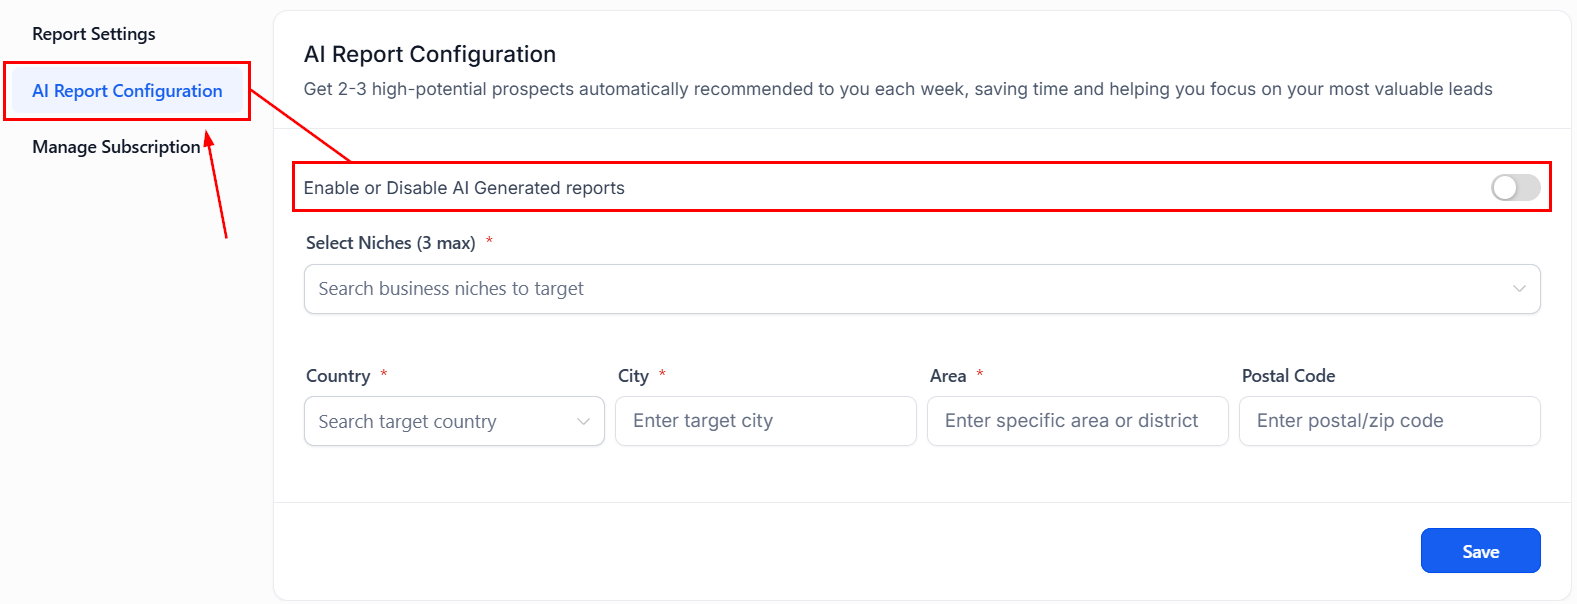
AI Report Configuration option
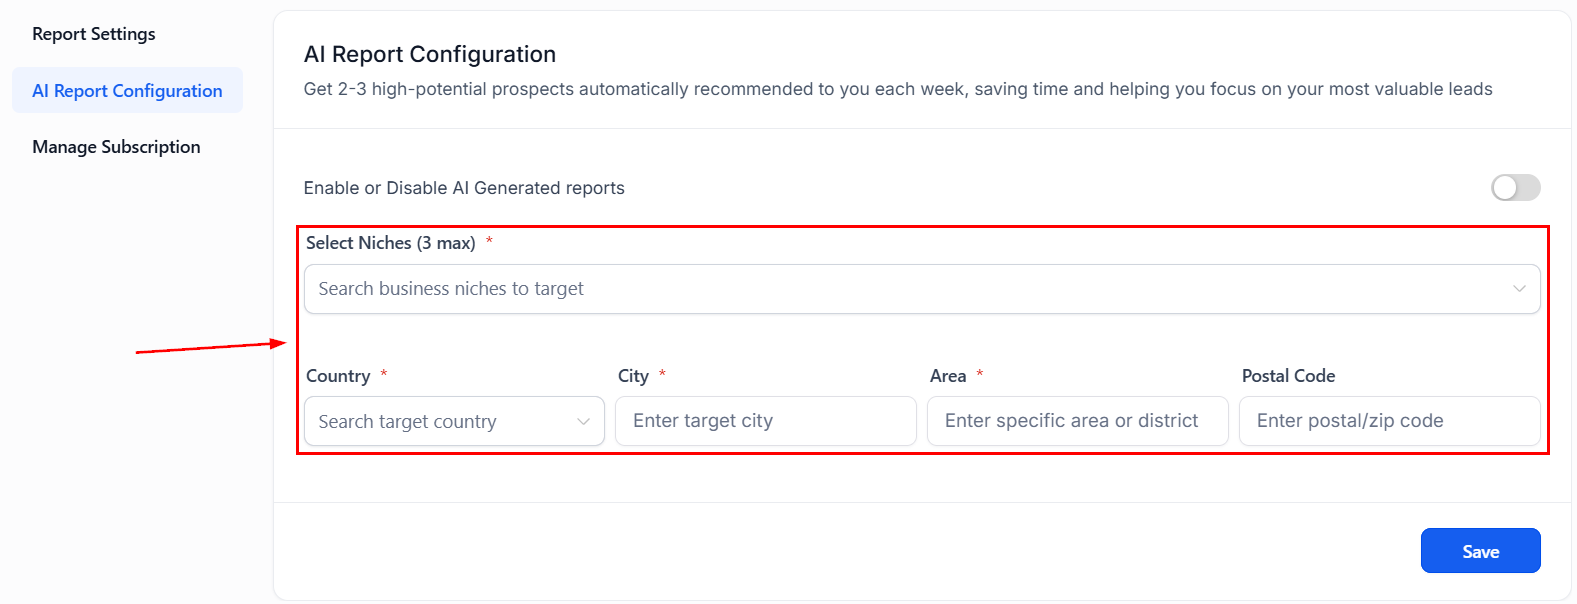
AI report settings form
Manage subscription
Manage Subscription option

Subscription management screen
Frequently asked questions
How do I find a virtual or service-area business with no physical location?
How do I find a virtual or service-area business with no physical location?
How often can I refresh a prospect's audit report?
How often can I refresh a prospect's audit report?
Who can use the Report Builder?
Who can use the Report Builder?
Are changes in the Report Builder visible in real time?
Are changes in the Report Builder visible in real time?
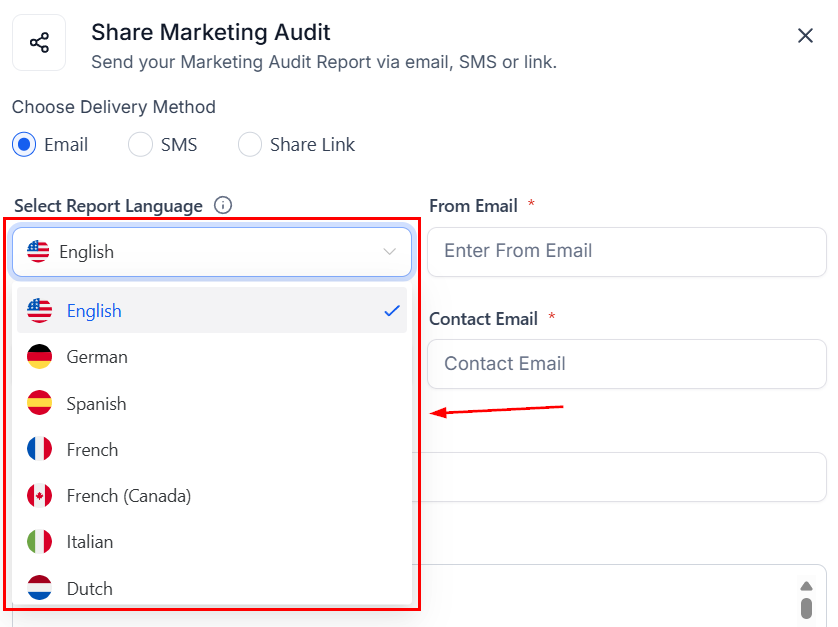
Is multilingual PDF export supported?
Is multilingual PDF export supported?
Will my logo scale correctly in the PDF header?
Will my logo scale correctly in the PDF header?
How many prospecting widgets can I create?
How many prospecting widgets can I create?
What happens when a visitor submits a Prospecting Widget form?
What happens when a visitor submits a Prospecting Widget form?
What is the maximum number of leads I can retrieve per search?
What is the maximum number of leads I can retrieve per search?
How many prospects can I save at once in bulk mode?
How many prospects can I save at once in bulk mode?