Connect Mailgun to the HoopAI Platform for reliable email delivery — including DNS configuration, reply routing, unsubscribe settings, and error code reference.
Mailgun is a transactional email service that integrates with the HoopAI Platform for high-deliverability email sending. This guide covers connecting Mailgun, configuring DNS, setting up reply routing, and understanding error codes.
Adding Mailgun as an email service in Settings > Email Services
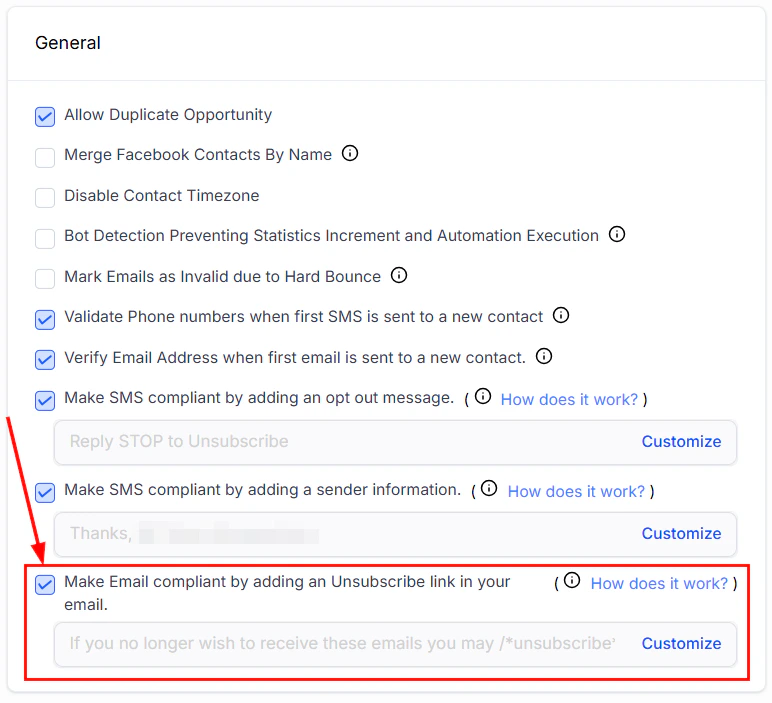
Mailgun automatically adds an unsubscribe link to emails when the feature is enabled. You can customize unsubscribe behavior in both Mailgun and the HoopAI Platform.
In your Mailgun dashboard, navigate to Sending > Domain Settings and select your domain.
2
Scroll to unsubscribe settings
Find the Unsubscribe Tracking section and toggle it on or off.
3
Customize the unsubscribe page
Optionally customize the unsubscribe page URL to redirect contacts to your own branded page after unsubscribing.
Disabling Mailgun’s unsubscribe tracking does not disable the unsubscribe link added by the HoopAI Platform. Both are required for CAN-SPAM and GDPR compliance.
When a contact unsubscribes, bounces, or marks an email as spam through Mailgun, the HoopAI Platform automatically updates the contact’s Do Not Disturb (DND) settings for email:
Unsubscribe link settings — ensure CAN-SPAM compliance with automatic list-unsubscribe headers
Mailgun event
DND behavior
Permanent bounce
Email DND enabled automatically
Spam complaint
Email DND enabled — cannot be removed by user
Unsubscribe
Email DND enabled
Soft bounce (30003, 30005, 30006)
Temporary DND
To remove a contact from Mailgun’s suppression list: delete the address from the Mailgun suppressions list, validate the email, and then re-enable it in the contact record.
These are soft bounces that Mailgun will retry automatically. Common codes include 421 (service temporarily unavailable) and 450 (mailbox unavailable).
5xx — Permanent failures
These are hard bounces. The address is invalid or the receiving server has permanently rejected the message. Remove these addresses from your list. Common codes include 550 (user unknown), 551 (user not local), and 552 (mailbox full — permanent).
SMTP error: 30003, 30005, 30006
These codes indicate the receiving carrier is temporarily unable to deliver the message (SMS context, but also seen in email relay failures). These result in temporary DND.
SMTP error: 30004
Permanent delivery failure — the message was blocked by the carrier or recipient. Results in permanent DND.
Regularly export and review your Mailgun suppression list to identify problematic addresses and keep your sending reputation healthy.
Do I need a Mailgun account to send emails from the HoopAI Platform?
No. Mailgun is one of several supported sending options. You can also use Gmail, Outlook, SendGrid, a custom SMTP provider, or the built-in dedicated sending domain feature. Choose the option that best fits your sending volume and technical preferences.
How long does Mailgun DNS verification take?
DNS changes typically propagate within a few minutes to a few hours, but can take up to 48 hours. If Mailgun’s verification check fails immediately after adding records, wait a few hours and click Verify DNS Settings again.
Why are Mailgun replies not appearing in my CRM?
Replies are routed via Mailgun’s route system. You need to create a Mailgun route that forwards inbound email to the platform’s inbound webhook URL. This URL is found in Settings > Email Services > Mailgun in the HoopAI Platform. If replies are not appearing, confirm the route is active and the webhook URL is correct.
What happens when a contact is permanently bounced through Mailgun?
The platform automatically marks the contact’s email as Do Not Disturb (DND), preventing future emails from being sent to that address. To remove the DND, you must first delete the address from Mailgun’s suppression list, then re-enable email for the contact.
Can I use Mailgun for both transactional and marketing emails?
Yes. Mailgun supports both use cases. For marketing sends, ensure you have domain verification, unsubscribe tracking, and list management configured properly. Mailgun’s suppression list is shared across both email types, so a bounce or spam complaint from one will affect the other.
What is the difference between 4xx and 5xx Mailgun error codes?
4xx errors are temporary failures that Mailgun retries automatically (for example, the receiving server was temporarily unavailable). 5xx errors are permanent failures — the email address does not exist or the receiving server has permanently rejected the message. Addresses causing 5xx errors should be removed from your list.