

Creating a brand board
A brand board defines the design elements — colors, typography, and logos — that represent your brand across all marketing materials. Why you need a brand board- Brand consistency: Consolidates all visual elements so logos, colors, and fonts are applied uniformly across emails, websites, and social media.
- Time efficiency: Eliminates the need to search for files or recall hex codes when creating new materials.
- Simplified management: Provides a single place to locate and update logos, colors, and fonts.
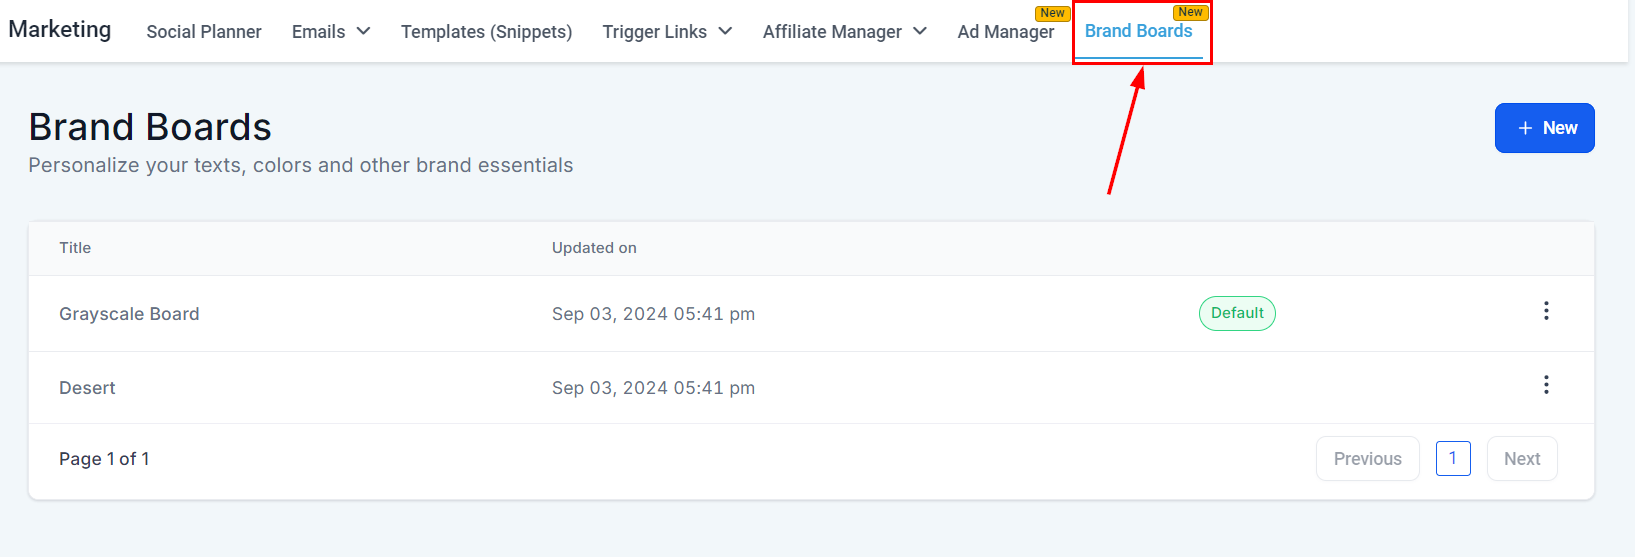
Open Brand Boards
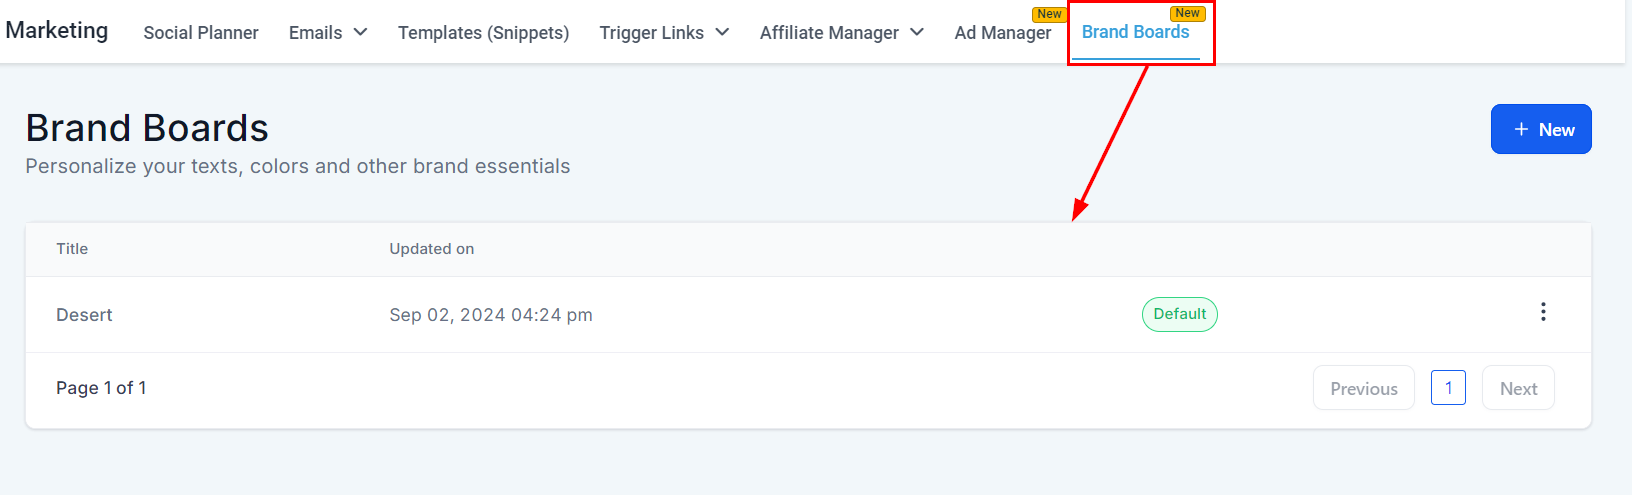
Brand Boards in the Marketing section
Start a new board
Creating a new brand board
Name your board
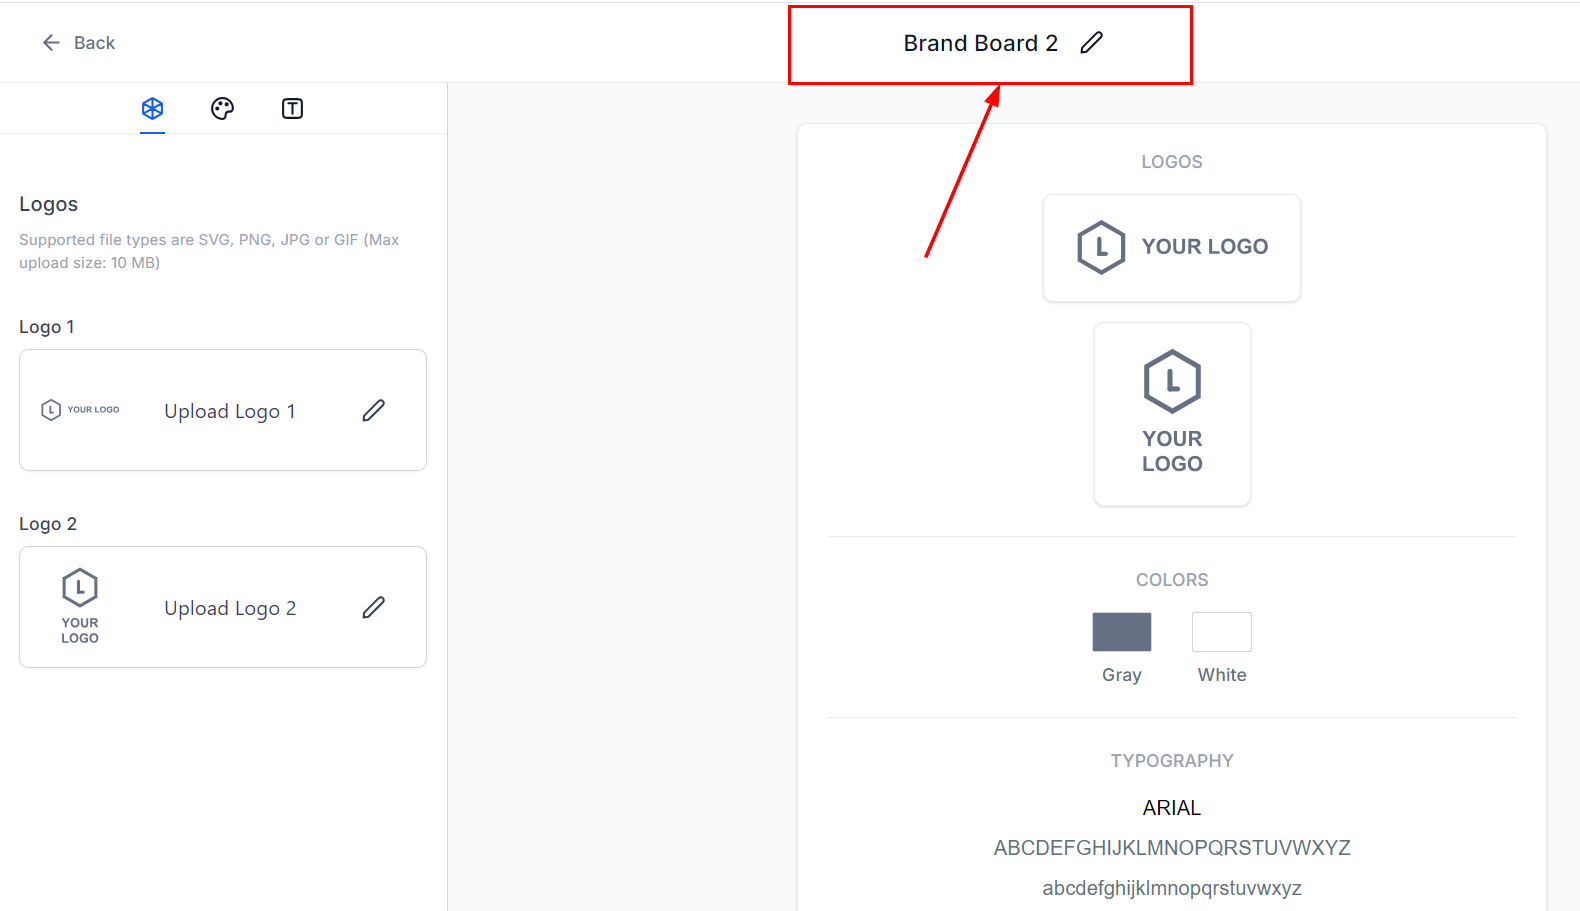
Naming the brand board
Add your logo
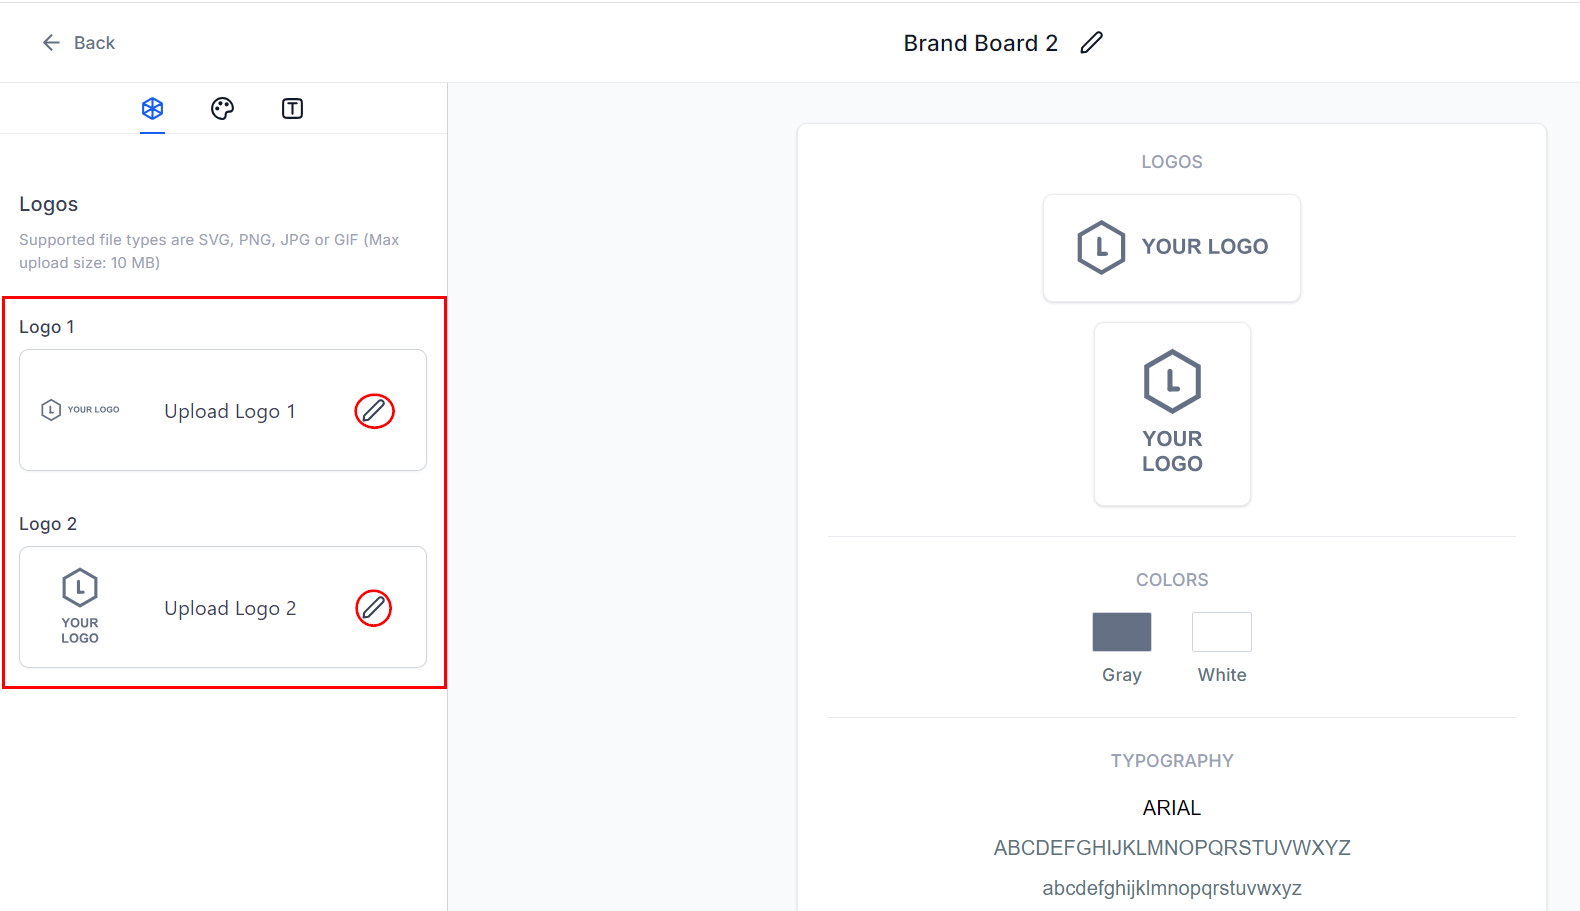
Editing the logo
Add brand colors
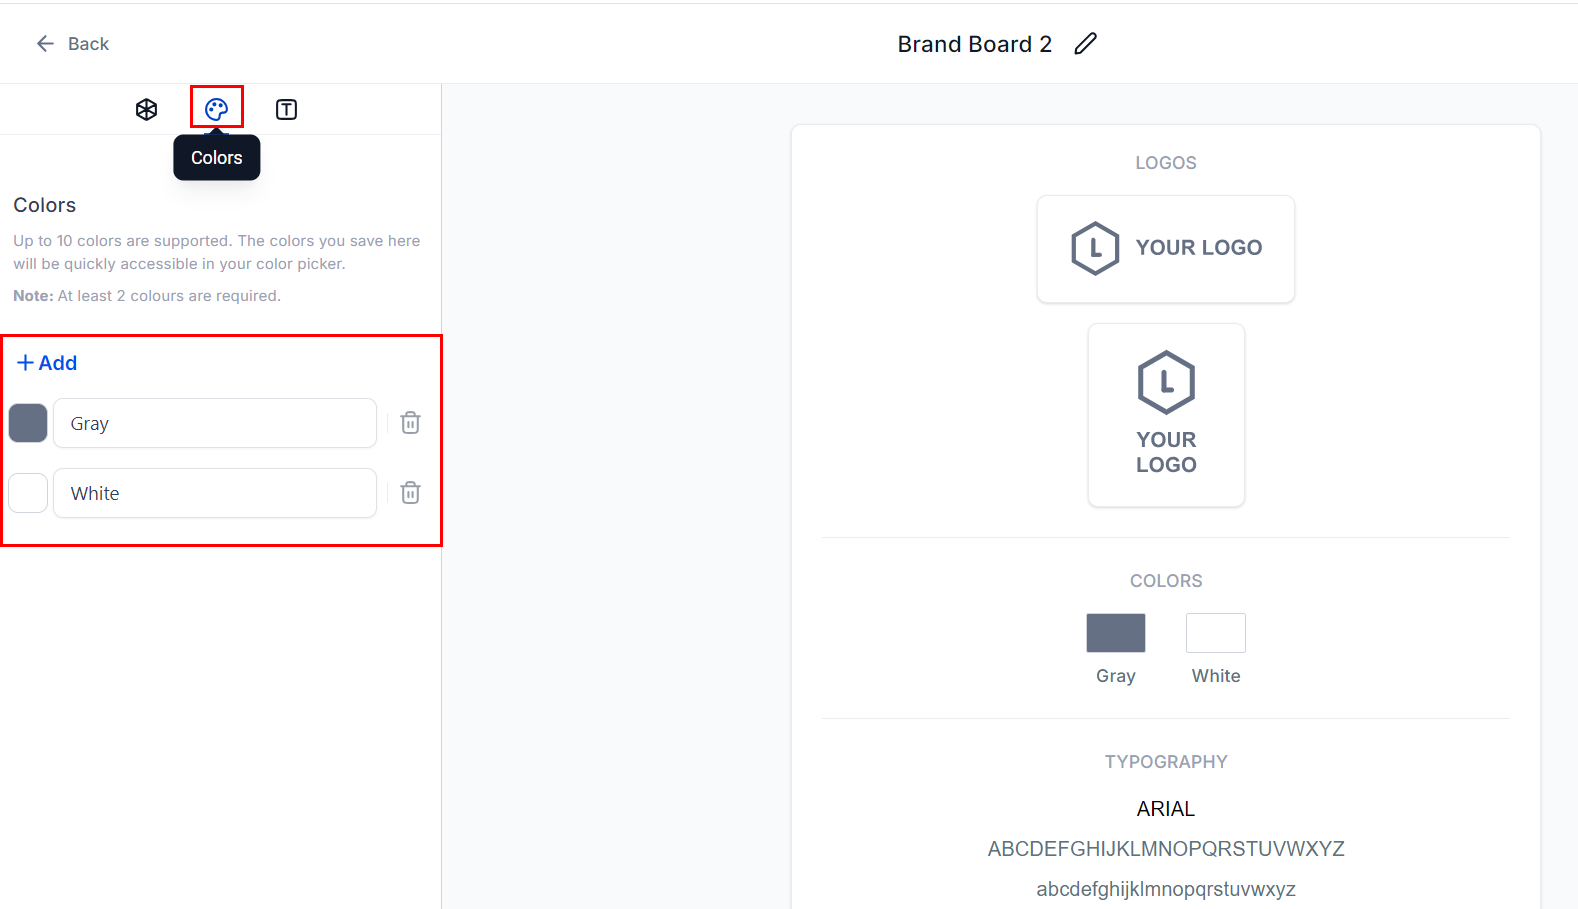
Adding brand colors
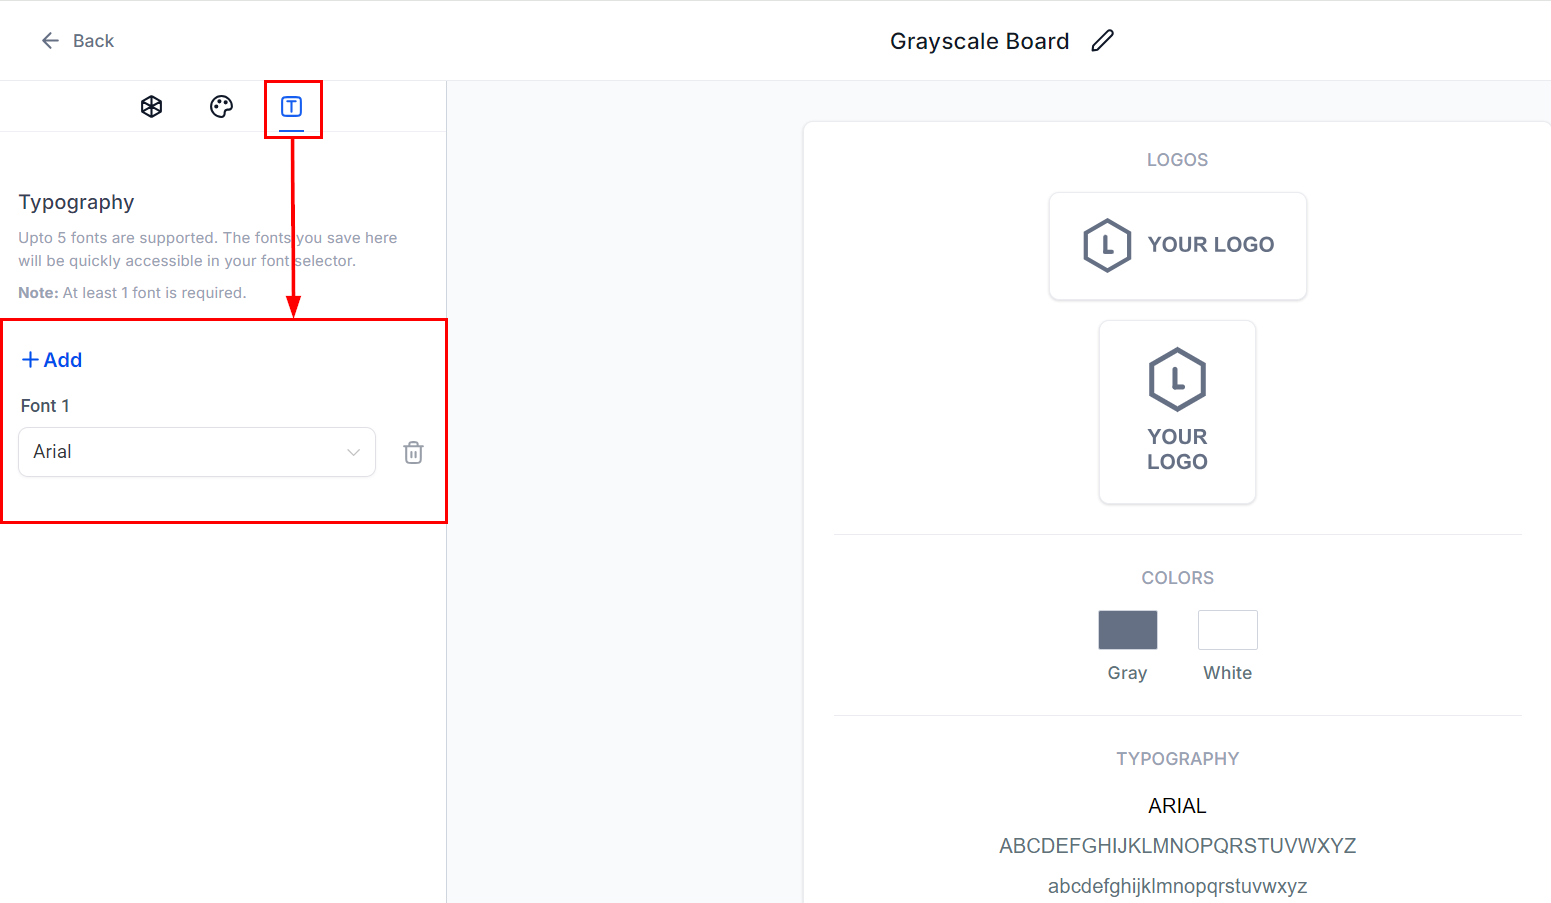
Set up fonts
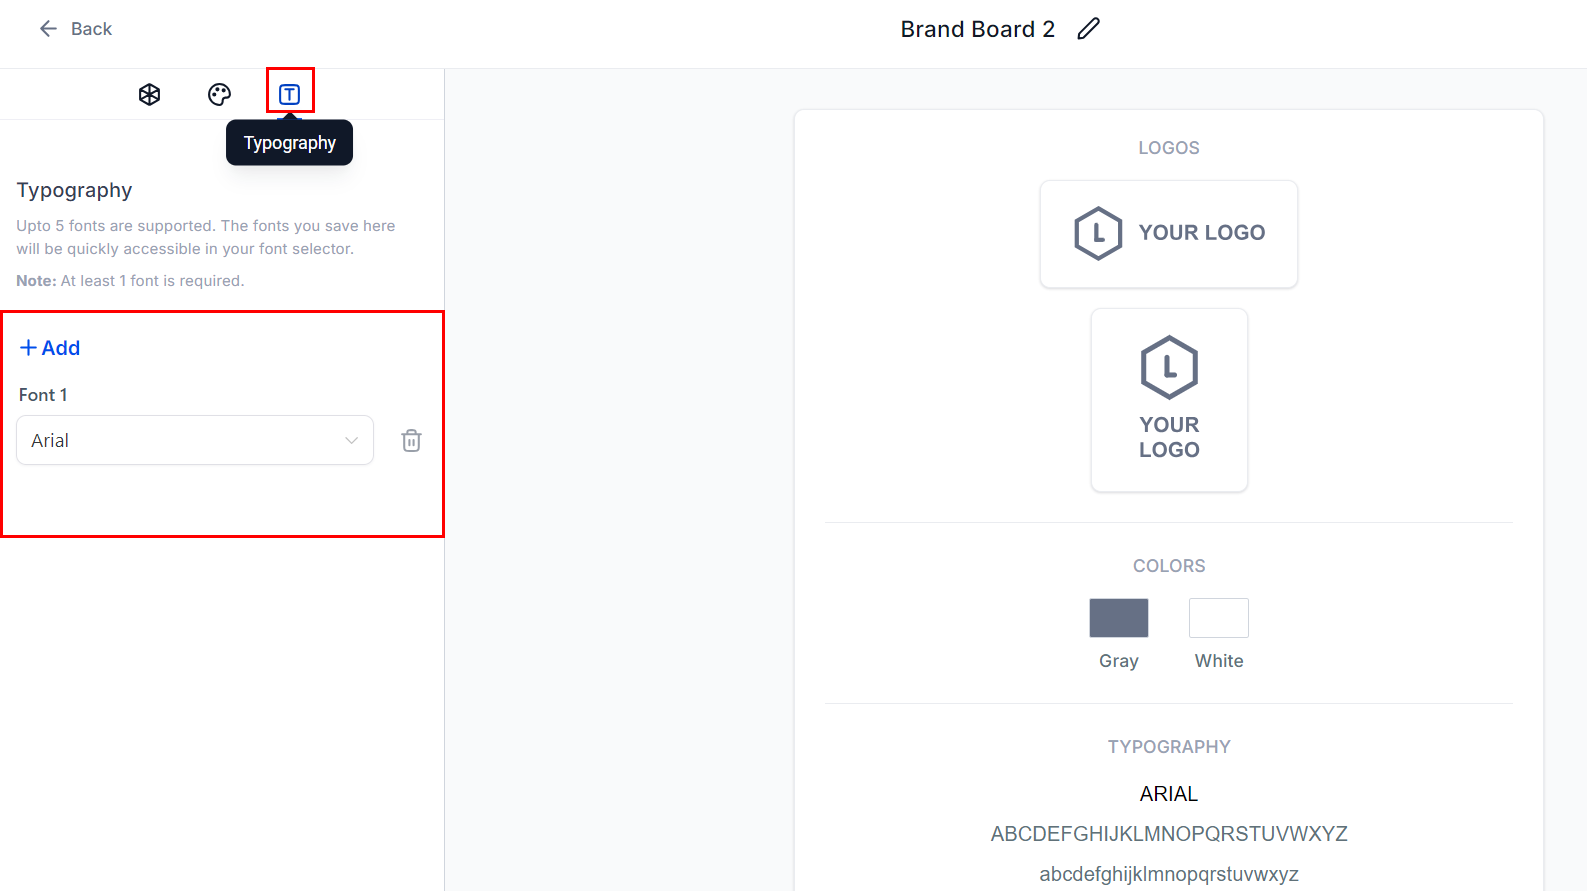
Configuring typography
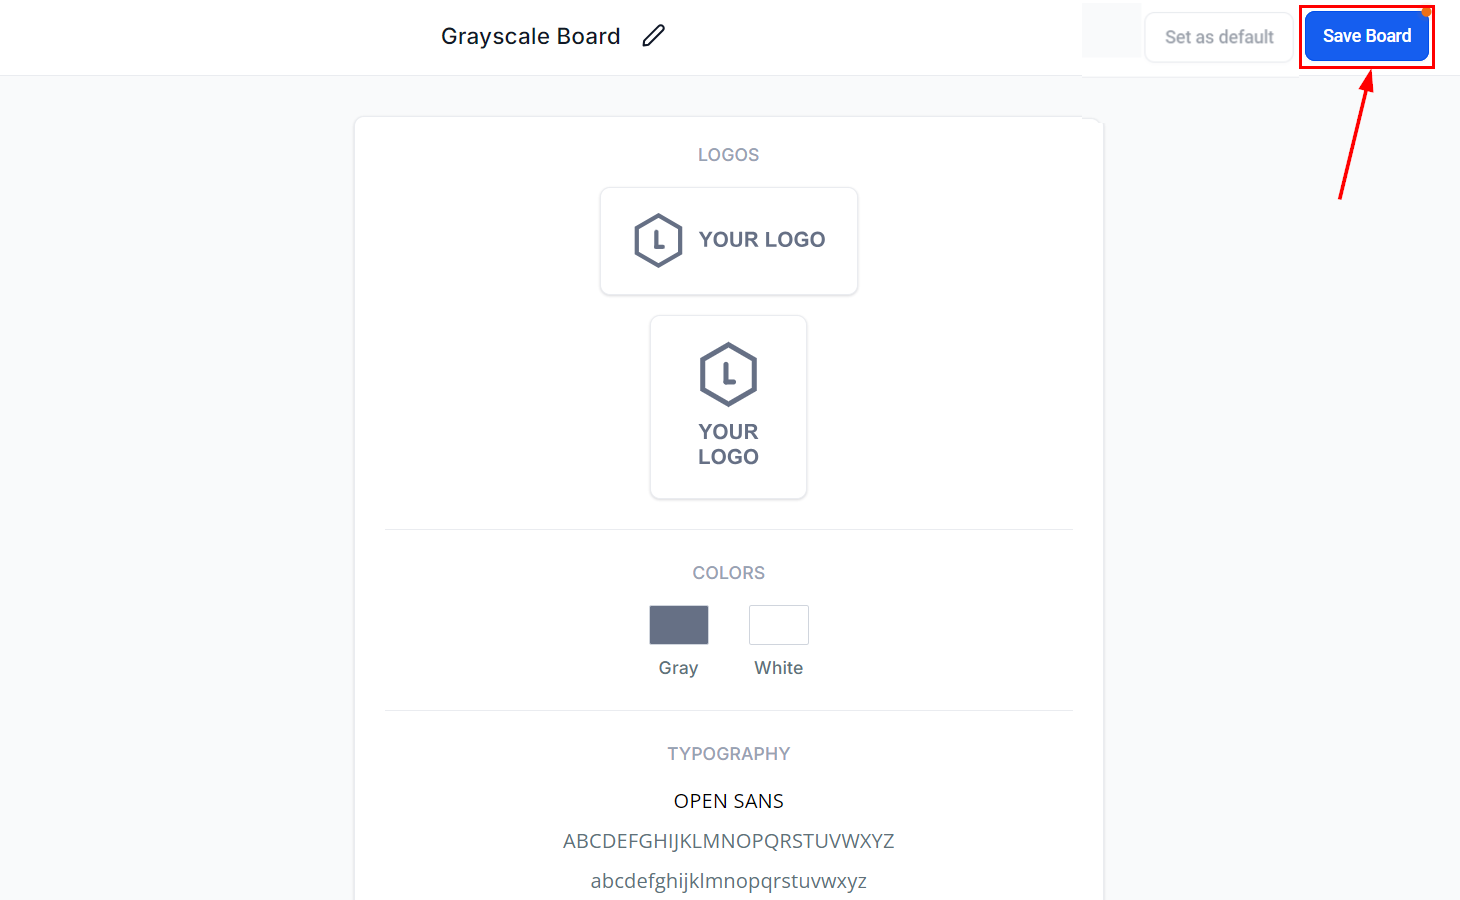
Save the board
Editing a brand board
As your brand evolves, you can update the board to reflect new logos, colors, or fonts. Why you should edit your board- Logo updates: A redesigned logo needs to be updated in the board so it flows consistently to all platforms.
- New colors or fonts: Any rebranding changes must be reflected in the board to maintain visual consistency.
- Ongoing consistency: Even minor adjustments should be kept current to reinforce brand recognition.
Access Brand Boards
Brand Boards list view
Open the board
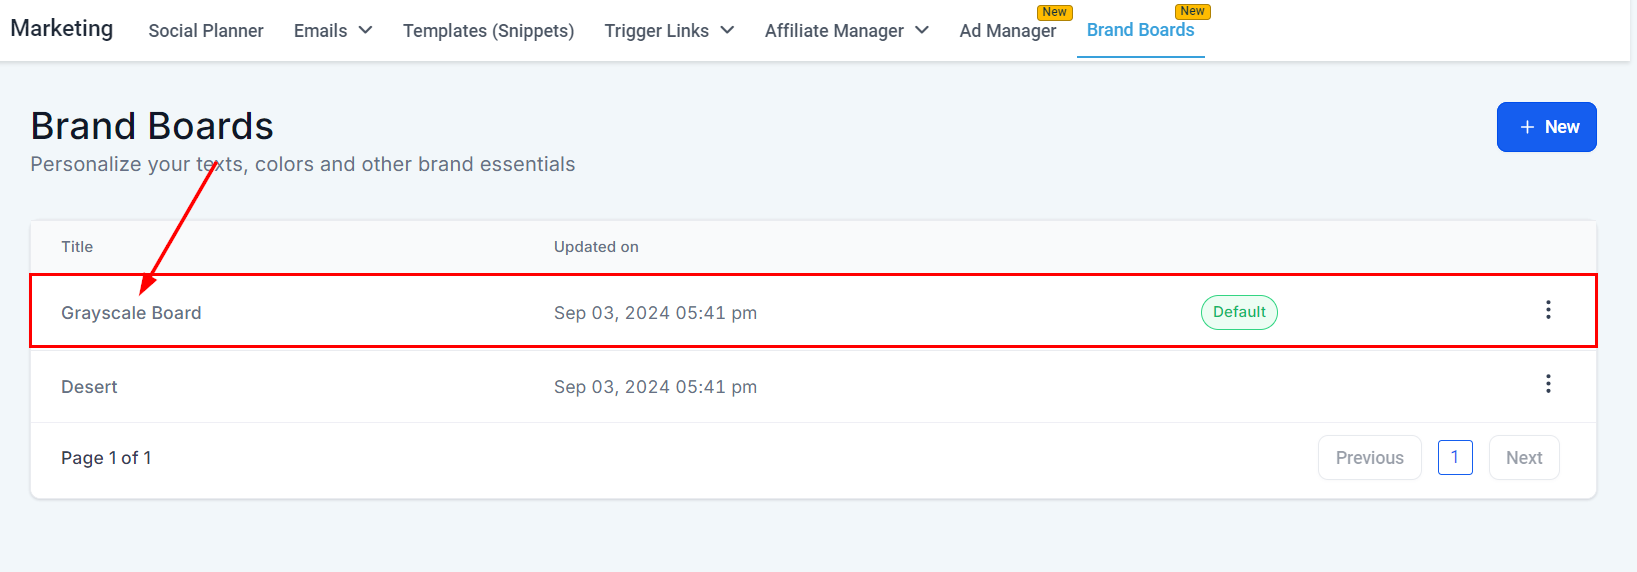
Opening a board by clicking its title
Update the logo
Updating the logo
Change colors

Editing colors
Modify fonts
Editing typography
Save your changes
Saving changes
Changing the default brand board
The default brand board determines which colors and fonts appear first in the color and font pickers across your email and funnel editors. The first board you create is automatically set as the default. When to change the default board- Updated guidelines: When brand colors, logos, or other key elements change significantly.
- Special occasions: For seasonal campaigns, though creating a separate themed template is usually more practical.
Go to Brand Boards
Default brand board label
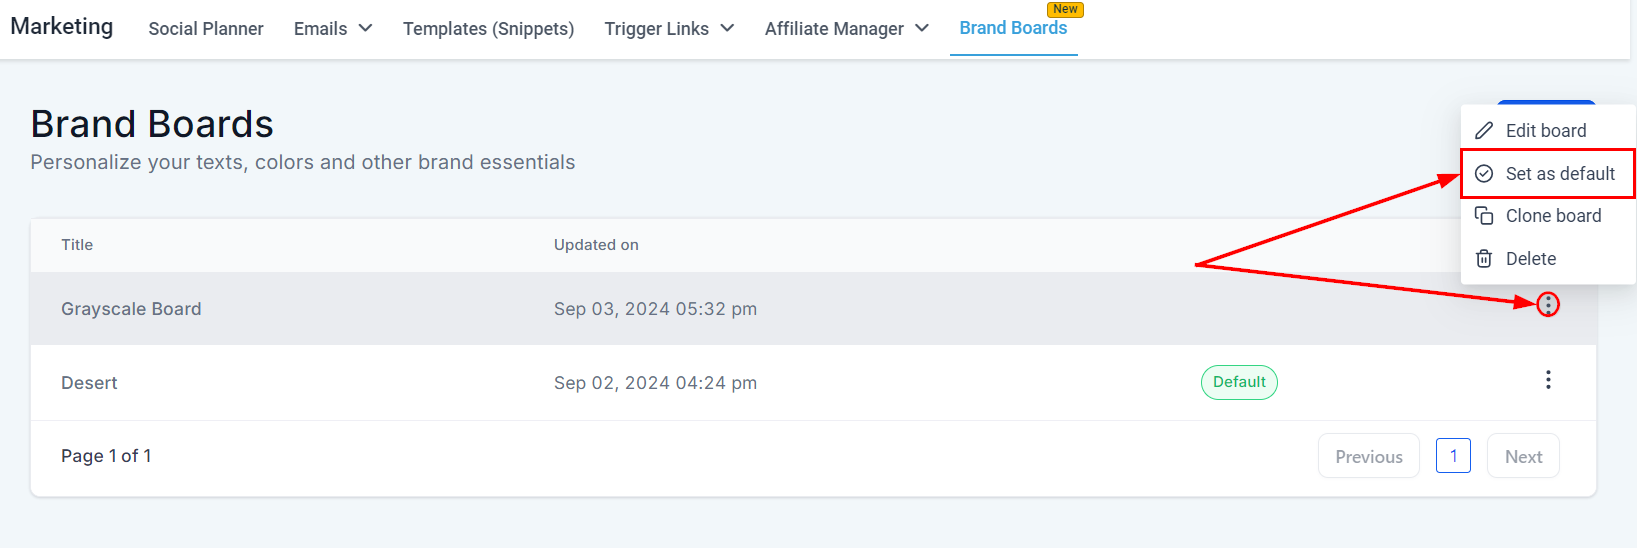
Set a new default
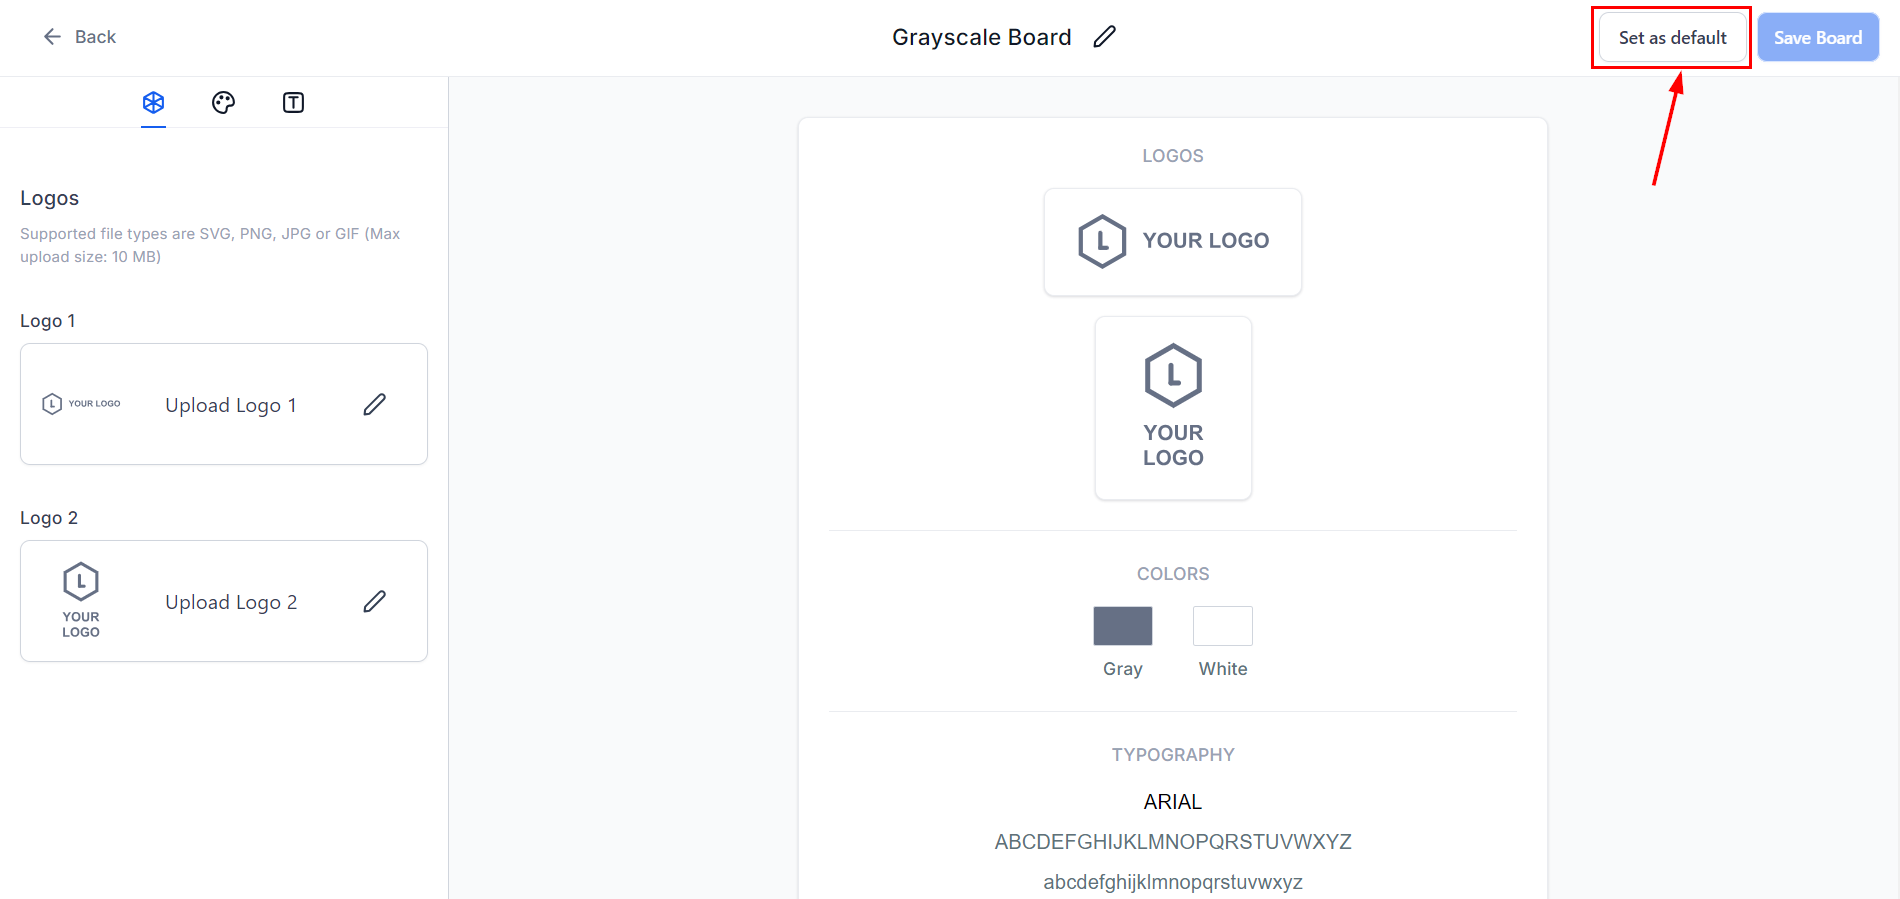
Set as Default option in the actions menu
Confirm the change

Updated Default label on the new board
Using brand boards in emails
Brand boards give you quick, organized access to your brand’s fonts and colors within the email editor. Only the default brand board’s fonts and colors appear in the color and font pickers. Logos from all brand boards are accessible through the media library.Open an email campaign or template
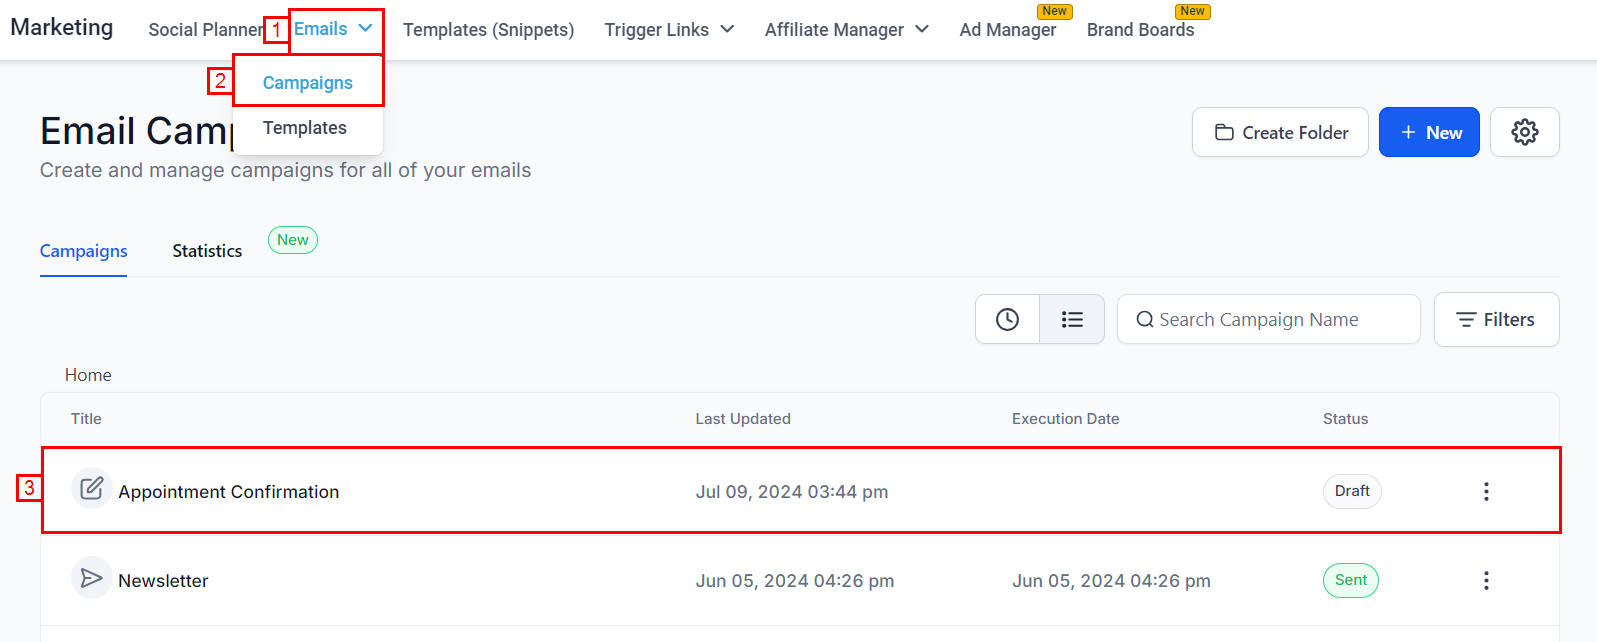
Navigating to an email campaign
Use the color picker
Brand colors in the email color picker
Use the font picker
Brand fonts at the top of the font picker
Access logos
Logos from all brand boards in the media library
Global settings
Global Settings allow you to store and manage custom colors and fonts that sync automatically across all your site builders — funnels, websites, and forms — ensuring cohesion at scale.Open Global Settings
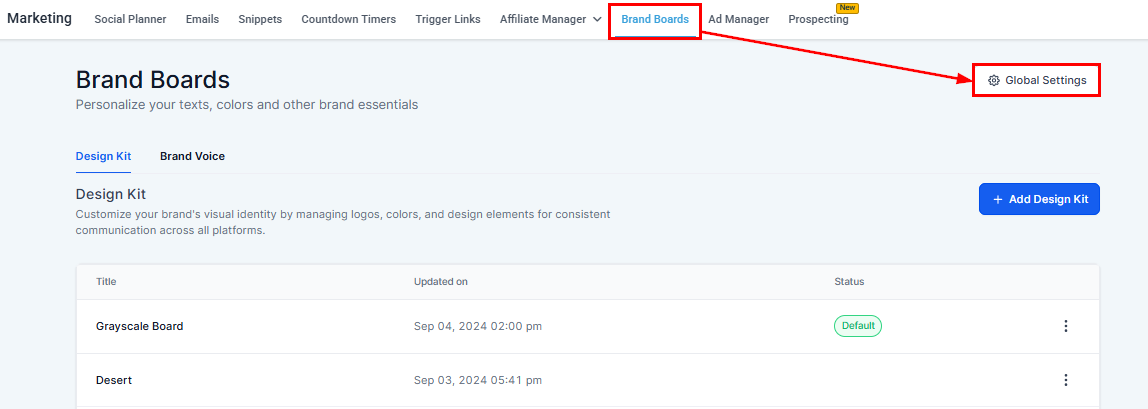
Global Settings button in Brand Boards

Custom Fonts and Custom Colors tabs
Add a custom color
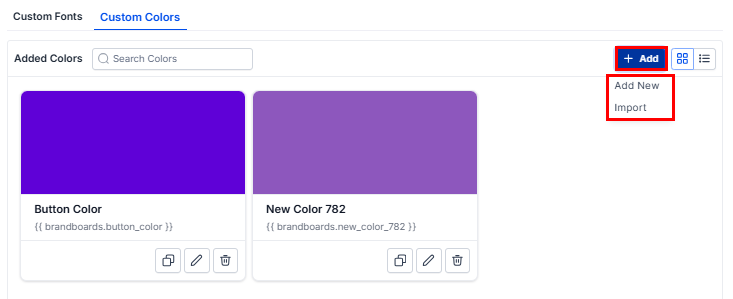
Adding a custom color
Choose your display
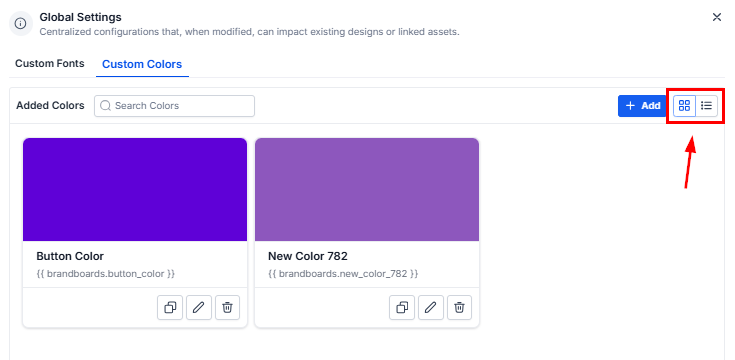
Display toggle icons
Manage colors
Copy, edit, and delete icons for each color
Brand voice
Brand Voice lets you define and document your brand’s unique communication style and apply it automatically across all AI-generated content in HoopAI — from campaigns and emails to landing pages.Adding a brand voice from scratch
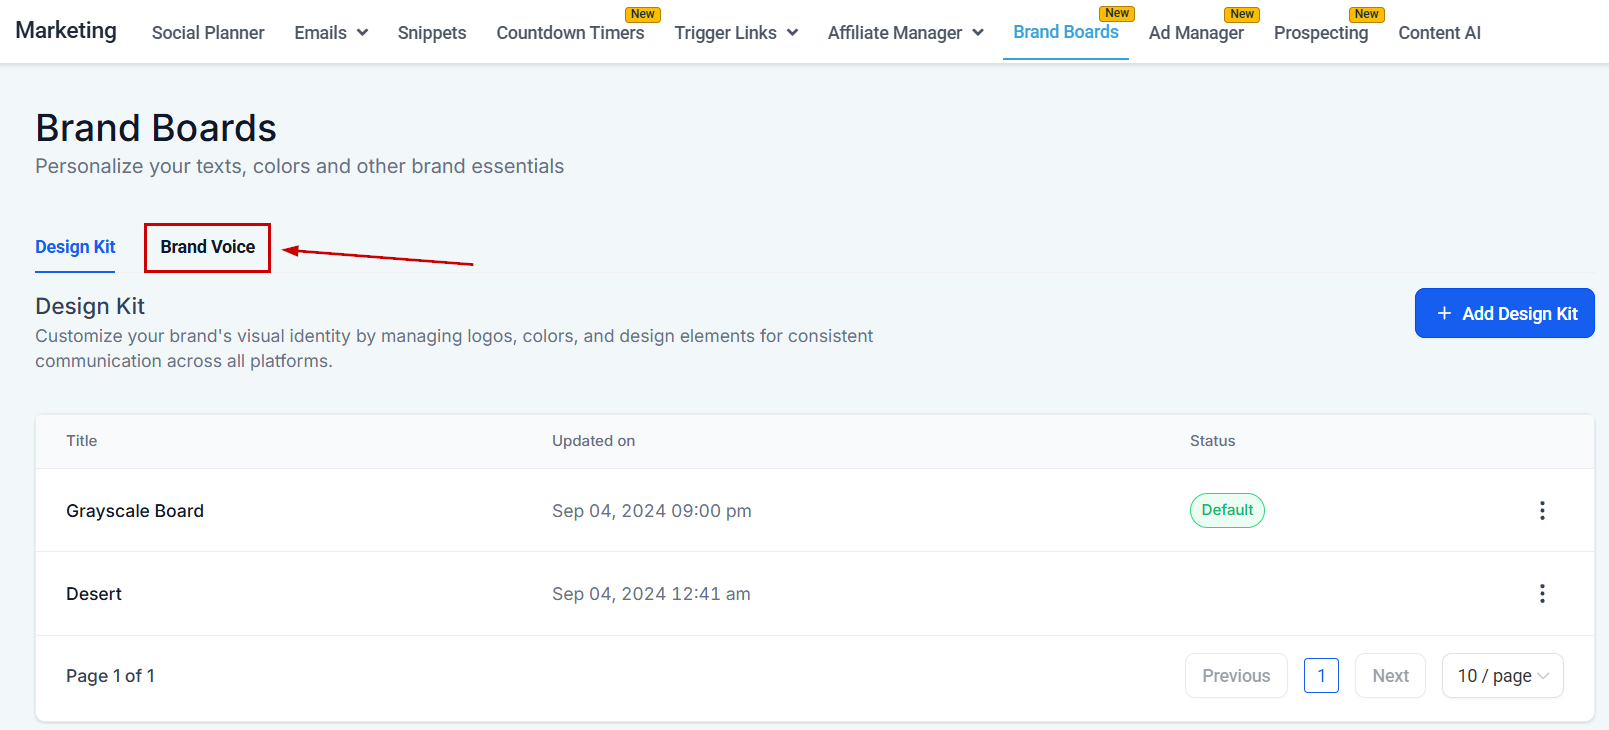
Navigate to Brand Voice
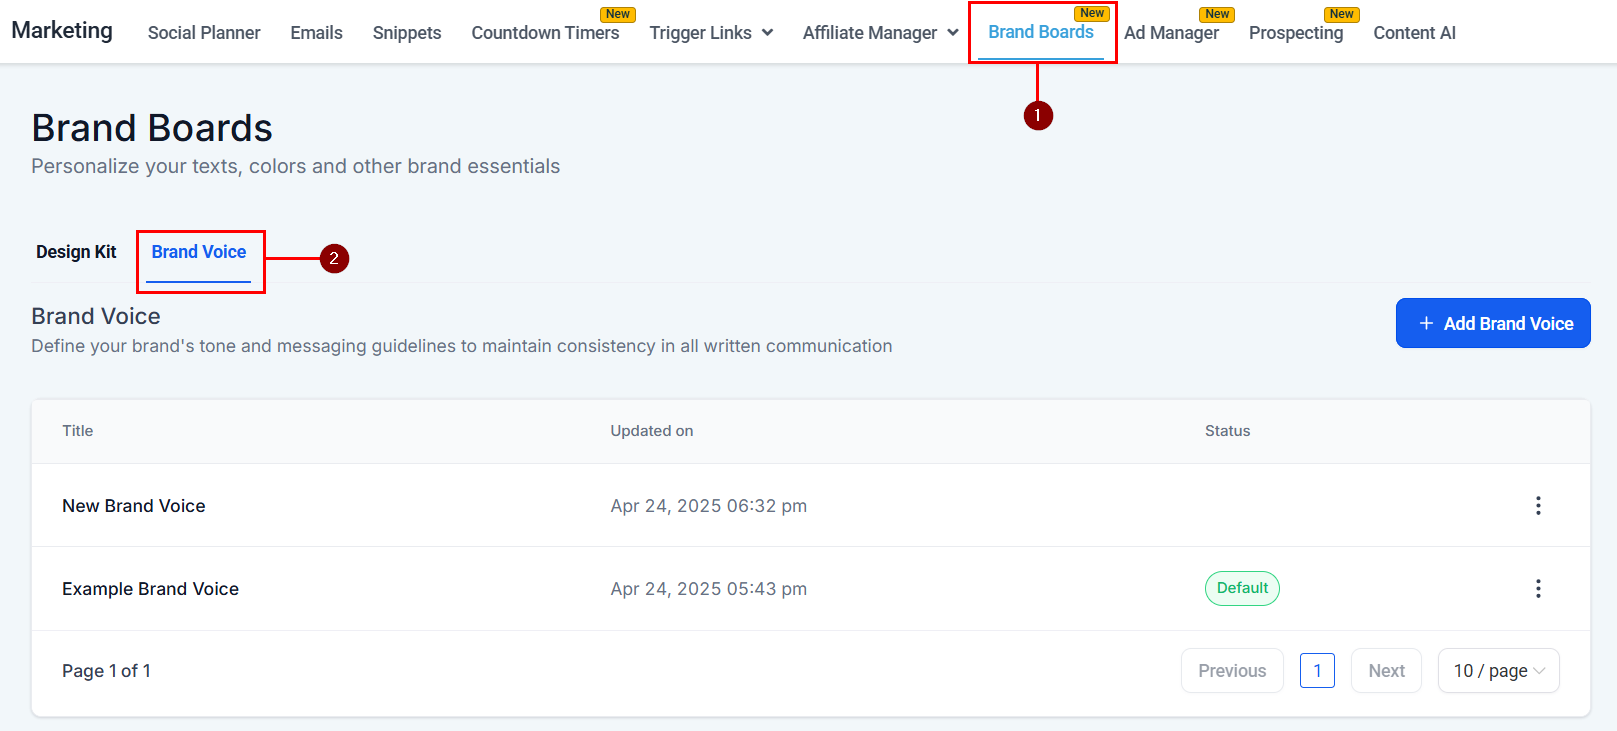
Brand Voice tab in Brand Boards
Create a new voice
Add Brand Voice button
Name the voice
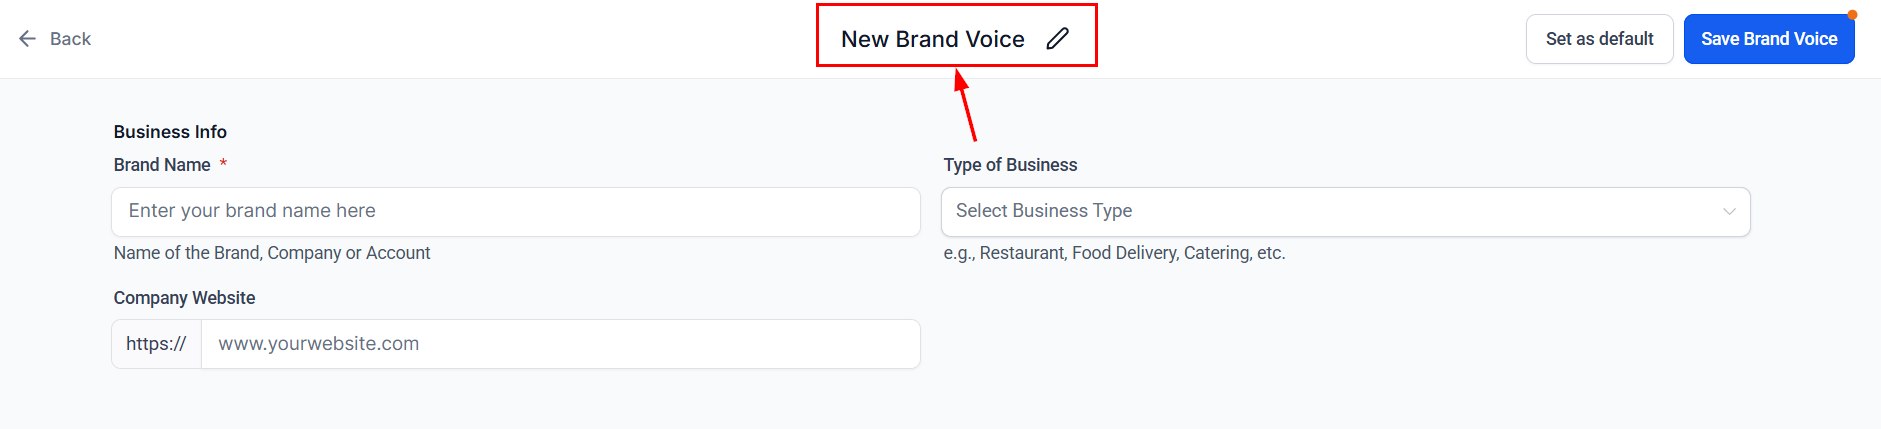
Naming the brand voice
Complete the form
- Business information: Key details about what your brand does.
- Brand values: Core beliefs and principles that define your identity.
- Tone and style: Guidelines for how to communicate with clarity, personality, and professionalism.
- Intended CTAs: The actions you want your audience to take.
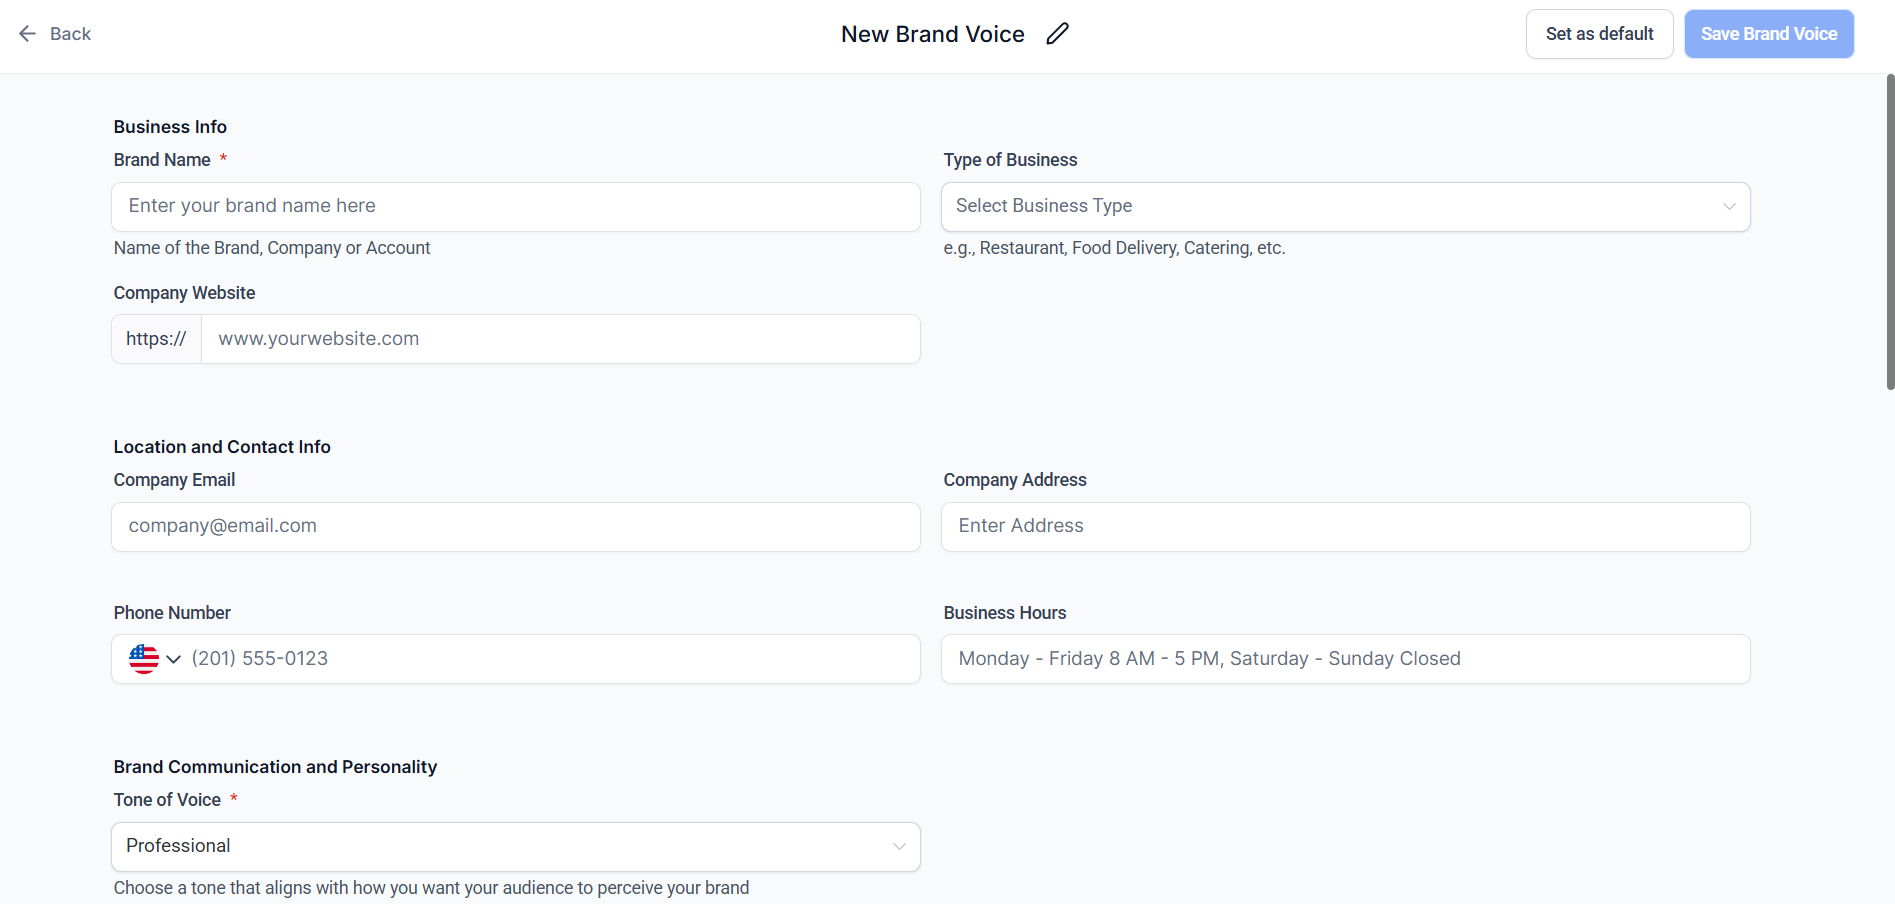
Brand Voice configuration form
Save the voice
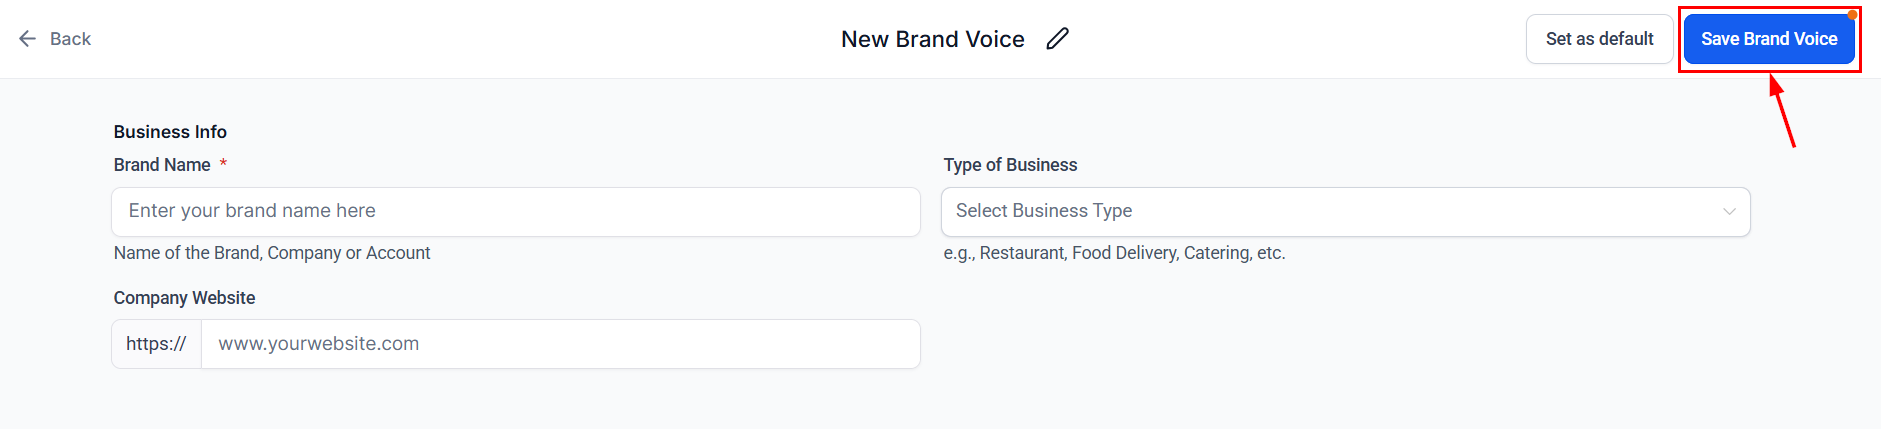
Saving the brand voice
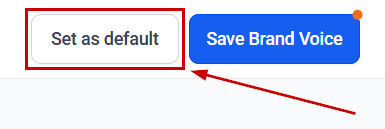
Set as default (optional)
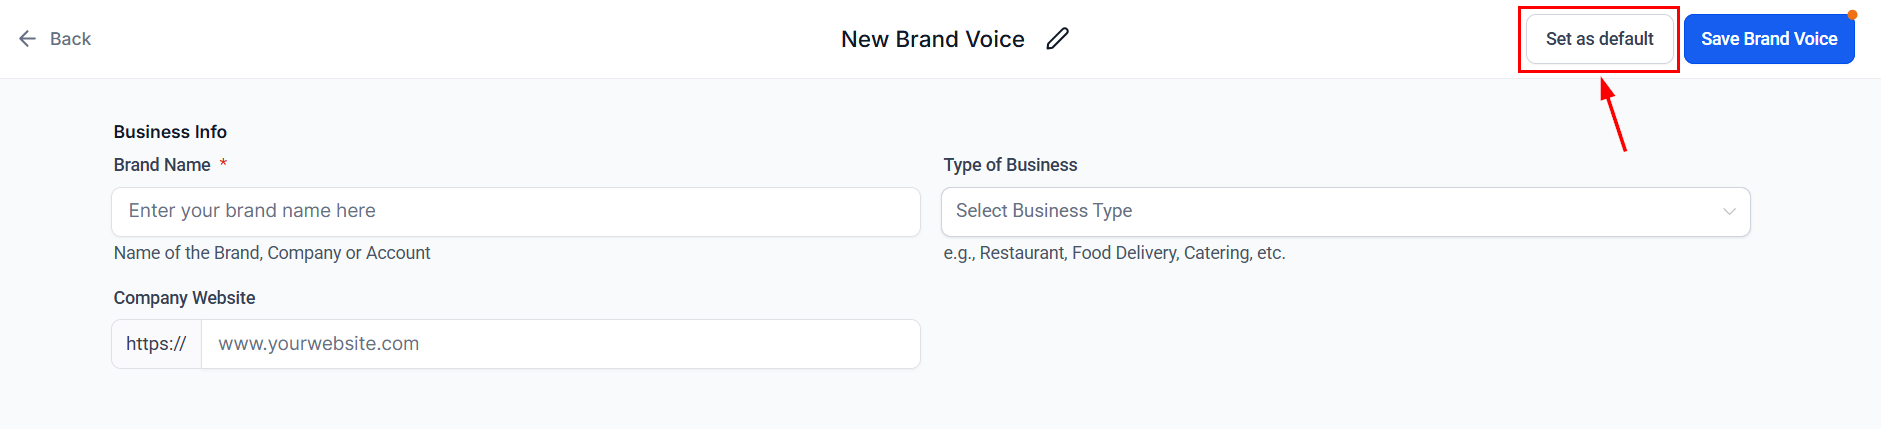
Setting a default brand voice
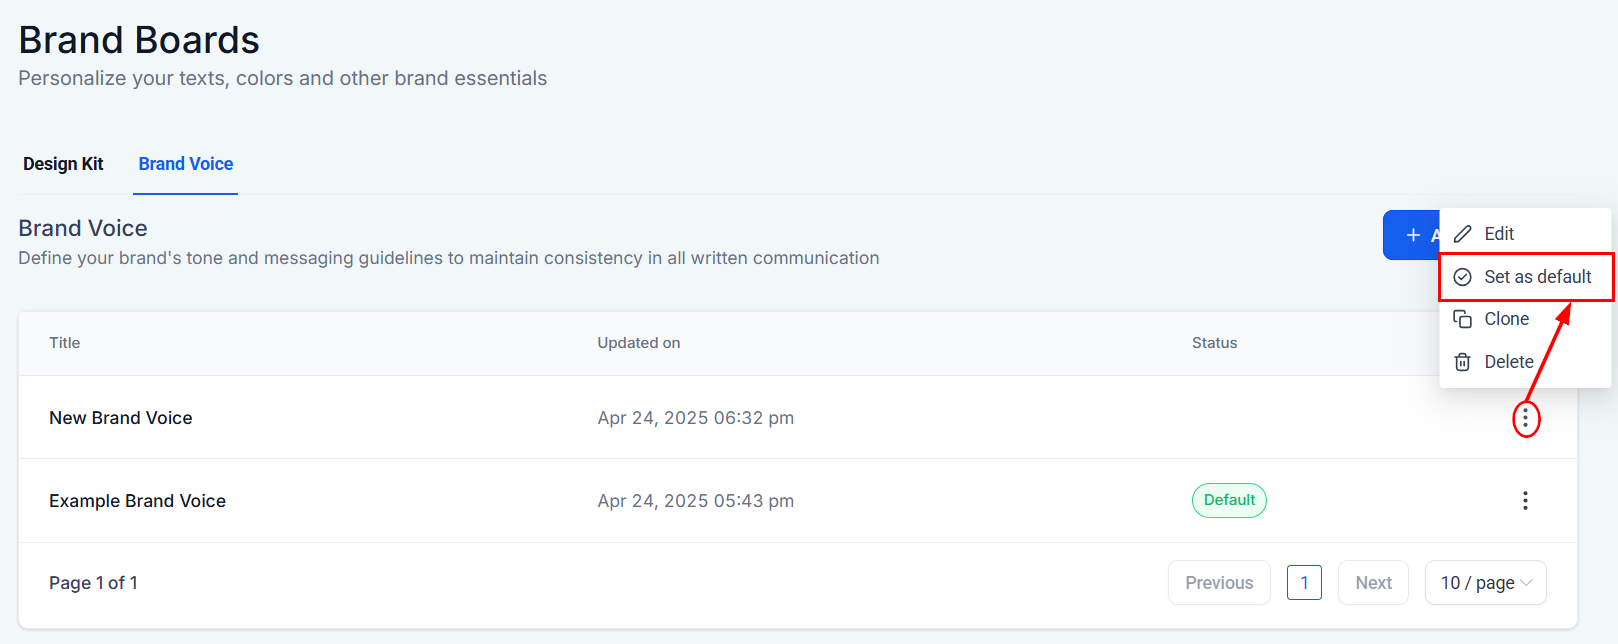
Set as default option in the menu
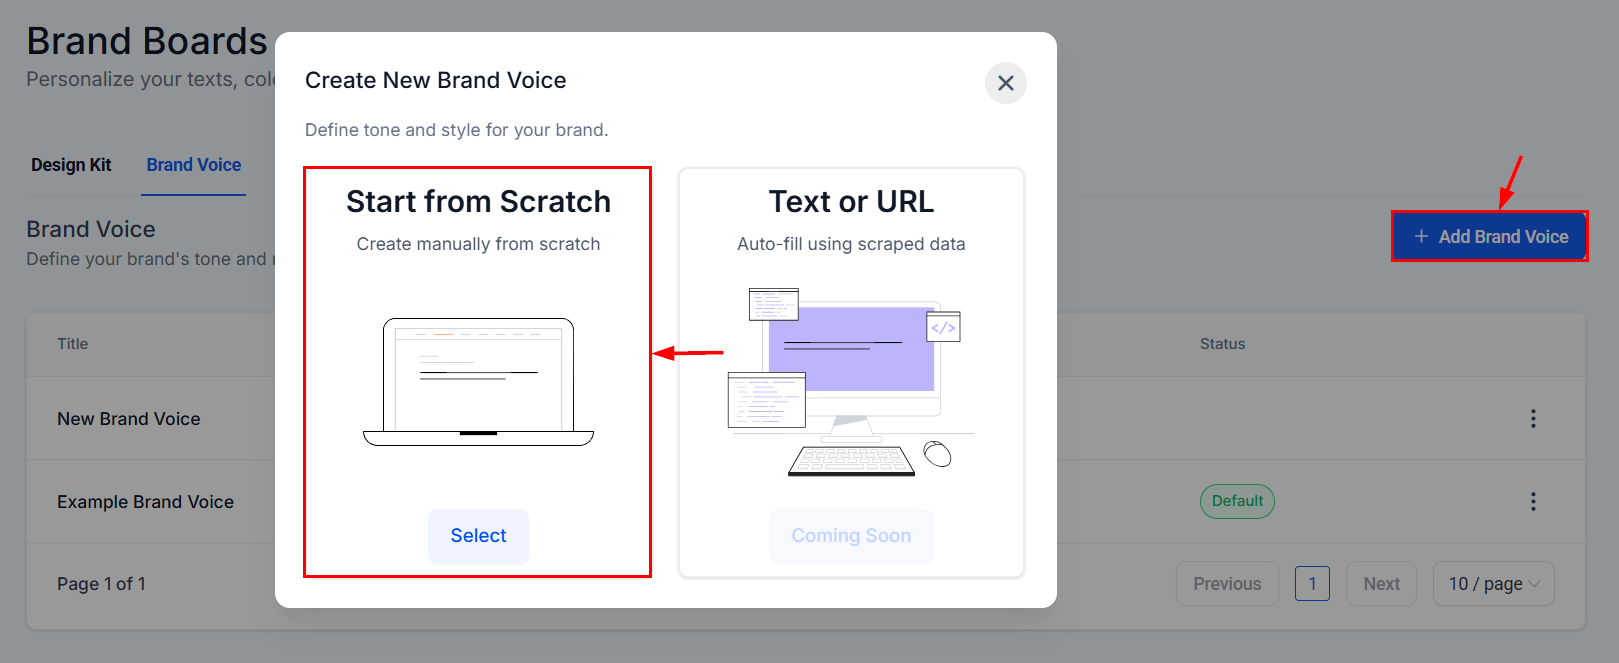
Creating a brand voice from text or URL
Skip manual setup by letting AI generate a brand voice profile from your website or brand content. Key benefits- Faster setup: No need to build a voice from scratch.
- Flexible and editable: The generated voice is fully customizable.
- User-friendly: Requires only a single URL or block of text.
Open Brand Voice
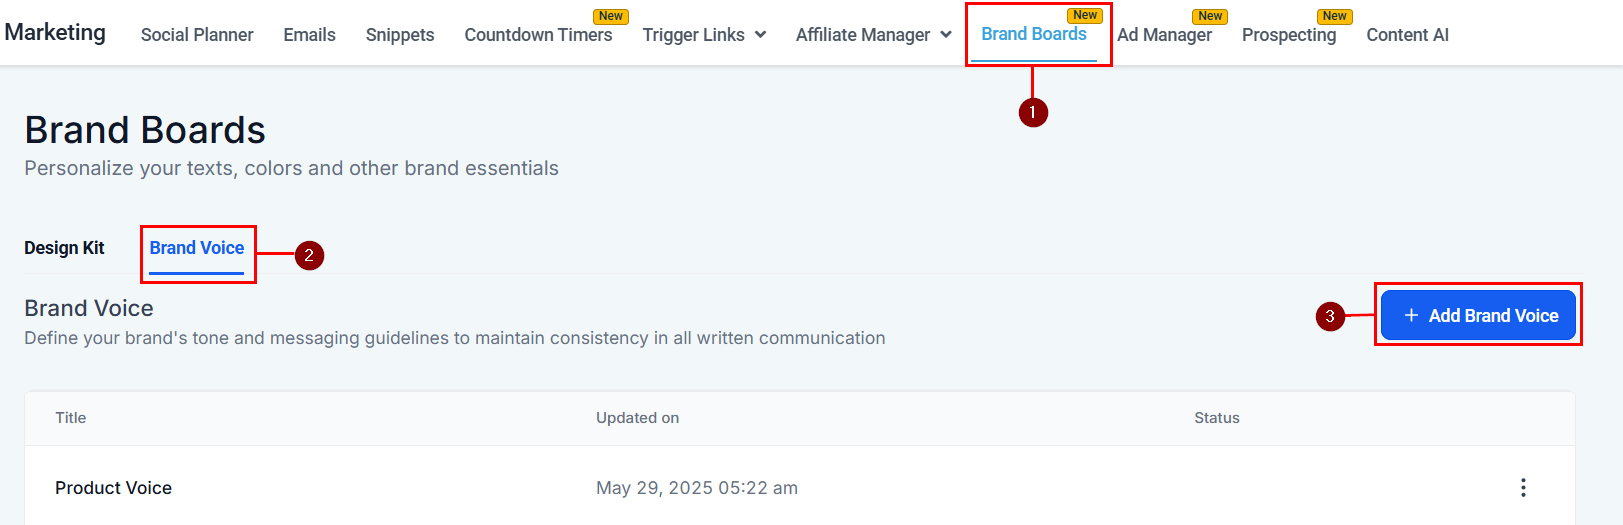
Brand Voice section
Select Text or URL option
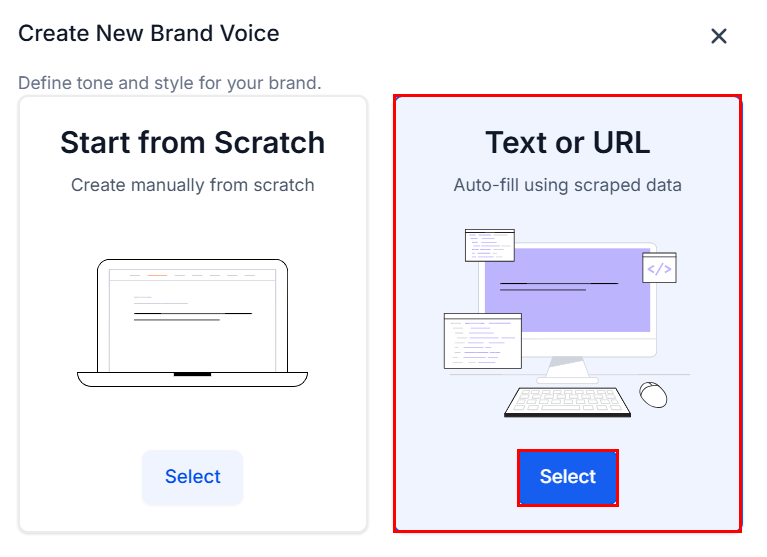
Text or URL option
Name the voice
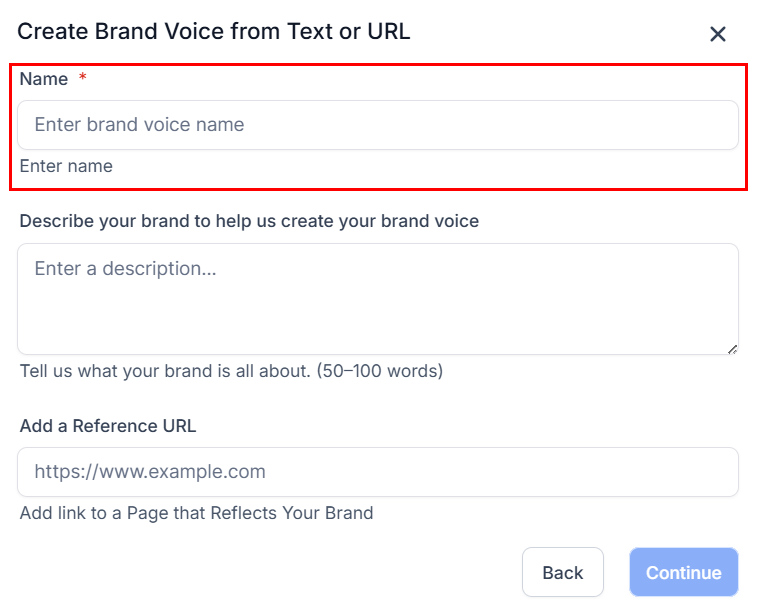
Naming the generated voice
Provide brand content
- Brand text: Paste text from an “About Us” section, mission statement, product descriptions, or marketing copy.
- Website URL: Enter your homepage or a representative page. The system extracts relevant messaging to understand your tone.
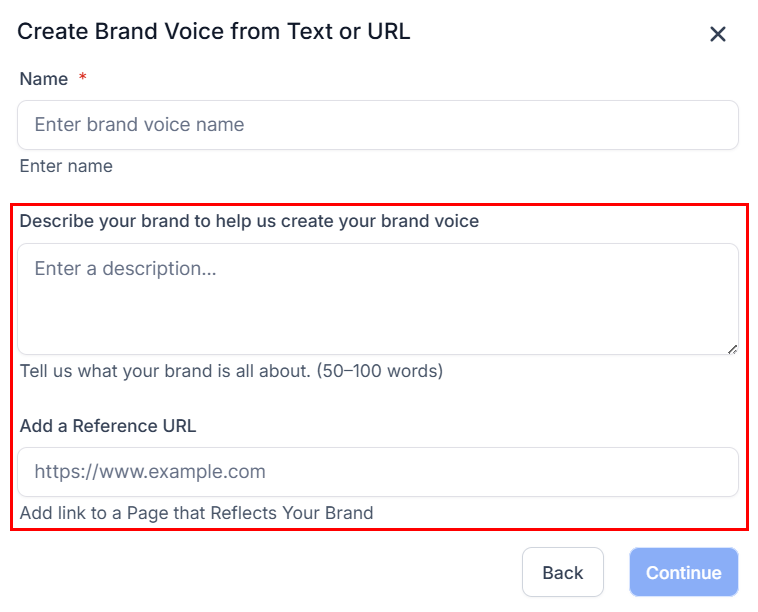
Pasting brand text or entering a URL
Generate the voice
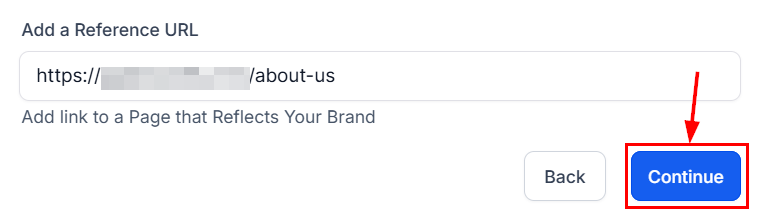
Continue to generate the brand voice
Changing the default brand voice
Go to Brand Voice
Brand Voice tab
Open the actions menu
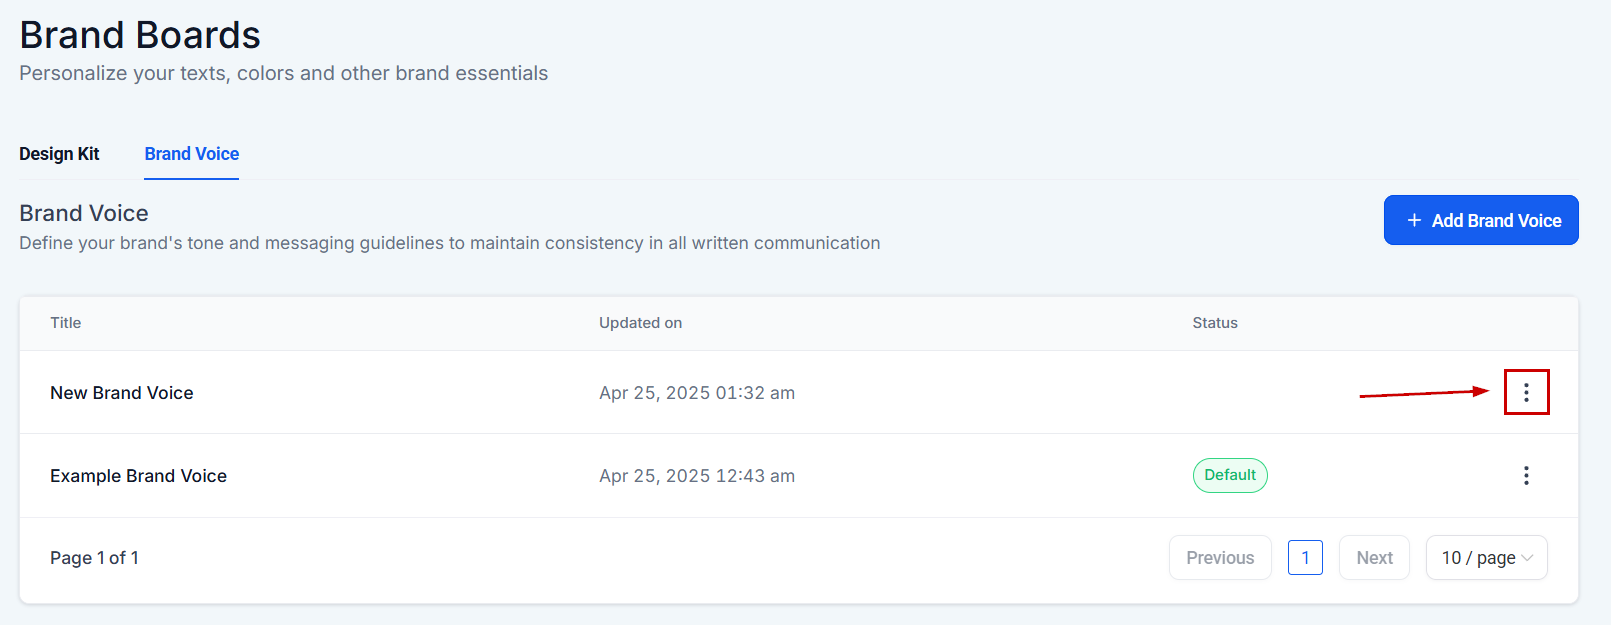
Three-dot actions menu
Set as default
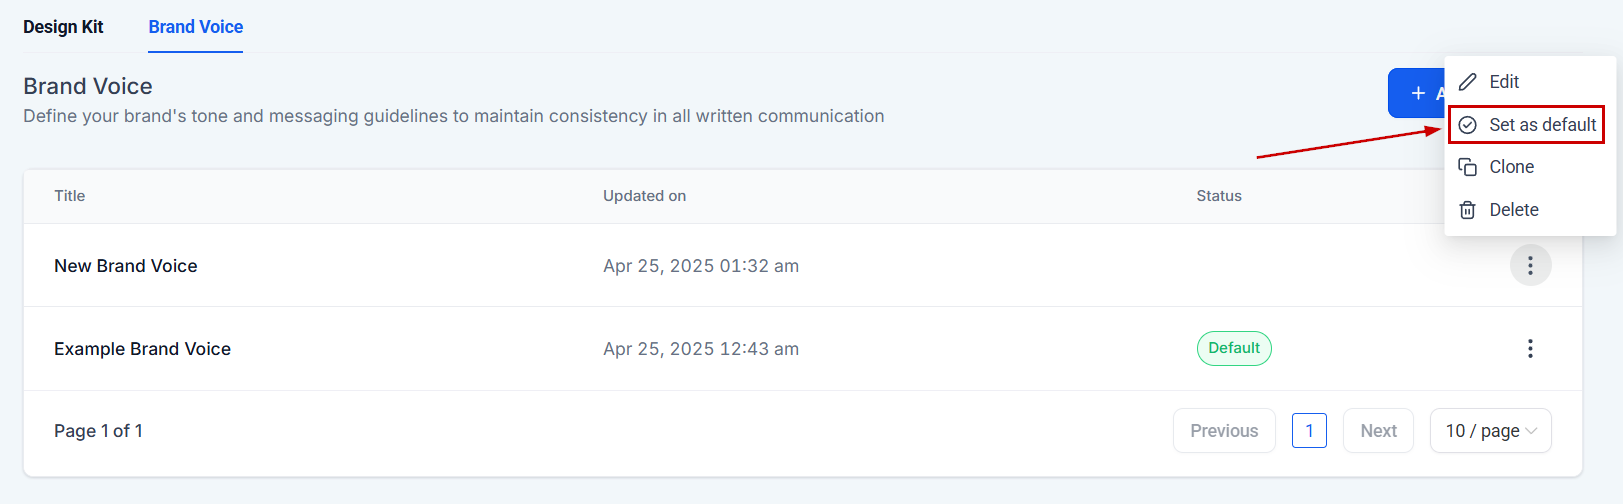
Set as Default option
Edit before setting as default (optional)
- Brand name
- Tone of voice
- Target audience
- Customer pain points
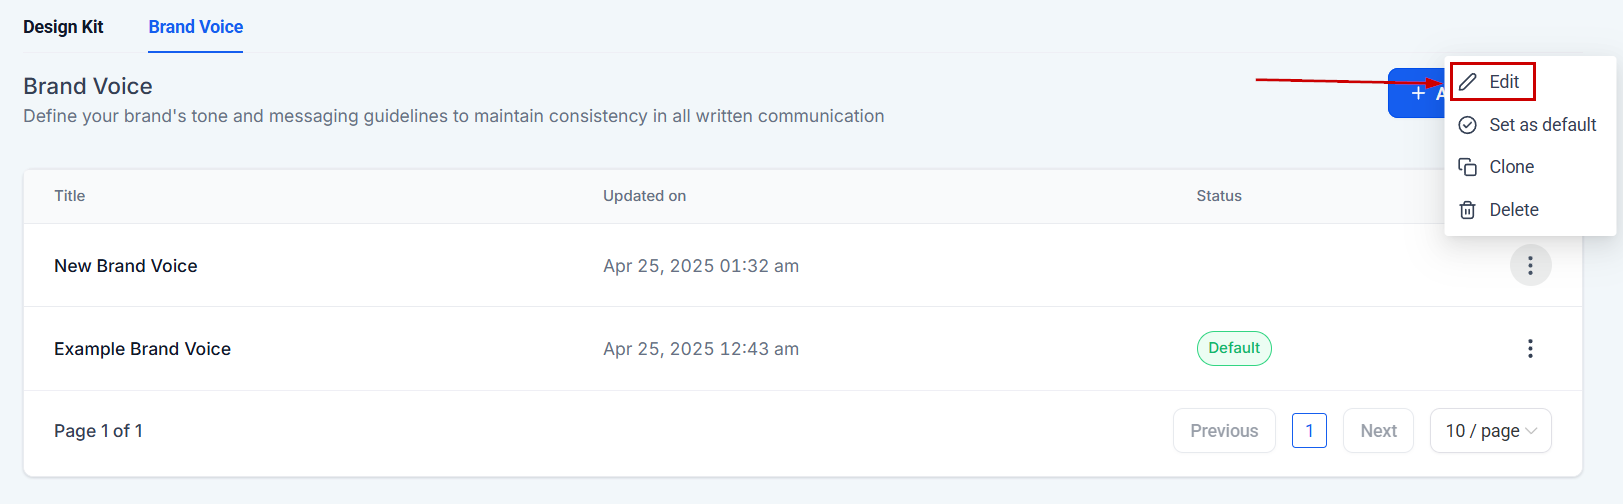
Editing a brand voice
Save and confirm
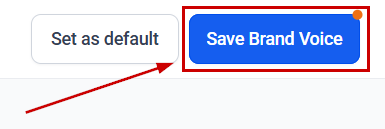
Saving brand voice changes
Default brand voice confirmed
Frequently asked questions
Will changing colors in the brand board retroactively change colors in existing emails or funnels?
Will changing colors in the brand board retroactively change colors in existing emails or funnels?
What are the limits for colors, fonts, and logos in a brand board?
What are the limits for colors, fonts, and logos in a brand board?
Where do the logos I add appear?
Where do the logos I add appear?
Will changes in brand board colors reflect in existing funnel designs?
Will changes in brand board colors reflect in existing funnel designs?
Can I have multiple brand voices?
Can I have multiple brand voices?
How is Global Colors different from Design Kit colors?
How is Global Colors different from Design Kit colors?
What happens when I delete a Global Custom Color?
What happens when I delete a Global Custom Color?