

Email Campaigns section — campaign list with status, open rates, and send dates
Campaign types
All email campaigns are organized into three categories:Email campaigns
Workflow campaigns
Bulk action campaigns
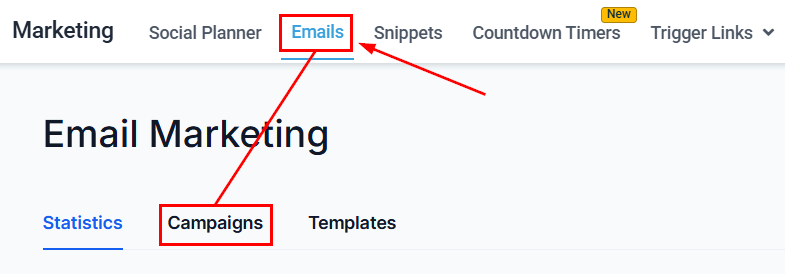
Creating a campaign
Start a new campaign
Choose a template or start from scratch
- Blank — start from zero with the Design Editor
- Email Marketing Templates — use a system-provided template
- Your Templates — use templates you have already created
Design your email
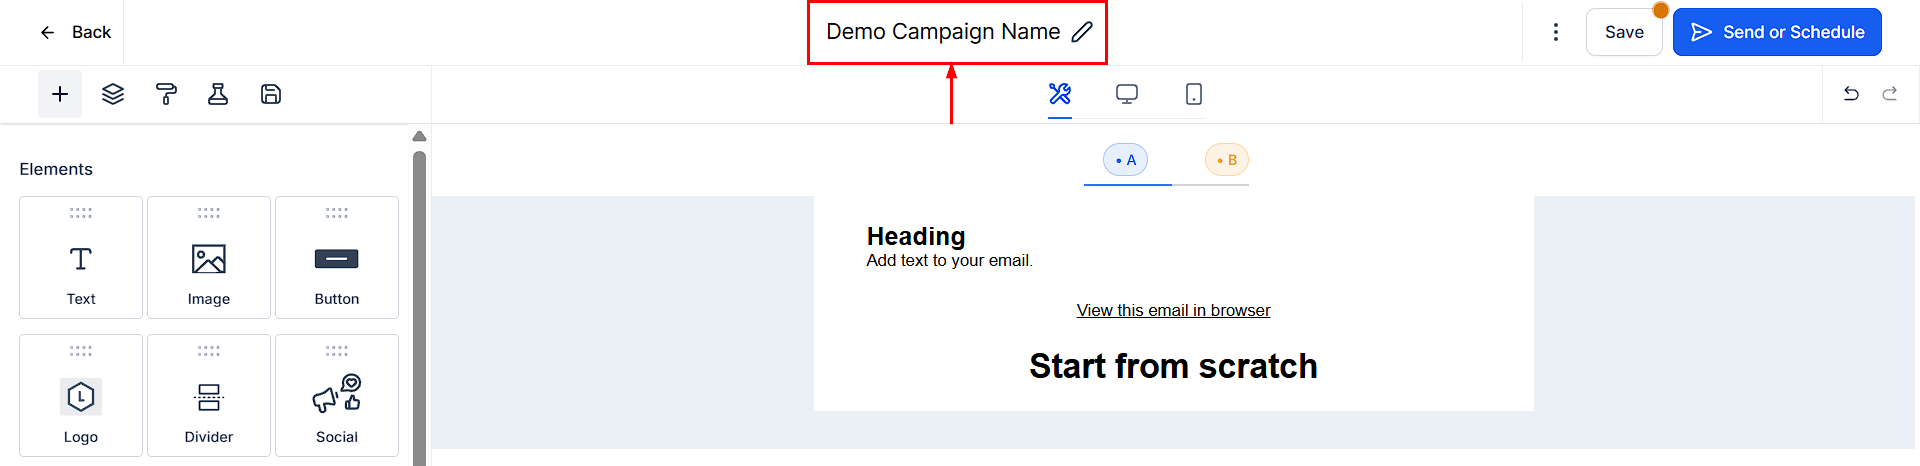
Email builder with drag-and-drop blocks, layout controls, and live preview
Preview and test
Send or schedule
Delivery options
Send now
Send now
Schedule
Schedule
Batch schedule
Batch schedule
- Start date and time
- Batch quantity (number of emails per batch)
- Repeat interval (days, hours, minutes)
- Allowed send days (uncheck days you want to skip)
- Optional start and end time windows
RSS schedule
RSS schedule
A/B testing
A/B testing lets you experiment with up to six variations of a campaign to determine which performs best. The winning variation is automatically sent to the remaining contacts.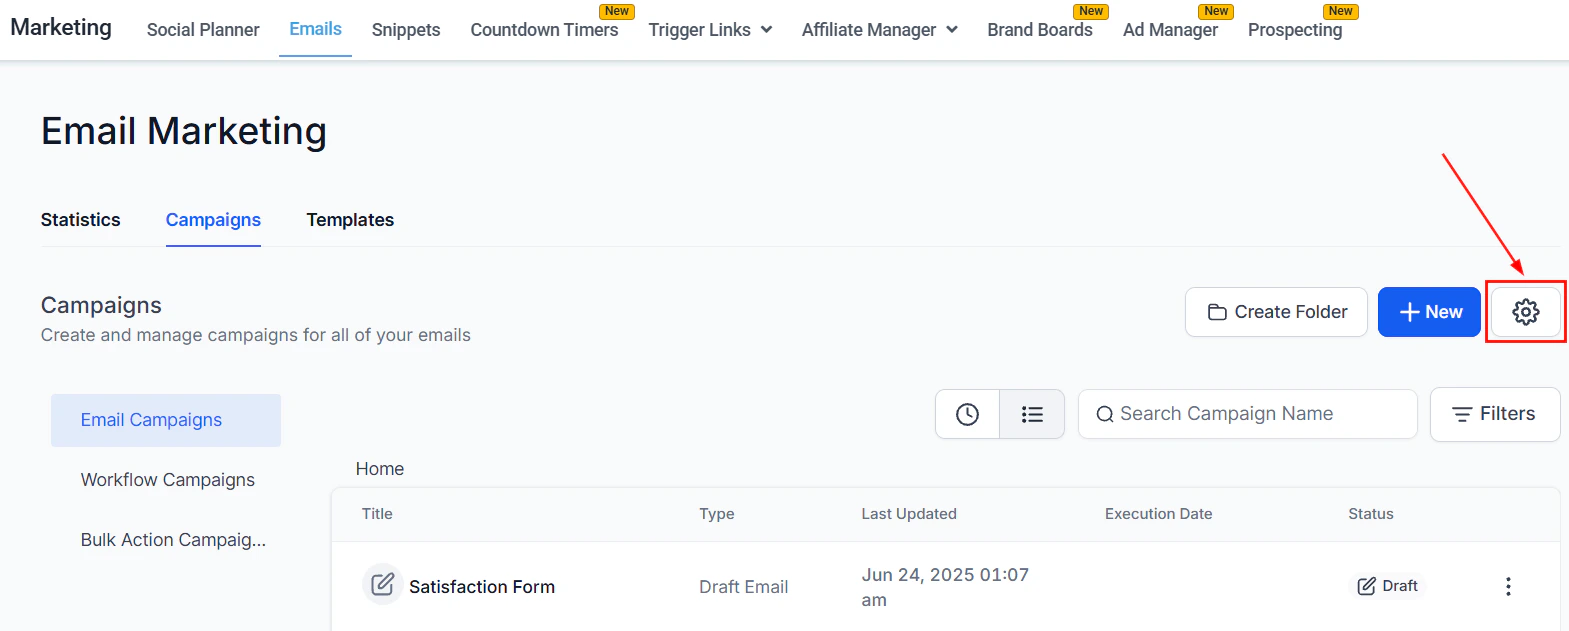
Email campaign audience and schedule configuration — select contacts, set the send date, and configure delivery options
Enable A/B testing
Choose what to test
- Subject line — tests which subject gets the highest open rate
- Email content — tests different body content (CTAs, images, layout) to drive clicks or conversions
Set test duration
Define variations and test size
Campaign statistics
Track the performance of all campaigns from the Statistics view in the Campaigns section.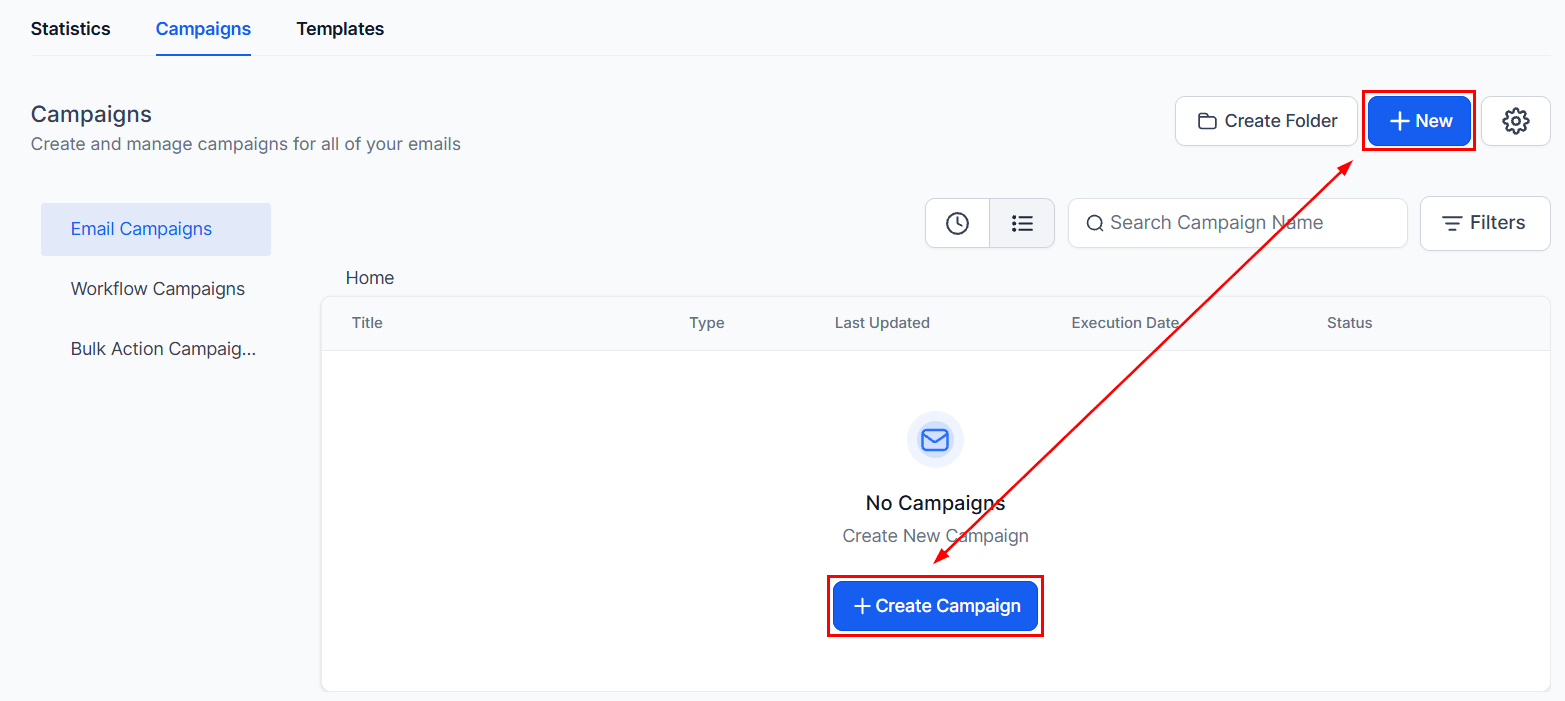
Campaign send and schedule screen — choose delivery method and recipient list
Engagement summary
Engagement summary
Performance analysis
Performance analysis
Revenue-generating emails
Revenue-generating emails
Individual campaign stats
Individual campaign stats
Click tracking
Click tracking reveals which links recipients click and how many times, helping you understand engagement and optimize content.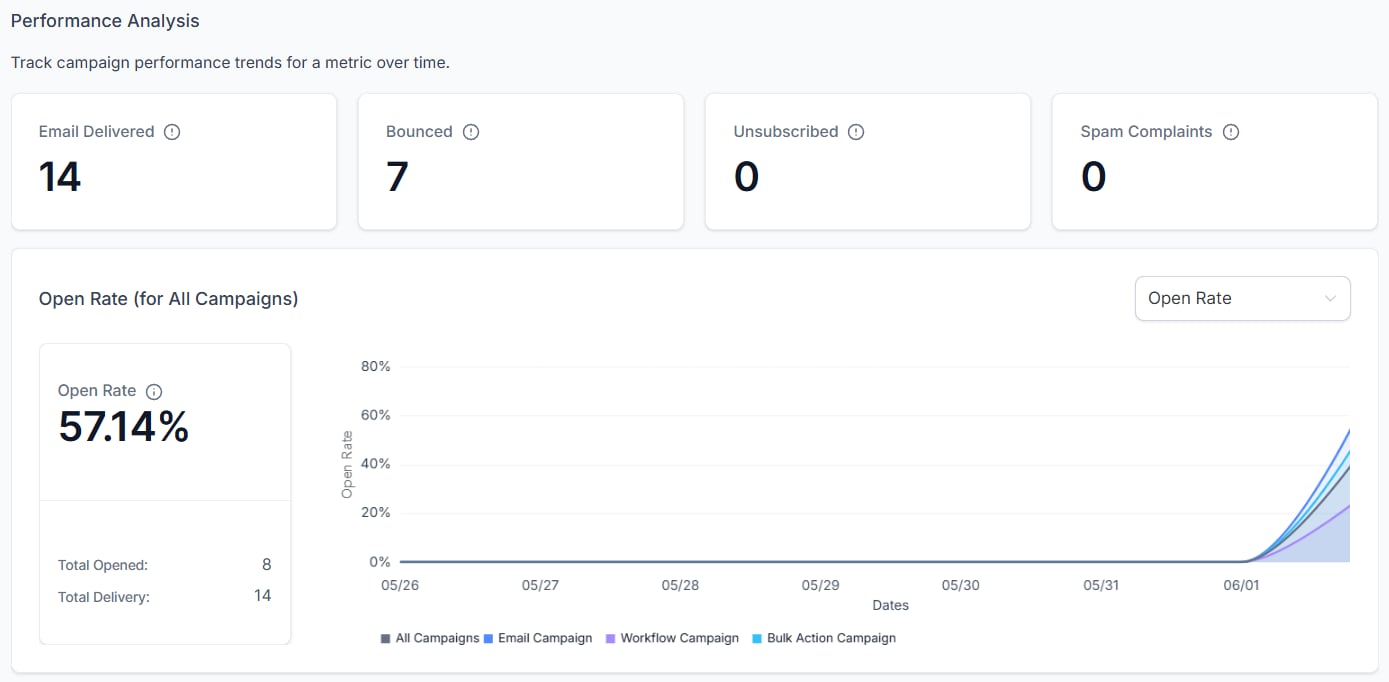
Email campaign statistics — delivery rate, open rate, click rate, and engagement metrics
- Go to Marketing > Emails > Campaigns, click the gear icon
- Navigate to Tracking and enable Click performance tracking
- Click Save
Reply management
You can set a custom reply-to address for each campaign so that replies go to the right person or team. When sending or scheduling, if the default sender email is not suitable, select “Set a custom reply-to address for this campaign” and enter the preferred address. Priority order for reply-to addresses:- Campaign-level custom reply-to address
- Location Settings > Email Service > Reply & Forwarding address
- System default address
Email verification
Before sending, your From Email address must be verified. The system will prompt you to verify if an unverified address is used. To verify:- Enter the From Email address in the Send or Schedule screen
- Click Verify Now
- Check your inbox for the 6-digit OTP and enter it in the verification prompt
Pausing and cancelling campaigns
For scheduled, batch, and A/B test campaigns:Segment targeting
When sending to a Smart List or tag, choose whether to:- Lock to selected contacts — send only to contacts who match the criteria at the time of scheduling
- Include new contacts — automatically add contacts who join the list before the campaign sends
Additional features
RSS email campaigns
RSS email campaigns
Resend to unopened contacts
Resend to unopened contacts
Conversion metrics
Conversion metrics
Automate tagging based on campaigns
Automate tagging based on campaigns
Build segments from campaigns
Build segments from campaigns
Workflow campaigns
Workflow campaigns
Product element
Product element
Form element
Form element
Loom video integration
Loom video integration
Mobile view hiding
Mobile view hiding
Frequently asked questions
How many A/B test variations can I create?
How many A/B test variations can I create?
What metrics determine the A/B test winner?
What metrics determine the A/B test winner?
Can I pause a campaign after it has started sending?
Can I pause a campaign after it has started sending?
What is batch scheduling and when should I use it?
What is batch scheduling and when should I use it?
How do I resend a campaign to contacts who did not open it?
How do I resend a campaign to contacts who did not open it?
Why does my From Email need verification?
Why does my From Email need verification?
Can I segment who receives a campaign after it is scheduled?
Can I segment who receives a campaign after it is scheduled?