Apply and save personalized dashboard filters without editing widgets or affecting other users’ views.
Quick Filters provide an efficient, user-friendly way to analyze data on your dashboards at an individual level. Each user’s filter selections are saved separately within their browser session, so everyone can apply their own preferred settings without affecting teammates’ views — and without the risk of misplaced edits to the dashboard itself.
Quick Filters and widget-level filters work together using AND logic. A Quick Filter adds an additional layer on top of existing widget filters — it does not override them. Avoid duplicating the same filter at both levels, as this can result in no data being displayed.
Open the dashboard where you want to add Quick Filters.
Navigate to the dashboard where you want to configure quick filters
2
Open the Quick Filters menu
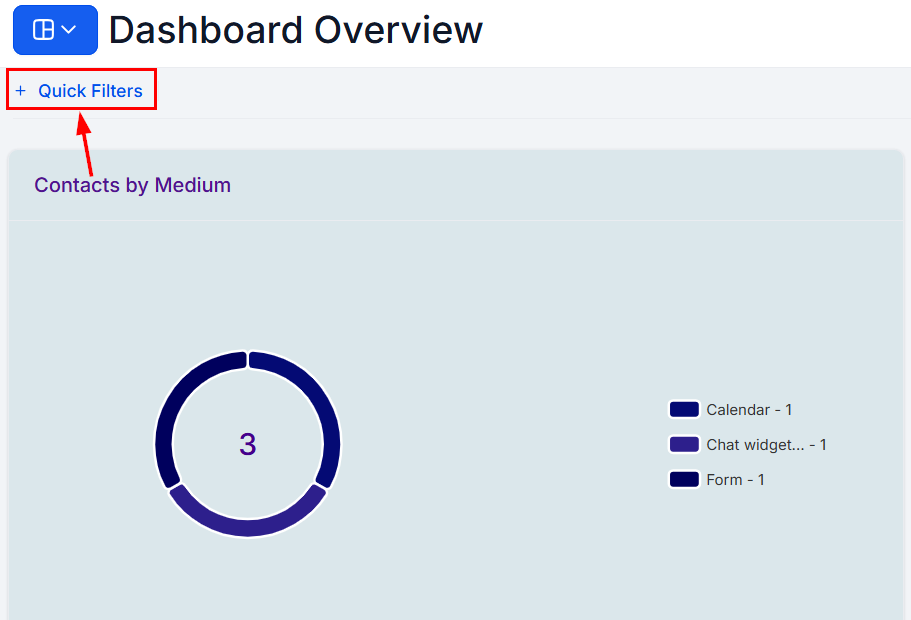
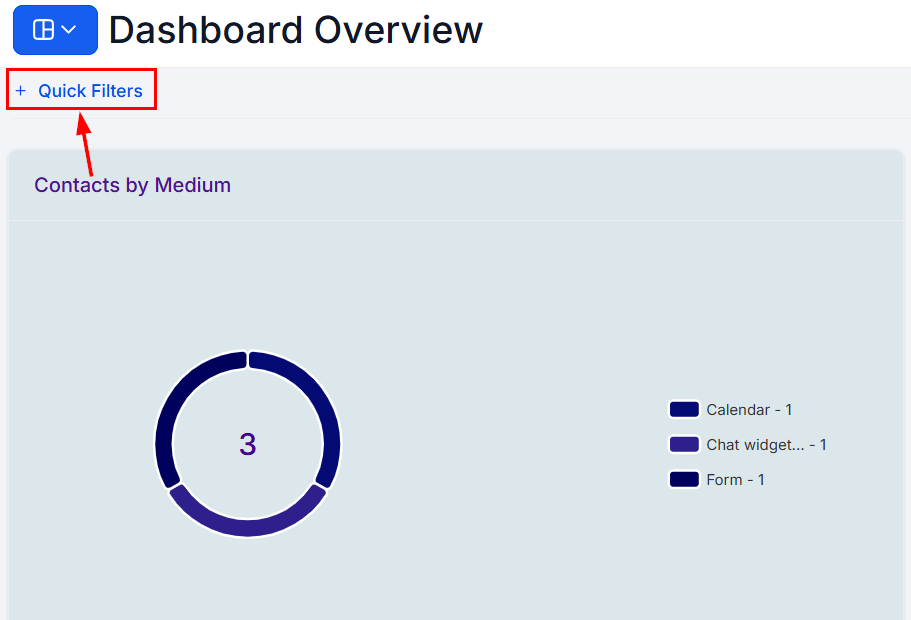
Click the “Quick Filters” button in the upper-left section of the dashboard.
3
Add filters
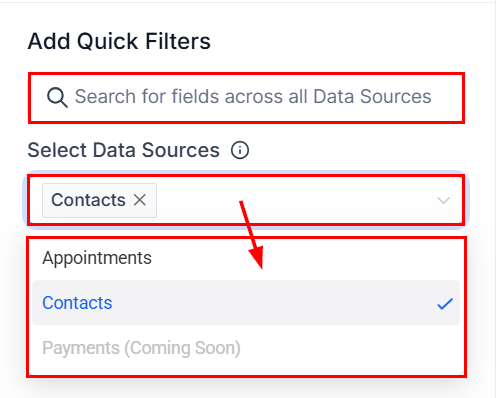
Click ”+ Add Quick Filters” to open the filter sidebar. You can view existing filters, remove applied filters with the Clear button, or add new ones.
The Quick Filters sidebar showing available filter categories and search
Use the search bar to find specific filters, or browse by category. The available filter sources depend on the widgets present on your dashboard.
4
Select filters
Check the boxes next to the filters you want to apply. You can select up to 5 filters.
Filter sources match the data sources of the widgets on your dashboard. For example, a Contacts filter will only appear if you have contact widgets on the dashboard.
5
Review and apply
Review your selections, optionally add a description to each filter (visible to all users for clarity), then click Apply to finalize.
Once Quick Filters are configured on a dashboard, use the Quick Filter bar to select and adjust the desired filter values. Dashboard widgets update automatically when a filter is applied.To remove all applied filters, click the “Clear” button in the Quick Filters menu.
How quick filters interact with widget-level filters
Quick Filters and widget-level filters operate together using AND logic:Example:
Widget condition: Appointment Status = Confirmed
Quick Filter: Appointment Status = Cancelled
In this case, the system tries to show appointments where the status is both Confirmed AND Cancelled — which is logically impossible and will return no data.
Use Quick Filters for broad, team-wide filtering across your dashboards, and use widget-level conditions for specific, per-widget filtering. Avoid duplicating similar filter criteria at both levels.
Quick filters overview — applied filters narrow all compatible widgets simultaneously without touching widget settings
The filter options available depend on the widget data sources present on your dashboard. The most commonly used filter types are:
Date range
Filter all compatible widgets by a specific date range — for example, last 7 days, this month, or a custom range. Date range filters apply to any widget that displays time-based data, such as opportunities created, calls made, or appointments scheduled.
Pipeline
Narrow data to a specific pipeline. Pipeline filters apply to opportunity widgets, allowing you to compare performance across different sales pipelines without editing individual widget conditions.
User / assigned to
Restrict data to a specific team member. User filters are useful for managers who want to quickly switch between team members’ performance views without modifying the dashboard layout.