Add users to your HoopAI account, assign roles, and control what each team member can access.
HoopAI supports multiple users on a single account. You can invite team members, assign them roles that limit what they can see and edit, and organise them into teams for reporting and assignment purposes.
Enter the team member’s first name, last name, and email address. These are used to create their account and for internal display throughout the platform.
2
Assign a role
Select a role from the dropdown. Roles control what sections and actions the user can access. See the role breakdown below.
Role selection when adding a new staff member
3
Configure permissions
After selecting a role, you can further customise individual permissions — for example, allowing a user to view conversations but not delete contacts.
4
Send the invitation
Click Send Invite. The team member receives a welcome email with a link to set their password and activate their account. The link is valid for 24 hours.
HoopAI has several built-in roles. Your available roles may vary by plan.
Admin
Full access to all settings, features, and data. Can add and remove users, change billing, and configure integrations. Reserve this role for account owners and senior managers.
User
Standard access to day-to-day features — contacts, conversations, calendars, and opportunities. Cannot access sensitive account settings like billing, API keys, or user management.
Admin
Used in multi-location setups. Can manage multiple accounts depending on configuration. Consult your HoopAI plan documentation for details.
Only Admins can invite new users and change roles. If you need to adjust your own permissions, contact your account admin.
Edit a user’s name, email, role, or permissions at any time
Resend invite if a team member’s activation link has expired (links expire after 24 hours)
Deactivate a user to revoke their access without deleting their history or assigned records
Delete a user to permanently remove them — their assigned contacts and conversations remain but lose the user association
When a team member leaves, deactivate rather than delete their account. Deactivated users cannot log in but their data (call recordings, assigned conversations, closed opportunities) is preserved for reporting and compliance.
The number of users depends on your subscription plan. Check your plan details or contact HoopAI support to increase your user limit.
Can I restrict a user to only see their own contacts?
Yes. Under the user’s permission settings, enable Restrict to Assigned Data Only. This limits the user to contacts, conversations, and opportunities that are directly assigned to them.
A team member didn't receive their invitation email. What do I do?
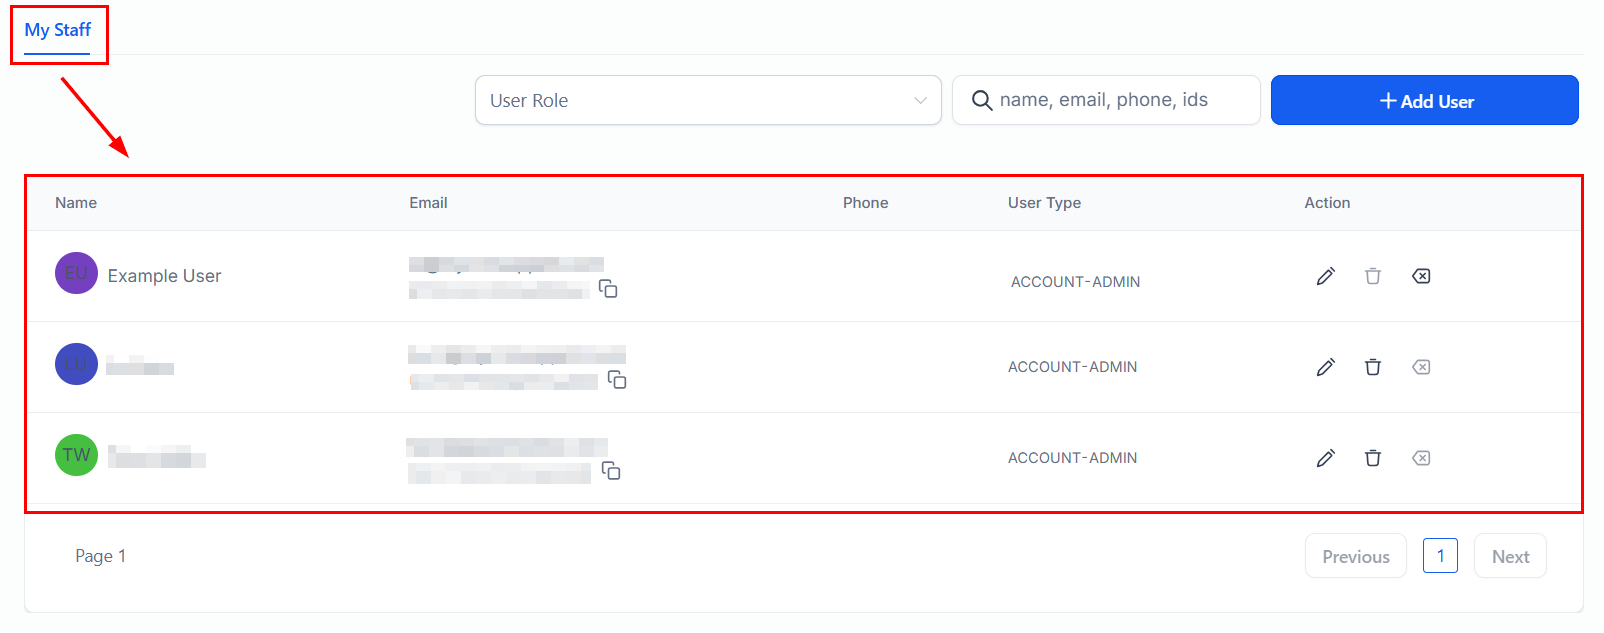
Ask them to check their spam or junk folder. If the email is not there, go to Settings > My Staff, find their record, and click Resend Invite to generate a fresh activation link.
Can users have different notification settings?
Yes. Each user controls their own notification preferences under Settings > My Profile > Notifications. Admins cannot override individual notification preferences, but can set defaults at the account level.
What happens to a user's assigned contacts when I deactivate them?
Their contacts, opportunities, and conversations remain in the system. The assigned user field on those records will show the deactivated user’s name until you manually reassign them or use a bulk action to update assignments.