Connect a custom domain to HoopAI for your funnels, websites, client portal, and booking pages.
Connecting a custom domain lets your funnels, websites, booking pages, and client portal use your own branded URL (e.g., go.yourbusiness.com) instead of a generic HoopAI subdomain. This improves trust with contacts and supports brand consistency.
Custom domain — a domain you already own (e.g., yourbusiness.com)
Subdomain — a prefix on your existing domain (e.g., go.yourbusiness.com or booking.yourbusiness.com)
New domain — purchase a domain directly inside HoopAI
Using a subdomain is recommended when your main domain is already hosting a website (WordPress, Squarespace, etc.) — it keeps your existing site untouched while giving HoopAI its own URL.
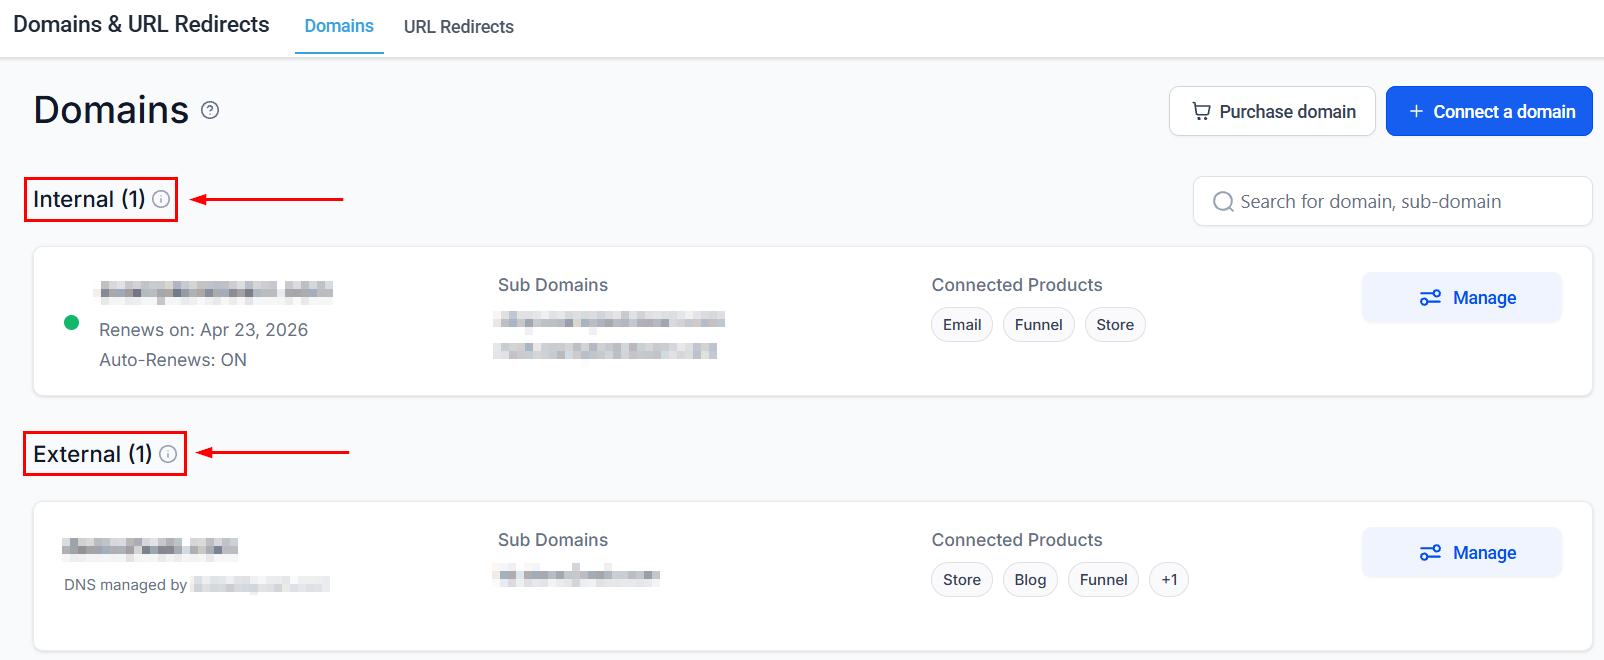
In the left sidebar click Settings, then select Domains.
2
Click Add Domain
Click Add Domain or Connect Domain and enter the domain or subdomain you want to use (e.g., go.yourbusiness.com).
3
Copy the DNS record
HoopAI will display a CNAME record you need to add at your domain registrar (GoDaddy, Namecheap, Cloudflare, etc.). Copy the Name and Value fields shown.
The exact steps to add a CNAME vary by registrar. Search for “[your registrar] add CNAME record” if you are unsure where to find this in your registrar’s dashboard.
4
Add the CNAME at your registrar
Log in to your domain registrar, navigate to DNS settings for your domain, and add a new CNAME record using the Name and Value copied from HoopAI. Leave TTL at the default (usually 3600 or “Automatic”).
5
Verify the connection
Return to Settings > Domains in HoopAI and click Verify or Check DNS. DNS propagation can take anywhere from a few minutes to 48 hours — most updates resolve within 30 minutes.
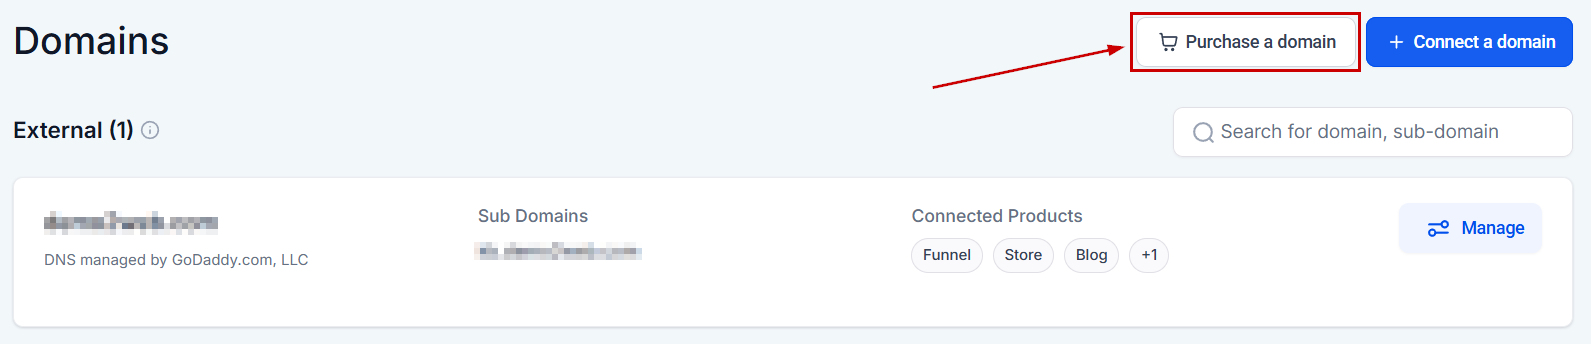
If you do not yet have a domain, you can purchase one directly:
1
Go to Settings > Domains
Click Settings in the sidebar, then select Domains.
2
Click Purchase Domain
Click Purchase Domain and search for your desired domain name.
Purchasing a new domain from within HoopAI
3
Select and buy
Choose an available domain and complete the purchase. The domain is automatically connected to your HoopAI account — no additional DNS configuration is needed.
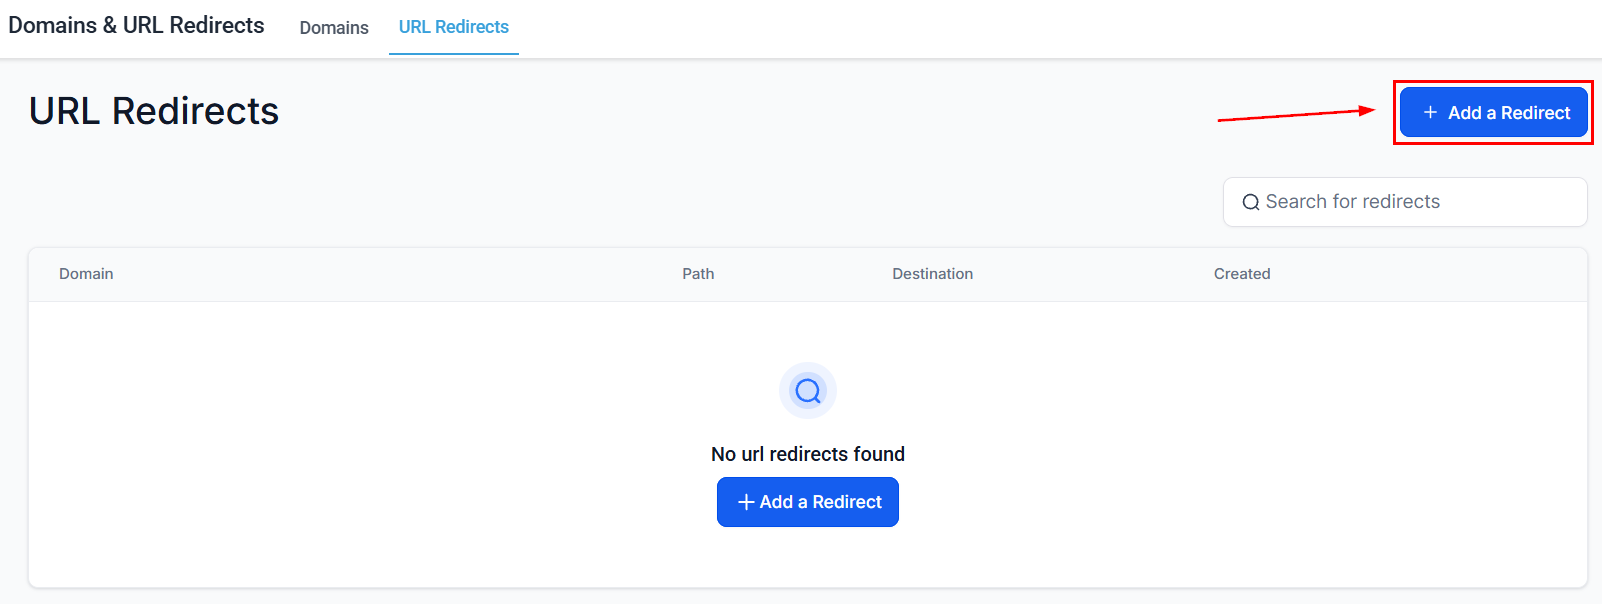
Once your domain is connected, you can set up URL redirects — for example, to forward old URLs to new funnel pages, or to redirect your root domain to a specific landing page.
URL redirects configuration
Go to Settings > Domains, find your connected domain, and click URL Redirects to add redirect rules.
Most DNS changes propagate within 30 minutes, but it can take up to 48 hours in rare cases. You can check propagation status using a tool like whatsmydns.net to see whether your CNAME is visible from different global locations.
Can I use my root domain (yourbusiness.com) instead of a subdomain?
Yes, but it requires an ANAME or ALIAS record instead of a CNAME. Not all registrars support ANAME/ALIAS records. Subdomains (like go.yourbusiness.com) work universally with CNAME records and are the simpler option for most setups.
Will connecting a subdomain affect my main website?
No. Adding a subdomain (e.g., go.yourbusiness.com) creates a separate address and does not affect your main website at yourbusiness.com or any of its existing pages.
Can I connect multiple domains?
Yes. You can connect as many domains as your plan allows. Each funnel or website is assigned to one domain, but you can have different funnels on different domains.
What is a domain used for in HoopAI?
Connected domains are used for: funnel and website URLs, booking page URLs, the client portal URL, and short link tracking domains. Email sending uses a separate domain configured under Settings > Email Services.