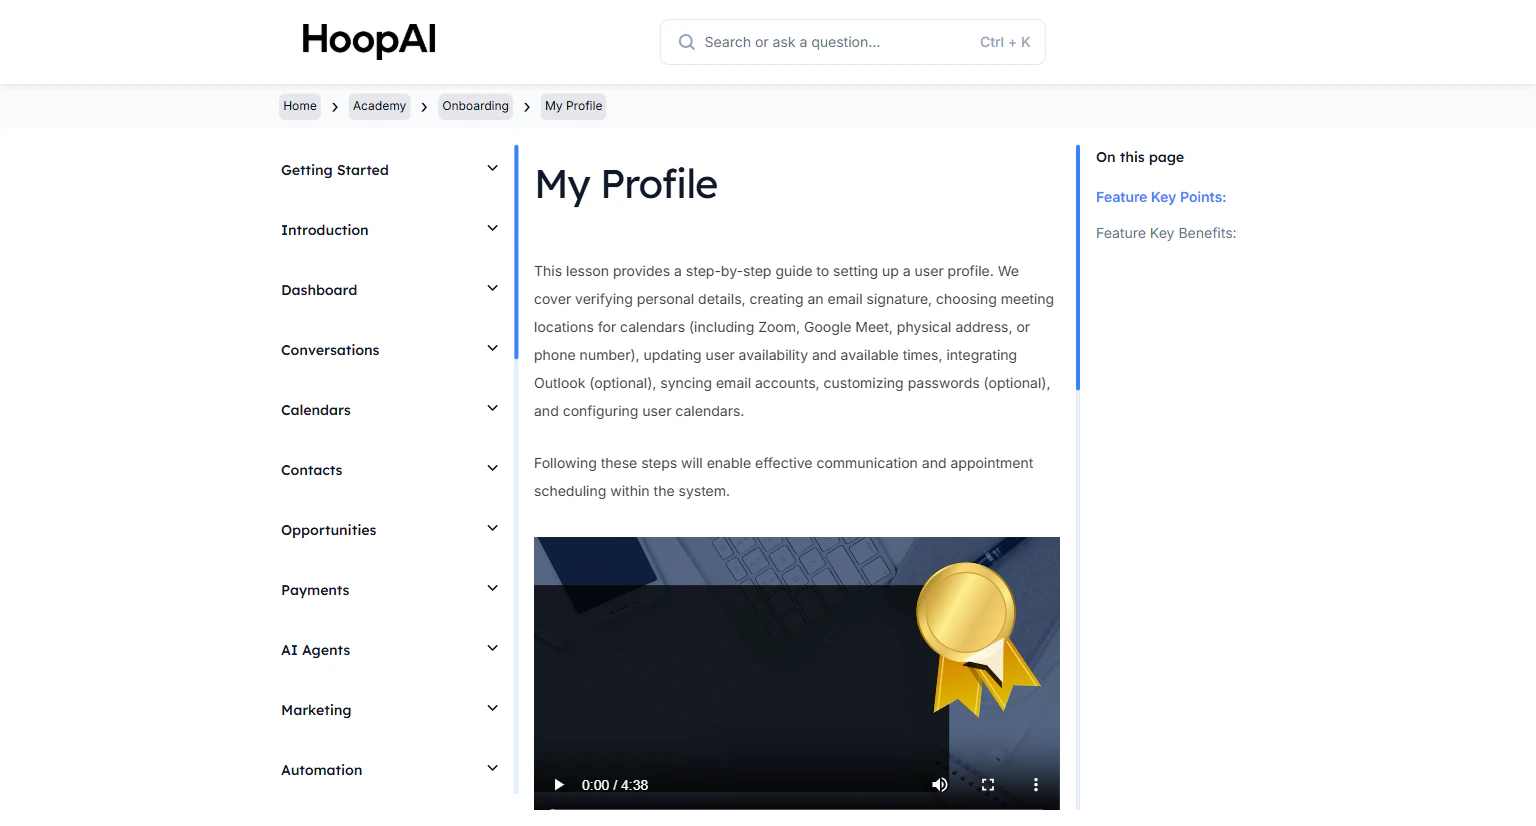
Set up your personal user profile in the HoopAI Platform — including your email signature, meeting location, calendar availability, and email sync.
Your user profile controls how you communicate, schedule appointments, and appear to contacts. This lesson walks through verifying your personal details, creating an email signature, setting your meeting location, configuring availability, and syncing your email account.
Your profile is what contacts see in every email, every appointment, and every calendar invite. A complete, accurate profile builds trust and ensures your scheduling and communication work correctly from day one.
Click your profile icon or name in the top right corner and select My Profile. Alternatively, go to Settings > My Profile.
Accessing My Profile settings in the HoopAI Platform
2
Verify personal details
Confirm your:
First and last name
Email address
Phone number
These details appear in outgoing communications and calendar invites. Make sure they are accurate and professional.
3
Create an email signature
Scroll to the Email Signature section. Build your signature using the editor — include your name, title, company name, phone number, and any relevant links.Your signature is automatically appended to emails you send from Conversations.
Keep your signature concise. Include your name, title, phone number, and a link to your booking page. Avoid large images — they can trigger spam filters.
4
Set your meeting location
Under Calendar Settings, choose your default meeting location:
Zoom — connect your Zoom account for auto-generated unique links per appointment
Google Meet — connect your Google account for Meet links
Physical address — enter a street address for in-person meetings
Phone number — use a phone number for call-based appointments
Choosing your meeting location for calendar appointments
5
Update your availability
Set the days and hours you are available for appointments. Adjust your available times so the system only offers booking slots when you are genuinely free.
If your availability is not set accurately, clients may book appointments during times when you are unavailable. Connect an external conflict calendar to automatically block off busy periods.
6
Connect Outlook (optional)
If you use Microsoft Outlook, sync it with the platform by clicking Connect Outlook and following the authorization flow. This keeps your Outlook calendar in sync for conflict checking.
7
Sync your email account
Under Email Sync, connect your Gmail or Outlook account. Once synced, incoming and outgoing emails from your connected account appear in the Conversations area — giving you a complete communication history for each contact.
Email sync brings all messages into the unified Conversations view
8
Save your settings
Click Save to apply all changes. Review your profile one more time to make sure everything is accurate.
Keep your signature concise and professional. Include your name, title, phone number, and a link to your website or booking page. Avoid large images, as they can trigger spam filters in some email clients.
Meeting location and Zoom integration
When you connect Zoom, the platform automatically generates a unique Zoom link for every new appointment. This link is inserted into confirmation emails and calendar invites using a custom value automatically.
Setting accurate availability
Accurate availability prevents double bookings and ensures clients can only select times when you are genuinely free. If you have blocked times on an external calendar, connect it as a conflict calendar.
Email sync vs. email campaigns
Email sync connects your personal email account (Gmail or Outlook) for one-on-one conversations. This is separate from the dedicated email domain used for bulk email campaigns and automation.