Create trackable links in Hoop that automatically fire workflow actions when a contact clicks them.
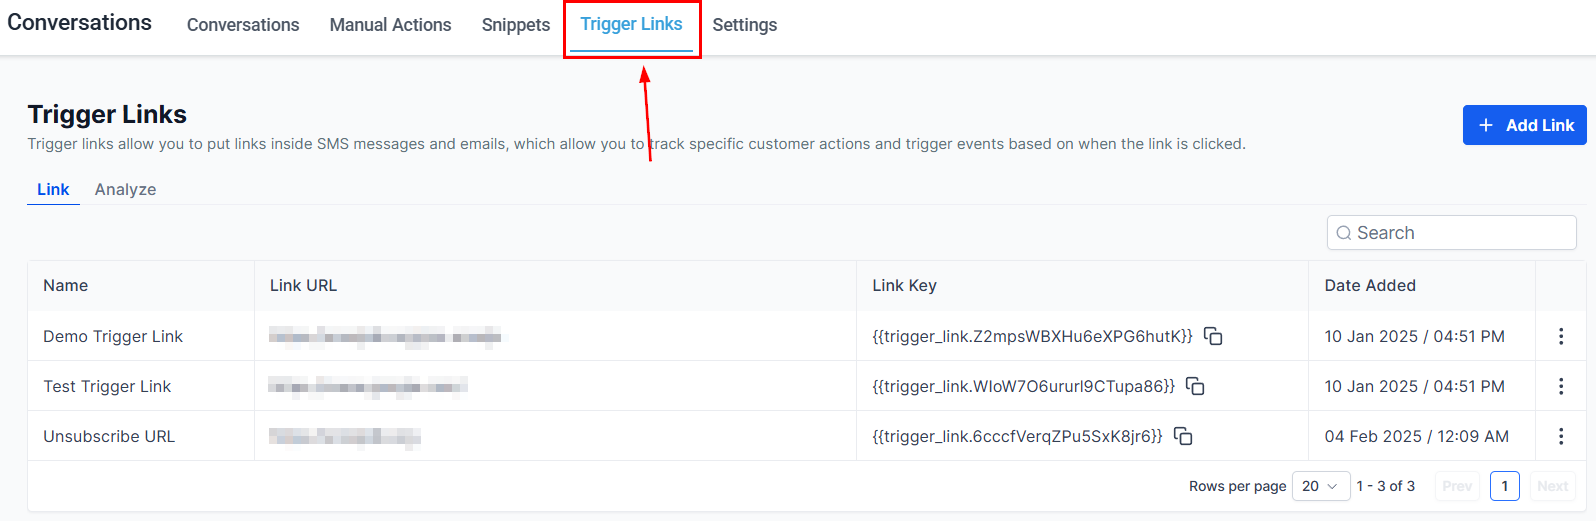
Trigger links are special trackable URLs that record when a contact clicks them and can automatically launch workflow automations in response. They are most commonly used in SMS campaigns, email messages, funnels, and websites to track engagement and trigger personalized follow-up sequences.Examples of use:
A cart-abandonment link that triggers a re-engagement workflow when clicked.
A product info link that kicks off an automated onboarding sequence for new buyers.
A confirmation link that records engagement and updates the contact’s record.
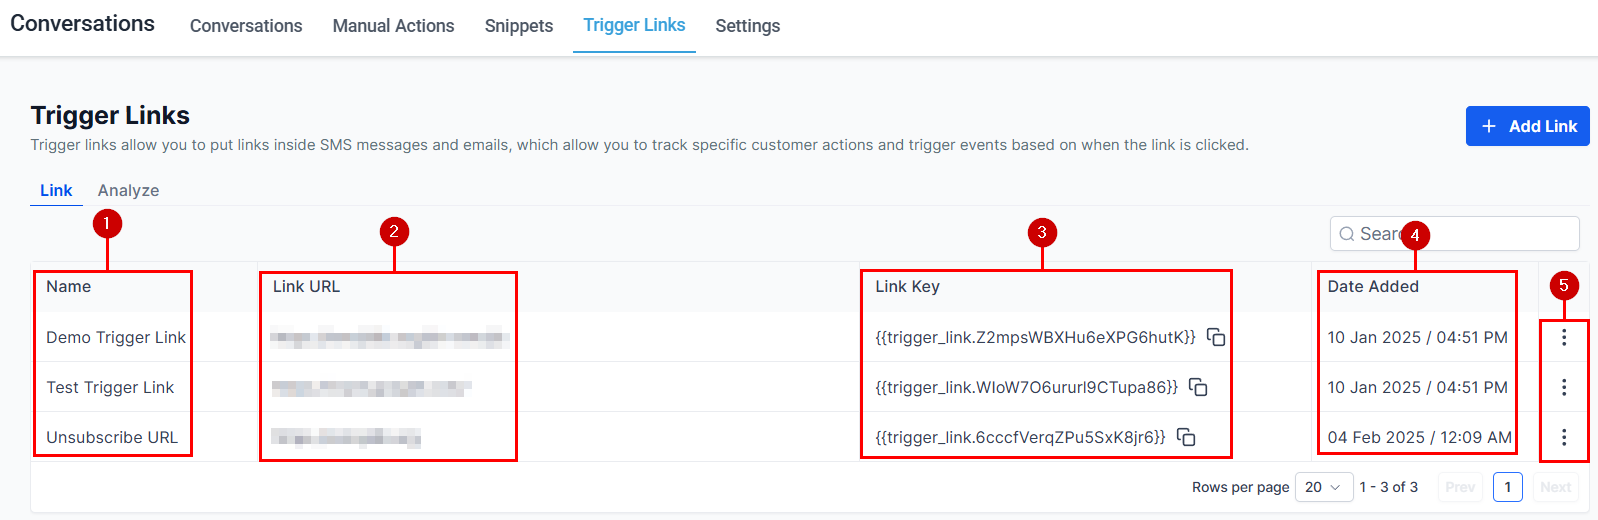
Give it a descriptive name that reflects the action it will trigger (e.g., “Pricing Page Click” or “Free Trial CTA”). Use naming conventions if managing many links.
3
Add the destination URL
Paste the URL you want the contact to land on after clicking. This is the actual page — Hoop wraps it with a tracking URL automatically.
4
Save
Click Save. The trigger link is now available to insert into messages, emails, and automations.