

How assignment works
When a conversation is assigned to a team member, it appears in their Personal Inbox — a filtered view of conversations they are directly responsible for. Unassigned conversations appear in the Team Inbox, where any permitted user can see and claim them. Assignment also interacts with:- Quick Filters — filter by assigned user to segment the inbox by team member.
- Workflows — automatically assign conversations based on lead source, contact tags, time of day, round-robin rotation, or any other trigger.
- Notifications — assigned users receive a notification when a new conversation is assigned to them.
- Saved views — create views scoped to specific assignees for team lead oversight.
Assigning a conversation manually
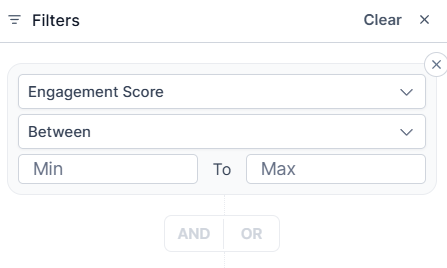
The Quick Filters panel for filtering conversations by assigned user
1
Open the conversation
Navigate to Conversations and click the contact whose conversation you want to assign.
2
Open the assignment control
Look for the Assigned To field in the conversation header or in the Contact Details panel on the right side of the conversation. The field shows the current assignee or “Unassigned” if no one has been assigned.
3
Select a team member
Click the Assigned To field to open a dropdown list of your team members. Type to search by name. Click the team member you want to assign.
4
Confirm assignment
The conversation is immediately routed to that team member’s Personal Inbox. An activity entry appears in the conversation timeline noting who assigned it and to whom.
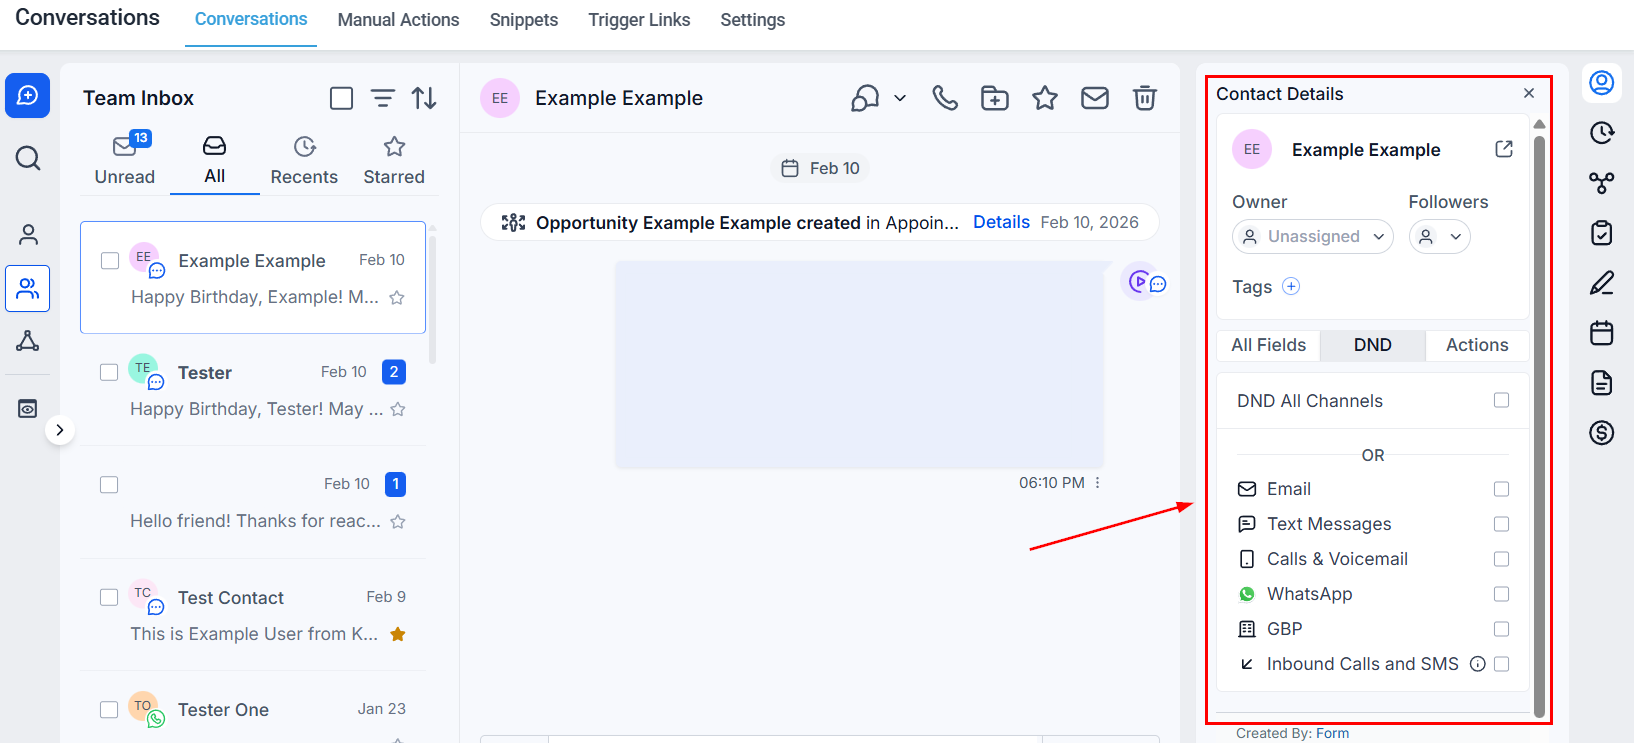
Contact Details panel showing the Owner and Followers assignment fields
Reassigning a conversation
To change the current assignee, follow the same steps as above and select a different team member. The new assignment replaces the previous one. Both the old and new assignees receive a notification (depending on notification settings). To remove an assignment without assigning to someone else, click the X next to the current assignee’s name or choose Unassigned from the dropdown. The conversation returns to the Team Inbox.Assigning via the contact record
Assignment can also be made from the contact record itself. Navigate to Contacts, open the contact, and locate the Assigned To field in the contact details. Assigning a contact here applies the assignment to all their conversations by default.Automated assignment with workflows
Manual assignment works well for small teams, but automating assignment ensures contacts are routed instantly based on predefined rules — no matter when they come in. Common automated assignment methods:
To set up automated assignment:
- Go to Automation → Workflows and create or edit a workflow.
- Add an Assign User action.
- Choose the assignment method (specific user, round-robin, or a custom field).
- Save and publish the workflow.
Automated assignment through workflows requires the contact to enter the workflow — typically triggered by a form submission, inbound message, or tag being applied.
Viewing conversations by assignee
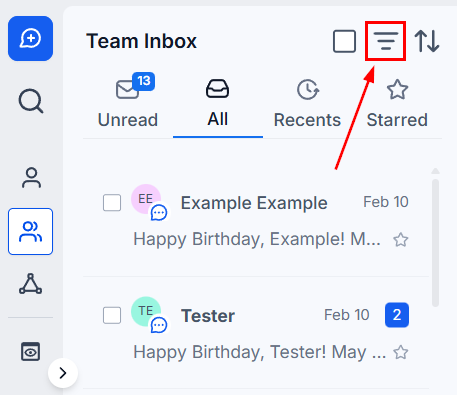
Opening Quick Filters from the Team Inbox toolbar
1
Open Quick Filters
Click the three-line icon next to the search bar in the Conversations inbox.
2
Apply the Assigned filter
Select Assigned, then choose Assigned To and pick the team member from the dropdown.
3
Save as a view (optional)
Click Create View and name the view (e.g., “Sarah’s conversations”) for instant future access.
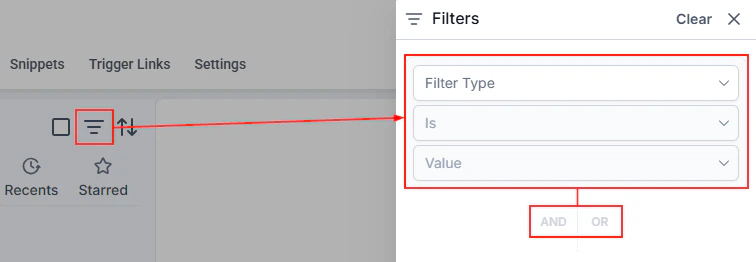
Quick Filters panel in the Conversations inbox for filtering by criteria
Following a conversation
In addition to assignment, any team member can follow a conversation to receive updates without being the primary assignee. Following is useful for managers who want to monitor key accounts, or for team members who collaborated on a conversation and want to stay in the loop. To follow a conversation, open it and click the Follow option in the conversation header or the right-side panel. Followers appear in the contact details and can be filtered using the Follower quick filter.Assignment notifications
Team members receive notifications when:- A conversation is assigned to them.
- A conversation previously assigned to them is reassigned to someone else.
- A contact they follow receives a new inbound message.
Personal inbox vs. team inbox
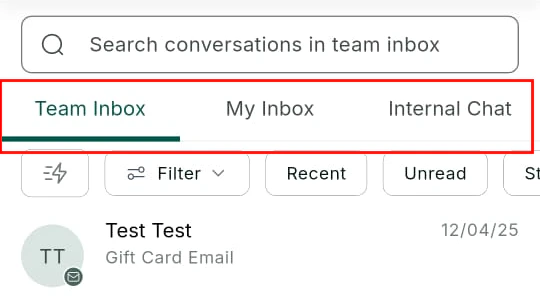
Conversations inbox showing Team Inbox, My Inbox, and Internal Chat tabs
Switch between views using the inbox selector at the top of the Conversations panel. If you are a team lead or admin, you can also view another team member’s personal inbox via saved views or the Assigned filter.