

The pipeline view showing stages from left to right with opportunity cards
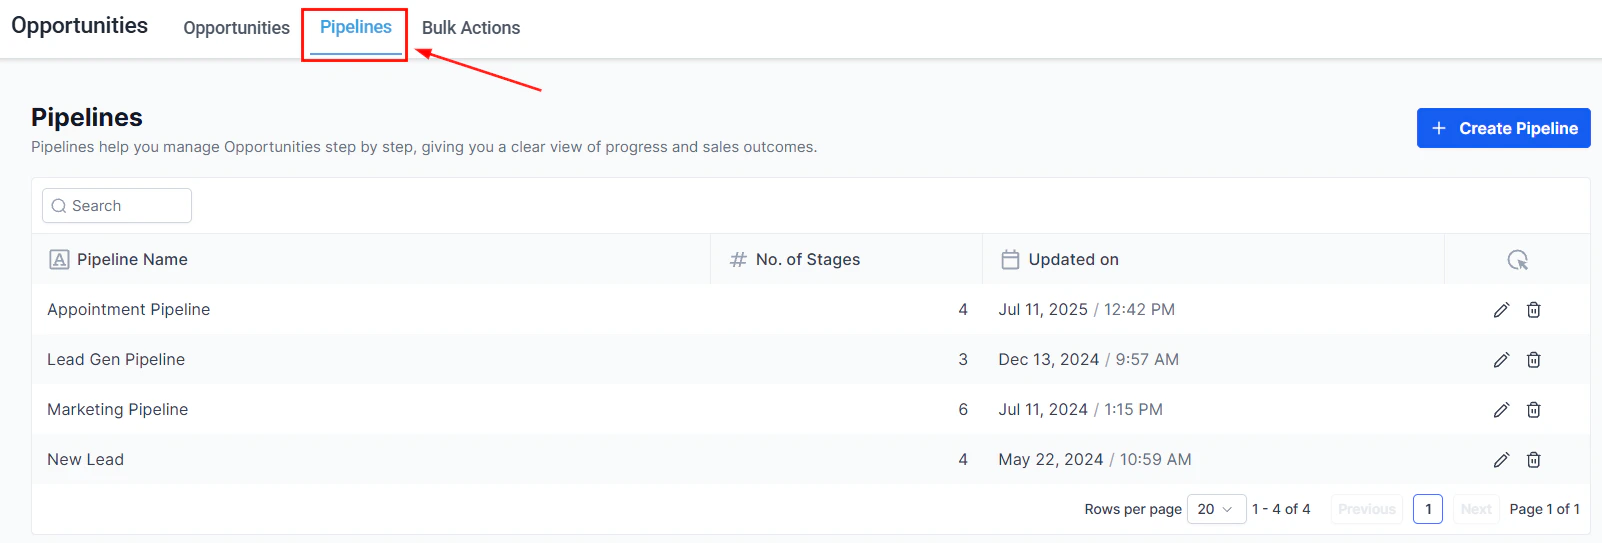
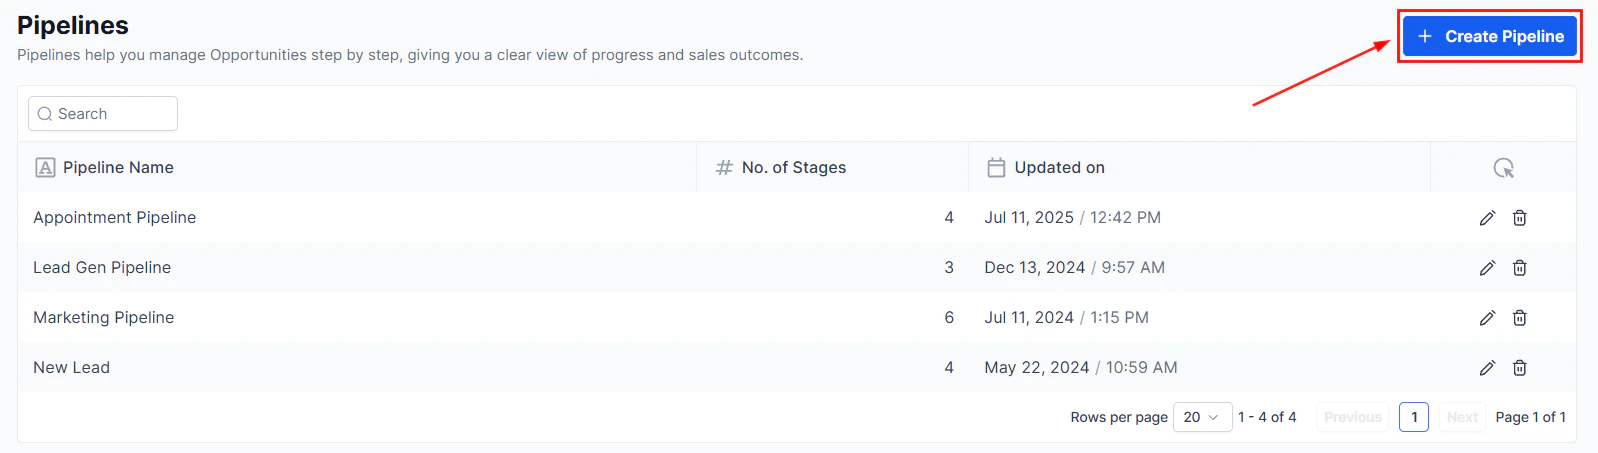
Creating a pipeline
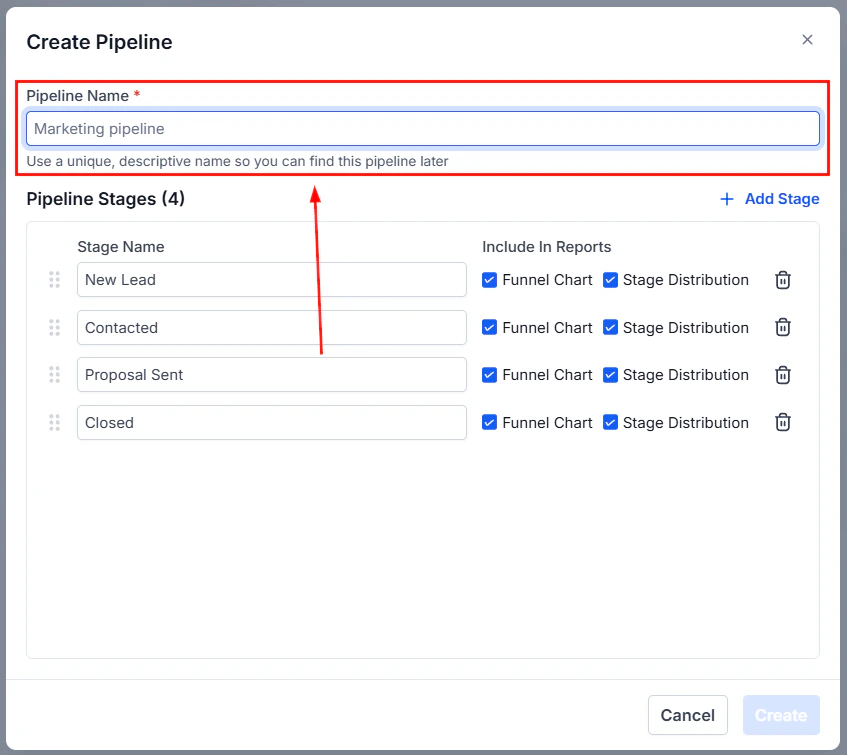
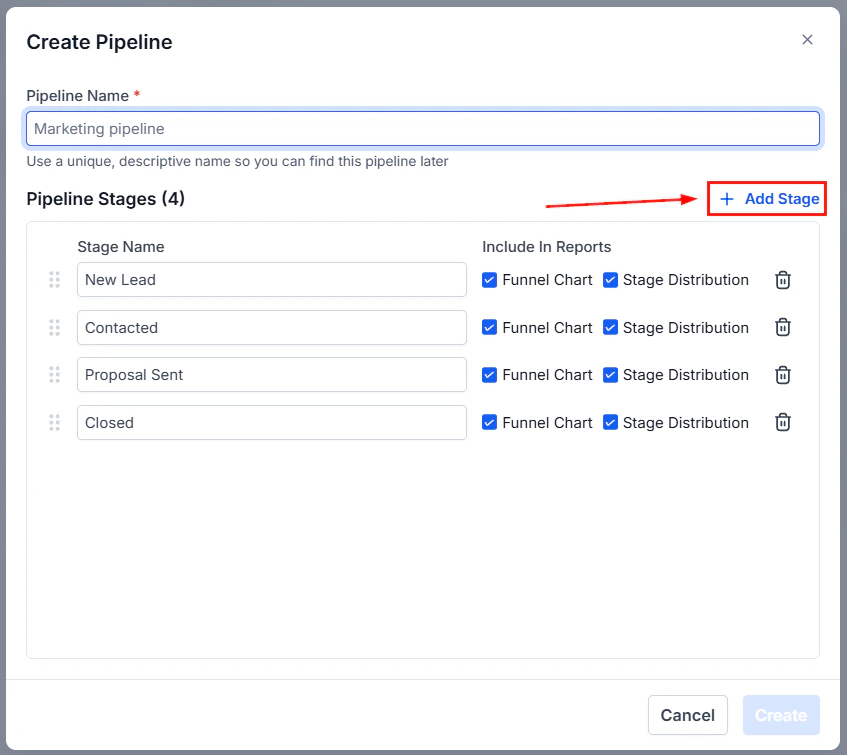
To create a new pipeline, navigate to Opportunities and open Pipeline Settings (or Opportunity Settings). Click ”+ Add Pipeline” and configure:- Pipeline name — a clear name describing the sales process
- Stages — the steps an opportunity moves through (e.g., Lead, Qualified, Proposal, Closed Won, Closed Lost)
- Stage colors — optional color coding for visual clarity on the board
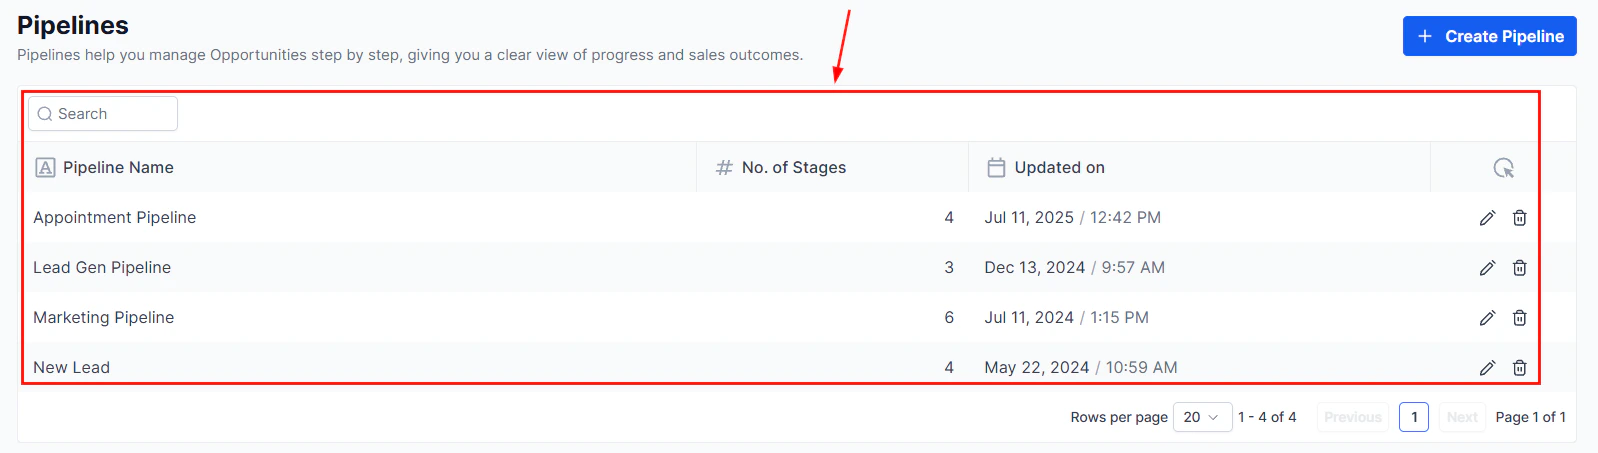
The pipeline settings page where you create and manage pipelines
Add and configure pipeline stages with names and colors
Pipeline permissions
Pipeline permissions control which team members can view, create, edit, or delete opportunities within a pipeline.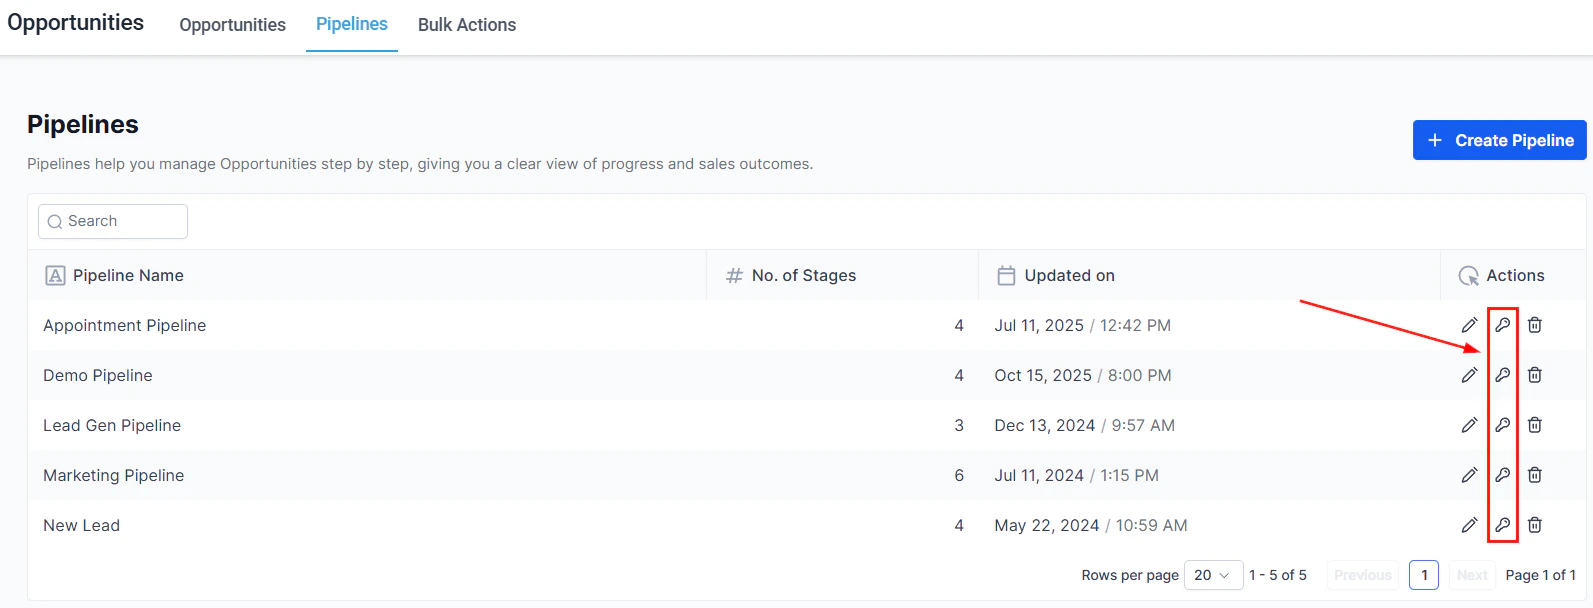
Pipeline permissions settings showing role-based access controls
Open pipeline settings
Set permissions
- Full access — can view, create, edit, and delete opportunities
- Edit — can edit existing opportunities but cannot delete them
- View only — read-only access to opportunities in this pipeline
- No access — pipeline is hidden from this user or role
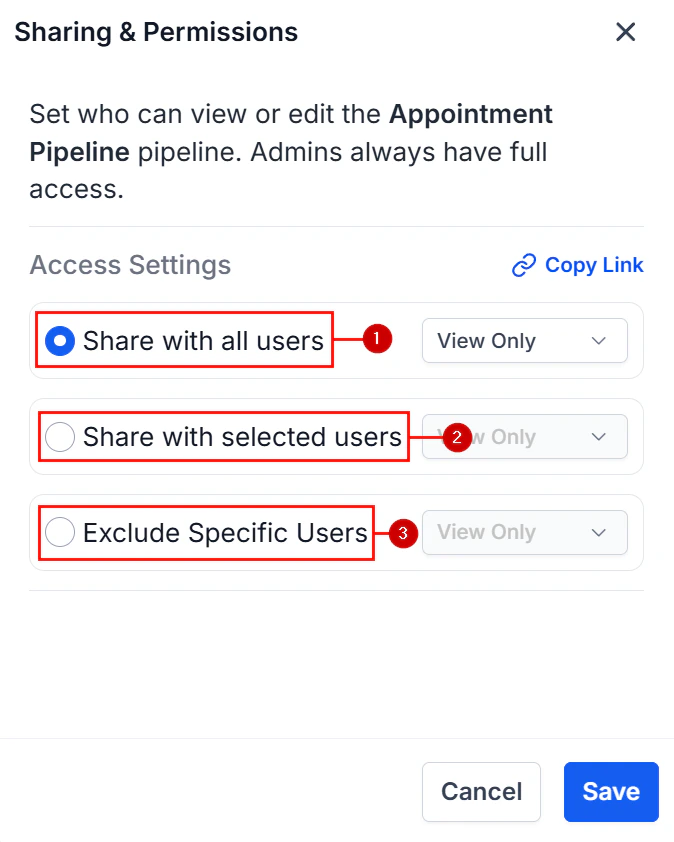
Configure which users have access to view and edit pipeline opportunities
Save
Smart tags in pipelines
Smart tags are automatically applied to opportunities based on conditions you define. They appear as labels on opportunity cards and help your team quickly identify deal characteristics at a glance.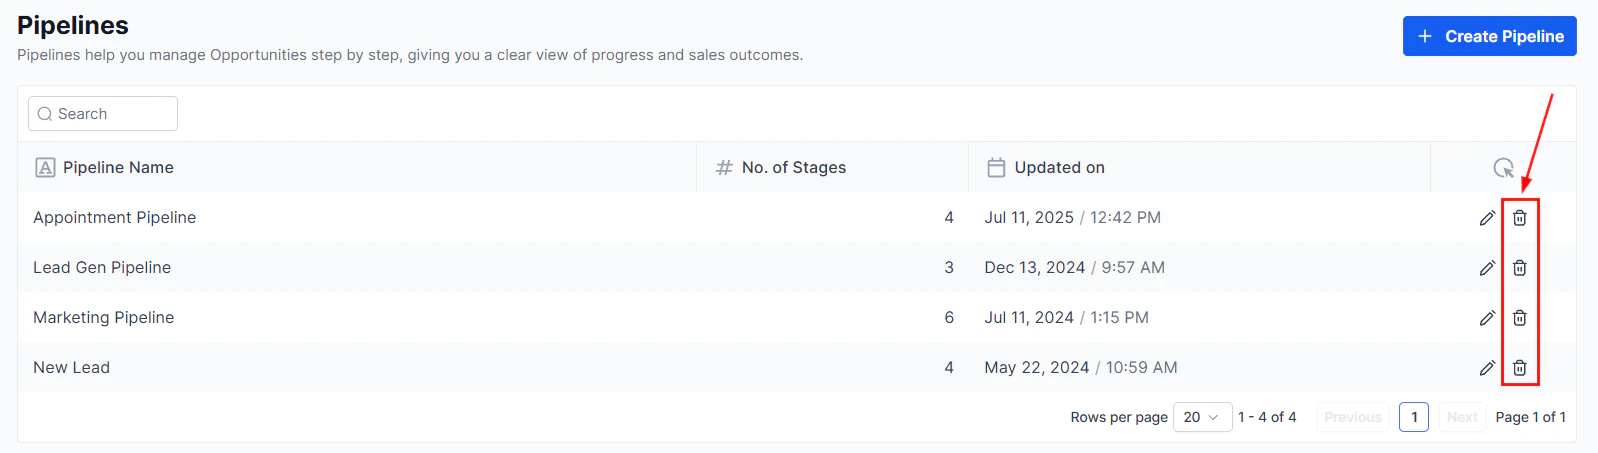
Opportunity cards with smart tags displayed as colored labels
Setting up smart tags
Open pipeline settings
Navigate to Opportunity Settings and select your pipeline
Navigate to Smart Tags
Create a smart tag
- Tag name — what the tag is called
- Color — visual indicator
- Conditions — the criteria an opportunity must meet for the tag to be applied automatically
Configure smart tag conditions that automatically apply the tag to matching opportunities
Save
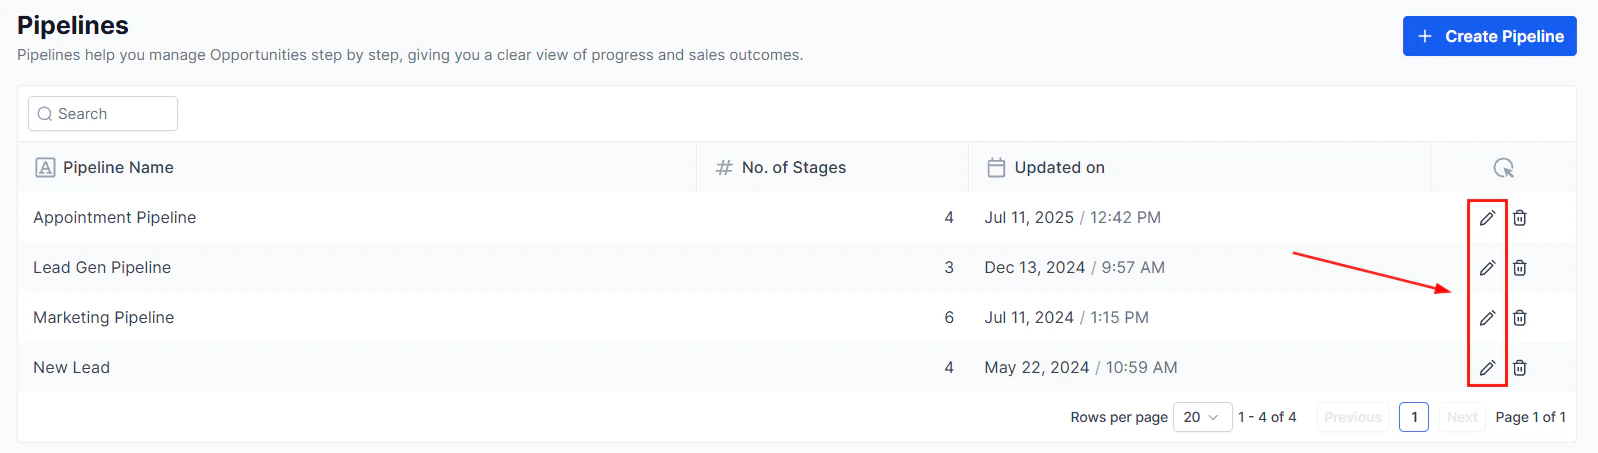
Managing pipelines
From the Opportunity Settings screen you can: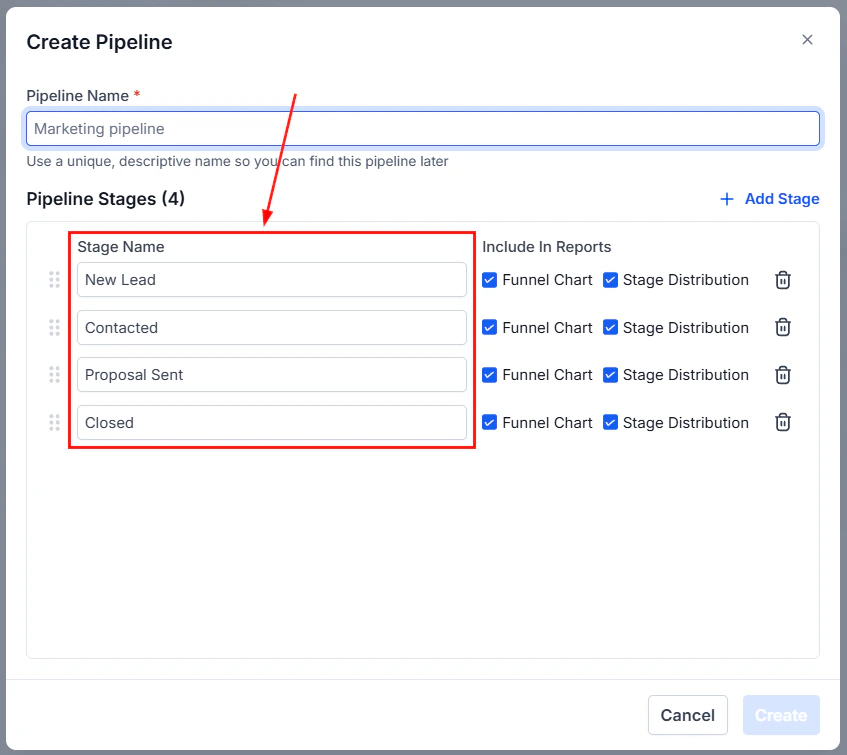
The Opportunity Settings screen showing all pipelines with management options
- Reorder pipelines — drag and drop to change the order they appear in the pipeline dropdown
- Rename a pipeline — click the pipeline name to edit it
- Archive a pipeline — hide a pipeline without deleting historical data
- Delete a pipeline — permanently remove a pipeline (use with caution; this affects historical reporting)
The pipeline management options including reorder, rename, archive, and delete
Opportunity settings
The Opportunity Settings page (accessed via Opportunities > Opportunity Settings) controls global behaviour for the Opportunities section, including:- Separate contact and opportunity ownership — enable this to allow contacts and opportunities to have different assigned owners. When off, the same user is the owner of both. Changes apply only to new records created after the setting is enabled.
- Lost reasons — manage the list of reasons available when marking a deal as lost
- Deleted opportunities — view and restore recently deleted opportunity records
FAQs
How many pipelines can I create?
How many pipelines can I create?
Can I change the order of stages within a pipeline?
Can I change the order of stages within a pipeline?
What happens to opportunities if I delete a stage?
What happens to opportunities if I delete a stage?
Will enabling separate ownership change existing records?
Will enabling separate ownership change existing records?
What permission levels are available for pipelines?
What permission levels are available for pipelines?