

How associations work
An association links two objects together with a label. The label describes the relationship from each side. For example:- A contact associated with a company as “Employee of” — the company sees the contact as “Employs”
- A contact associated with another contact as “Spouse of” — the linked contact sees the relationship as “Spouse of”
- A contact associated with an opportunity as “Decision maker” — the opportunity sees the contact as “Decision maker for”
Viewing associations on a contact record
1
Open the contact record
Navigate to Contacts > Smart Lists and click the contact’s name.
2
Open the Associations tab
In the right-side information panel, click the Associations tab. All linked records are shown as cards, grouped by object type (Contacts, Opportunities, Companies, Custom Objects).
Viewing associations on a contact record
- The linked record’s name
- The association label applied to the relationship
- A quick-link to open the linked record
Adding an association
1
Open the Associations tab
In the contact record’s right panel, click Associations, then click + Add.
2
Choose to create new or add existing
A dialog appears with two options:
- Create New — opens a form to create a new record (contact, opportunity, or custom object) that will be immediately linked to this contact
- Add Existing — search for and link an existing record that already exists in the system
3
Select the object type
Choose what you are linking to: Contact, Opportunity, Company, or any available Custom Object.
4
Select the association label
Choose the appropriate label from the dropdown to describe the relationship. The available labels depend on which association labels have been configured for that object type in Association Settings.
5
Confirm the association
Click Save or Link to create the association. The linked record appears immediately in the Associations tab.
Adding an association to a contact record
Removing an association
1
Open the Associations tab
In the contact record, click the Associations tab.
2
Remove the link
On the association card, click the X or the unlink icon to remove the relationship. This removes only the association — neither record is deleted.
Managing association labels
Managing association labels in settings
1
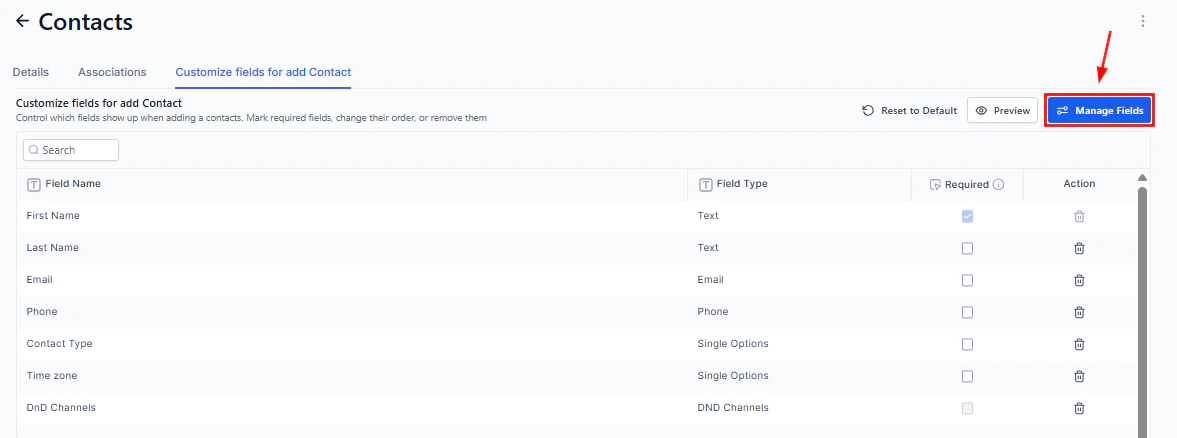
Open Association Settings
In the Associations tab of any contact record, click Manage Associations — or navigate to Settings > Objects > Associations.
2
Select the object pair
Choose the two object types you want to define a relationship between, for example Contact → Contact or Contact → Opportunity.
3
Add a label
Click + Add Label. Enter the label name for each direction of the relationship. For example:
- Label from Contact A to Contact B: “Reports to”
- Label from Contact B back to Contact A: “Manages”
4
Save
Click Save. The new label is immediately available when adding associations between those object types.
Association types and use cases
Contact to contact
Link family members, business partners, or referral relationships. Examples: “Referred by”, “Spouse of”, “Reports to”, “Referred to”.
Contact to opportunity
Define each contact’s role in a deal. Examples: “Decision maker”, “Champion”, “Gatekeeper”, “Technical evaluator”.
Contact to company
Document employment and business relationships. Examples: “Employee of”, “Contractor for”, “Director of”.
Contact to custom object
Link contacts to any custom data structure you have created — vehicles, properties, projects, events, or subscriptions.
Associations in automations
Workflow conditions and filters can reference association data. For example:- Trigger — when an opportunity changes stage, notify all contacts associated as “Decision maker”
- Filter — run a workflow only if a contact is associated with a company of a certain type
Custom labels for associations
Beyond the default association labels, you can create custom labels that match your business terminology:1
Open Association Settings
Navigate to Settings > Objects > Associations or click Manage Associations from any contact’s Associations tab.
2
Select the object pair
Choose the two object types (e.g., Contact to Contact, Contact to Opportunity).
3
Add a custom label
Click + Add Label and enter descriptive names for both directions of the relationship. Examples:
- “Referred by” / “Referred to”
- “Parent of” / “Child of”
- “Landlord of” / “Tenant of”
- “Primary contact for” / “Served by”
4
Save
Save the label. It is immediately available when creating new associations.
Frequently asked questions
Is there a limit on how many associations a contact can have?
Is there a limit on how many associations a contact can have?
There is no hard limit on the total number of associations a contact can have. However, between any two specific records, a maximum of 10 association labels can be applied simultaneously.
Can I see a contact's associations in smart list filters?
Can I see a contact's associations in smart list filters?
Yes. In Advanced Filters, you can filter contacts by their associated records — for example, “Show all contacts who are associated with Company X” or “Show all contacts with at least one Opportunity association.”
Does deleting an associated record remove the association?
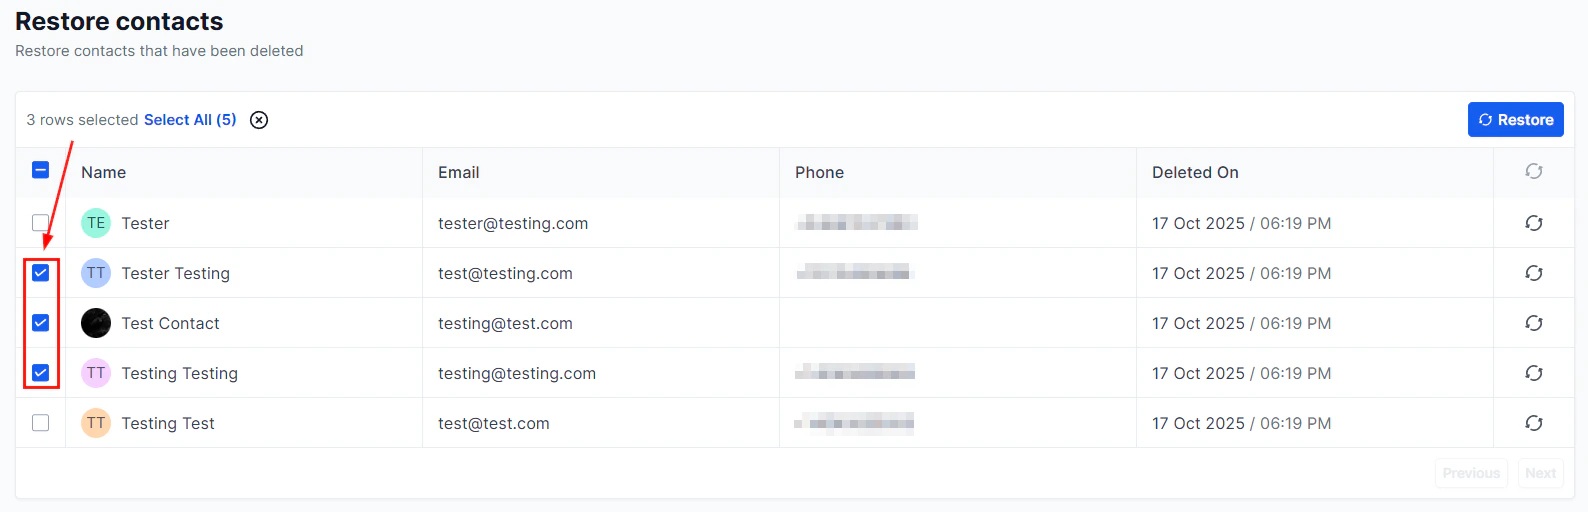
Does deleting an associated record remove the association?
Yes. If an associated record is deleted, the association link from this contact is also removed automatically.
Can I create associations during a CSV import?
Can I create associations during a CSV import?
Association creation during CSV imports is limited. For complex relational data, it is recommended to create associations manually or via the API after importing the base contact records.