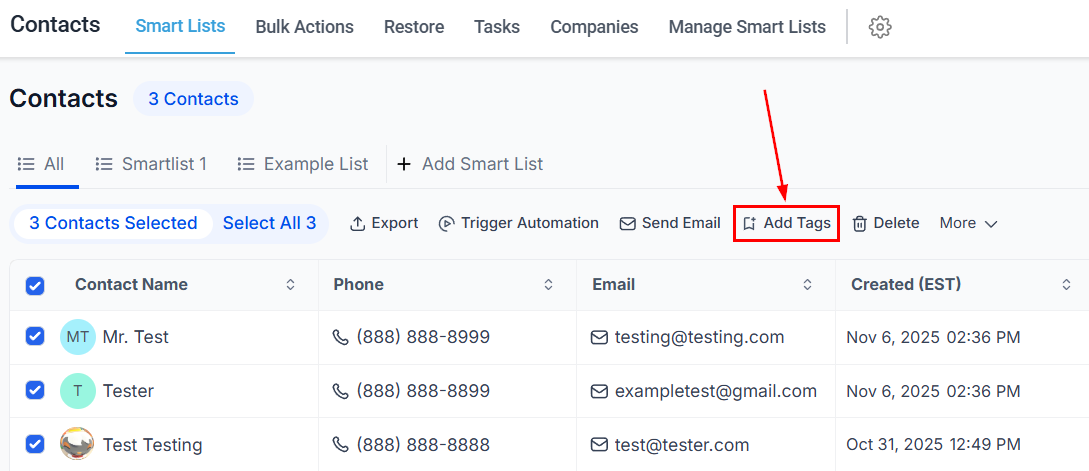
Tags are labels you attach to contacts to categorize and segment them. By combining tags with smart lists, you can instantly create dynamic filtered views, target specific groups in bulk actions, and trigger automations based on tag changes.
Tags visible on a contact in the smart list

Creating and applying tags

1

Open a contact record

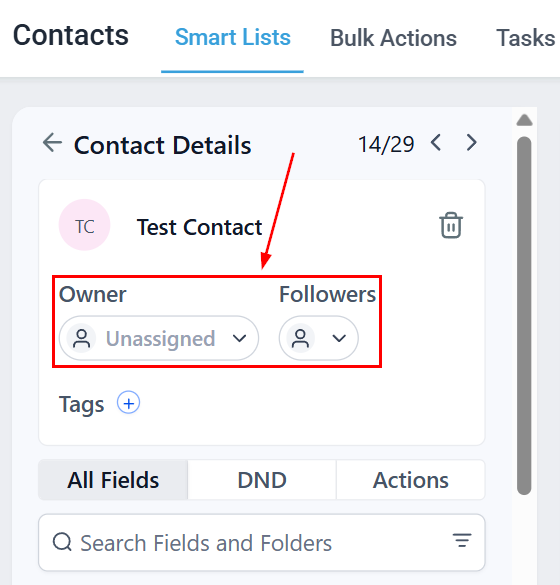
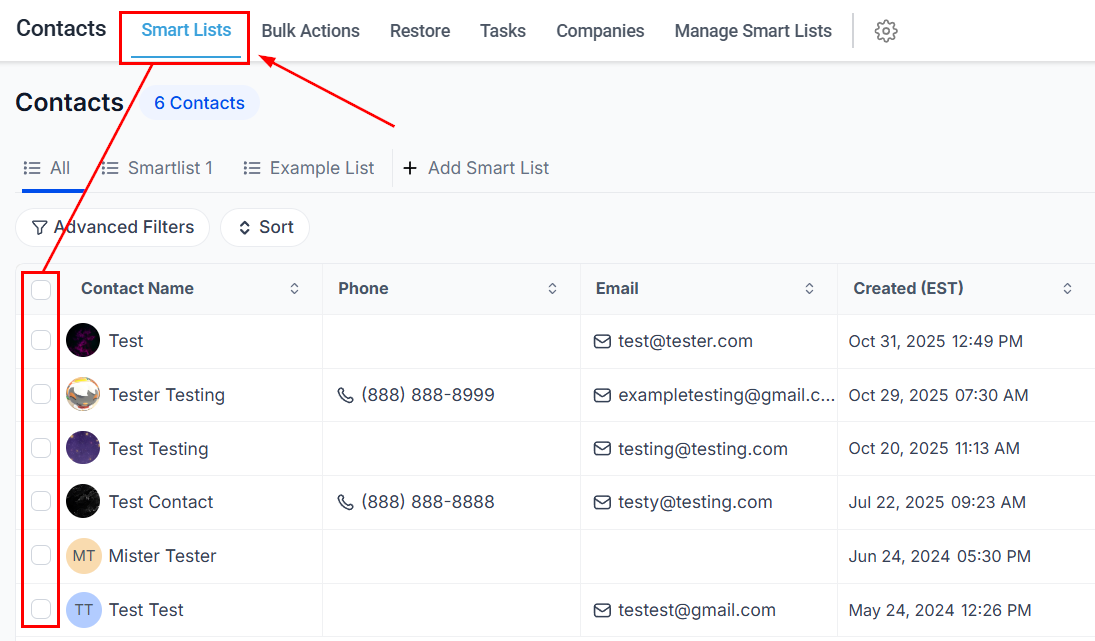
Navigate to Contacts > Smart Lists and click a contact’s name to open their record.
2

Add a tag

In the Tags field, type a new tag name and press Enter to create it, or click the field to open the dropdown and select an existing tag.
Tags field with dropdown on a contact record
3

Remove a tag

Click the X next to any tag in the contact record to remove it.
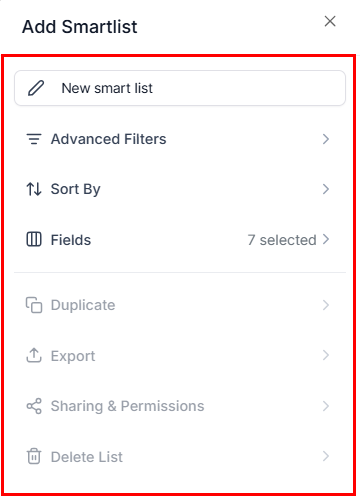
You can also create tags globally under Settings > Tags by clicking Create, entering a tag name, and clicking Create again. Globally created tags are available for selection across all contacts.

Adding and removing tags in bulk

To apply or remove tags across many contacts at once:
1

Select contacts

In the Smart Lists tab, check the contacts you want to update.
2

Use the bulk action

  • To add tags: click the Add Tag icon in the bulk actions toolbar
  • To remove tags: open the More dropdown and select Remove Tags
Bulk tag add icon in the toolbar
3

Select tags and confirm

In the dialog:
  • Add Tags — select from the dropdown; tags already applied to all contacts will not appear
  • Remove Tags — select specific tags to remove, or choose Remove All Tags to clear every tag
Tag selection dropdown for bulk add
Enter a descriptive name for the action (this appears in the bulk actions tracking report), then click Add Tags or Remove Tags.
If tags were removed by mistake, go to Contacts > Bulk Actions, find the action, and click the restore button in the three-dot menu.

Using tags in smart lists

Tags are one of the most powerful filtering options in smart lists:
  1. Open Contacts > Smart Lists and click + Add Smart List
  2. Click Advanced Filters
  3. Select Tag as the filter field
  4. Choose Is, Is Not, Contains, or Is Empty as the condition
  5. Enter the tag value and click Apply
Smart list tag filter configuration
This lets you instantly segment contacts — for example, filtering everyone tagged “hot lead” or “VIP customer.”

Automating tags with workflows

Workflows can automatically apply or remove tags based on triggers:
  • Add Contact Tag action — applies a tag when a contact reaches a specific step in a workflow
  • Remove Contact Tag action — removes a tag when triggered
This ensures consistent tagging without manual effort. For full details on these workflow actions, refer to the Automation documentation.

Practical examples

Sales funnel tracking

Tag contacts as new-lead, qualified, proposal-sent, or closed-won to track pipeline stages outside of Opportunities.

Event management

Tag attendees with event-2026, vip-guest, or checked-in to manage invitations and follow-ups.

Customer segments

Use tags like newsletter-subscriber, loyalty-member, or churn-risk to drive targeted marketing campaigns.

Support routing

Tag contacts with escalated or pending-callback so your support team knows exactly who needs attention.

Frequently asked questions

Yes. Contacts can have as many tags as needed. Use tags logically to maintain an organized system.
Deleting a tag removes it from every contact it was applied to. Use caution — this cannot be undone.
Use the Advanced Filters in Smart Lists, or use the search bar and filter by tag in the contacts view.
Last modified on March 4, 2026