

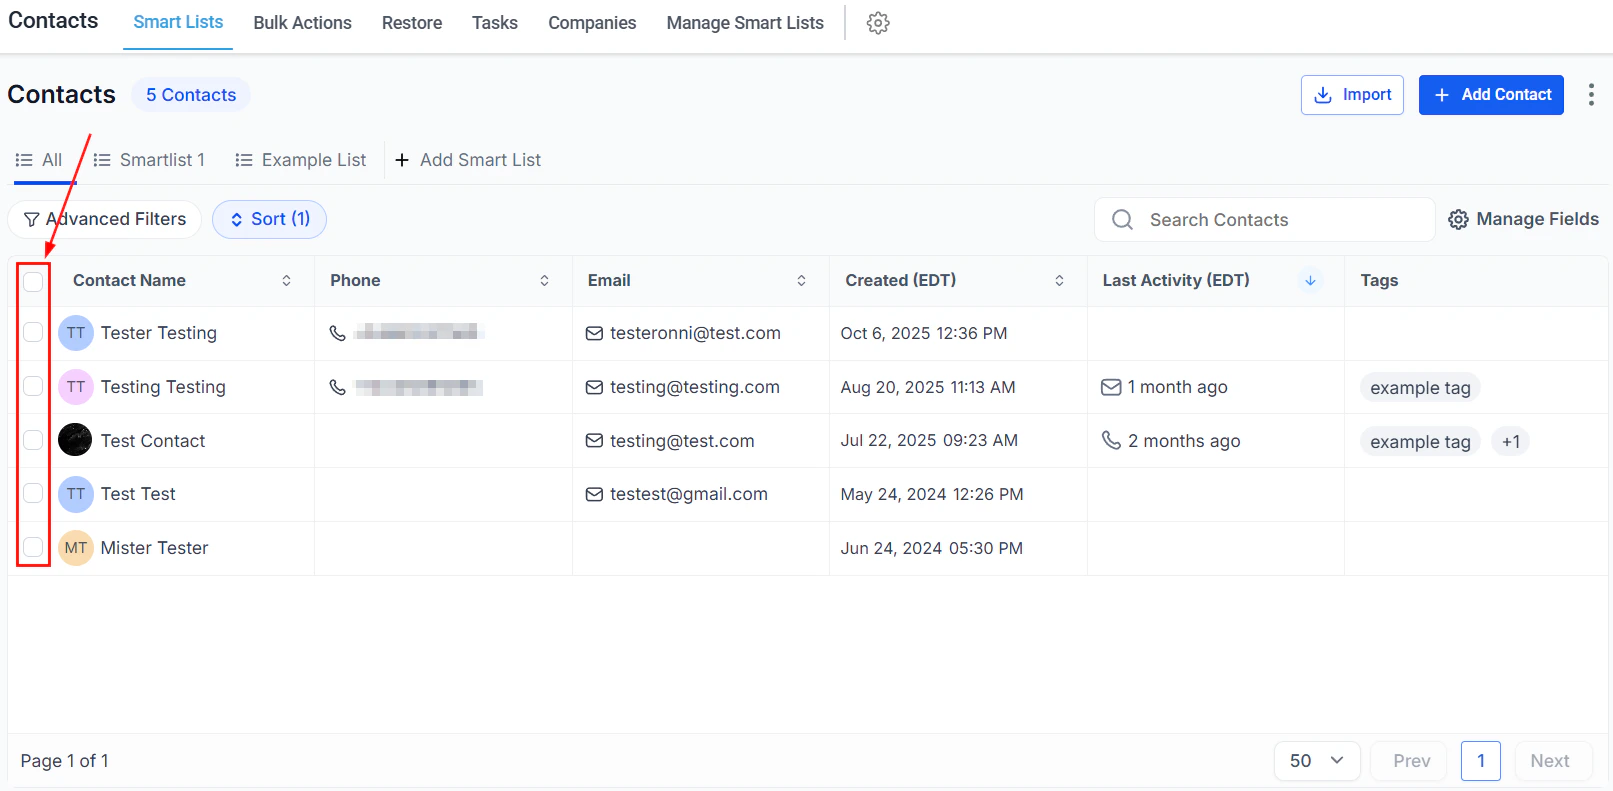
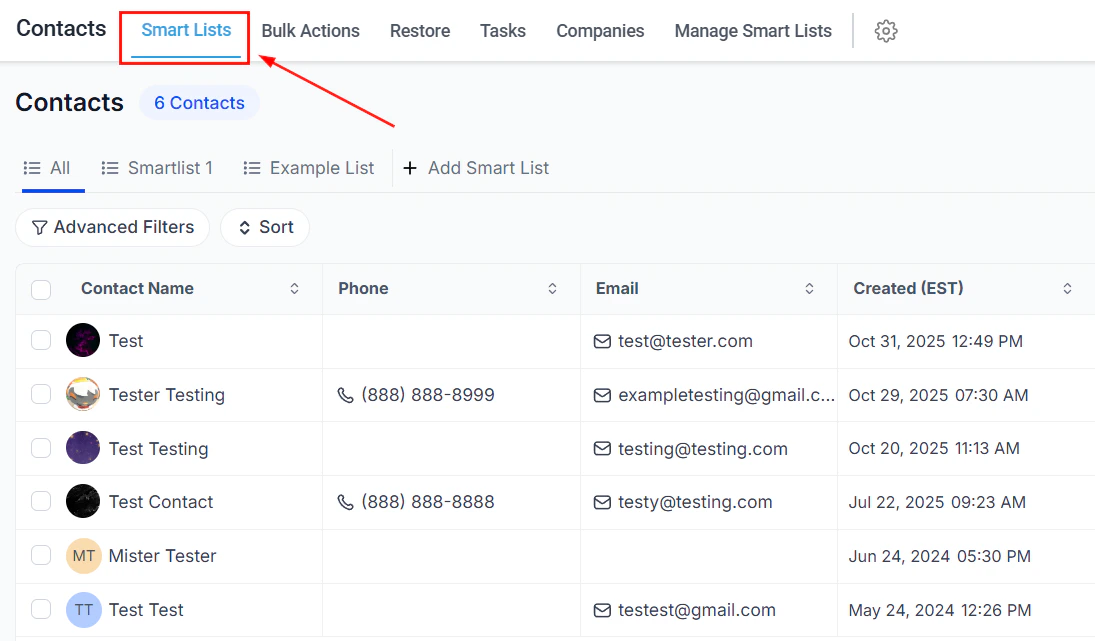
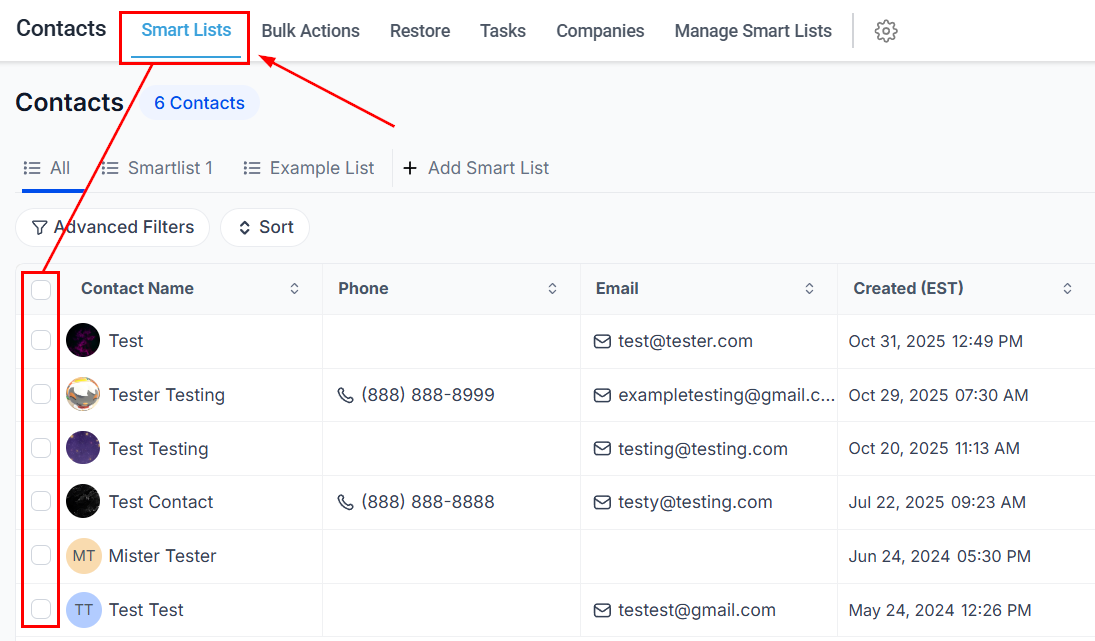
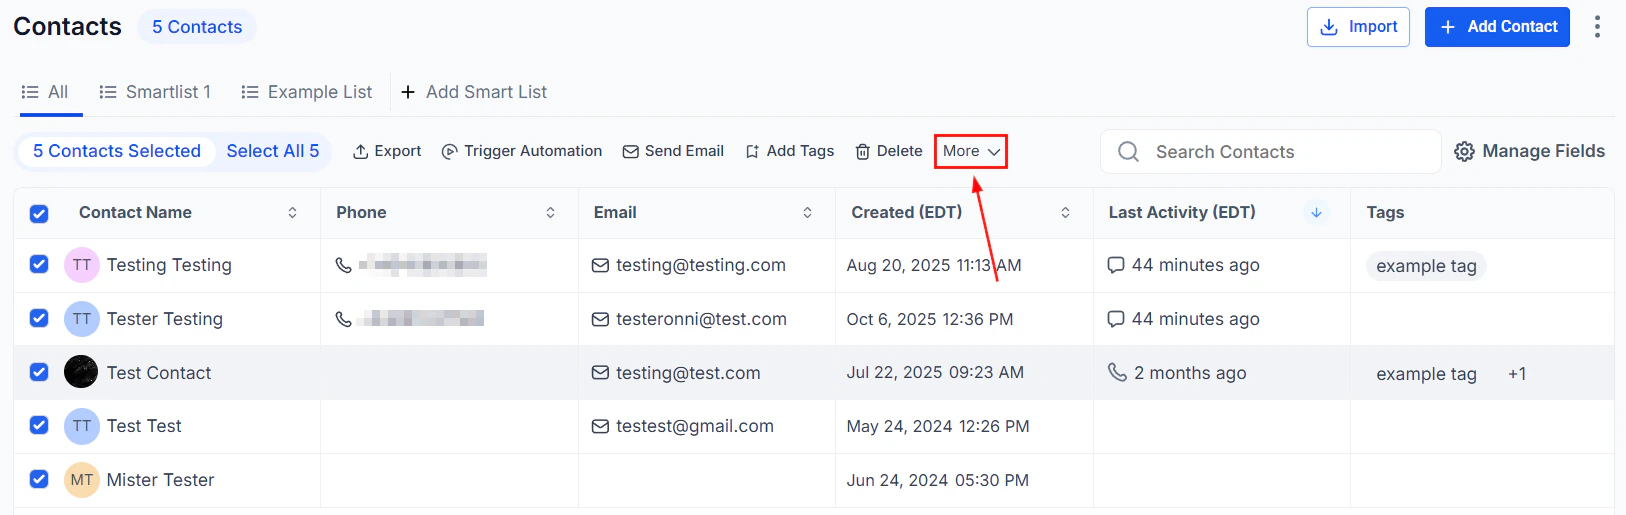
Select contacts in the Smart Lists tab to reveal bulk action buttons
Quick action buttons
The Smart Lists tab includes a toolbar with quick action buttons for managing contacts efficiently.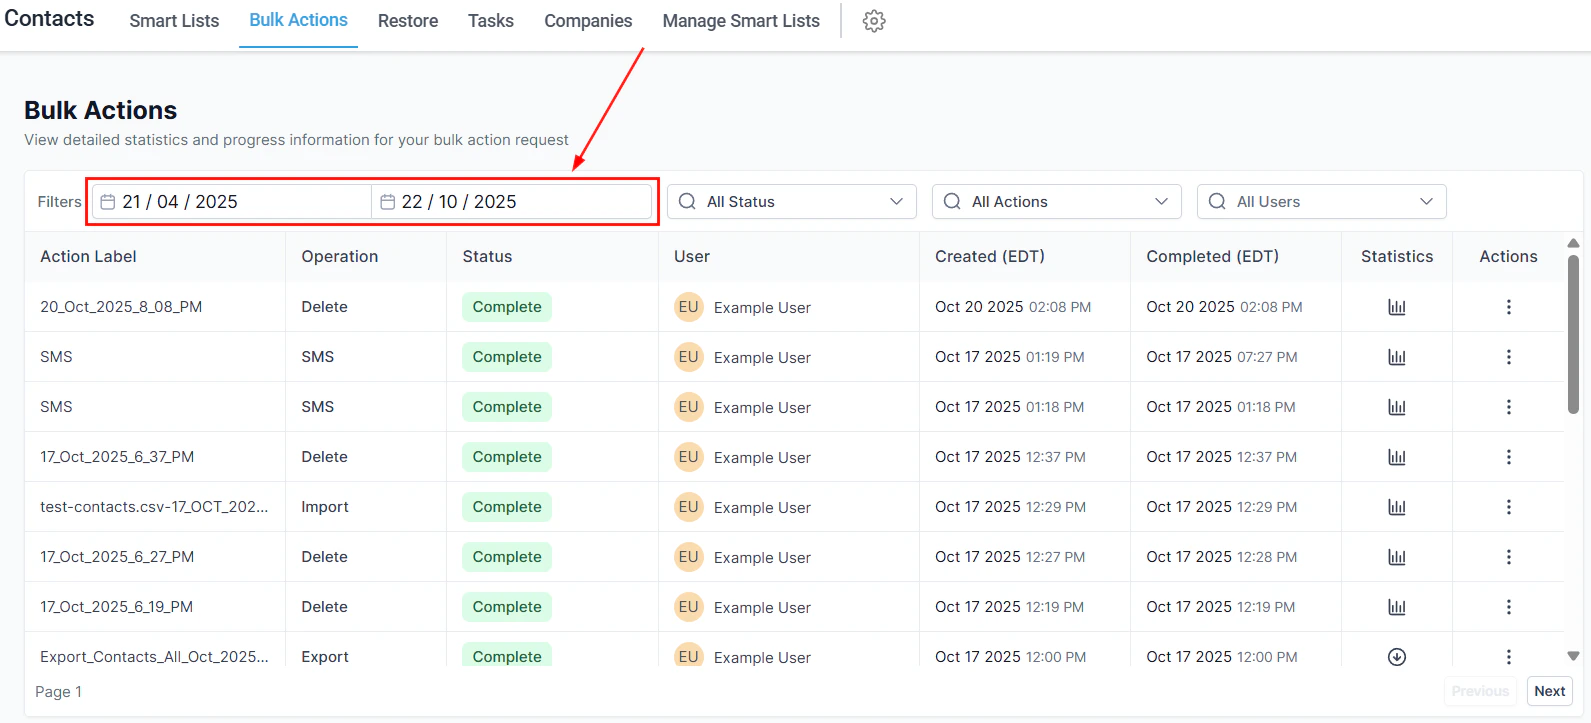
The full bulk actions toolbar with all available quick actions
Send SMS
Send SMS
Send bulk SMS to multiple contacts at once
Add tag
Add tag
Add a tag to all selected contacts in one step
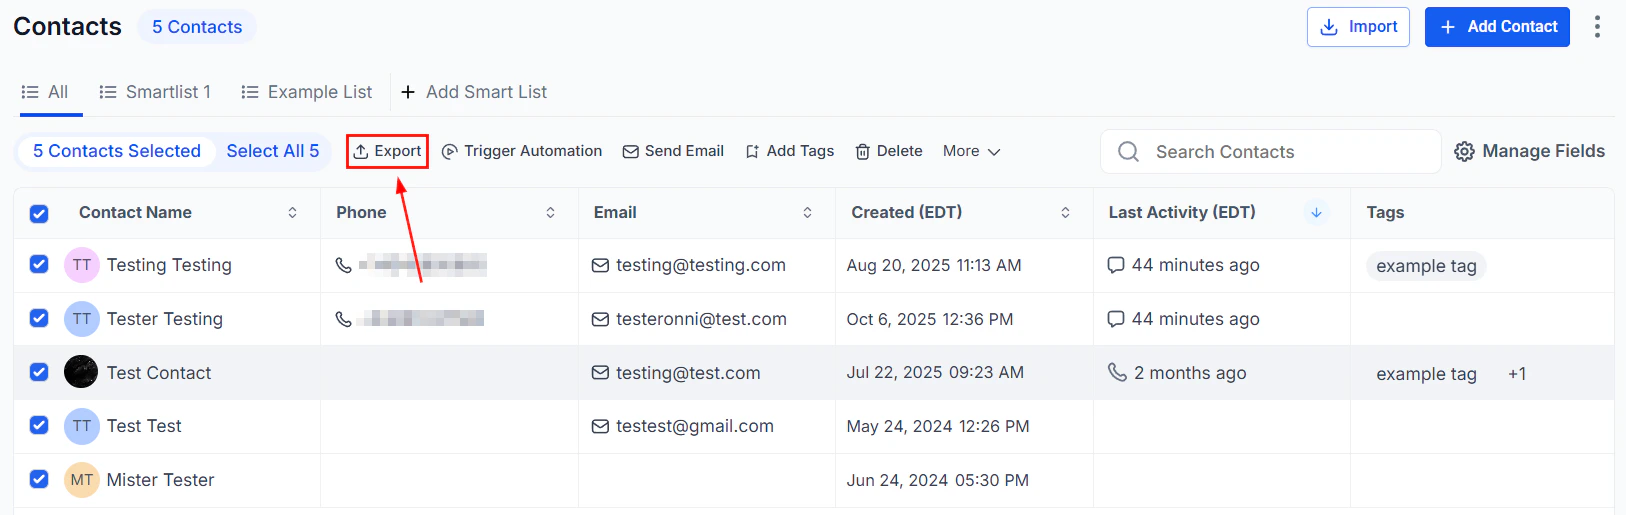
Export contacts
Export contacts
Export selected contacts to a CSV file
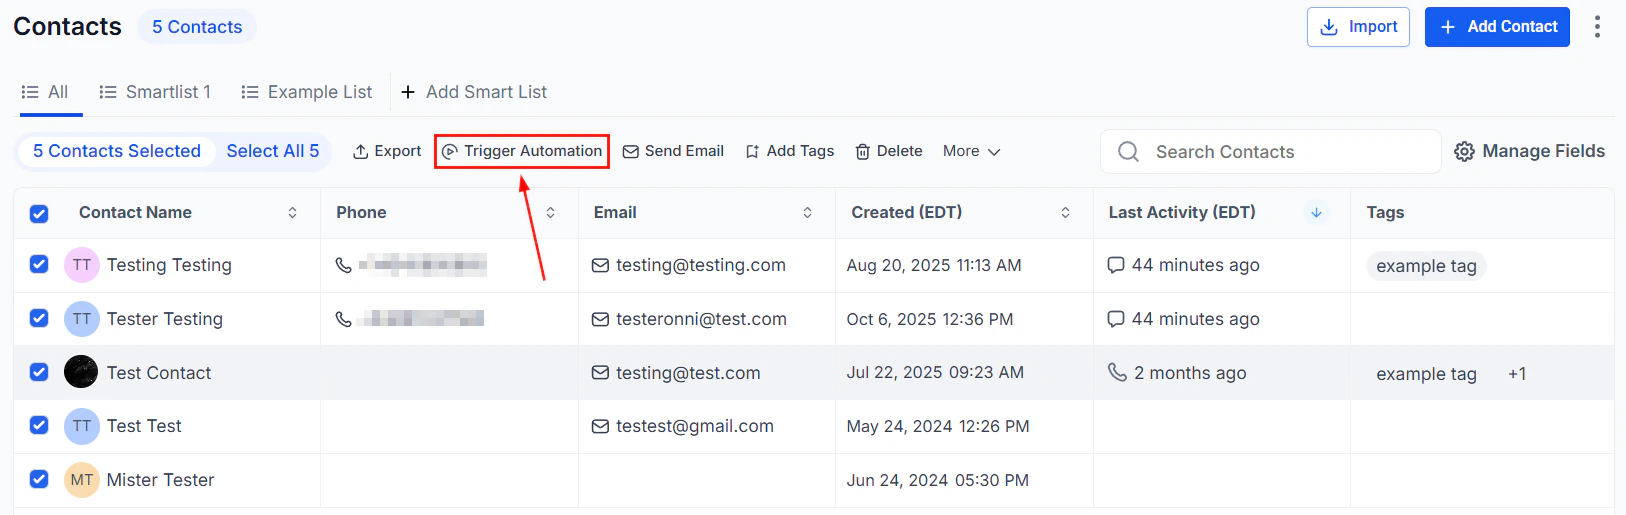
Add to automation
Add to automation
Enroll selected contacts in an automation workflow
Delete contact
Delete contact
Delete multiple contacts in one bulk action
Adding a contact manually
When an SMS, call, Facebook, Instagram, GMB message, or email is received from a potential client, the system automatically adds them to your contacts. You can also add contacts manually.Open the Add Contact form
Fill in contact details
- Contact Image — upload a photo (512x512 px, under 2.5 MB) to identify the contact
- First Name / Last Name — the contact’s full name
- Email — primary email; click + Add Email to add additional addresses
- Phone — primary phone; click + Add Phone Numbers to add more
- Contact Type — assign as Lead or Customer
- Time Zone — helps your team know the best time to reach them
- DND — enable Do Not Disturb for all or specific channels
Save the contact
Sending bulk SMS
Select contacts and open Send SMS
Select contacts and choose Send SMS from the More menu
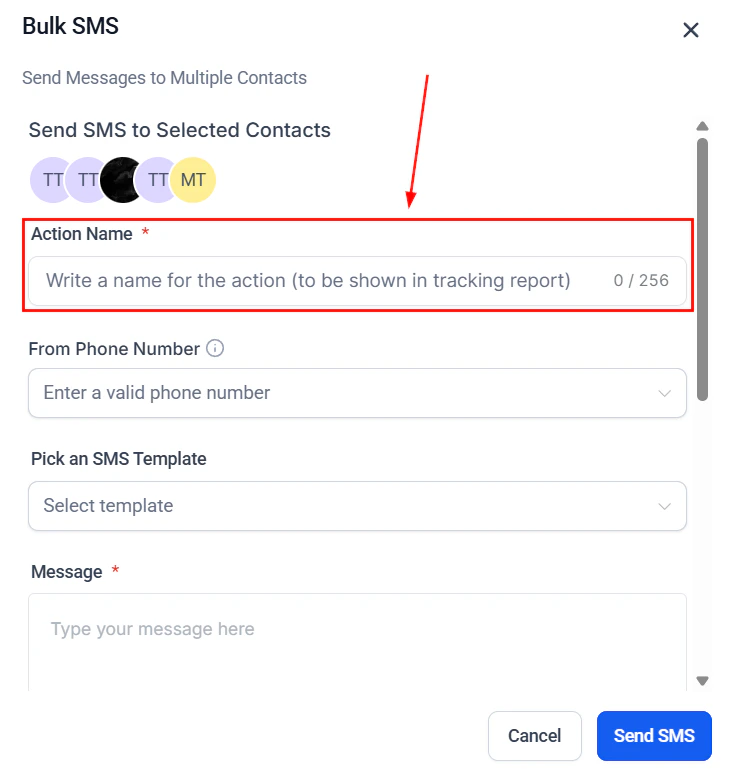
Name the action and choose a sender number
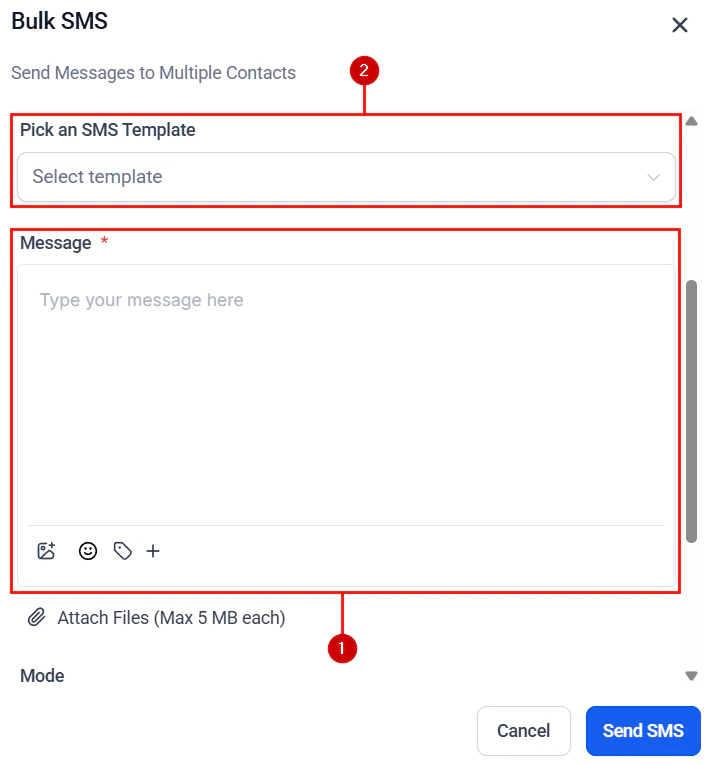
Compose your message
Compose your SMS using the message editor
Choose a sending mode
- Send All at Once — delivers to all selected contacts instantly
- Send at a Scheduled Time — choose a specific date and time
- Send in Drip Mode — sends in batches; configure Start On, Batch Quantity, Repeat After, Send On days, and an optional time window
Choose a sending mode — immediate, scheduled, or drip
Send
Deleting contacts in bulk
Select contacts to delete
Check contacts to select them for deletion
Click the trash icon
Confirm deletion
DELETE to confirm the action, then click Delete.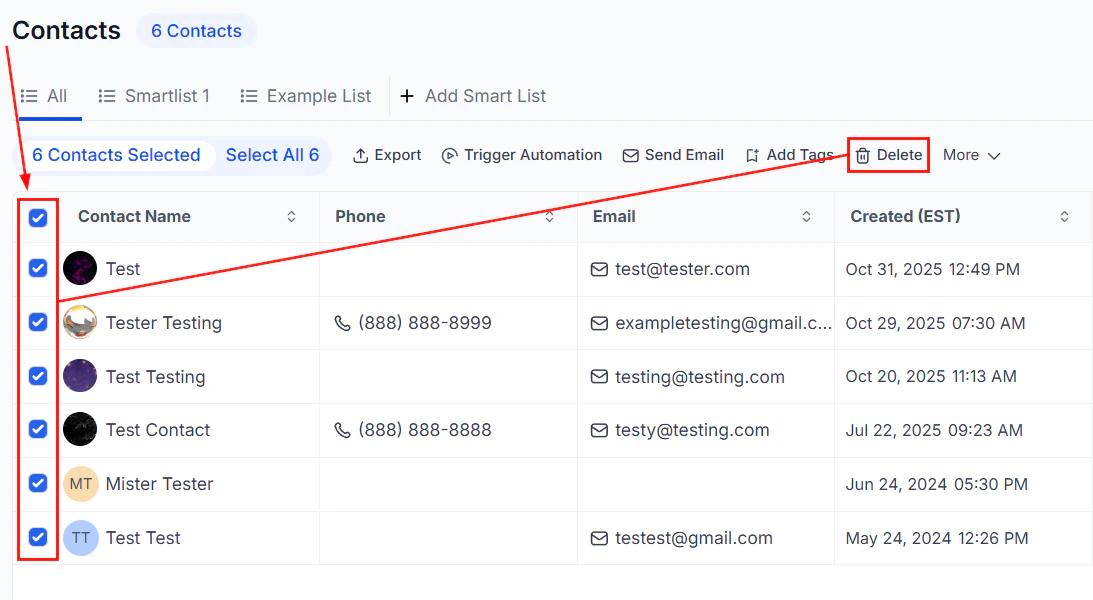
Type DELETE to confirm bulk deletion
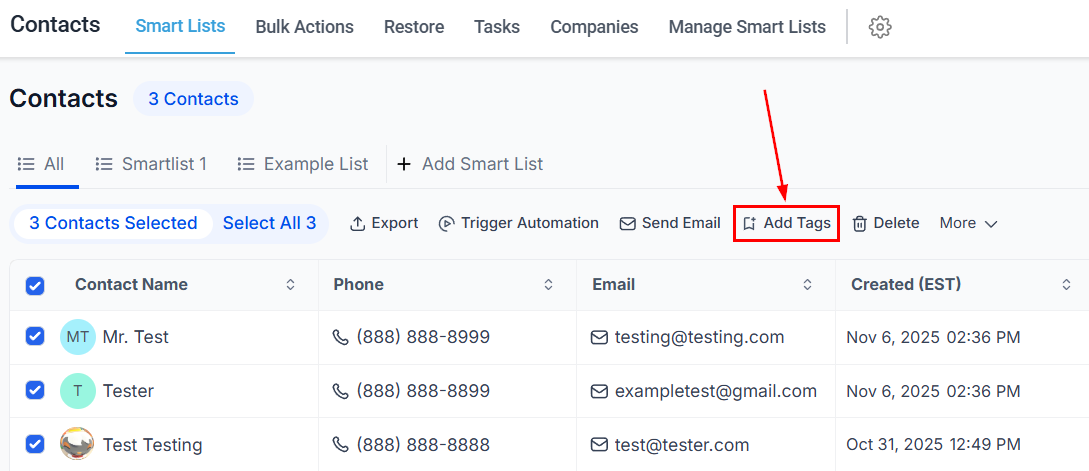
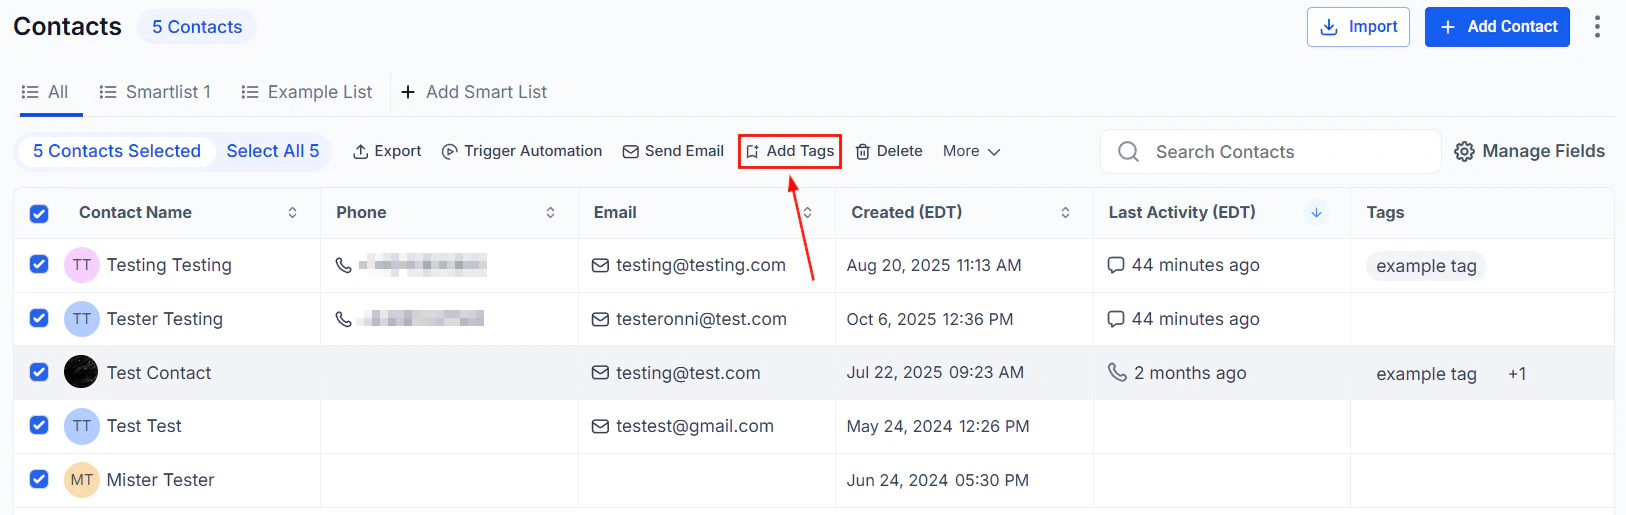
Adding tags to contacts in bulk
Select contacts
Select contacts to apply tags to
Open Add Tag
Name the action
Select tags and confirm
Select tags from the dropdown to apply to all selected contacts
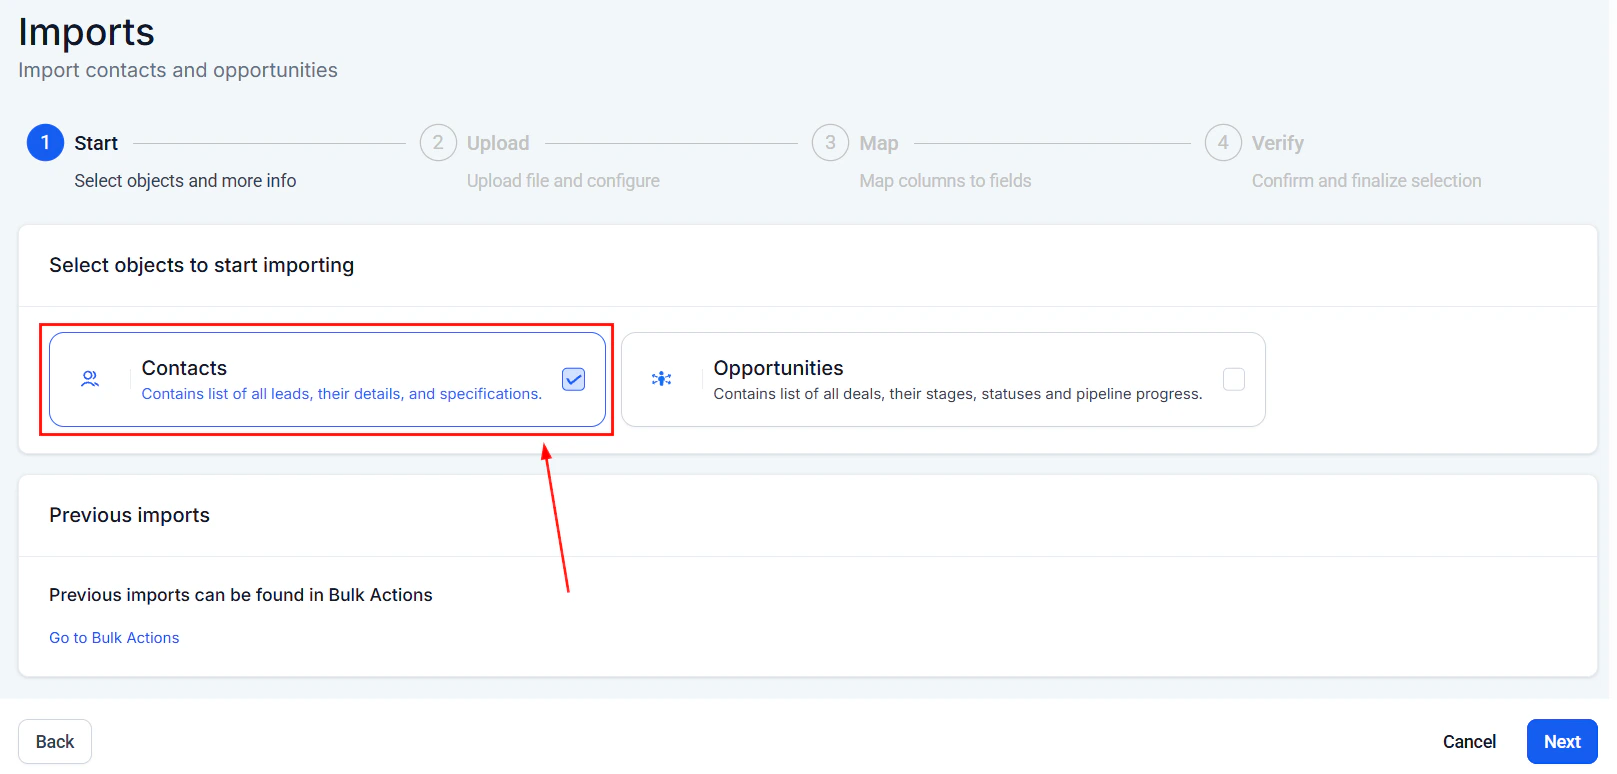
Importing contacts
Prepare your CSV file
- Format:
.csvwith a single sheet - Size: under 30 MB
- Encoding: UTF-8
- A header row with column names matching Hoop field names
- Phone numbers — use E.164 format (e.g.,
+1 1234567890); US formats like123-456-7890are also accepted - Dates — use
mm/dd/yyyyoryyyy/mm/ddwith/,-, or.separators - Tags — format as
Value 1, Value 2, Value 3
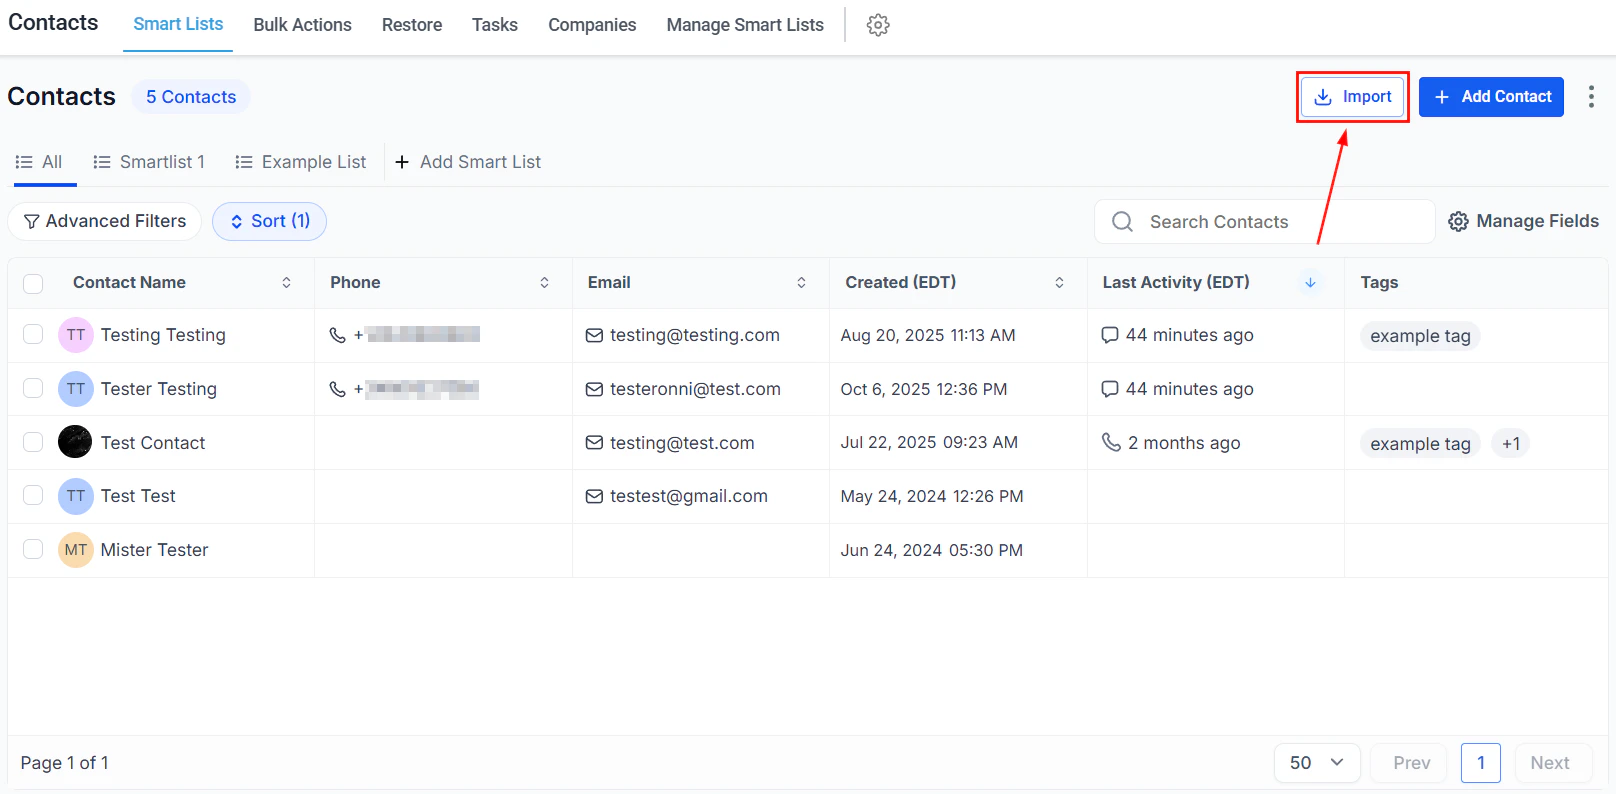
Open the Import wizard
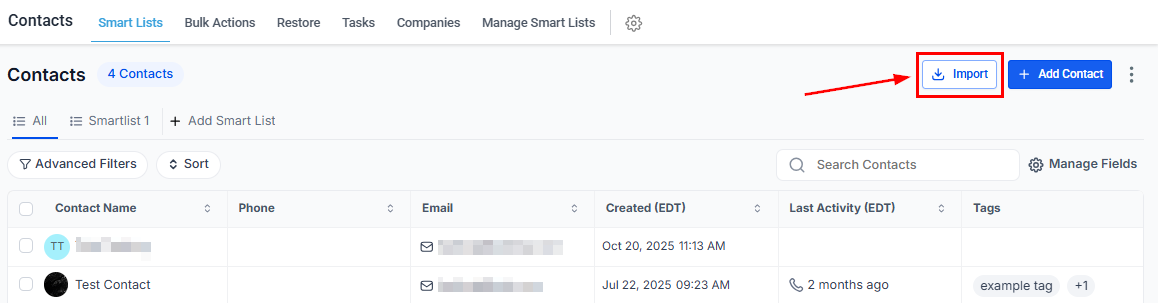
Click the Import icon in the Contacts toolbar
Upload your file

Upload your prepared CSV file
Map fields
Map CSV columns to Hoop contact fields in the mapping step
Configure preferences and start import
- Create a Smart List for newly imported contacts
- Add contacts to a workflow by selecting a workflow from the dropdown
- Add tags to categorize the imported contacts
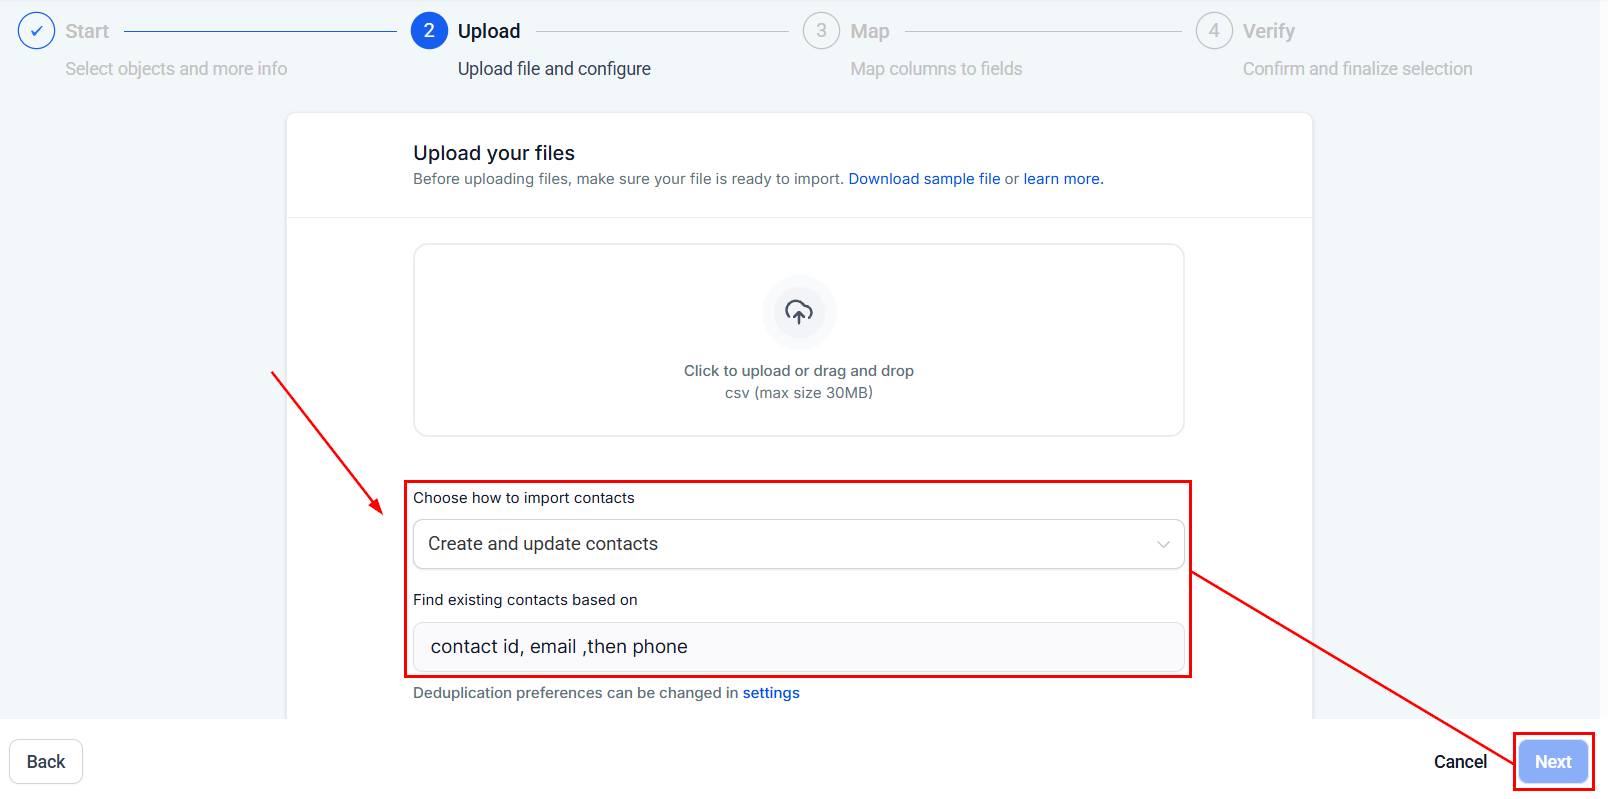
Configure post-import preferences for smart lists, workflows, and tags

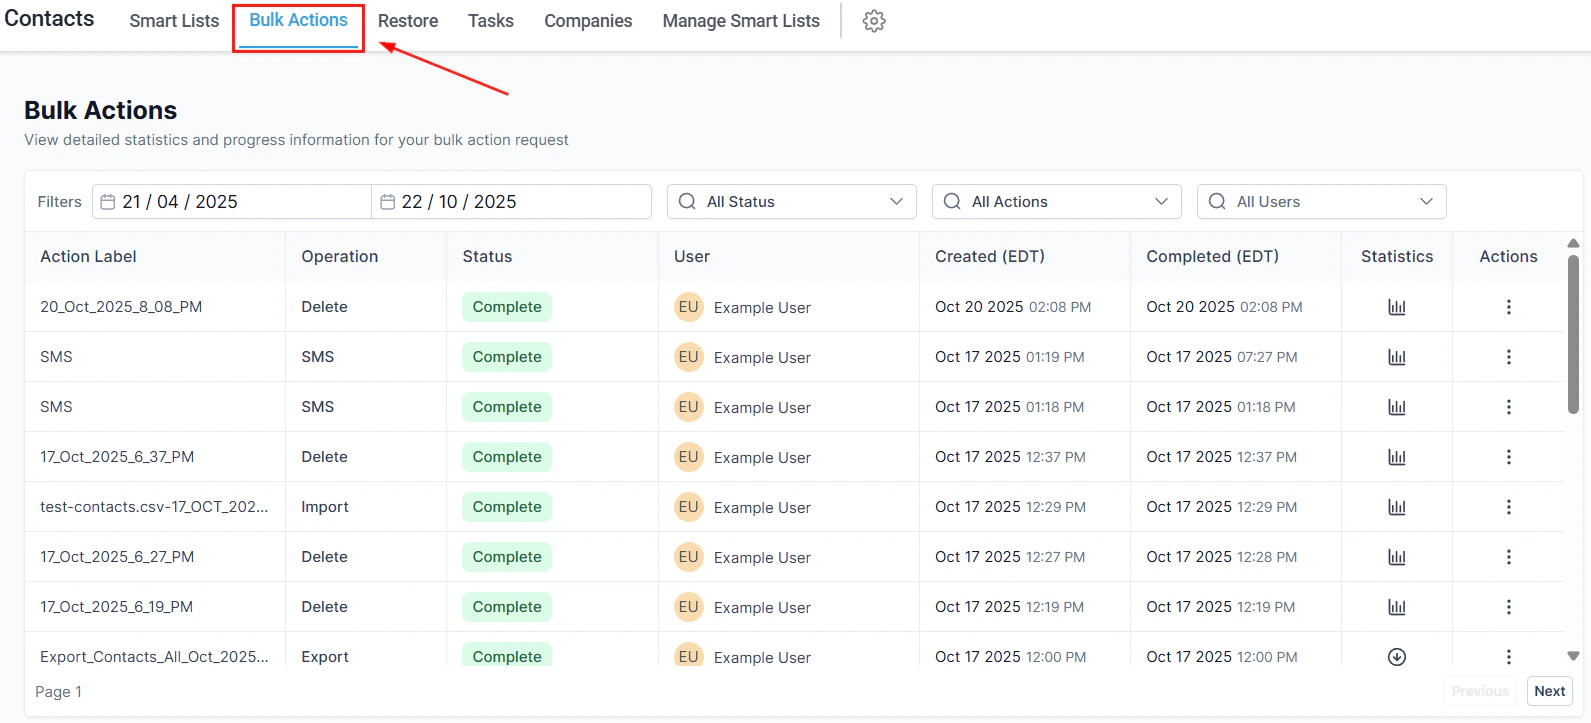
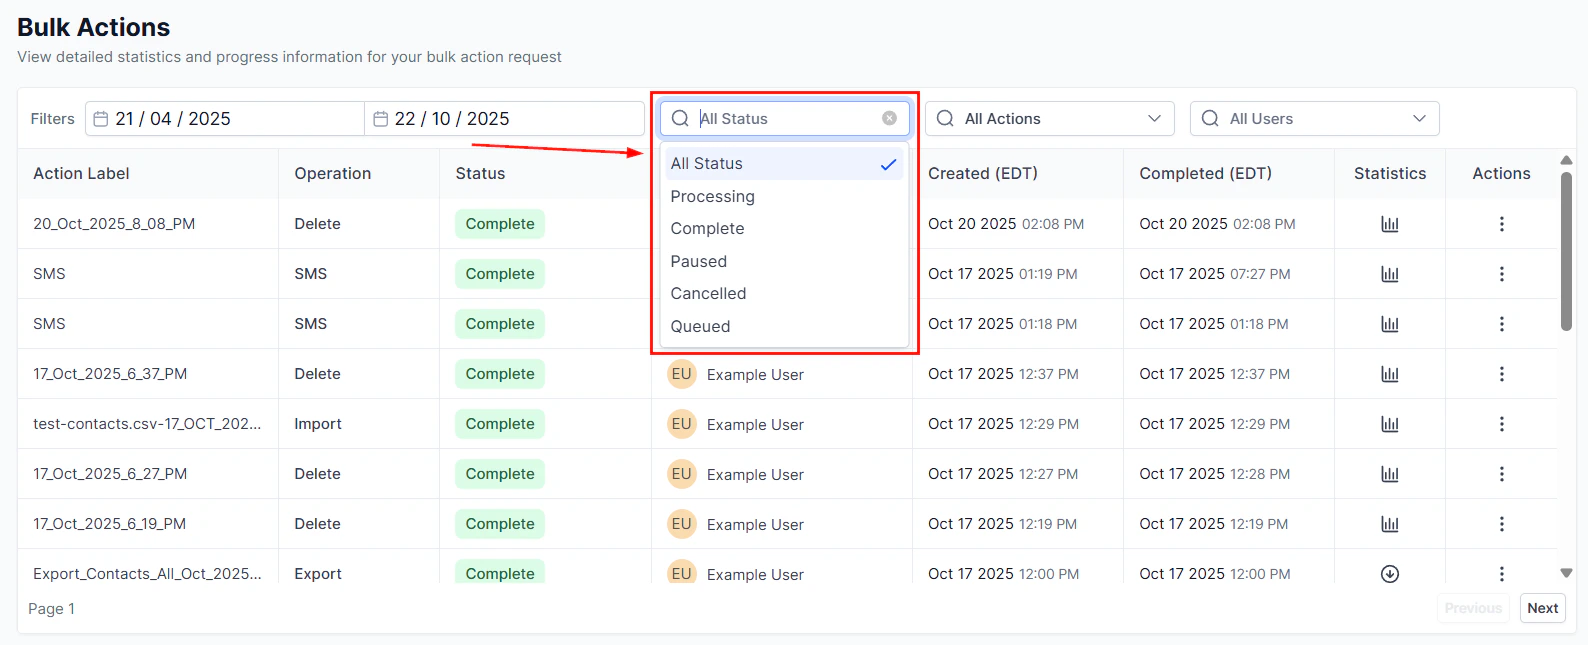
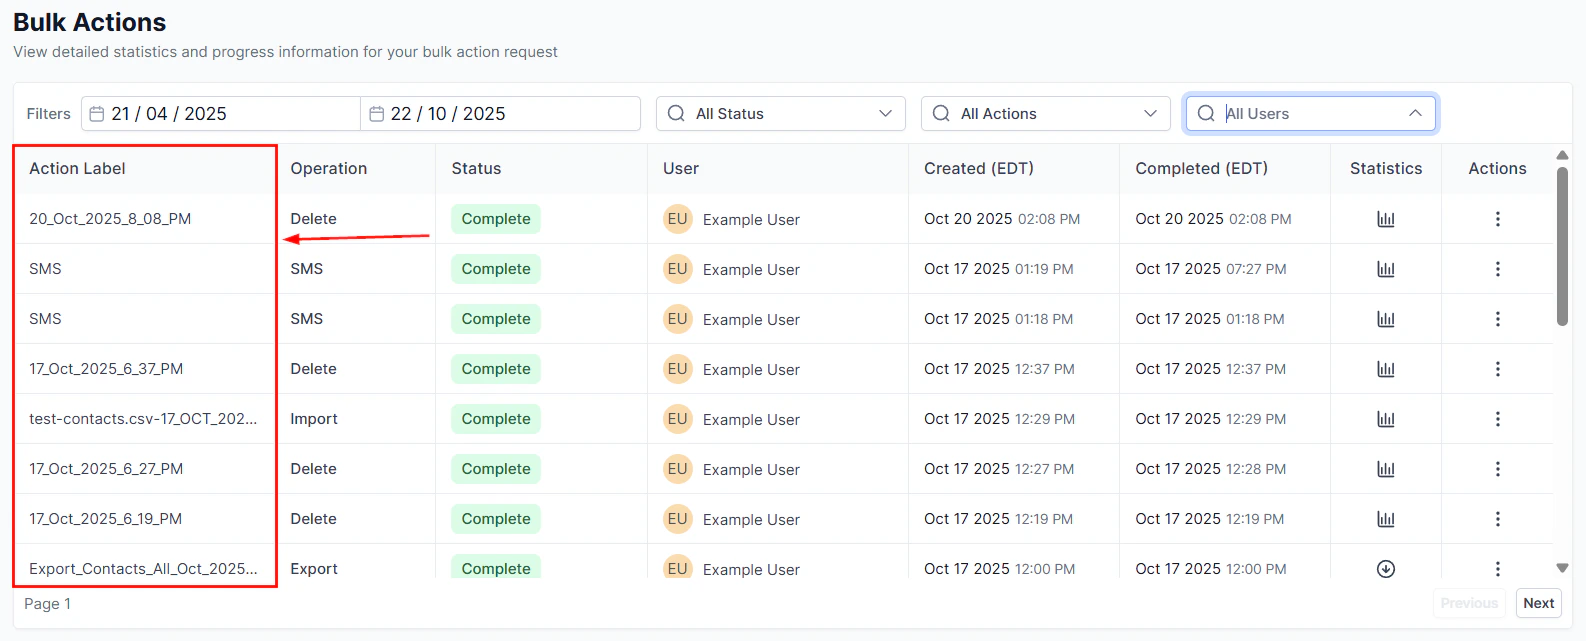
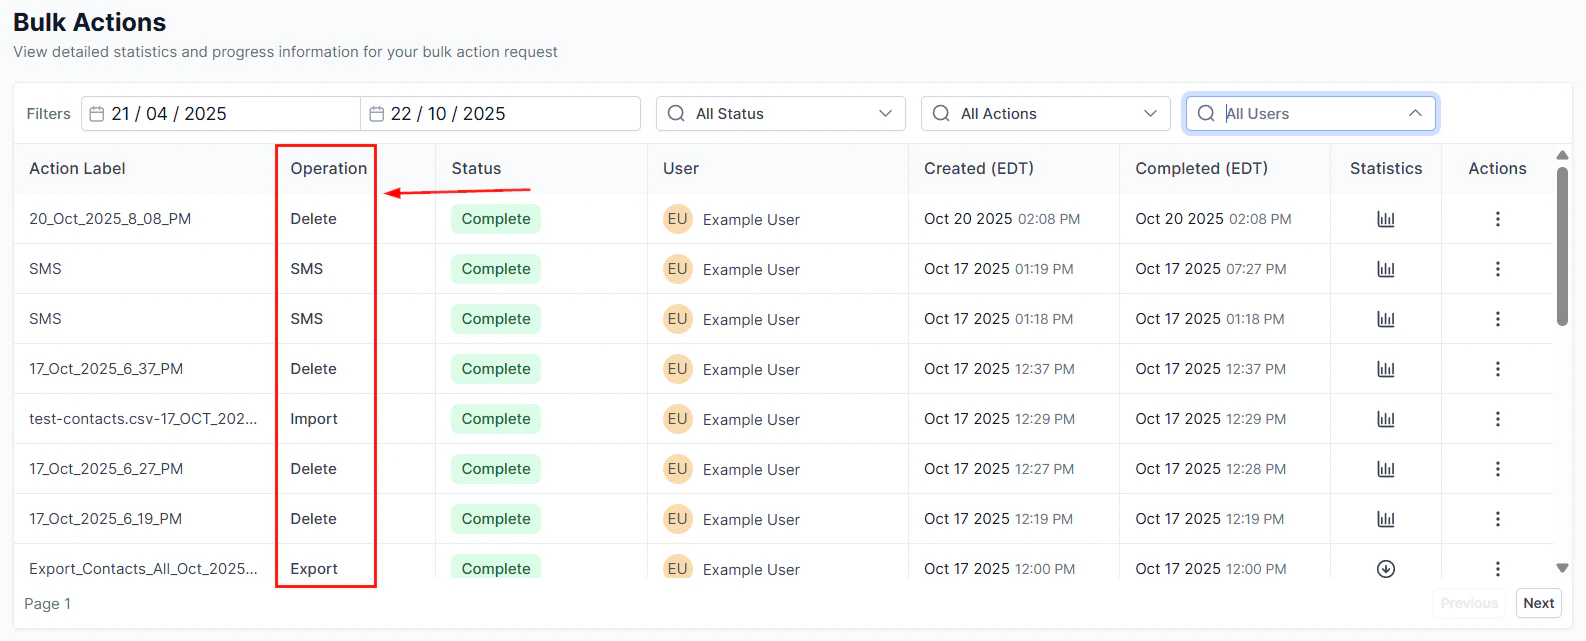
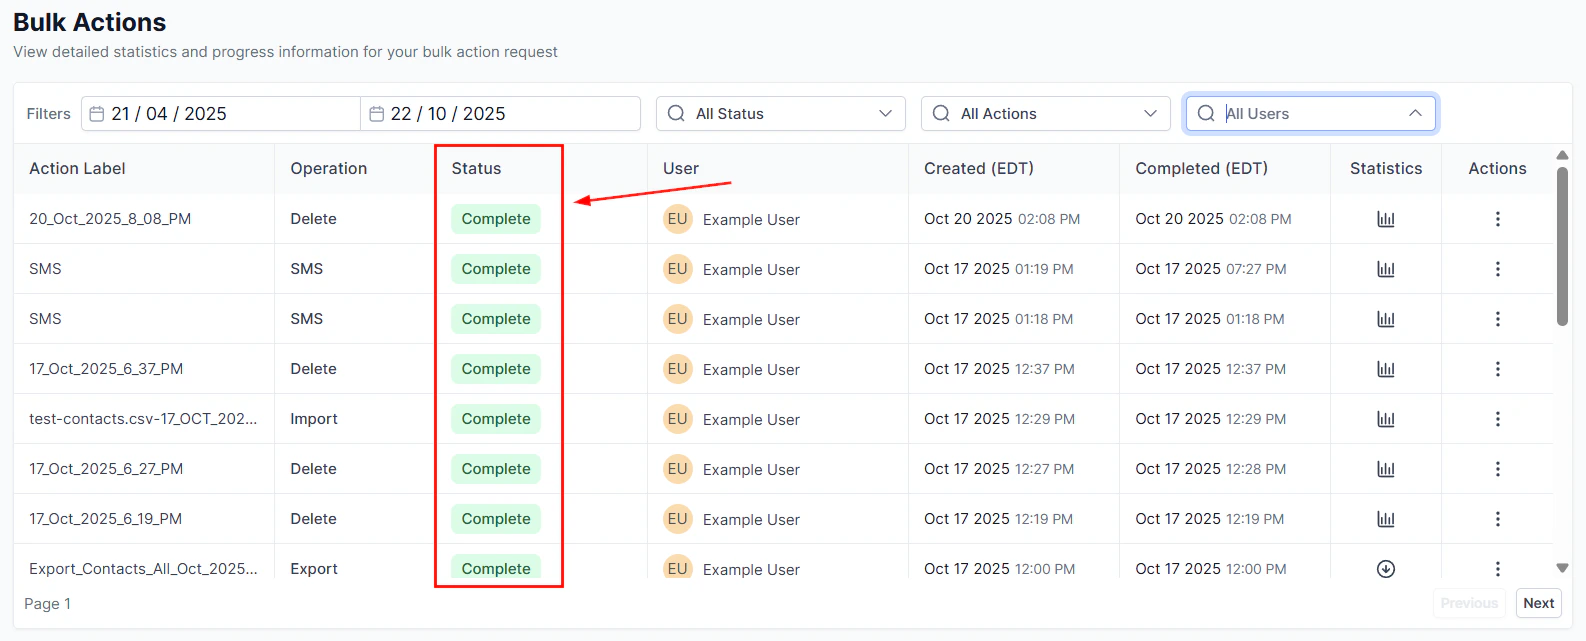
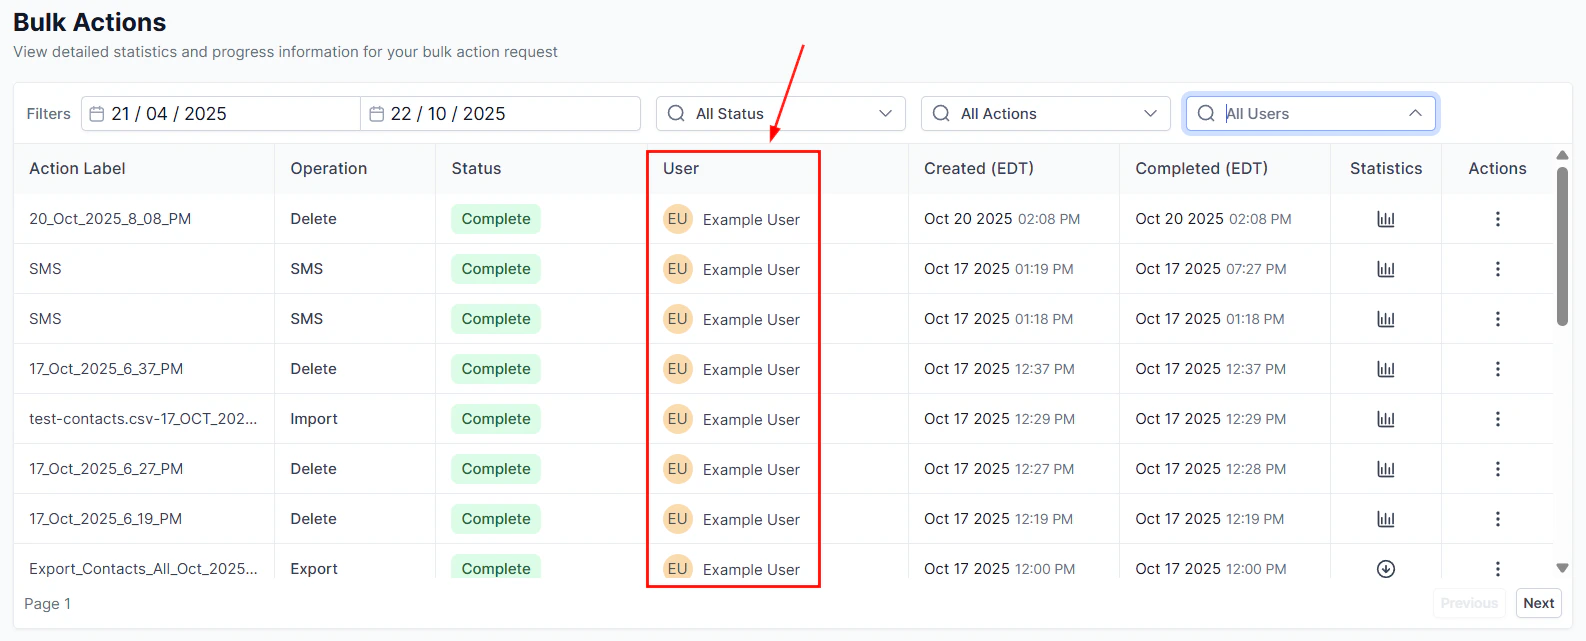
Monitor import progress in the Bulk Actions tab
Exporting contacts
Select contacts
Click Export
Confirm the download
Smart list quick action buttons
The quick action buttons in the Smart Lists tab provide single-click shortcuts for the most common operations.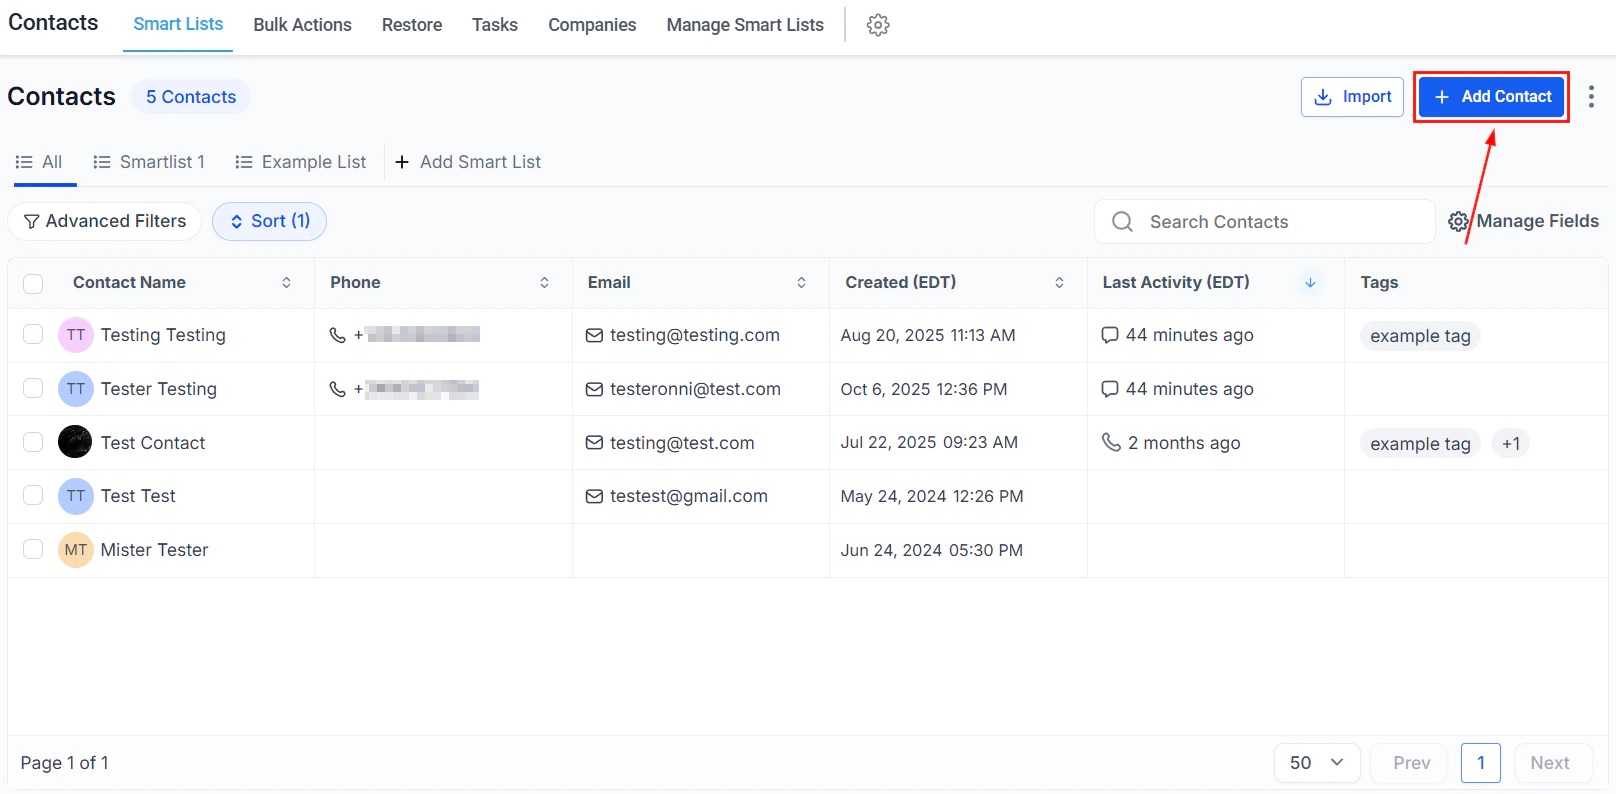
Quick action buttons in the Smart Lists toolbar
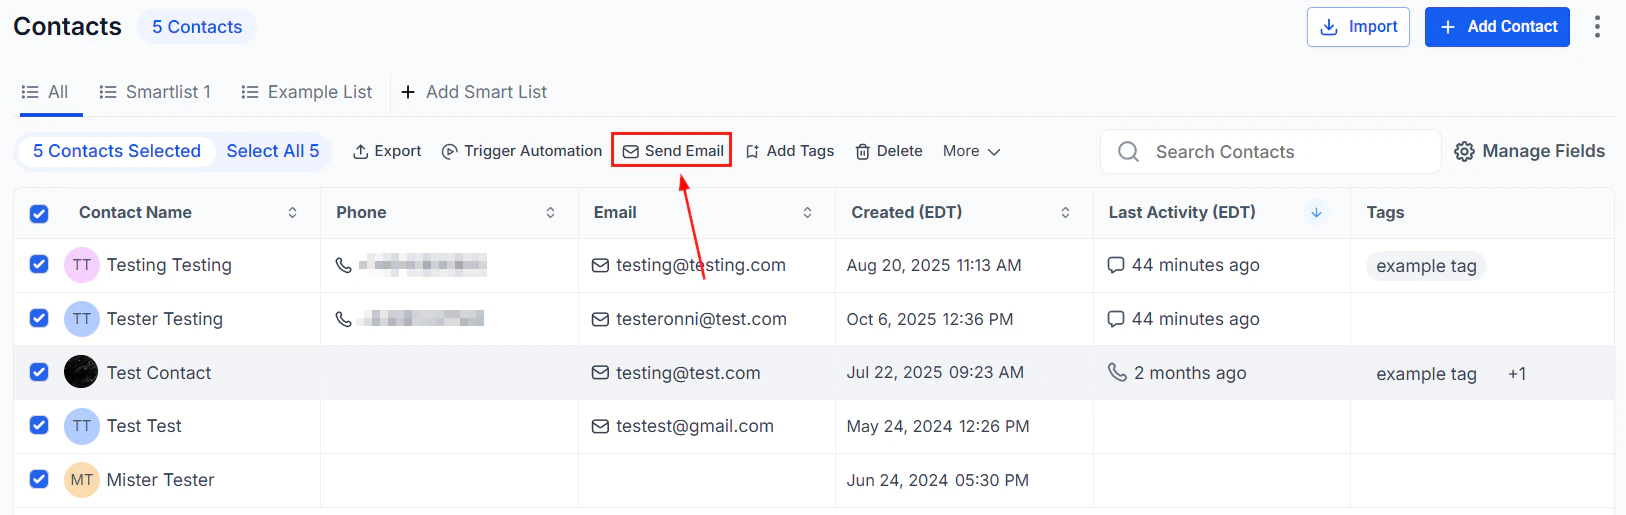
Send email
Send email
Send a bulk email using the email quick action
Send SMS
Send SMS
Send a bulk SMS using the SMS quick action
Request review
Request review
Send review requests to multiple contacts at once
Add tag
Add tag
Apply tags to multiple contacts using the tag quick action
Export
Export
Export selected contacts to a CSV file
Delete
Delete
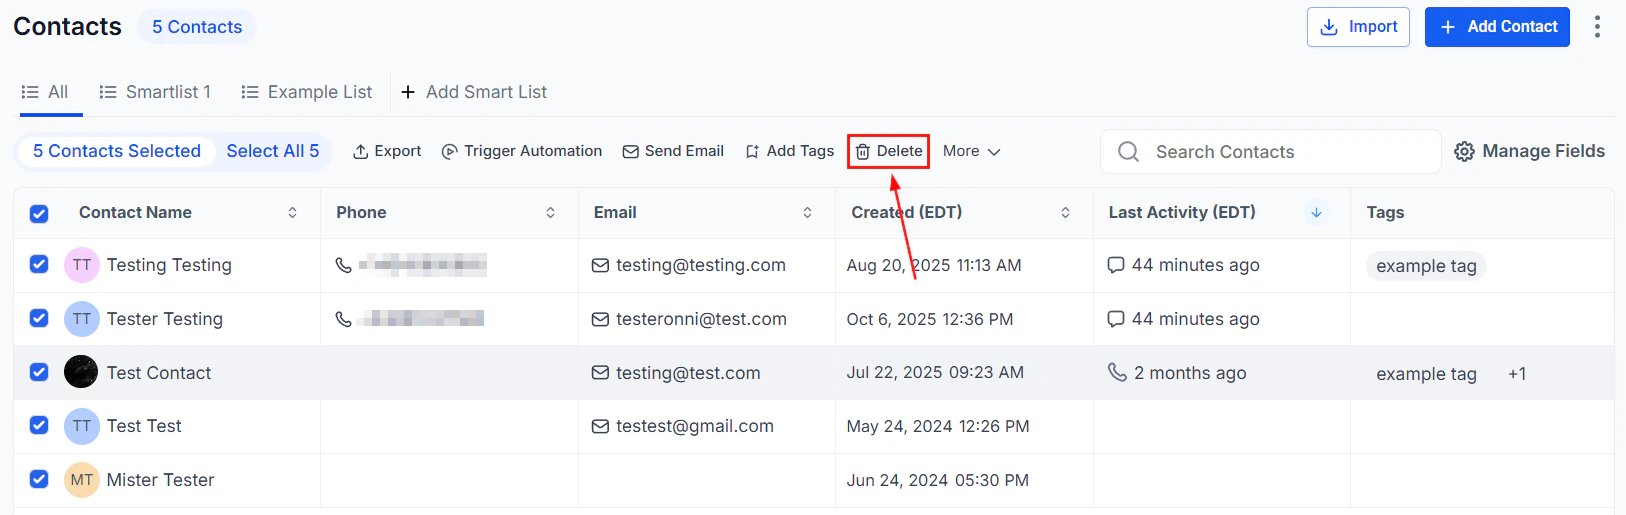
Delete multiple contacts using the delete quick action
Add to automation
Add to automation
Add selected contacts to an automation workflow