

Types of custom fields
The HoopAI Platform supports the following custom field types for contacts:Creating a custom field
1
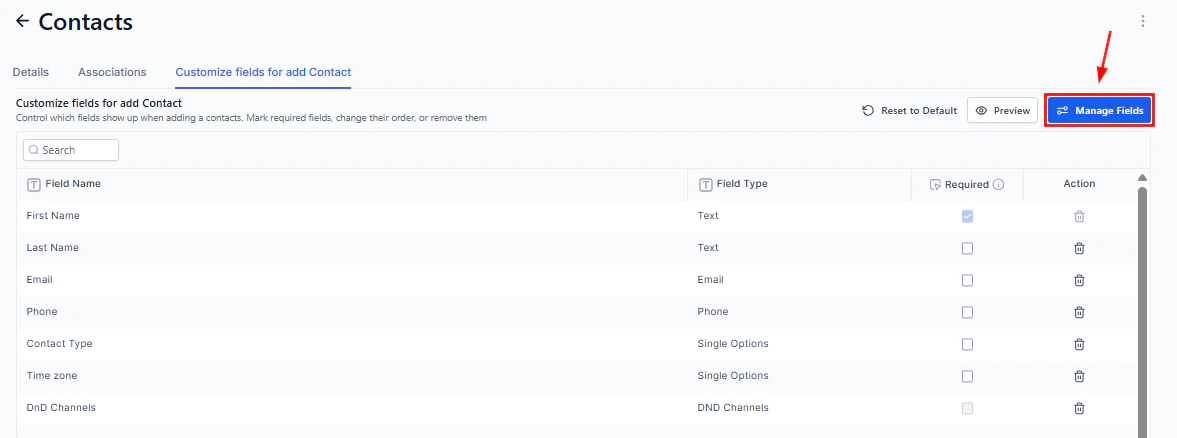
Open Custom Fields settings
Navigate to Settings > Custom Fields. The Custom Fields page lists all existing fields organized by object type.
2
Select the Contacts object
Make sure the Contacts tab is selected so the new field is applied to contact records.
3
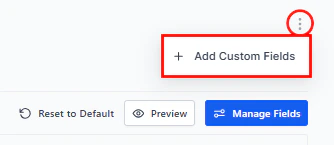
Add a new field
Click + Add Field to open the field creation panel.
4
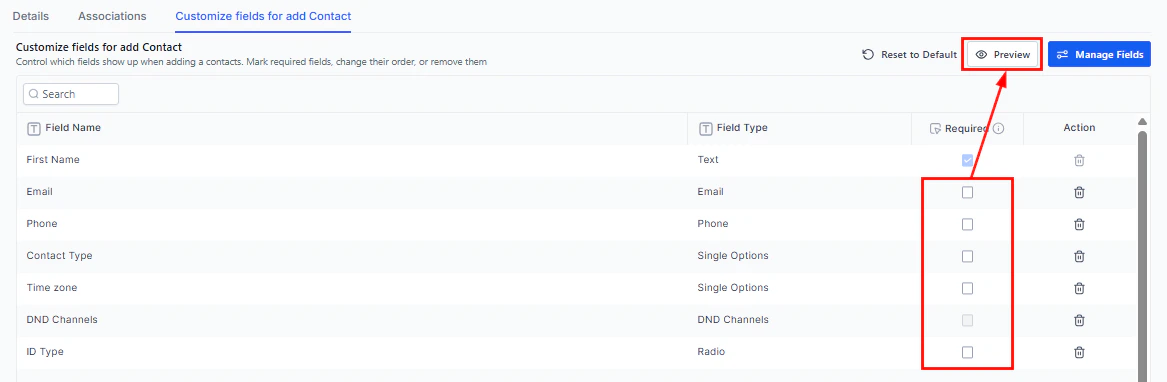
Configure the field
Fill in the following:
- Field label — the name displayed on the contact record and in forms
- Field key — a unique identifier used in automations and API calls (auto-generated from the label, but can be customised)
- Field type — select from the list above
- Placeholder text (optional) — hint text shown inside the field before a value is entered
- Options (for single/multiple option and dropdown types) — enter each selectable value on a new line
5
Save the field
Click Save. The field is immediately available on all contact records under the Additional Info tab.
Creating a new custom field in Settings
Organising custom fields into groups
Group related custom fields together to keep the Additional Info tab clean and navigable.1
Create a group
On the Custom Fields settings page, click + Add Group. Enter a name for the group (e.g., “Membership details” or “Intake information”).
2
Assign fields to the group
Drag existing fields into the group, or set the group when creating a new field using the Group dropdown in the creation panel.
3
Reorder groups and fields
Drag group headers and individual fields to reorder them. The order in Settings determines the display order on the contact record.
Organising custom fields into groups
Viewing and editing custom field values on a contact
1
Open the contact record
Navigate to Contacts > Smart Lists and click a contact’s name.
2
Open the Additional Info tab
Click the Additional Info tab in the left panel. All custom fields are displayed here, grouped if you have created field groups.
3
Enter or update a value
Click any custom field to edit its value. Changes are saved automatically when you click outside the field or press Enter.
Viewing and editing custom field values on a contact record
Using custom fields in smart lists
Custom field values are available as filter conditions in Smart Lists.- Open Contacts > Smart Lists and click Advanced Filters
- Select Custom Fields from the field category list
- Choose the specific custom field
- Select a condition (equals, contains, is empty, greater than, etc.)
- Enter the value to filter by
- Click Apply
Using custom fields in emails and SMS
Reference custom field values in message templates using personalisation tags:- In the message editor, click Custom Values or the personalisation tag icon
- Locate your field under Contact > Custom Fields
- Insert the tag, which appears as
{{contact.custom_field_key}}
Editing and deleting custom fields
To rename or modify a field, click the pencil icon next to it on the Custom Fields settings page.Date of birth / birthday field
Create a Date Picker custom field named “Date of Birth” or “Birthday” to store contact birthdays. Once populated, you can:- Filter by birthday in Smart Lists — find contacts with upcoming birthdays using relative date filters (e.g., “Birthday is in the next 7 days”)
- Trigger birthday workflows — use the Date/Event workflow trigger set to the birthday custom field to automatically send birthday greetings, special offers, or discount codes
- Personalize messages — include the birthday date in email templates using the merge tag
Adding files to contacts via file upload custom field
The File Upload custom field type lets you attach documents, images, and files directly to a contact record:- Create a custom field with type File Upload in Settings > Custom Fields
- The field appears in the contact record under the Additional Info tab
- Click the field to upload a file — supported types include PDF, Word, Excel, images, and more (up to 250 MB per file)
- Uploaded files are stored in the contact record and also appear in the Documents tab under the Custom Fields folder
Frequently asked questions
How many custom fields can I create?
How many custom fields can I create?
There is no strict limit on the number of custom fields. However, keeping the list focused and well-organised improves usability and system performance.
Can custom fields be used in forms and surveys?
Can custom fields be used in forms and surveys?
Yes. When building a form or survey, select any contact custom field as the destination for a form element. Submitted values are written directly to the contact record.
Can I set a default value for a custom field?
Can I set a default value for a custom field?
Default values are not set at the field level. You can use a workflow action to pre-populate a custom field when a contact is created or reaches a certain stage.
Can I import custom field data from a CSV?
Can I import custom field data from a CSV?
Yes. During the import wizard field-mapping step, map any CSV column to a custom field. The field must already exist in Settings before importing.