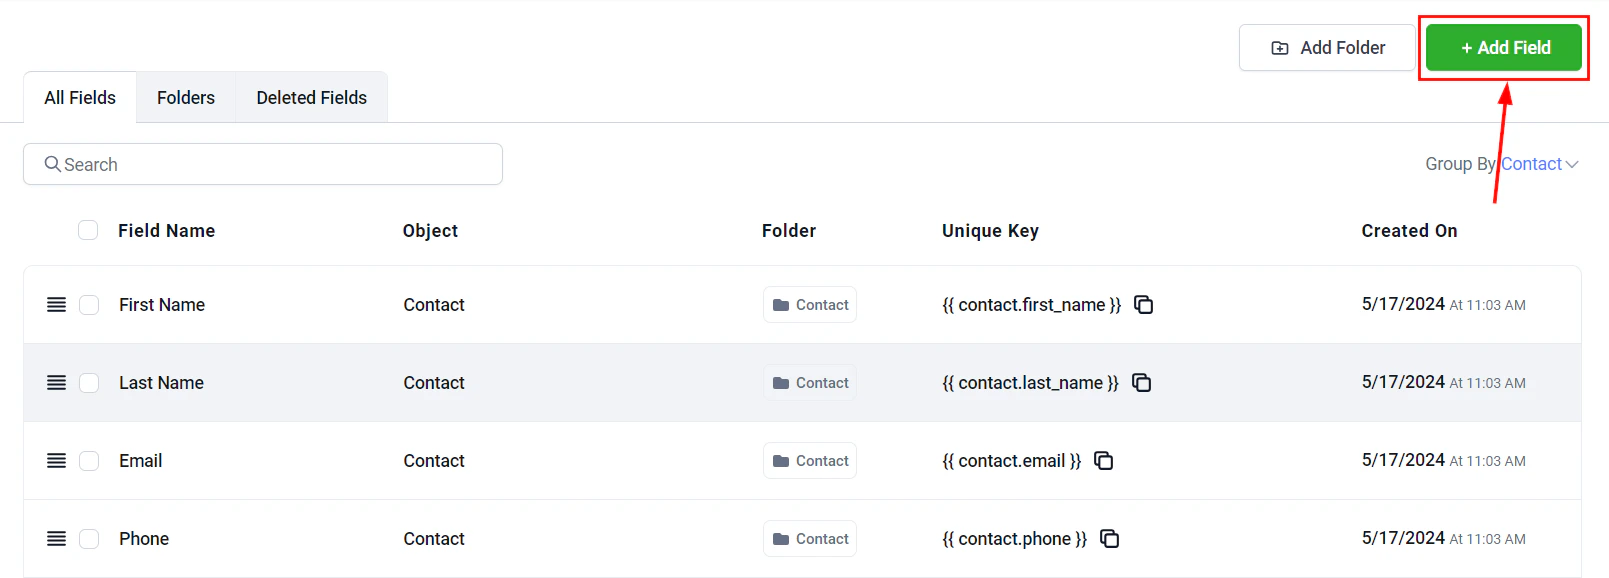
Create custom fields on HoopAI opportunity records to capture deal-specific data like contract length, product type, and referral source.
Custom fields allow you to capture any business-specific data on opportunity records that goes beyond the standard fields. Use them to track deal-specific attributes like product type, contract length, referral source, or any other metric important to your sales process.
Custom field values from opportunities can be used as filters in dashboard widgets. For example, you can create an opportunity widget that only shows deals where a custom “Product Type” field equals “Enterprise”. See the Dashboard documentation for setup details.
Use custom fields to track the data most important to your business — contract lengths, product lines, deal sources, or any other metric you need to report on. The more consistently fields are filled in, the more valuable your reporting becomes.
Which field types are available for opportunity custom fields?
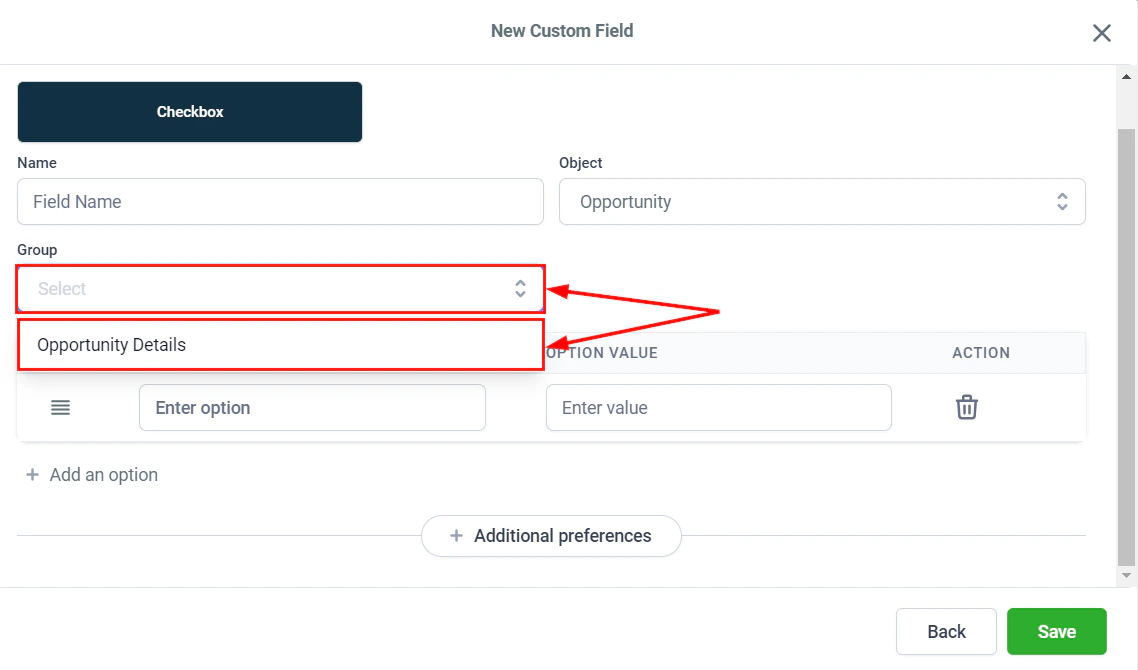
You can create custom fields with the following types: text, number, date, dropdown, checkbox, multi-select, and file upload.
Can I make a custom field required?
Yes. When creating or editing a custom field, enable the Required toggle. The field will then be mandatory when creating or editing an opportunity.
Can I use custom fields in automations?
Yes. Custom field values on opportunity records can be used as trigger conditions or action values in Workflows. Reference the field in any automation step that supports opportunity data.
Can I filter and sort by custom fields?
Yes. In both board and list view, use the filter toolbar to filter by any custom field value. In list view, click a custom field column header to sort by that field.
Are custom field values included in CSV exports?
Yes. When you export opportunities, all custom field values are included as additional columns in the CSV file.