Detect, review, merge, and restore duplicate contact records to keep your HoopAI Platform database clean and accurate.
Keeping your contact database clean is essential for accurate reporting, smooth workflows, and effective communication. The HoopAI Platform provides tools to find and merge duplicate records, restore accidentally deleted contacts, and configure deduplication settings to prevent duplicates from forming.
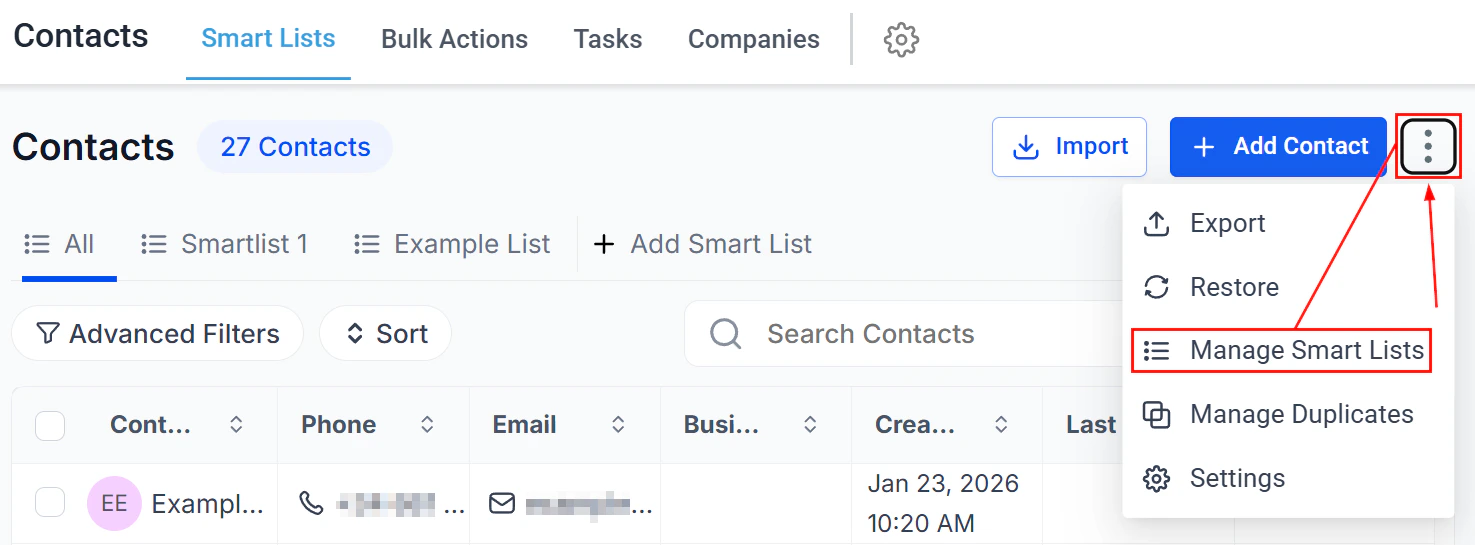
The Contacts section with management options including Manage Duplicates
In the Contacts section, click the three-dot icon in the top right corner and select Manage Duplicates.
2
Choose an identifier
Select the field to use for duplicate detection: Email, Phone Number, or Name.
Duplicate detection applies to primary email and primary phone fields only.
3
Review duplicate groups
The system generates a grouped list of duplicate entries matching your chosen identifier. Expand each group to view contact details and decide how to resolve them. Up to 10,000 duplicate entries are shown at a time.
Smart list showing contacts for review and duplicate management
4
Resolve duplicates
For each group, choose one of three actions:
Reject — exclude the entry from future scans (for contacts that are legitimately different despite sharing a value)
Review — open a detail view to compare records before deciding
Merge — consolidate up to 10 records into a single master record
When you select Merge, a comparison view opens for you to choose which data to keep.
1
Designate a master record
Click the radio button next to the contact you want to use as the primary (master) record. Or click Select All from this column to automatically use all data from one contact and designate it as master.
2
Choose fields to retain
Select the data from each contact to keep. By default, only fields with differing values are shown. Enable All Fields to compare every available data point.
3
Complete the merge
Check the confirmation box, then click Merge. The merge combines all related data — emails, phone numbers, opportunities, tags, notes, tasks, and appointments — into the master record.
Merging contacts is permanent and cannot be undone. Always review your field selections carefully before confirming.
Control how the system handles contacts that share the same identifiers during import.
1
Open Settings
Navigate to Settings > Business Profile.
2
Adjust Contact Deduplication Preferences
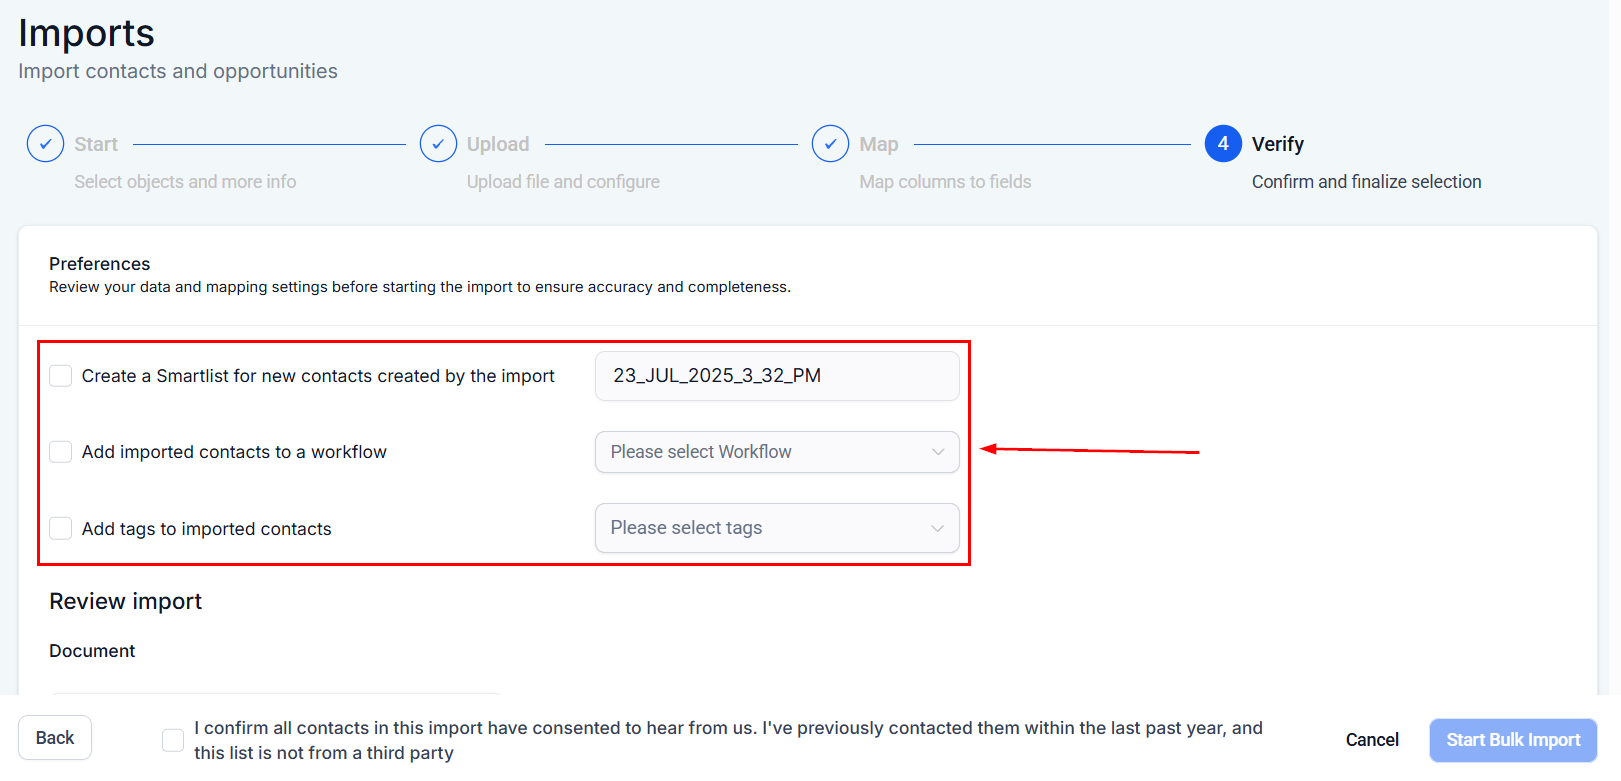
Scroll to Contact Deduplication Preferences and configure:
Allow Duplicate Contacts — when enabled (blue), new contacts can share identifiers with existing ones; when disabled, importing a contact with matching identifiers updates the existing record instead
Primary and secondary search preferences — set the field priority for deduplication matching
Even with “Allow Duplicate Contacts” enabled, duplicates can still be created via forms or Zapier integrations. Use the Manage Duplicates scan periodically to keep the database clean.
Accidentally deleted a contact? Hoop retains deleted contacts so you can restore them along with all their associated data.
1
Open the Restore section
In the Contacts section, click the three-dot icon in the top right corner and select Restore.
2
Find the contact to restore
The deleted contacts list shows each contact’s name, email, phone number, and deletion date.
The Restore section showing deleted contacts available for recovery
3
Select and restore
Check the checkbox next to each contact you want to restore, then click Restore.
4
Confirm restoration
A confirmation popup appears. Click Confirm to complete the restoration.The restored contacts return with all associated conversations, notes, opportunities, tasks, appointments, and manual actions intact.
Access to the Restore section may depend on your user permissions. Contact your account administrator if the option is not visible.
Auto-merge Facebook Messenger contacts with Lead Ad contacts
When a contact interacts with your business through both Facebook Lead Ads and Facebook Messenger, duplicate records can be created — one from the lead form submission and one from the Messenger conversation.The platform can automatically merge these records when a match is detected:
Matching logic — the platform compares the Facebook user ID, email address, and phone number across both records
Auto-merge behavior — when a Messenger conversation is initiated by a contact who already exists from a Lead Ad submission, the records are merged automatically into a single contact
Data preservation — all conversation history, lead form data, tags, and notes from both records are consolidated into the merged contact
To ensure auto-merge works correctly:
Verify that your Facebook integration is active and the correct pages are connected
Ensure Lead Ad form field mapping is complete in Settings > Integrations > Facebook
Keep the Allow Duplicate Contacts setting disabled in Settings > Business Profile
If auto-merge does not trigger, run the manual duplicate scan using the Manage Duplicates tool with the Email or Phone identifier.