

Preparing your CSV file
Before starting an import, make sure your file is properly formatted:- Format —
.csvwith a single sheet - Size — under 30 MB
- Encoding — UTF-8
- Header row — column names must be present for field mapping
Formatting guidelines
Importing contacts
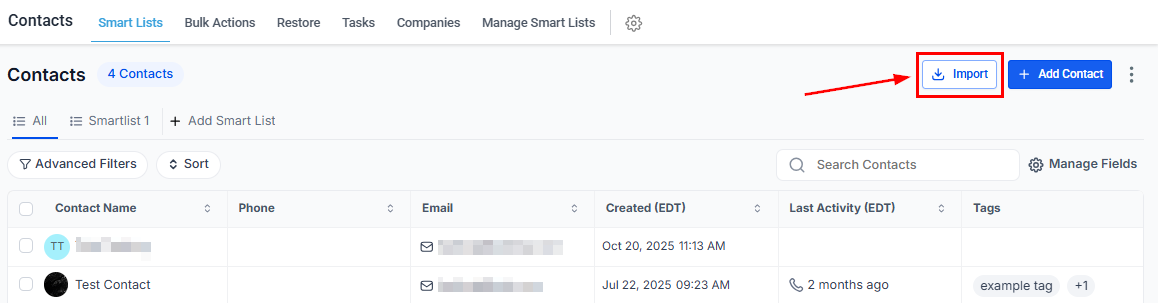
Open the Import wizard
Click the Import icon in the Contacts toolbar to open the import wizard
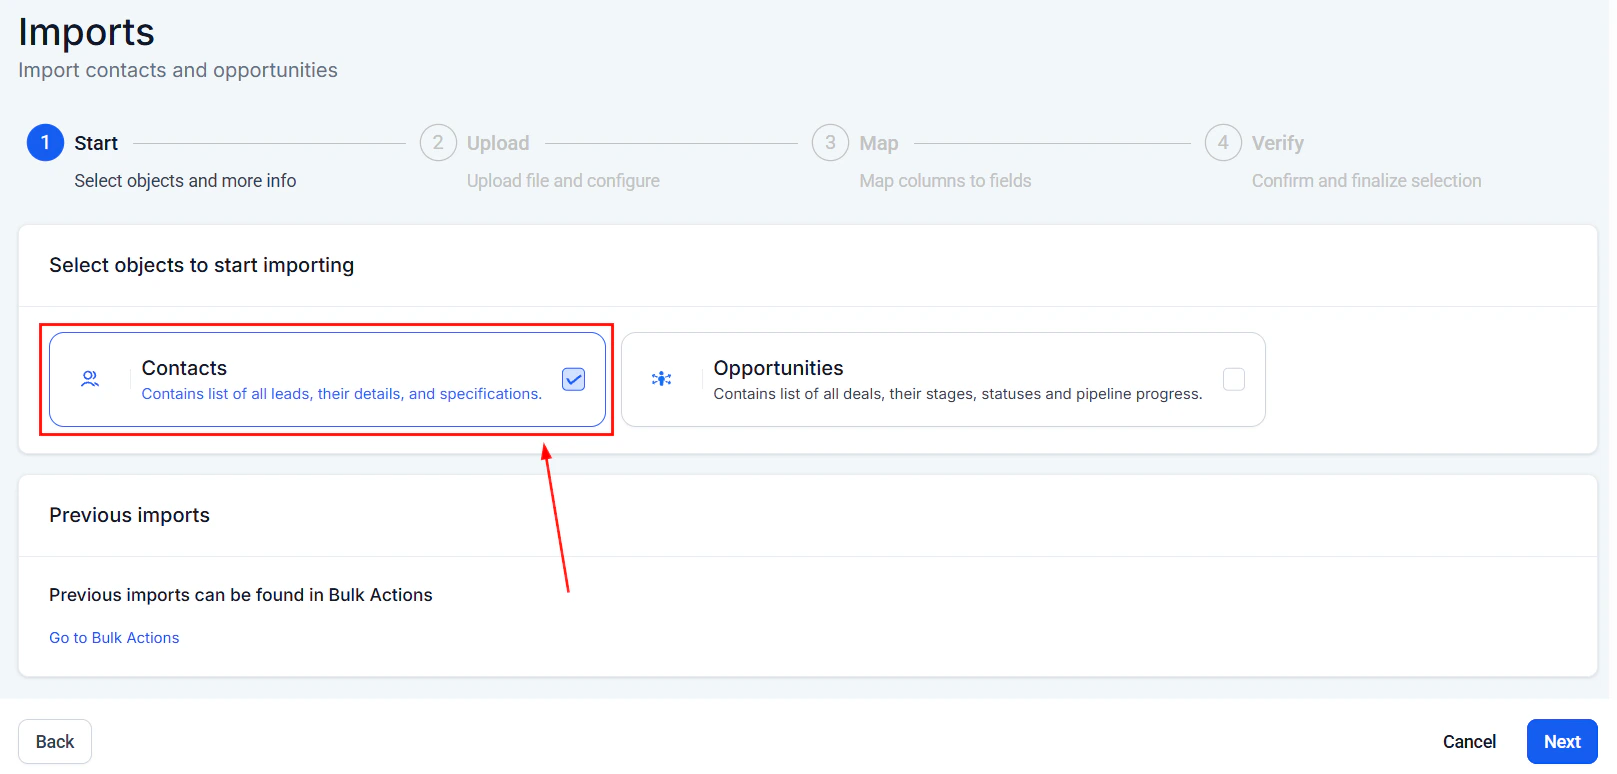
Select objects to import

Select which objects to import — Contacts, Opportunities, or both
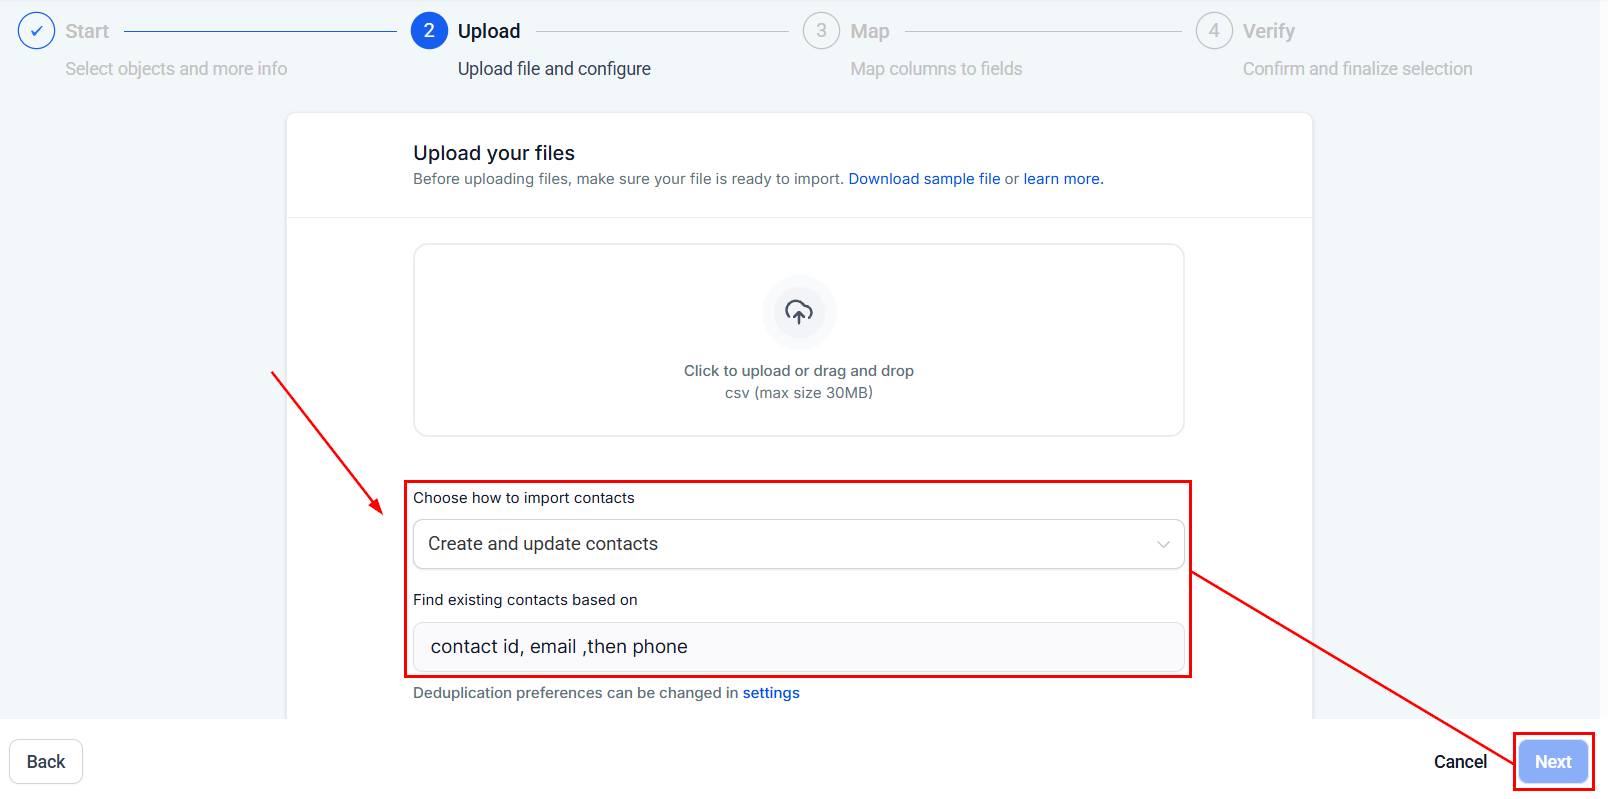
Upload your file
Click Upload a File to select your prepared CSV
Map fields
Map each CSV column to the corresponding contact field in Hoop
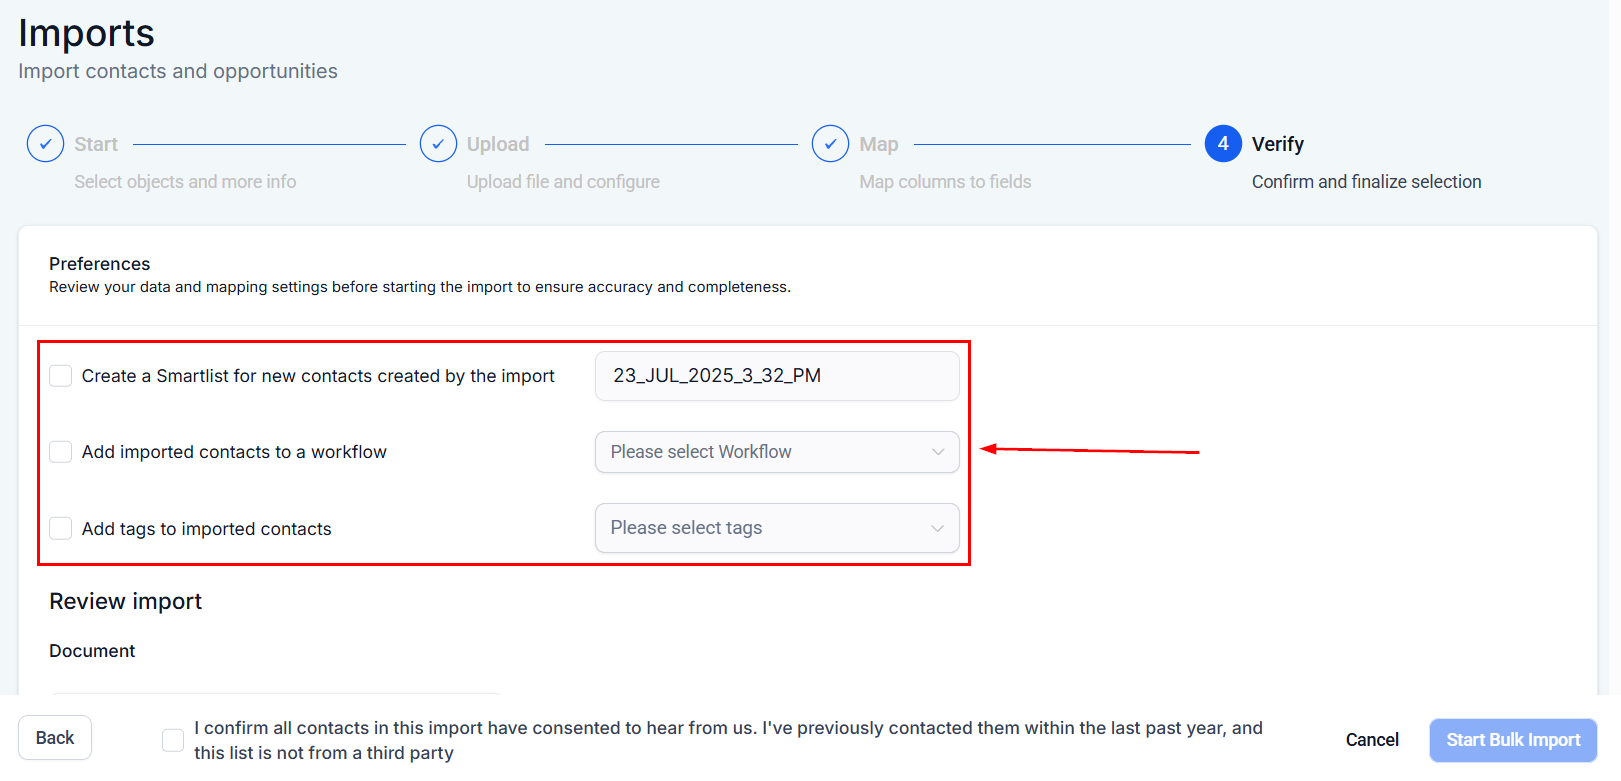
Configure post-import preferences
- Create a Smart List — automatically creates a smart list containing all newly imported contacts
- Add to workflow — enroll imported contacts in an automation
- Add tags — apply one or more tags to all imported contacts

Configure smart list, workflow, and tag preferences for imported contacts
Review and start the import
Review your field mapping before confirming the import

The import runs in the background — track progress in the Bulk Actions tab
Importing contacts with shared information
When multiple contacts share the same address, company, phone number, or email address, you need to configure deduplication settings first.Adjust deduplication settings
- Enable Allow Duplicate Contacts to permit new contacts to share identifiers with existing ones
- Configure the primary and secondary search preferences to match your import strategy
Run the import
The completed import with all contacts successfully imported
Troubleshooting import errors
Navigate to Bulk Actions
Review import statistics
Examine error details
Common errors and resolutions
Troubleshooting tips
- Pre-validate your data — use spreadsheet software to check for missing values, formatting issues, and inconsistencies before importing
- Test with a small batch — import 5–10 rows first to confirm field mapping is correct before doing a full import
- Check for hidden characters — spreadsheet software sometimes adds invisible characters; resave as plain CSV if issues persist
Frequently asked questions
Can I import contacts and opportunities at the same time?
Can I import contacts and opportunities at the same time?
What if my contacts still won't import after troubleshooting?
What if my contacts still won't import after troubleshooting?
Can I undo a contact import?
Can I undo a contact import?
How does the system handle contacts with multiple email addresses in the CSV?
How does the system handle contacts with multiple email addresses in the CSV?