

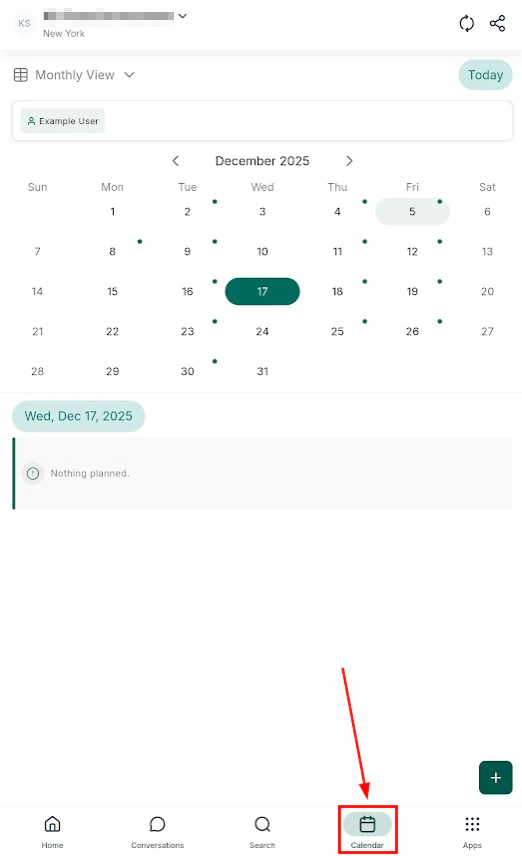
Calendar main view — monthly overview of all appointments
Calendar views
Switch between views to see your schedule the way you prefer:
Monthly calendar view — tap any date to see appointments
Weekly calendar view — detailed day-by-day layout

Day calendar view — hour-by-hour breakdown

Schedule list view — chronological list of all upcoming appointments
Appointment detail view
Selecting calendars and users
Tap Select Calendars to filter which calendars are displayed. Filter by Users to show appointments for specific team members.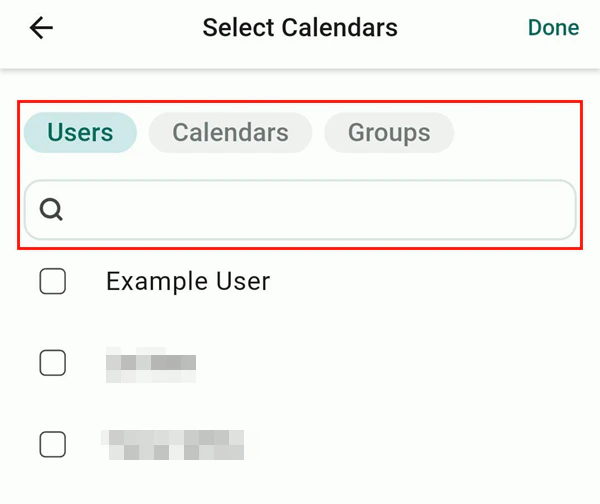
Filter by user or calendar group
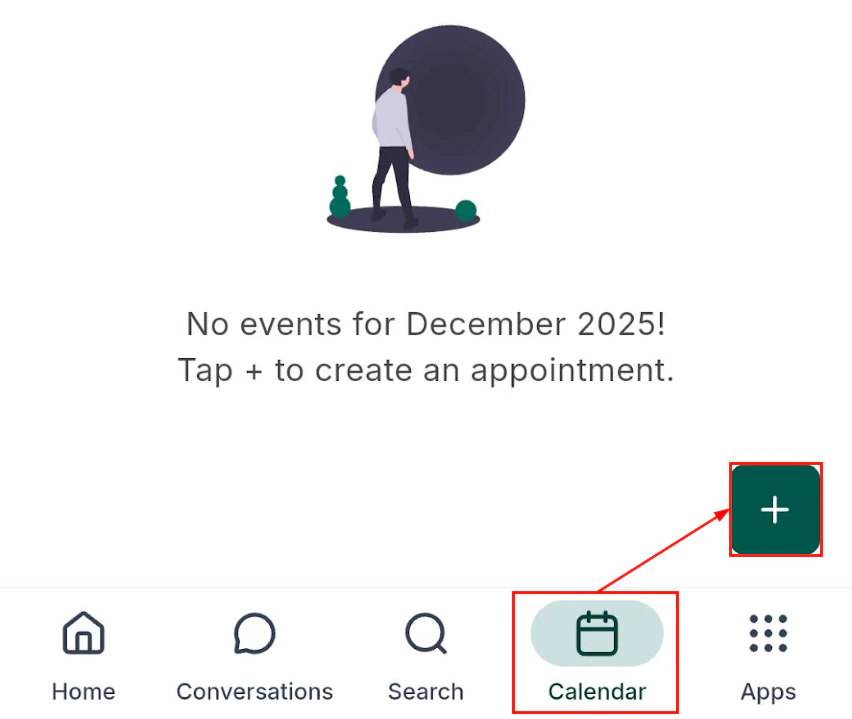
Booking a new appointment
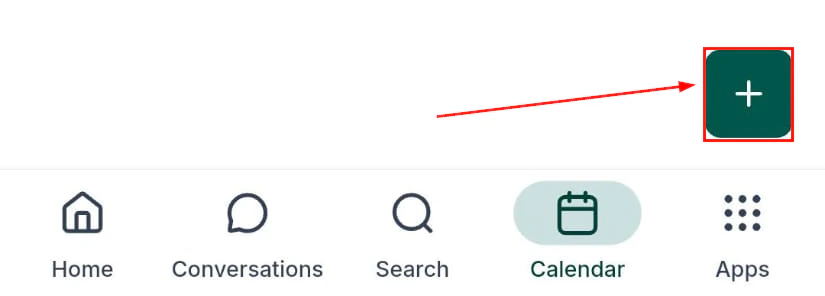
Open the calendar
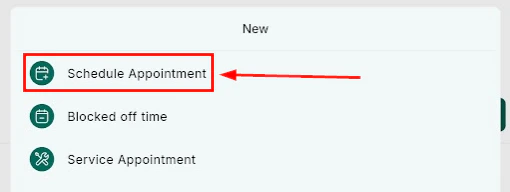
Tap the + icon
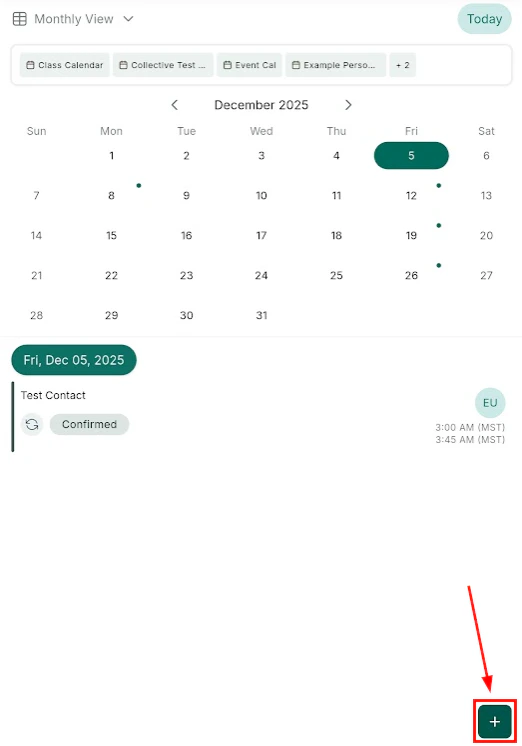
New appointment button
Select the contact
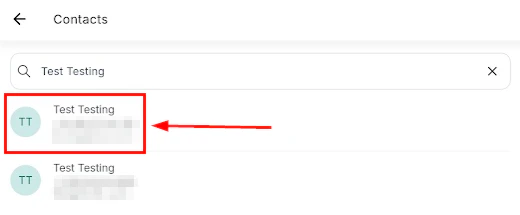
Contact selection for the appointment
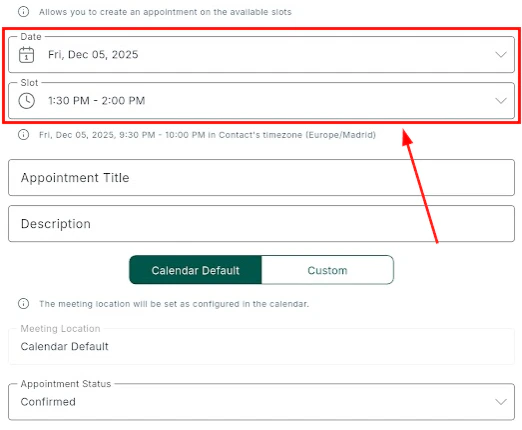
Set the date and time
Date and time selection
Add details
Confirm and save
Confirm appointment before saving
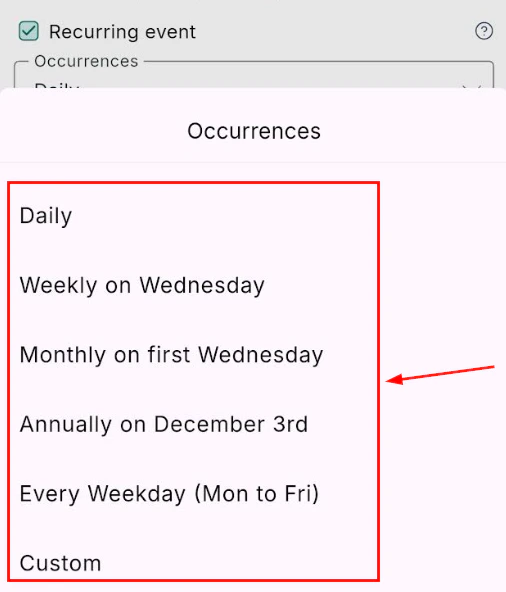
Recurring appointments
When booking an appointment, enable the recurring option to set up a repeating schedule.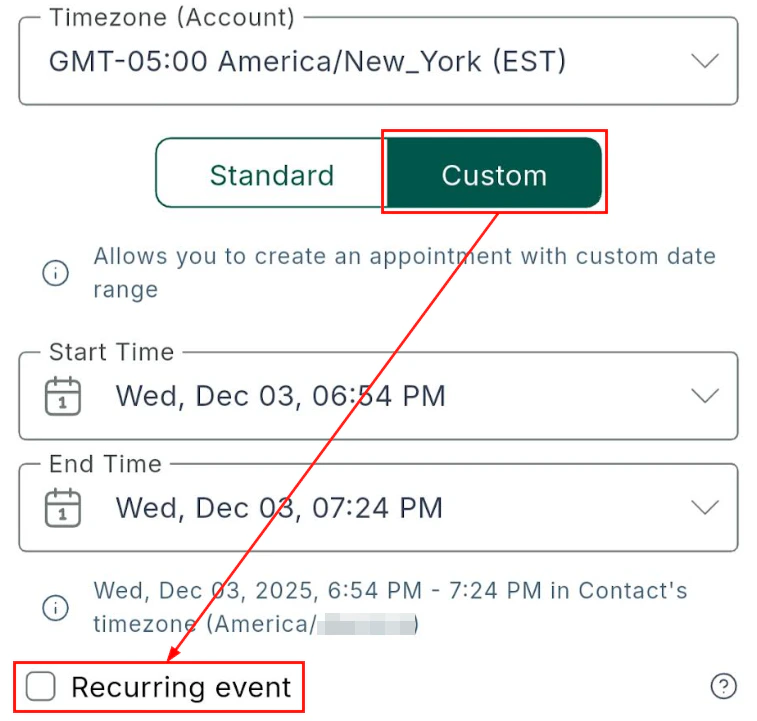
Recurring appointment settings
Set the recurrence calendar
- Daily — repeat every day
- Weekly — repeat each week on the same day
- Bi-weekly — repeat every two weeks
- Monthly — repeat on the same date each month

Recurring appointment options — daily, weekly, bi-weekly, monthly
Set the number of occurrences
- This occurrence only
- This and all following occurrences
- All occurrences in the series
Service calendars
Service calendars with multiple service types, durations, and pricing are fully supported on mobile.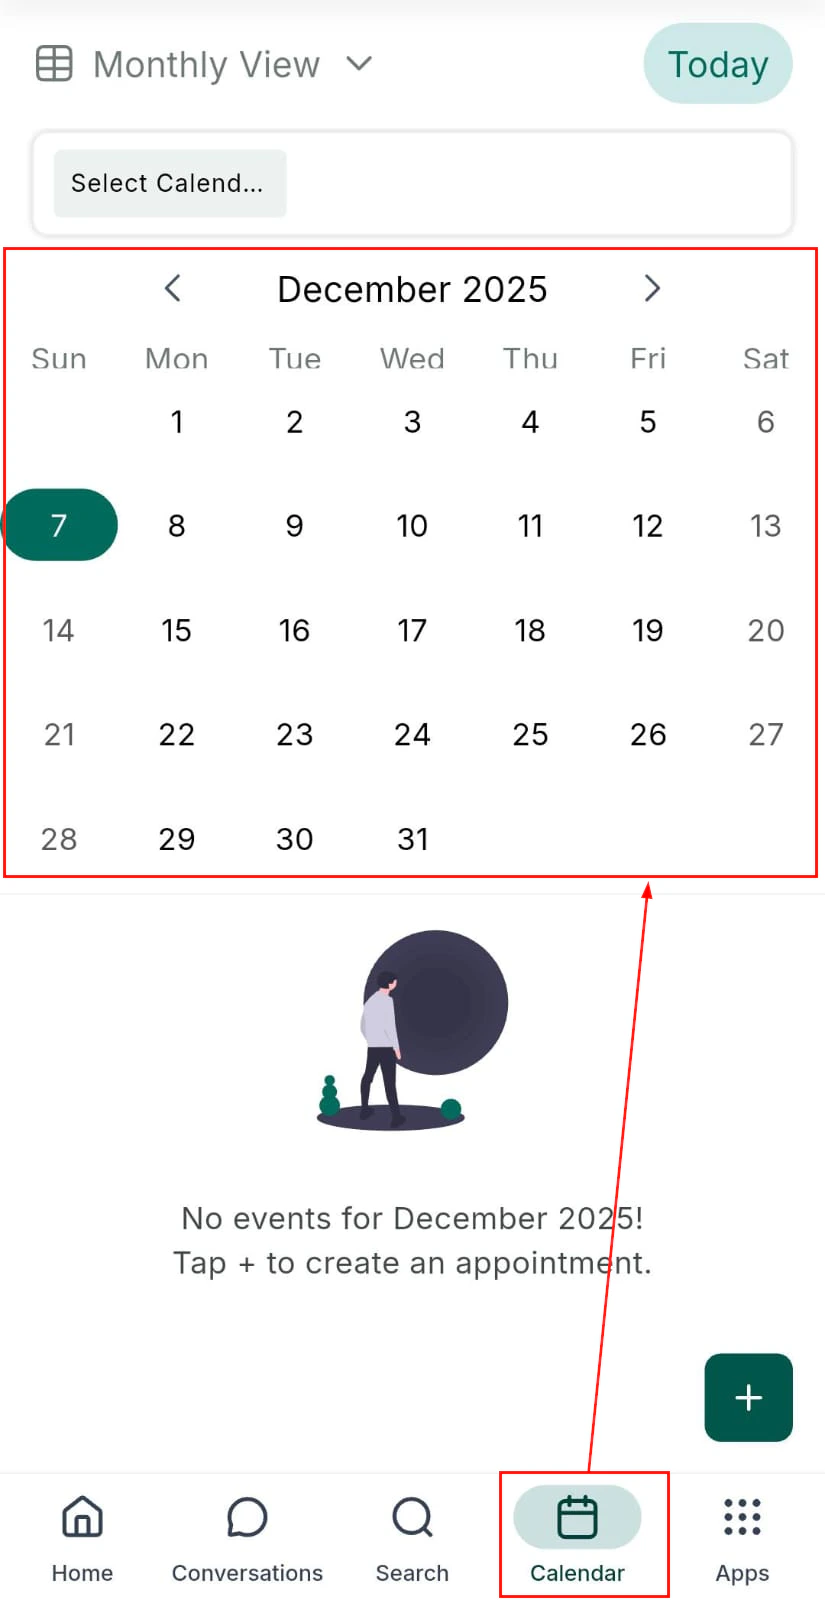
Service calendar — select a service type when booking
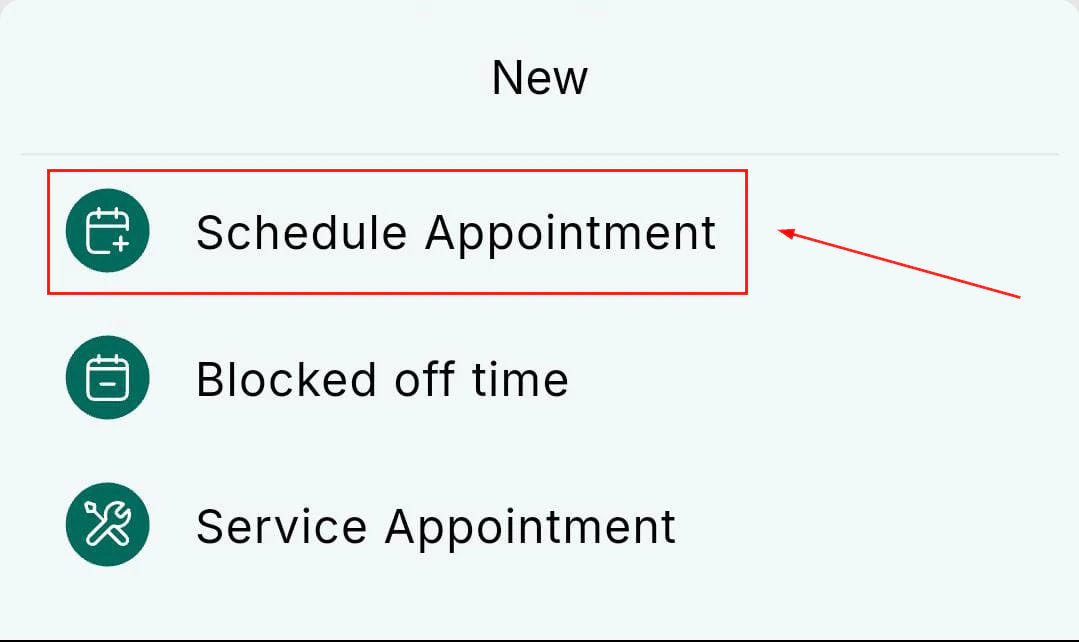
Open the calendar and tap Add Appointment
Add appointment from service calendar
Select the calendar
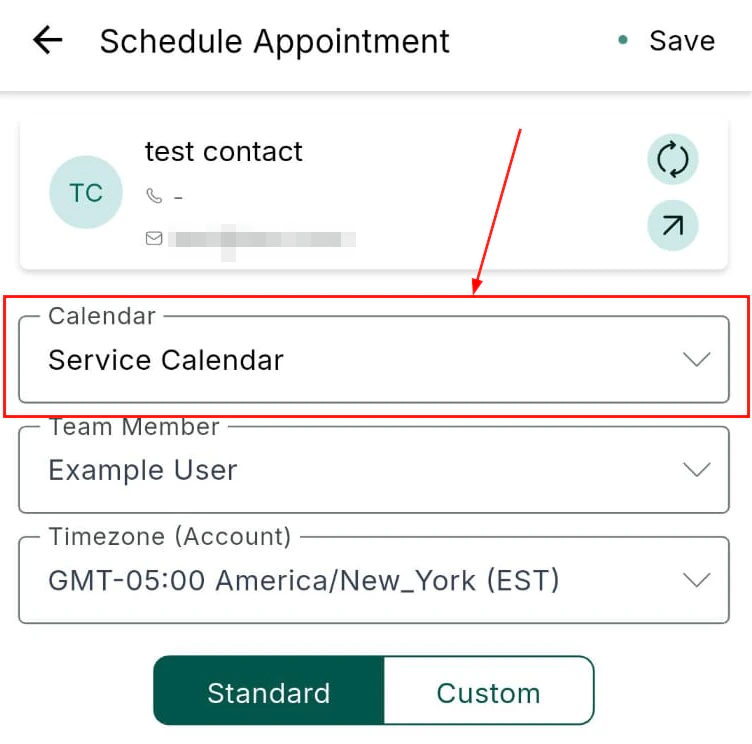
Select a service calendar
Set the schedule
Set service appointment schedule
Save
Accepting payments for service appointments
Collect payment for a service appointment directly within the mobile app — including Tap to Pay and saved cards.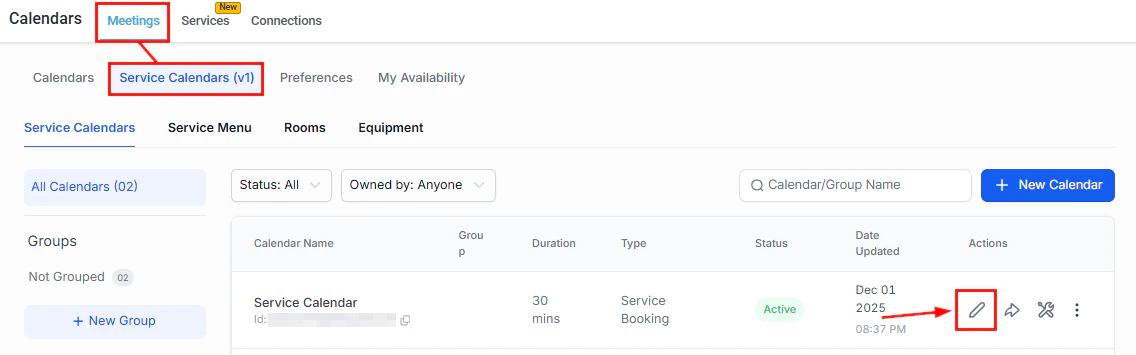
Edit calendar to enable payments for service appointments
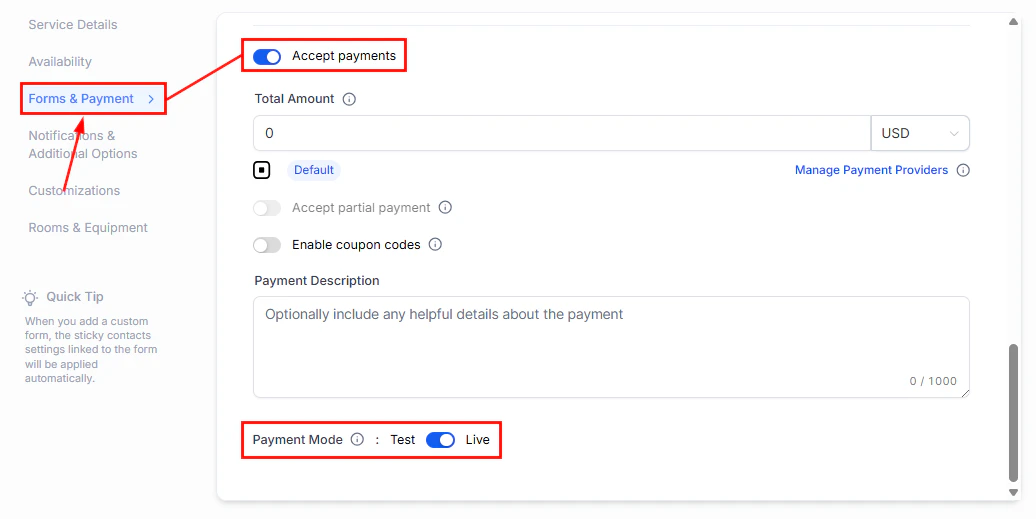
Select payment method for service appointment
Blocking time
To prevent bookings during unavailable periods:- Tap the + icon in the Calendar tab
- Select Block Time
- Set the date, time, and duration
- Save to prevent appointments from being scheduled during that window
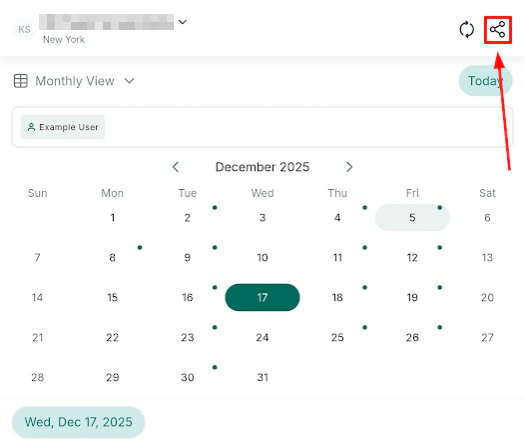
Sharing your booking link
Tap the three-dot menu in the upper-right corner to open your scheduling link. Choose between:- One-time use link — expires after a single booking
- Reusable scheduling link — allows ongoing access for repeated bookings