

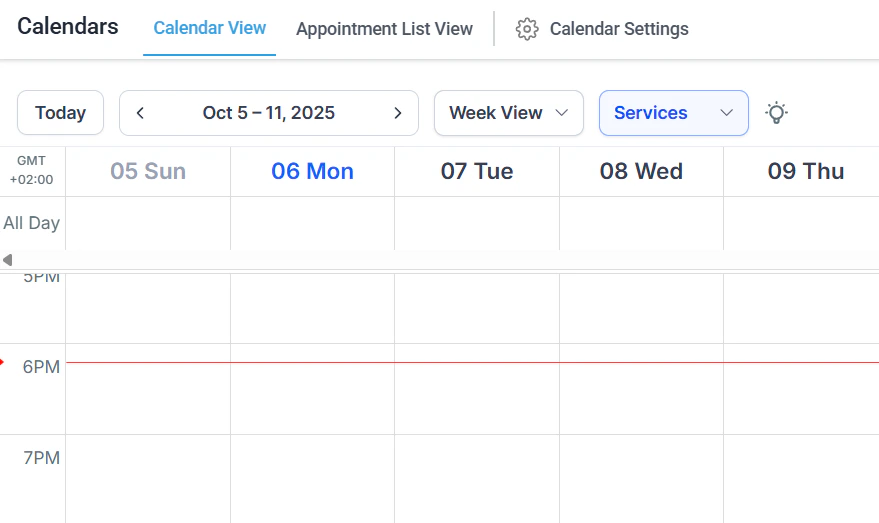
The Calendars section showing the main calendar view with appointments
Appointments
Book, view, edit, and manage appointments with filtering, smart lists, and status tracking
Calendar types
Choose from six calendar types: event, round robin, class booking, collective, personal, and service booking
Creating calendars
Step-by-step guides for creating every calendar type and configuring availability schedules
Calendar settings
Configure availability, sync integrations, payment collection, notifications, and compliance settings
Service calendar
Manage service-based bookings with staff assignments, rooms, equipment, and a customer-facing service menu
Services V2
Create bookable service items with pricing, duration, staff assignments, and categories
Calendar integrations
Connect Google Calendar, iCloud, Microsoft Teams, Zoom, and Calendly
Booking pages
Embed your calendar on a website, enable Google organic booking, and create one-time booking links
Round robin
Distribute bookings evenly or by priority across a team of available staff members
Group booking
Accept multiple attendees per time slot for classes, webinars, and group sessions
Availability hours
Set working hours, buffer times, and reusable availability schedule templates
Appointment notifications
Configure confirmation, reminder, and follow-up messages for every calendar
Cancellation and rescheduling
Allow contacts to cancel or reschedule via self-service links
Payment calendars
Require payment or deposits at the time of booking
Custom forms
Collect additional information from bookers using custom intake forms
Calendar resources
Manage physical resources like rooms and equipment with automatic conflict blocking
Recurring appointments
Set up appointment series that repeat on a defined schedule
No-shows
Track and manage contacts who miss their scheduled appointments
Scheduling links
Create and share one-time or reusable links to specific calendars
Getting started
1
Create your first calendar
Go to Calendars > Creating Calendars and select the calendar type that fits your use case. Event calendars work for most individual booking scenarios; service calendars are best for businesses with staff and multiple services.
2
Set your availability
Open Calendars > Availability Hours to define your working hours, set buffer time between appointments, and create reusable availability templates you can apply across multiple calendars.
3
Connect external calendars
Go to Calendars > Calendar Integrations to sync with Google Calendar, Outlook, iCloud, or Calendly. Two-way sync ensures no double bookings between your external schedule and the platform.
4
Configure your booking page
Open Calendars > Booking Pages to generate a shareable booking link or embed your calendar on a website. Enable Google organic booking to appear in search results.
5
Set up notifications
Go to Calendars > Appointment Notifications to configure confirmation, reminder, and cancellation messages. You can customize the message content and delivery timing for each calendar independently.
Frequently asked questions
What are the six calendar types?
What are the six calendar types?
The platform offers Event (general individual booking), Round Robin (distributes bookings across a team), Class Booking (multi-attendee group sessions), Collective (all team members must be available simultaneously), Personal (1:1 individual meetings), and Service Booking (staff, rooms, and equipment for service businesses).
Can I sync with Google Calendar and Outlook?
Can I sync with Google Calendar and Outlook?
Yes. The platform supports two-way sync with Google Calendar, Microsoft Outlook/Microsoft 365, and iCloud Calendar. You can also import from Calendly. Set up sync in Calendars > Calendar Integrations.
Can I require payment when someone books an appointment?
Can I require payment when someone books an appointment?
Yes. Enable payment collection in Calendars > Payment Calendars. You can require full payment or a deposit at booking. Stripe must be connected in your payment settings.
How do round-robin calendars work?
How do round-robin calendars work?
A round-robin calendar shows a single booking page to your customers but automatically assigns each booking to an available team member. You can configure assignments by equal rotation or by priority.
Can I add intake questions to my booking page?
Can I add intake questions to my booking page?
Yes. Use Calendars > Custom Forms to create intake forms with text fields, dropdowns, checkboxes, and file uploads. These forms appear on the booking page and the responses attach to the appointment record.
How do I handle no-shows?
How do I handle no-shows?
Go to Calendars > No-Shows to view contacts who missed appointments. You can update the appointment status to No-Show, trigger follow-up automations, and use no-show data to filter contacts in smart lists.