Offer installment payment options through Klarna, AfterPay/Clearpay, and Affirm to increase conversion rates and average order values.
Buy now, pay later (BNPL) lets your customers split a purchase into installments — typically four equal payments over six weeks — while you receive the full purchase amount upfront. BNPL options consistently increase conversion rates and average order values, particularly for higher-ticket products and services.The HoopAI Platform supports three BNPL providers through Stripe: Klarna, AfterPay (called Clearpay in the United Kingdom), and Affirm.
BNPL requires Stripe Connect to be active on your account and must be enabled in your Stripe dashboard before it can be activated in the HoopAI Platform. BNPL is not available in test mode — it only works in live mode with a live Stripe connection. Go to Payments → Payment Integrations to verify your Stripe connection.
Pay in 4 installments or “pay in 30 days” options. Available in the US, Canada, UK, Australia, and most of the EU. Minimum order ~10,maximum10,000 (varies by market).
AfterPay / Clearpay
Pay in 4 equal installments over 6 weeks. Available in the US, Canada, UK, and Australia. Called Clearpay in the UK. Minimum order ~$1.
Affirm
Monthly installment plans ranging from 3 to 36 months. Available in the US only. Minimum order $50.
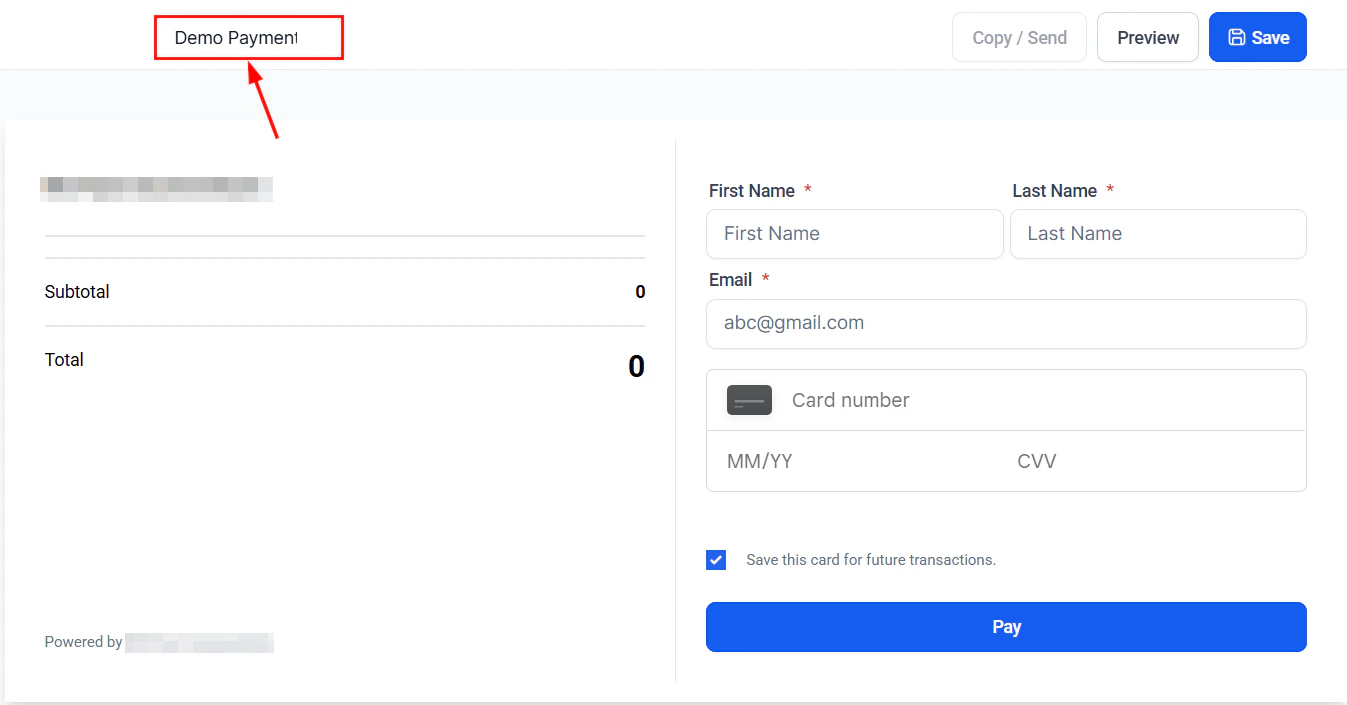
Payment link editor with BNPL payment method options enabled for Klarna, AfterPay, and Affirm
Exact country and region availability may vary. Check your Stripe dashboard’s Payment methods section for the definitive list of countries where each BNPL provider is available for your account.
Before enabling BNPL in the HoopAI Platform, you must activate the relevant providers in your Stripe account.
1
Log in to Stripe
Go to dashboard.stripe.com and sign in with the account connected to your HoopAI Platform.
2
Open payment methods settings
In the Stripe dashboard, go to Settings → Payment methods.
3
Enable each BNPL provider
Find Klarna, AfterPay / Clearpay, and/or Affirm in the list. Click Turn on for each provider you want to offer. Stripe may show an eligibility notice if your account type or location does not support a particular provider.
4
Confirm activation
Each provider should show as Active in your Stripe payment methods list before proceeding to the HoopAI Platform configuration.
You do not need to apply separately to Klarna, AfterPay, or Affirm. If your Stripe account is eligible, enabling them in Stripe is all that is required — Stripe manages the provider relationship on your behalf.
Go to Payments → Payment Links and open an existing payment link or create a new one.
2
Configure payment methods
In the payment link editor, locate the Payment Methods section. You will see the BNPL providers that are active on your Stripe account listed as toggleable options.
3
Enable the BNPL providers you want to offer
Toggle on Klarna, AfterPay, and/or Affirm depending on which providers you activated in Stripe and which you want to surface at checkout.
4
Save the payment link
Click Save. Customers who open the payment link in a supported country will now see BNPL options at checkout alongside the standard card form.
BNPL providers enforce minimum and maximum order values. Customers who attempt a BNPL payment outside these ranges will not see that option at checkout.
Provider
Minimum order
Maximum order
Notes
Klarna
~$10
~$10,000
Varies by country and customer history
AfterPay / Clearpay
~$1
~$2,000
Varies by country; higher limits for verified customers
Affirm
$50
~$30,000
Varies by loan term and customer creditworthiness
These are approximate values. The exact limits for your account are determined by Stripe and the BNPL providers based on your account standing, product category, and the customer’s location. Check your Stripe dashboard for your specific account limits.
When BNPL is enabled, customers see the following experience:
The standard card payment form is displayed at checkout.
Below or alongside the card form, BNPL options appear with provider branding — for example, “Pay in 4 installments with Klarna” or “4 interest-free payments with AfterPay.”
The customer selects a BNPL option and is presented with a brief inline application within the checkout.
After approval (typically instant), the purchase is confirmed and the customer receives their installment schedule.
You receive full payment in your next Stripe payout.
You receive the full purchase amount from the BNPL provider, less the BNPL merchant fee.
BNPL fees are typically higher than standard card fees. Check Stripe’s current fee schedule for the exact rates for Klarna, AfterPay, and Affirm on your account.
Payouts follow your standard Stripe payout schedule — the BNPL nature of the transaction does not delay your settlement.
BNPL merchant fees are generally 2%–6% of the transaction value depending on the provider and your Stripe account tier — higher than typical card processing fees. Review the Stripe fee schedule for your account before enabling BNPL, particularly for lower-margin products.
Refunds for BNPL transactions work the same way as any other Stripe refund:
1
Locate the transaction
Go to Payments → Transactions and find the relevant transaction.
2
Issue the refund
Click the three-dot menu on the transaction and select Refund. Enter the refund amount (full or partial) and confirm.
3
BNPL provider adjustment
Stripe notifies the BNPL provider of the refund. The provider adjusts the customer’s remaining installment schedule — for example, canceling future installments or crediting already-paid installments back to the customer.
Refund processing time depends on the BNPL provider. Customers typically see their installment adjustments within 3–10 business days. The HoopAI Platform reflects the refund status immediately after you initiate it.
Do I need to apply to Klarna or AfterPay separately?
No. If Stripe supports BNPL for your account type and location, you only need to enable the providers in your Stripe dashboard under Settings → Payment methods. Stripe manages the merchant relationship with Klarna, AfterPay, and Affirm on your behalf. There is no separate application or approval process through the HoopAI Platform.
Is BNPL available for subscriptions?
No. BNPL is designed for one-time purchases only. It cannot be used for subscription billing, recurring invoices, or payment plans. For subscriptions, customers must use a standard card payment method or ACH Direct Debit.
Can I limit which products offer BNPL?
Not currently. BNPL is enabled at the checkout level (payment link, invoice, or order form), not per product. If BNPL is enabled on a checkout page, it is available for all products on that page. To exclude certain products from BNPL, use separate checkout pages or payment links with different payment method configurations.
What happens if a customer misses a BNPL installment?
The BNPL provider (Klarna, AfterPay, or Affirm) is responsible for collecting installments from the customer. If a customer misses a payment, the provider handles reminders and collections. You are not at risk as the merchant — you already received the full purchase amount at the time of the original transaction.
Are there additional fees for accepting BNPL?
Yes. BNPL typically carries higher merchant fees than standard card payments. The exact fee depends on the provider and your Stripe account. Check your Stripe dashboard under Settings → Pricing or contact Stripe support for your specific rates. Factor these fees into your pricing decisions before enabling BNPL on your checkouts.
Why don't I see BNPL options on my checkout page?
Several conditions must all be true for BNPL to appear:
You must be in live mode — BNPL does not work in test mode.
Stripe must be connected at Payments → Payment Integrations.
The BNPL provider must be enabled in your Stripe dashboard under Settings → Payment methods.
The BNPL provider must be enabled in your payment link, invoice, or order form payment settings.
The customer’s location must be in a supported country for that provider.
The order value must be within the provider’s minimum and maximum limits.
If all of these are true and BNPL still does not appear, check your Stripe dashboard for any account-level restrictions or contact Stripe support.
Does AfterPay work in the United Kingdom?
AfterPay is available in the UK but operates under the name Clearpay. When you enable AfterPay in your Stripe dashboard, it automatically appears as Clearpay for customers in the UK. The configuration steps are identical — there is no separate Clearpay setting.
Can I enable all three BNPL providers at the same time?
Yes. You can enable Klarna, AfterPay, and Affirm simultaneously on the same checkout page. Customers will see whichever providers are available for their country and qualifying order value. Stripe automatically determines which options are eligible for each customer session.