

Finding your calendar’s booking link
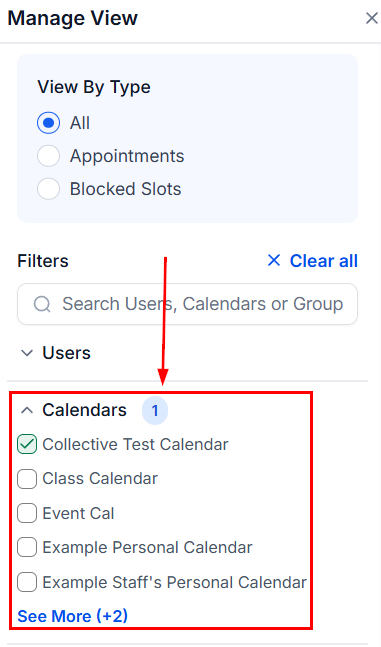
Calendar sharing panel with booking link options
- Go to Calendars > Calendar Settings.
- Find your calendar and click the three-dot menu icon next to it.
- Select Share.
Link types
Permanent scheduling link
The permanent link is your calendar’s standard public booking URL. It is always active and allows unlimited bookings. Share this link in email signatures, on your website, in social media bios, or anywhere you want ongoing access to your booking page. The link format is typically:One-time booking links
A one-time link is a unique URL that automatically expires after a single appointment is booked through it. Once someone books using the link, it becomes invalid — the next person who tries to use it sees an expiration message and is prompted to contact you for a new link. One-time links are useful when:- You want to invite a specific contact to book without giving them indefinite access to your calendar
- You need to prevent a contact from sharing your booking link with others
- You are offering a complimentary or limited-access session and want to control who can book it
- Open the calendar’s sharing panel (three-dot menu > Share).
- Select the One-Time Link tab.
- Copy the generated link or click the regenerate button to create a new one.
One-time links via workflow
For automation at scale, the platform includes a Generate One-Time Booking Link workflow action. This action creates a fresh one-time link for a specific calendar and makes it available as a custom value ({{one_time_booking_link}}) to use in that workflow’s subsequent email or SMS step.
This is useful when you want to send a personalized booking link to a contact at a specific point in a workflow — for example, after they complete a lead qualification survey or make a payment.
Embedding the booking widget
Booking page preview as seen by contacts
- Open the calendar’s sharing panel.
- Select the Embed Code tab.
- Copy the HTML snippet.
- Paste it into the HTML of your web page, landing page, or funnel page where you want the widget to appear.
Sharing from the mobile app
If you use the HoopAI mobile app, you can share scheduling links directly from the app without needing to access the desktop platform. Open the Calendars section in the app, select a calendar, and use the Share option to copy your permanent link, a one-time link, or the permanent link for that specific calendar.Calendar groups and shared booking pages
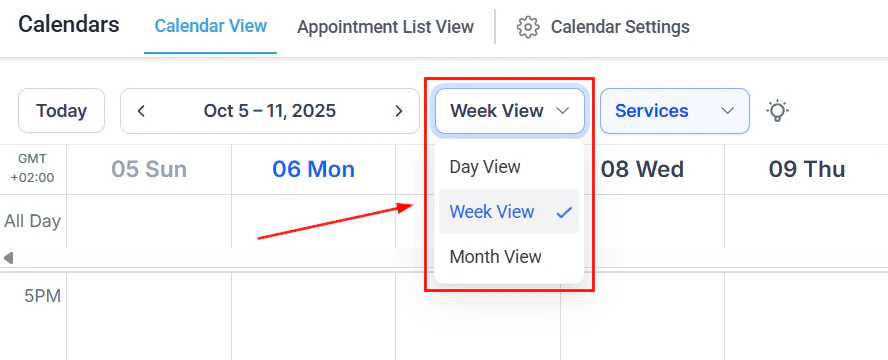
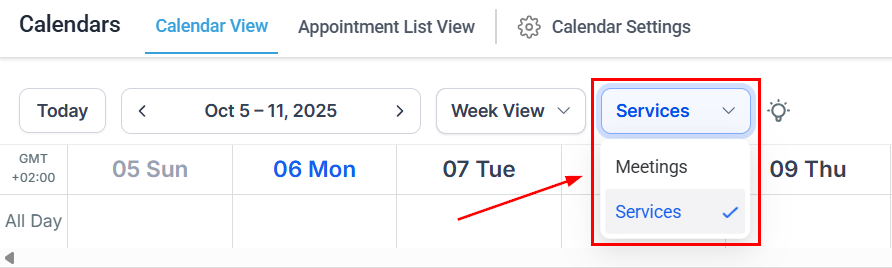
Calendar settings showing multiple calendars
- A team page where a visitor picks their preferred salesperson or advisor
- A service menu where a visitor picks from multiple service types
- A multi-location business where visitors pick their nearest location
Custom booking page URL
Each calendar’s booking URL can be customized with a human-readable slug that reflects your brand or the calendar’s purpose. For example, instead of a generated ID, you might use/discovery-call or /intro-session. Custom slugs make links easier to share verbally, remember, and include in printed materials.
Set the slug when creating a calendar or update it in the calendar editor under the Meeting Details tab.
Distributing your booking link
Common places to share your scheduling link:- Email signature — Add a “Book a call” link at the bottom of every outgoing email
- Post-inquiry automation — Automatically send the link to new leads who fill out a contact form
- Social media bio — Add the link to your LinkedIn, Instagram, or Facebook profile
- Proposals and quotes — Include a booking link at the end of proposals so prospects can schedule next steps immediately
- Chatbot or live chat — Embed or share the link during conversations to convert interest into booked appointments
- SMS campaigns — Include the link in follow-up texts to warm leads