

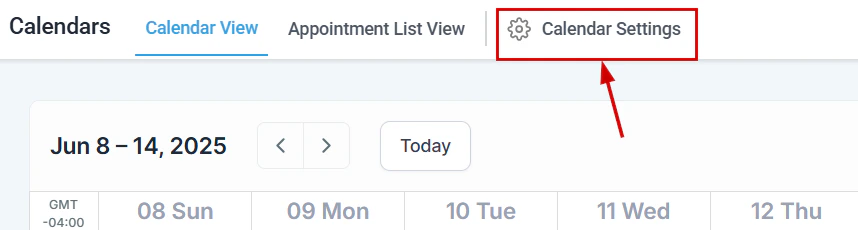
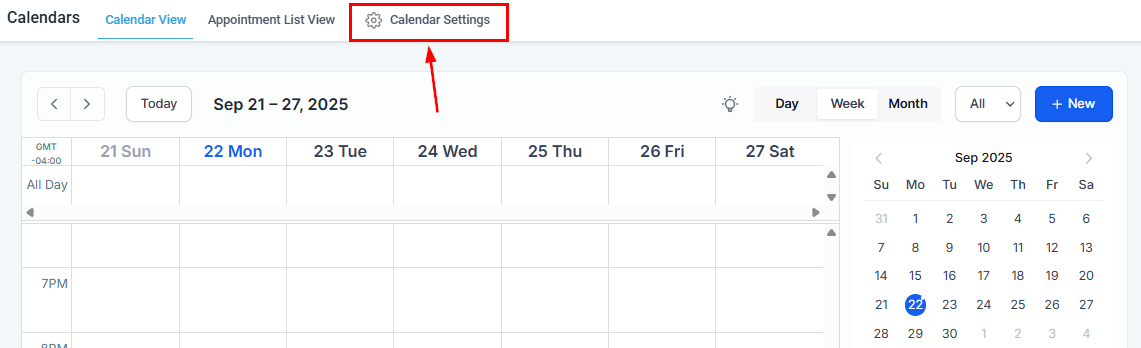
Calendar Settings showing all available calendars and configuration options
Availability and slot settings
Each calendar has its own availability configuration. Navigate to a calendar’s Advanced Settings > Availability tab to configure:Calendar connections (integrations)
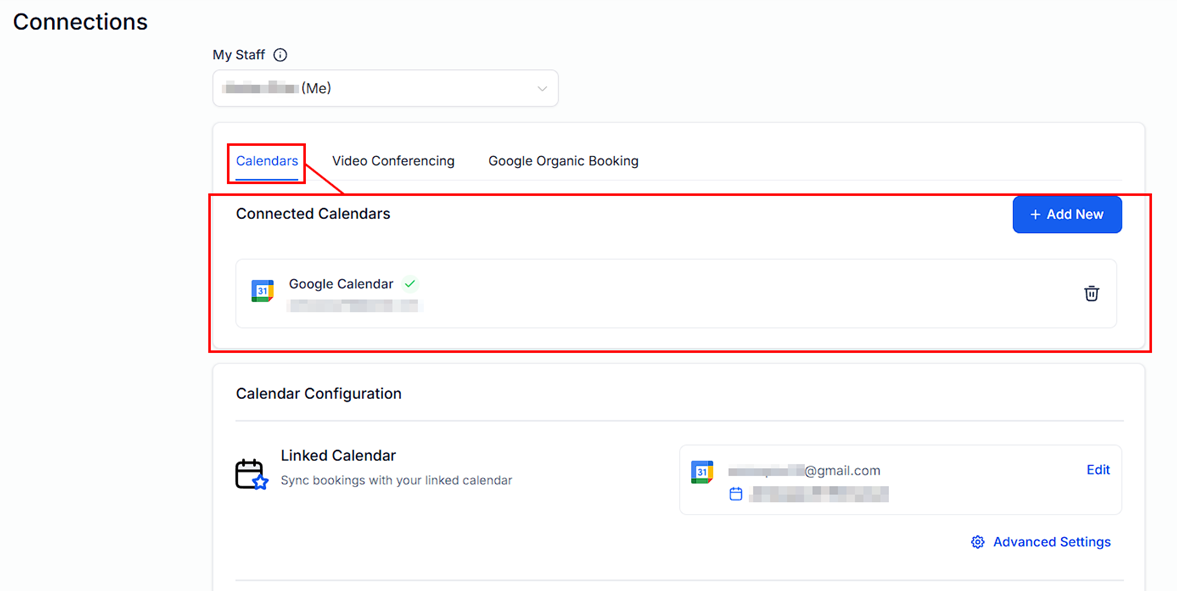
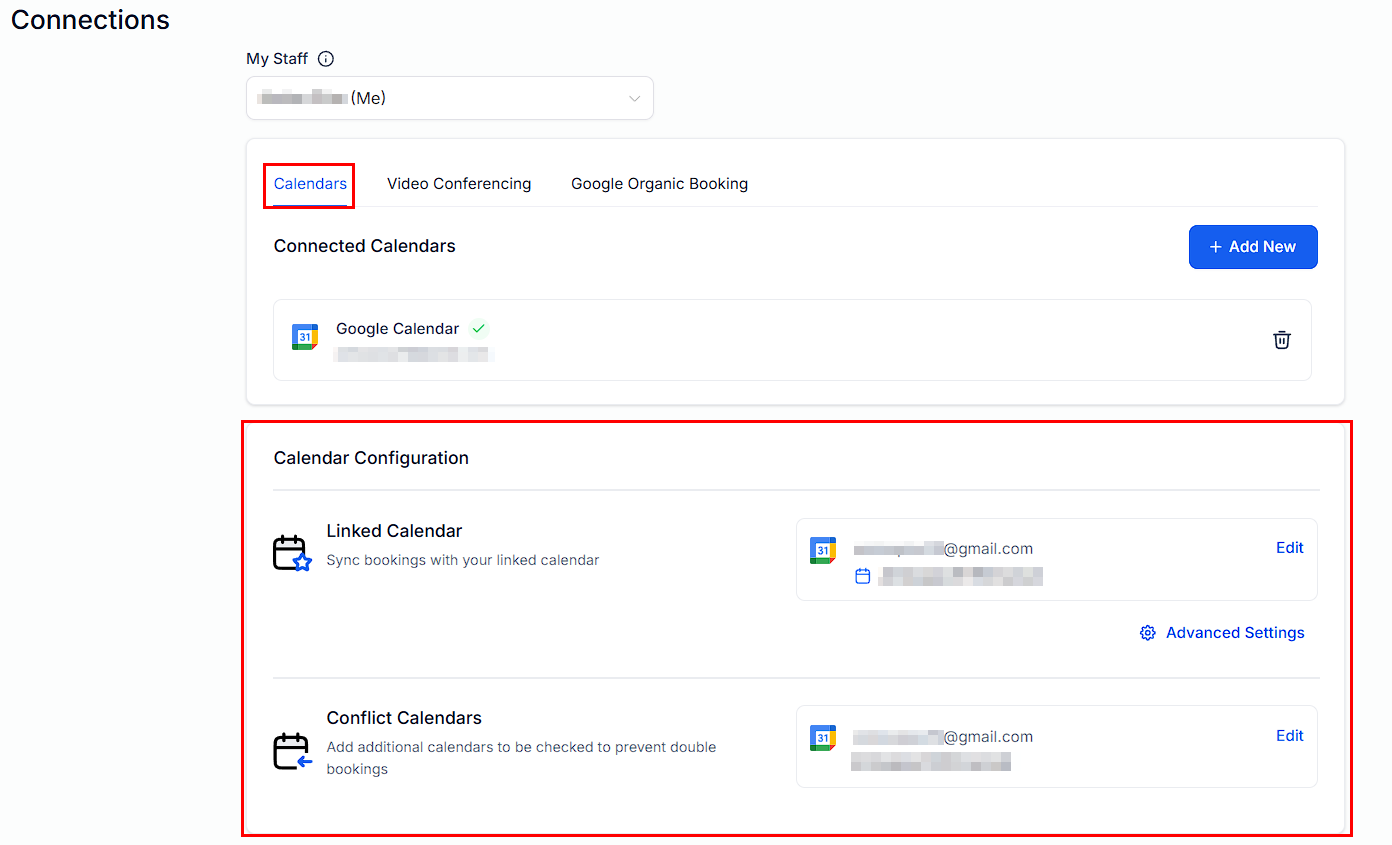
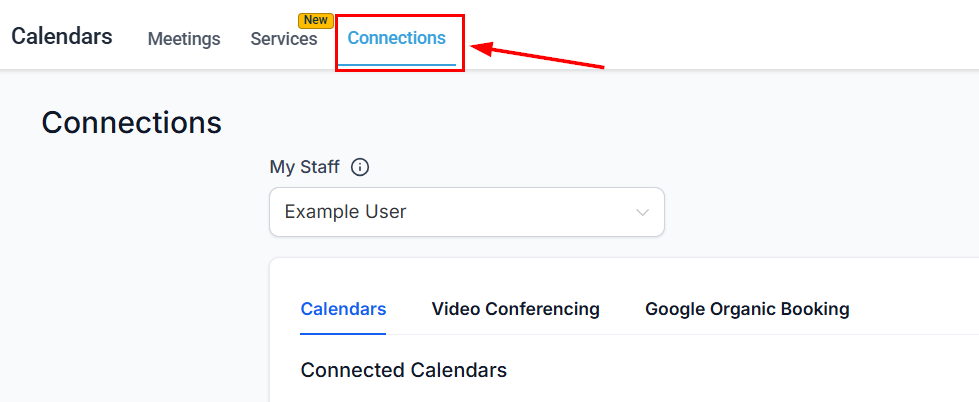
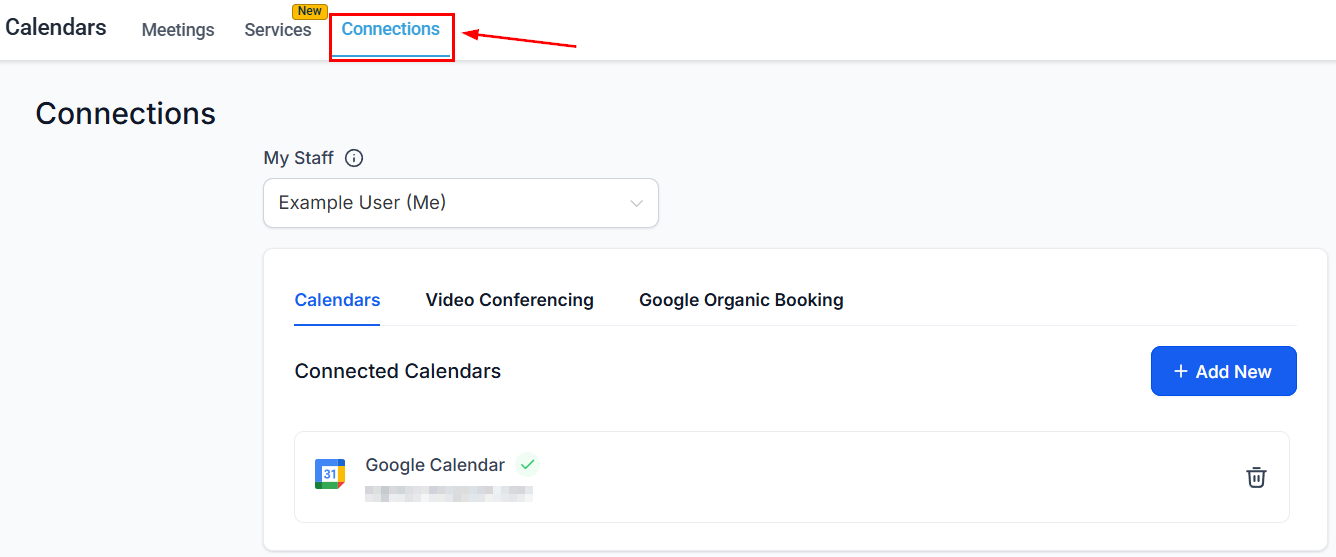
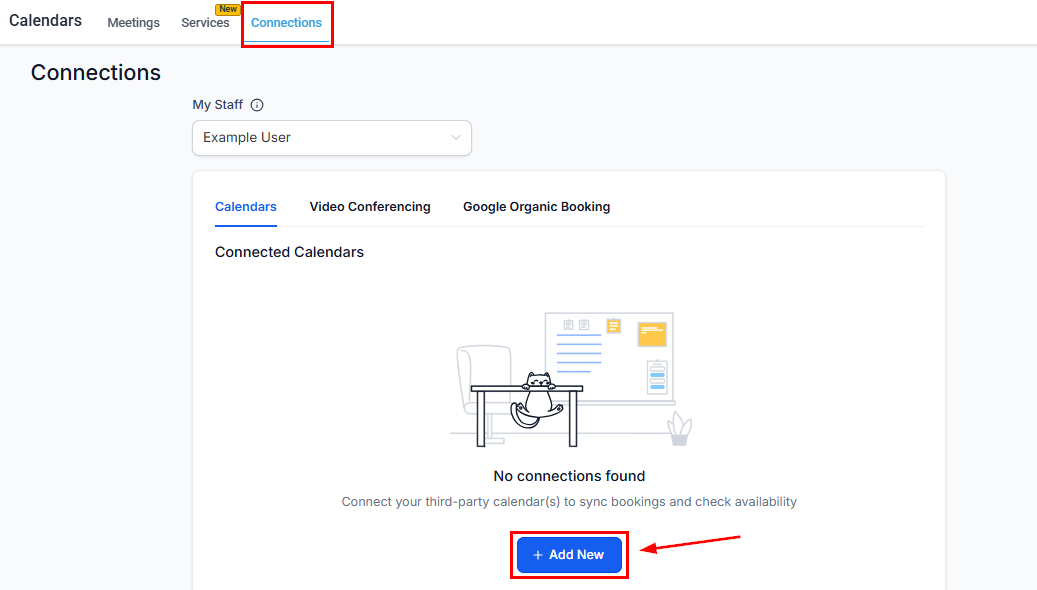
Connect external calendar services so appointments sync automatically. Navigate to a calendar’s Advanced Settings > Connections tab.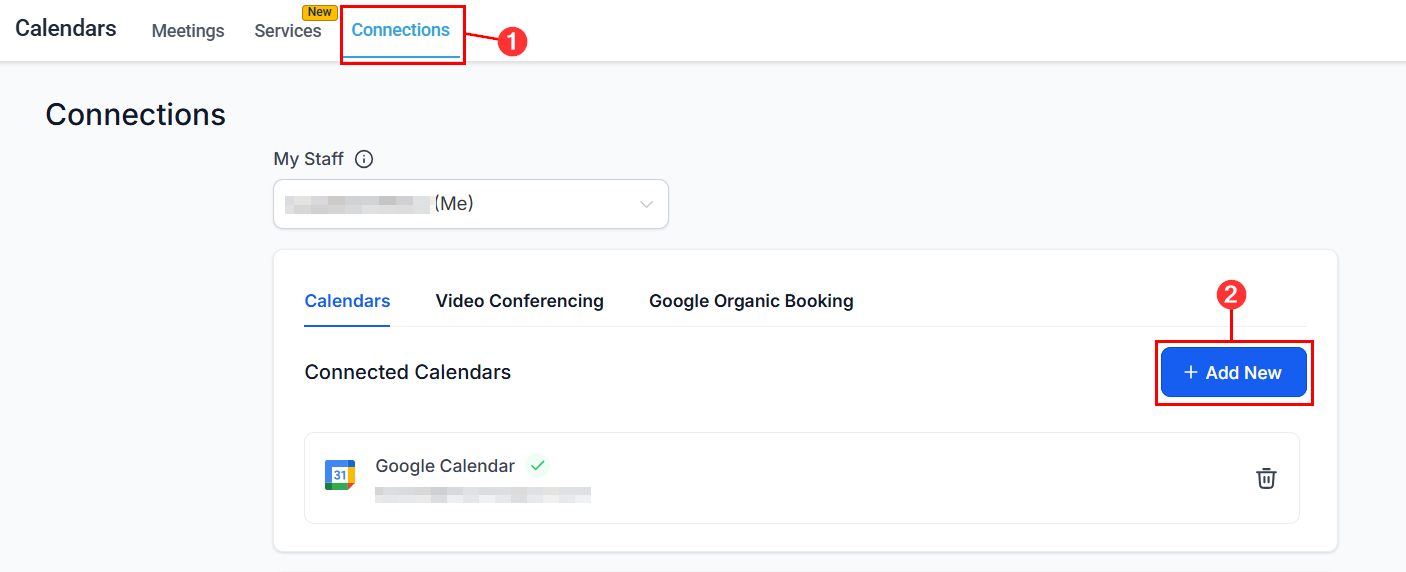
The Calendar Connections tab showing available integration options
Google Calendar
Select Google Calendar in Connections
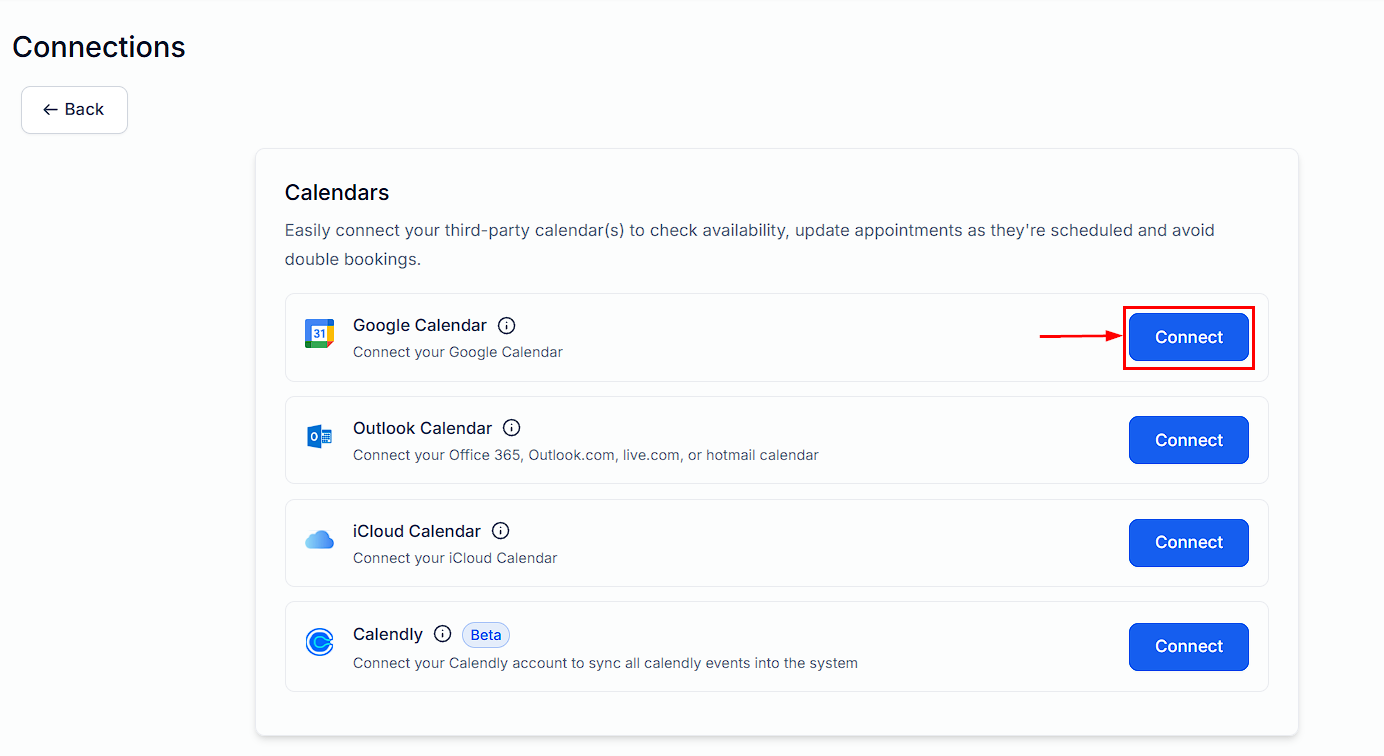
Connect Google Calendar from the Connections tab
Authenticate
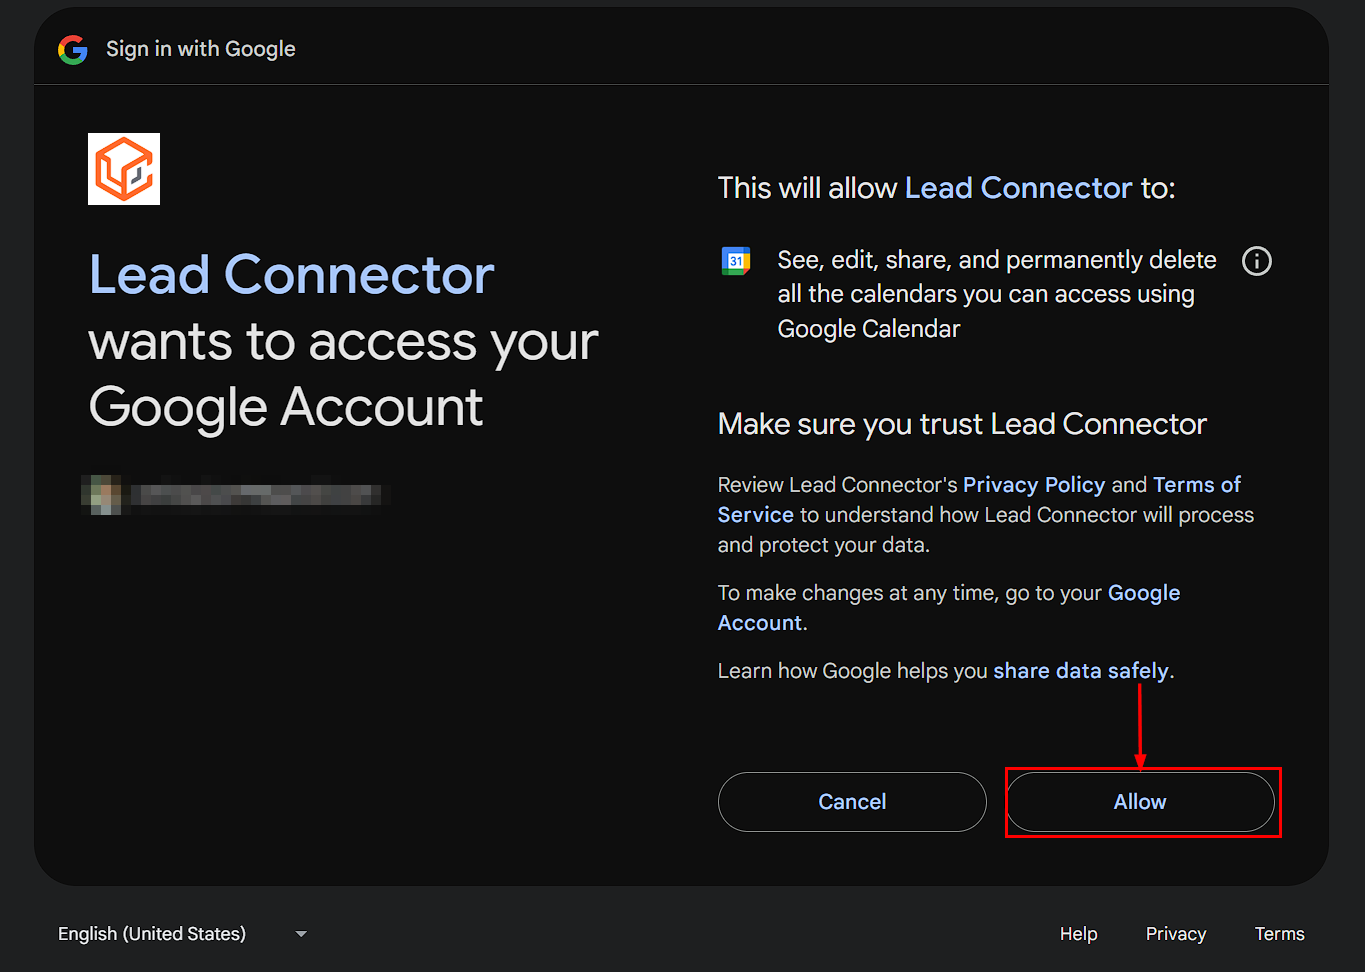
Sign in to your Google account to authorize the connection
Select the sync calendar
Select which Google Calendar to sync with Hoop
Configure and save
Configure Google Calendar sync settings before saving
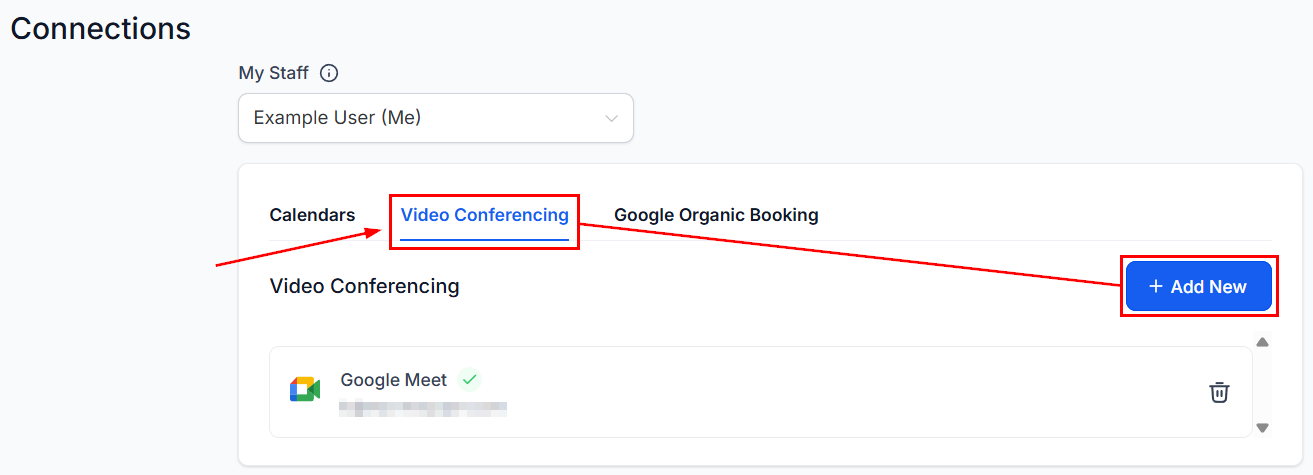
Zoom
Select Zoom in Connections
Calendar Connections showing the Zoom integration option
Connect your Zoom account
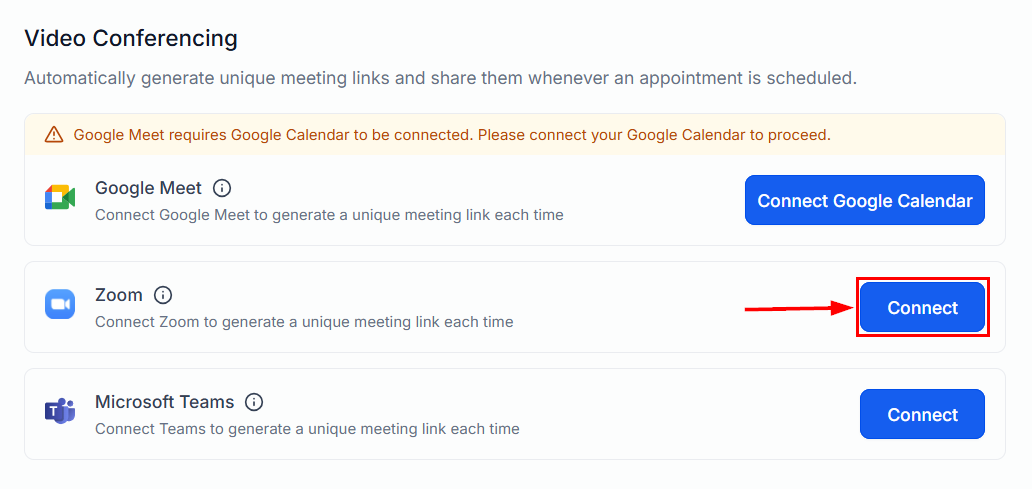
Click Connect to begin the Zoom authorization process
Authorize permissions
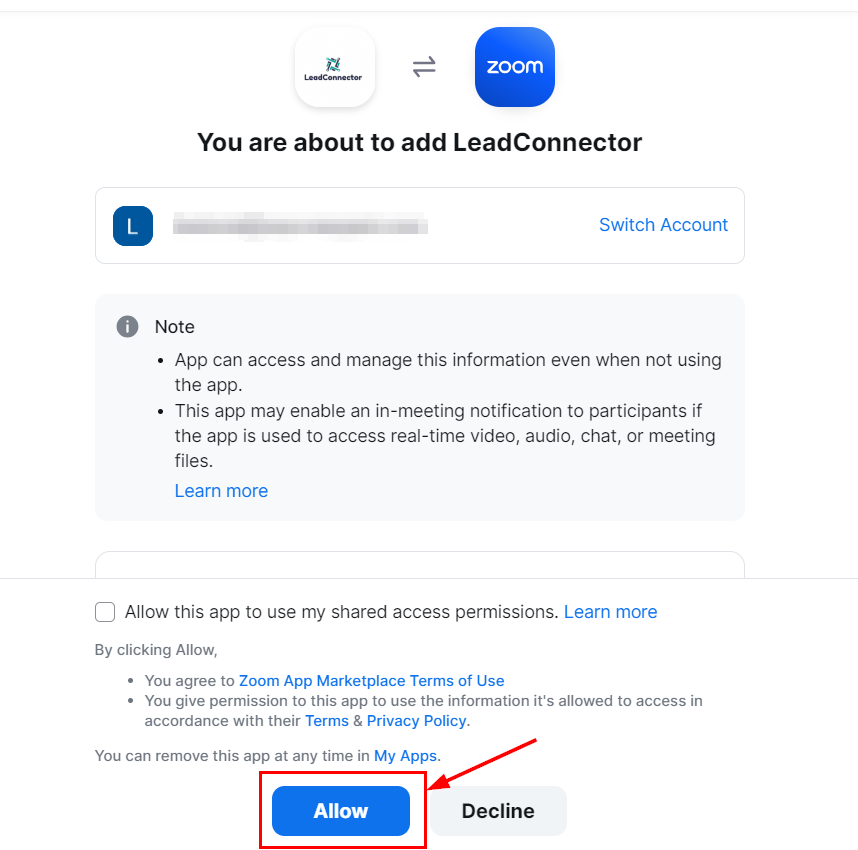
Allow Hoop the necessary Zoom permissions
Save
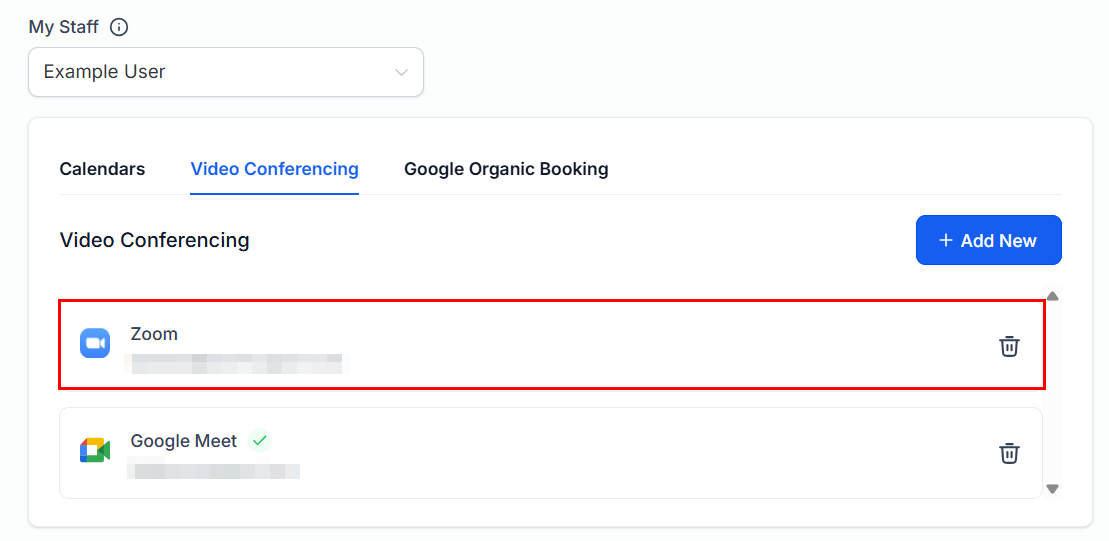
Zoom integration is now active and meeting links will be auto-generated
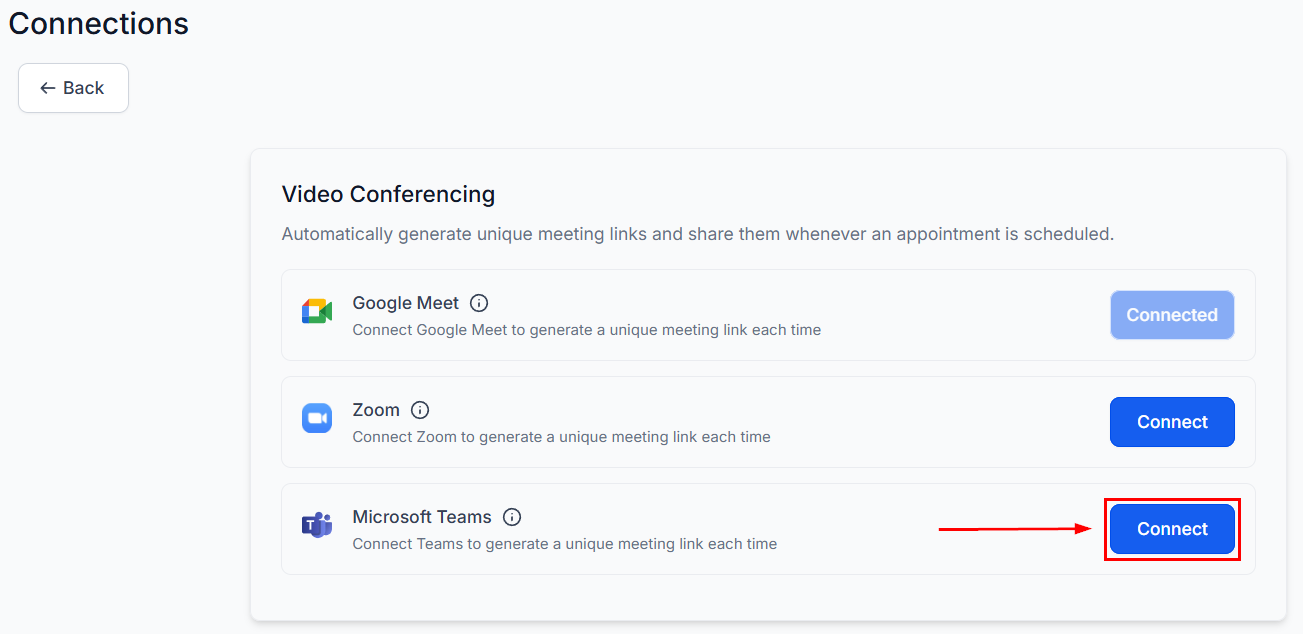
Microsoft Teams
Select Microsoft Teams in Connections
Select Microsoft Teams from the Connections tab
Click Connect
Click Connect to start the Teams authorization process
Sign in with Microsoft
Sign in with your Microsoft account to authorize Teams
Save
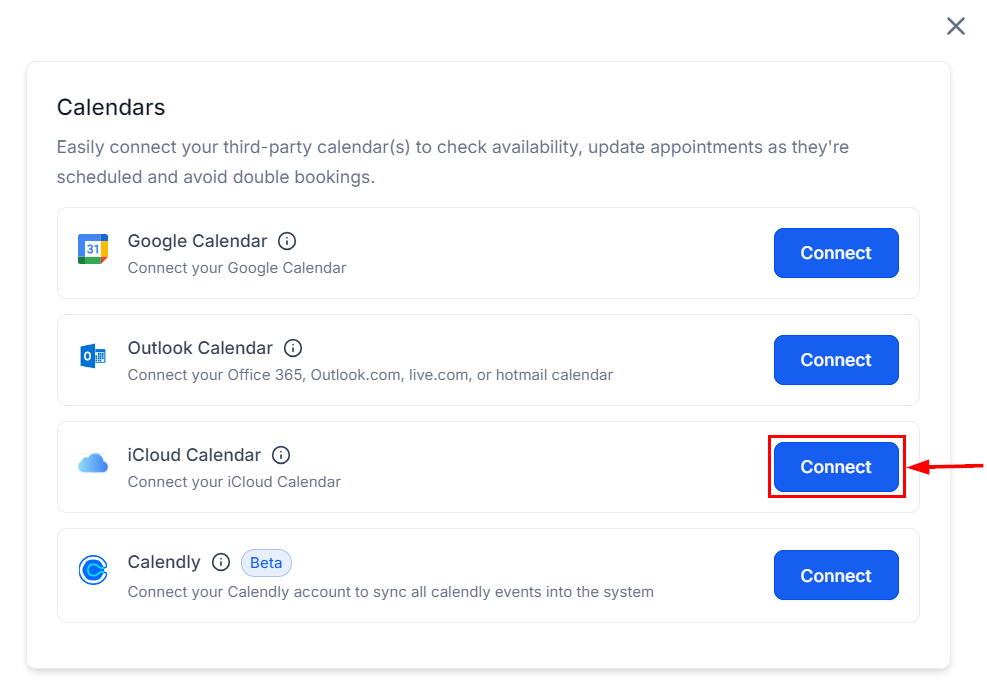
iCloud Calendar
Sign in to Apple ID
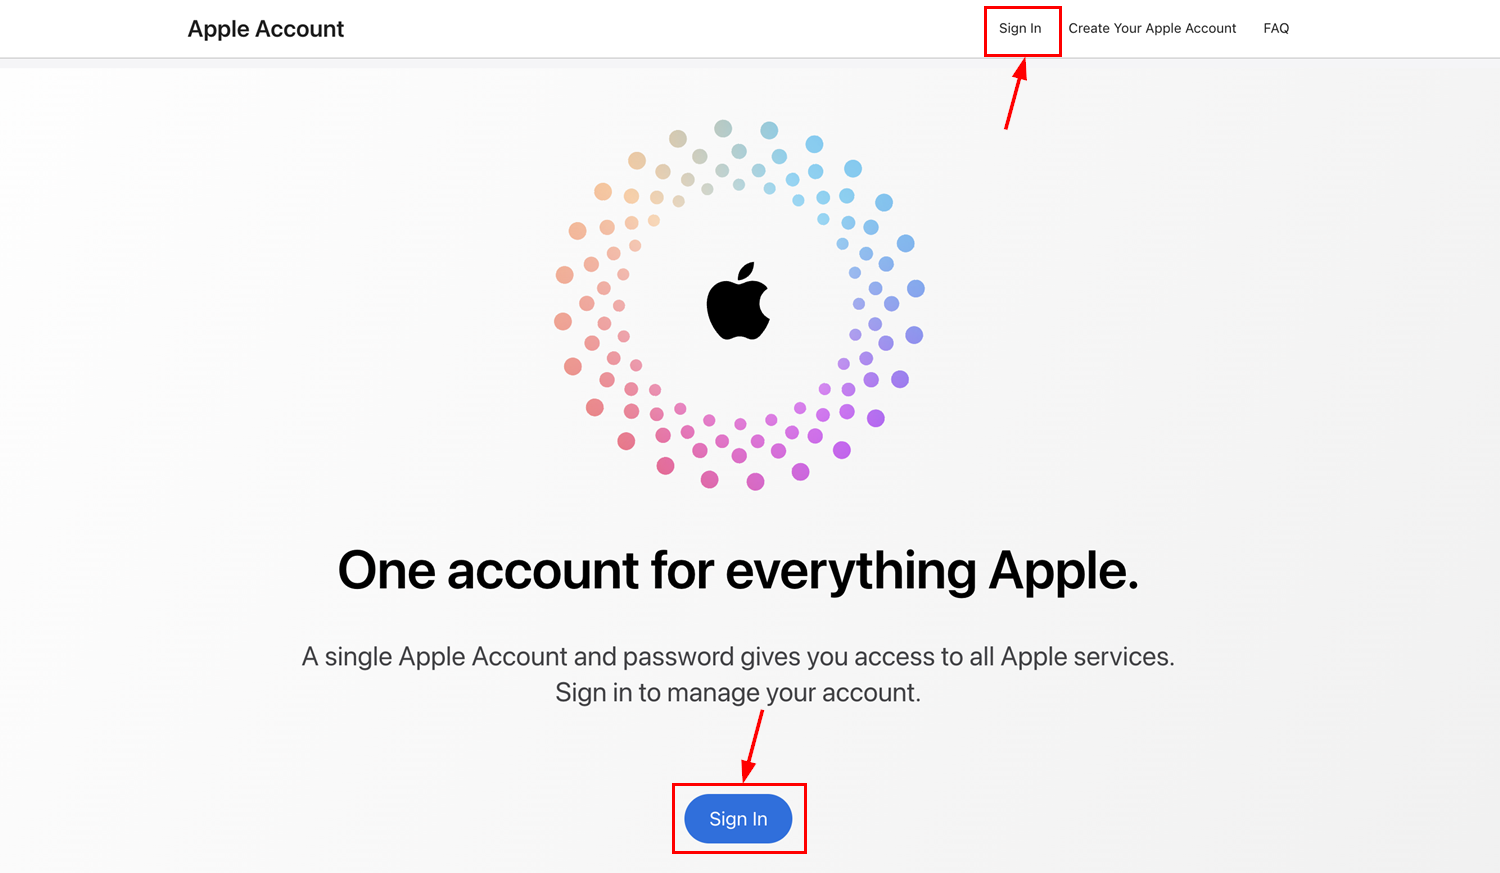
Sign in to your Apple ID at appleid.apple.com
Enter your Apple ID email
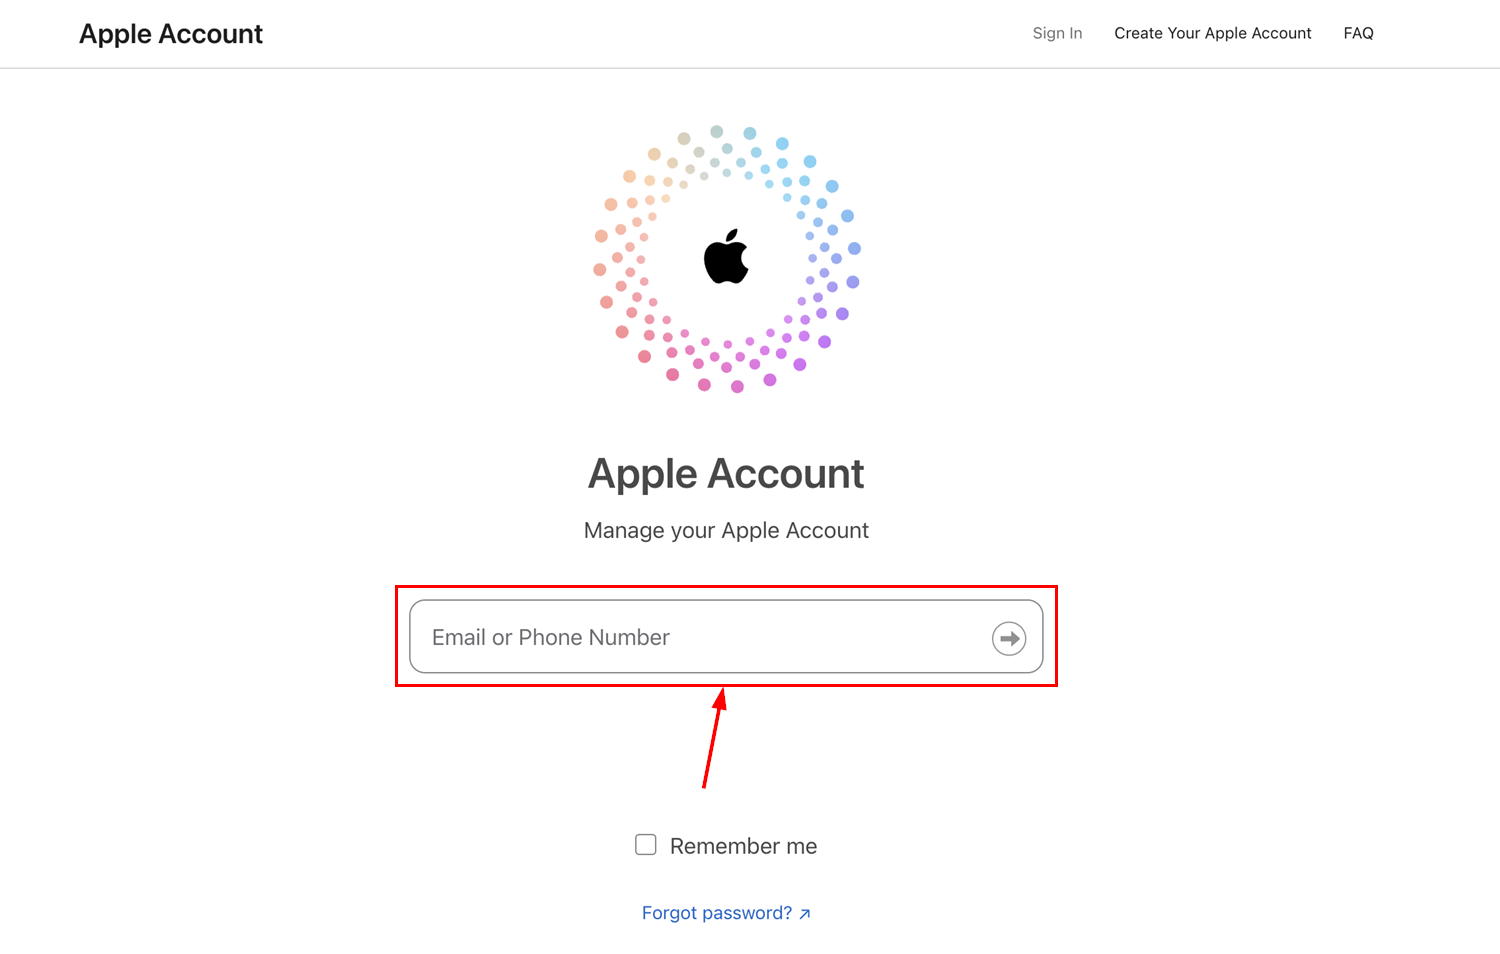
Enter your Apple ID email address
Complete two-factor authentication
Enter the two-factor authentication code from your trusted device
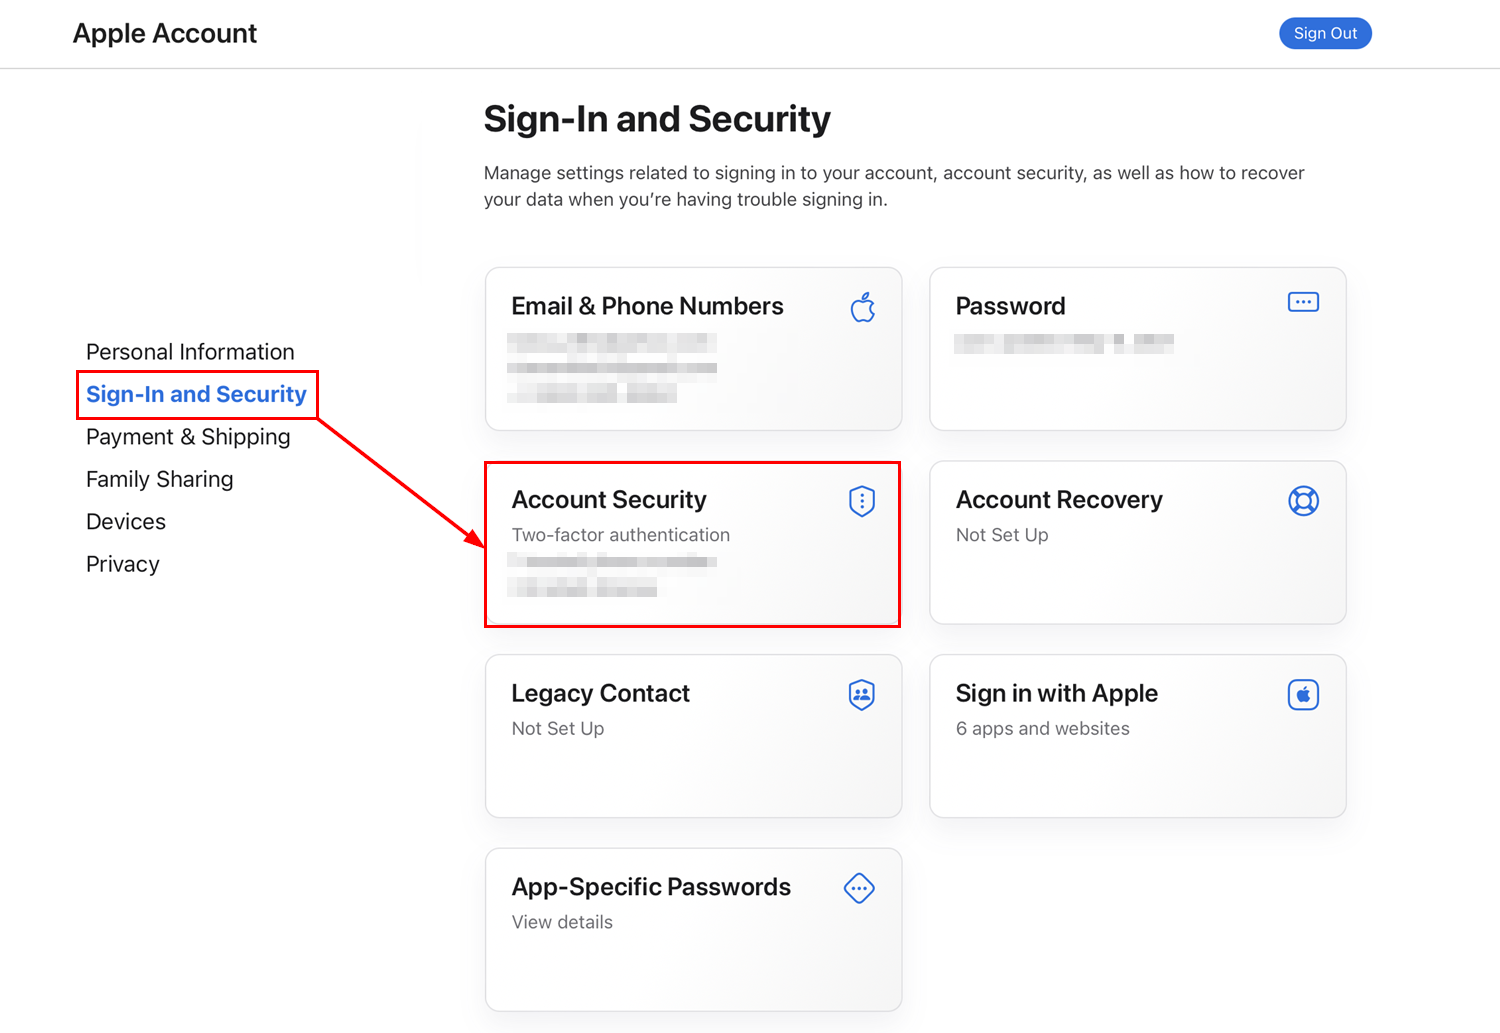
Generate an app-specific password
Create an app-specific password for the Hoop connection
Create and copy the password
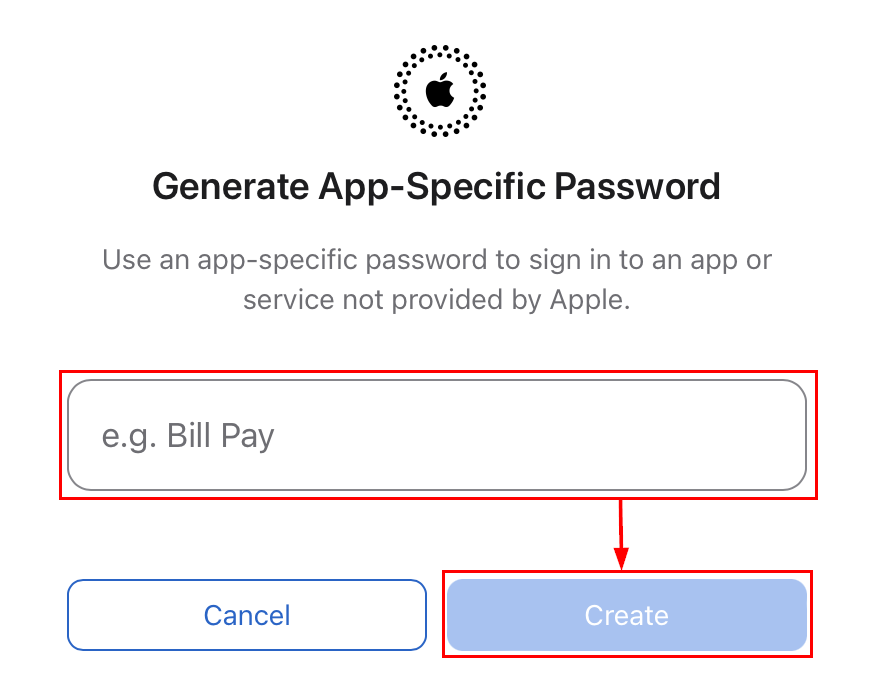
The generated app-specific password — copy this for use in Hoop
Connect in Calendar Settings
Enter your Apple ID and app-specific password in the iCloud connection form
Calendly
Open Calendar Connections
Calendar Settings showing the Calendar Connections option
Add a new connection
Click + Add New to open the available integrations
Select Calendly and connect
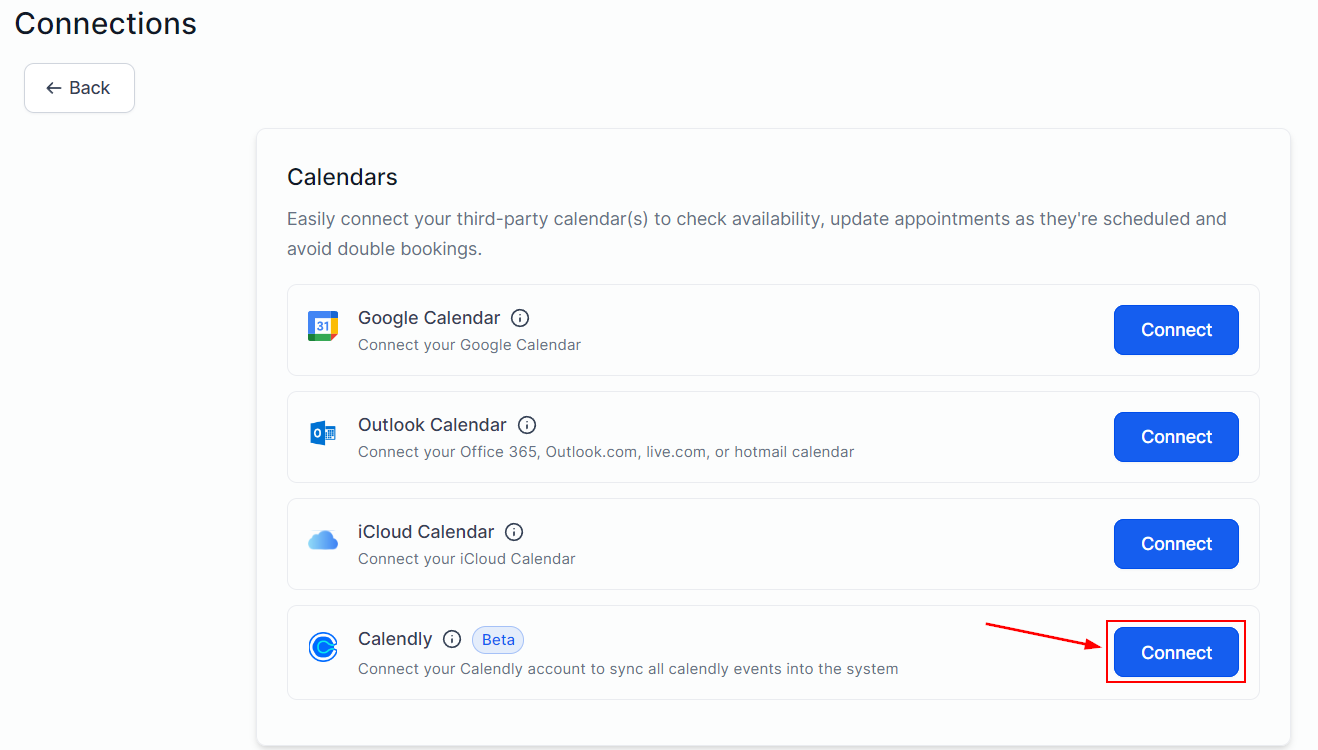
Click Connect to authorize the Calendly integration
Review sync settings
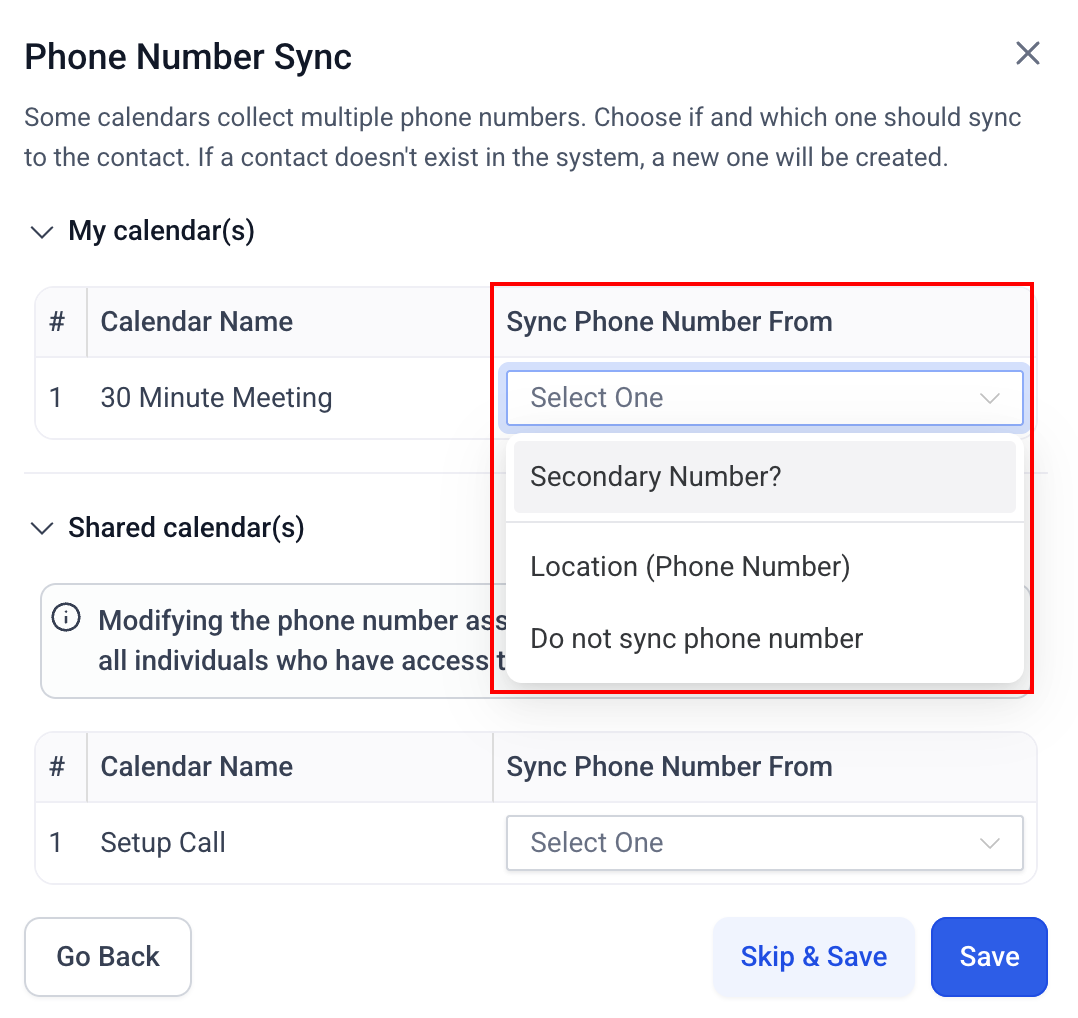
Calendly sync showing the number of synchronized events
Calendar groups
Calendar groups bundle multiple calendars into a single shared booking page.Create a new group
Add calendars to the group
Enabling and disabling a calendar
Open Calendar Settings
Toggle the calendar status
Accepting payments at booking
Enable payment collection so contacts pay when they book:Open the calendar's Advanced Settings
Enable Payment
Configure payment options
- Full payment — charge the full amount at booking
- Partial payment / deposit — let customers pay a fraction to secure the slot
- Per-attendee billing — charge each attendee including guests (class calendars)
- Coupon codes — allow discount codes at checkout
Save
One-time booking links
One-time booking links expire after a single use — ideal for sending to a specific contact without making the link reusable.Go to Calendar Settings
Access one-time links
Copy and share
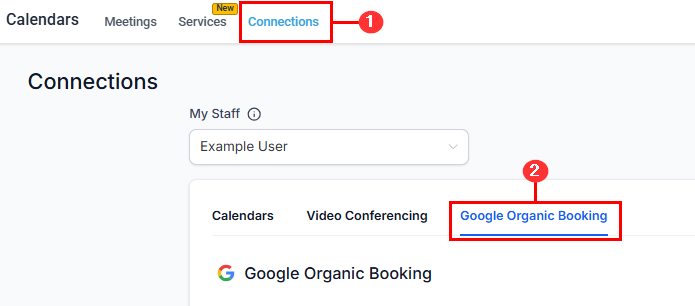
Google organic booking
Enable Google Organic Booking to let contacts book directly from your Google Business Profile:Open Calendar Settings
Open Calendar Settings for the calendar to enable organic booking
Enable Google Organic Booking
Toggle on Google Organic Booking in Calendar Settings
Enable and configure services
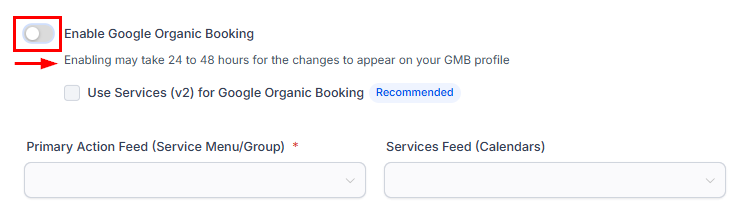
Enable and configure Google organic booking services
Upload required assets
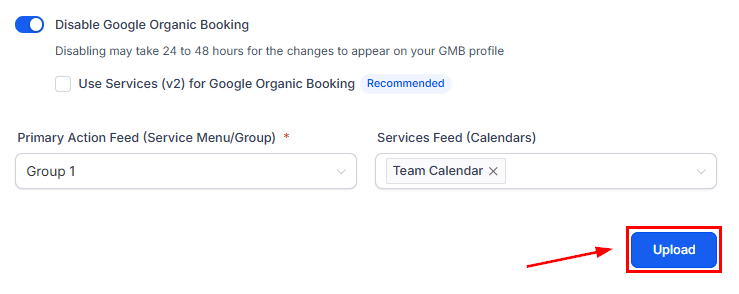
Upload images and assets for the Google Business Profile listing
Staff member selection in round robin calendars
By default in round robin calendars, the system assigns the team member. To let bookers choose their own: Go to Advanced Settings > Customizations and toggle on Staff Selection. Contacts will see a staff selector on the booking widget.SMS compliance consent checkbox
Add a required consent checkbox to booking forms for SMS marketing compliance: Go to Advanced Settings > Forms & Payment and toggle on Consent Checkbox. Contacts must check this box before completing their booking.Customizing notifications
Go to Advanced Settings > Notifications & Additional Options to customize:- Appointment confirmation — sent immediately after booking
- Appointment reminders — configure timing (e.g., 24 hours before, 1 hour before)
- Cancellation notices — sent when an appointment is cancelled
- Rescheduling updates — sent when an appointment is moved
Restore deleted calendars
If a calendar is accidentally deleted, you can restore it within 30 days:- Go to Calendar Settings and click the Trash icon or Deleted Calendars tab
- Find the deleted calendar in the list
- Click Restore to bring it back with all its original settings, appointments, and configuration
View calendar in user timezone
By default, calendars display times in the account’s timezone. To view and manage appointments in your personal timezone:- Click the timezone selector in the top-right corner of the calendar view
- Select your preferred timezone
- All appointment times adjust to reflect the selected timezone
Multiple meeting location selector
For calendars that offer multiple meeting options (in-person, Zoom, phone call), you can let contacts choose their preferred location during booking:- Open the calendar’s Advanced Settings > Meeting Location
- Add multiple locations (e.g., office address, Zoom, phone number)
- Toggle on Let contact choose location
- Save
Troubleshooting
Use the built-in Troubleshooting Tool to diagnose availability issues without leaving the calendar editor.FAQs
Can I use the same availability schedule across multiple calendars?
Can I use the same availability schedule across multiple calendars?
What is Look Busy and how does it work?
What is Look Busy and how does it work?
Can contacts cancel or reschedule themselves?
Can contacts cancel or reschedule themselves?
How do I require manual approval before an appointment is confirmed?
How do I require manual approval before an appointment is confirmed?
What is the difference between pre-buffer and post-buffer time?
What is the difference between pre-buffer and post-buffer time?
Why are my Google Calendar events not blocking Hoop availability?
Why are my Google Calendar events not blocking Hoop availability?