

Creating a folder
- Go to Automation in the HoopAI platform.
- On the Workflows list page, click the Create Folder button.
- Enter a name for the folder and click Save.
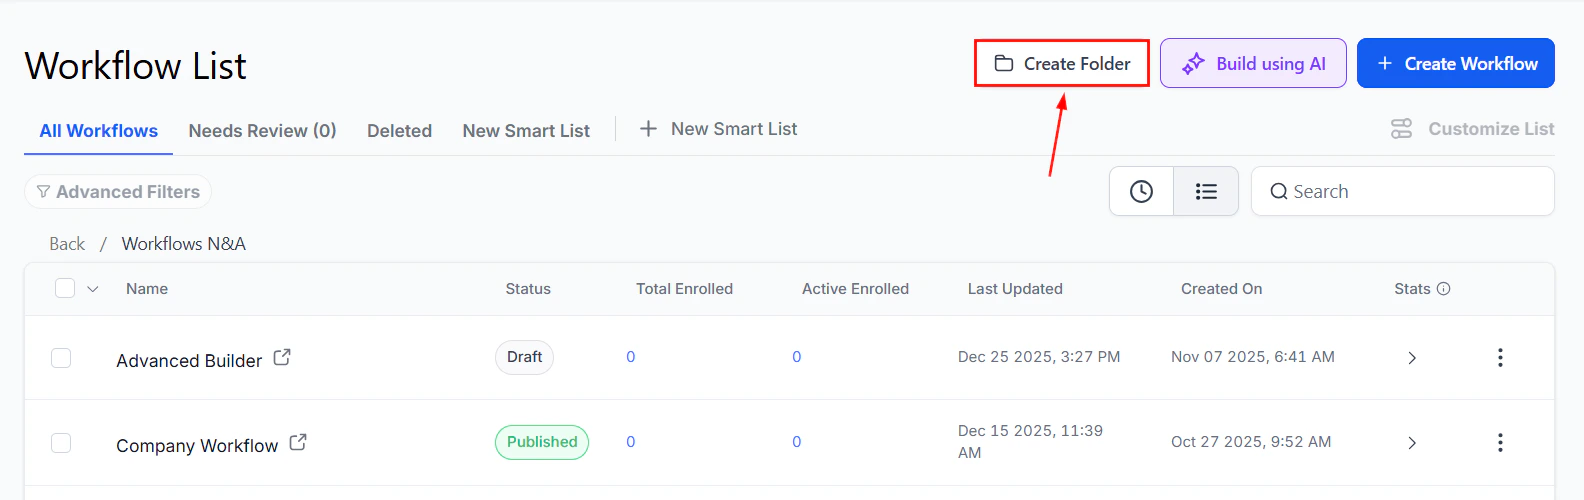
Workflow List page with the Create Folder button highlighted
Naming conventions
Use clear, consistent folder names that reflect the purpose or category of the workflows they contain. Common organizational approaches include:- By funnel stage — Lead Nurture, Sales Follow-up, Onboarding, Retention
- By channel or source — Facebook Leads, Website Forms, Referrals
- By product or service line — Product A Campaigns, Service Package B Automations
- By team or department — Sales Team, Customer Success, Marketing
Creating nested folders (subfolders)
Nested folders let you build a hierarchy within a folder. For example, a top-level “Lead Nurture” folder might contain subfolders for “Cold Leads,” “Warm Leads,” and “Re-engagement.” To create a nested folder:- Click into the parent folder to open it.
- Click Create Folder from inside the parent folder.
- Name the subfolder and click Save.
Moving workflows into folders
To move an existing workflow into a folder:- On the Workflows list page, hover over the workflow name.
- Click the Actions icon (three dots or ellipsis) that appears.
- Select Move to Folder.
- Choose the destination folder from the list and click Save.
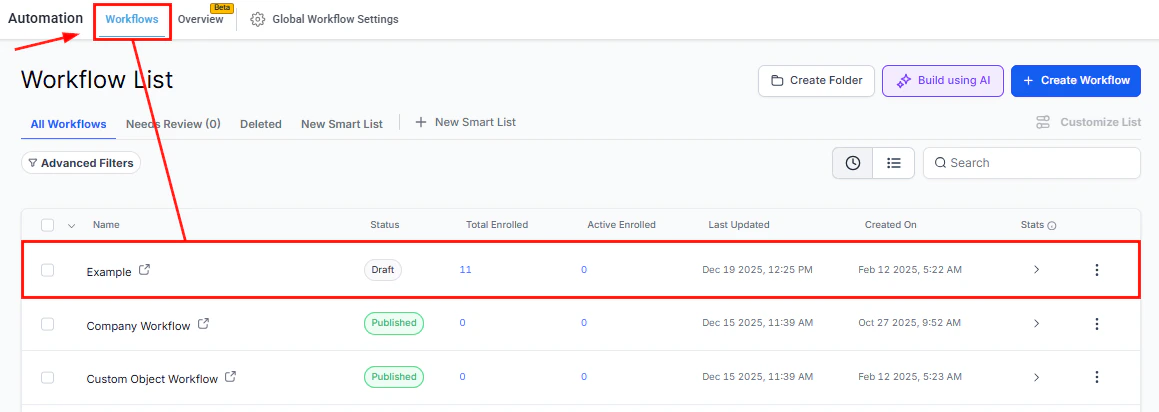
Workflow List with status columns, enrolled counts, and action menus
Moving workflows out of folders
If you want to take a workflow out of a folder and place it at the top level:- Navigate into the folder containing the workflow.
- Hover over the workflow and click the Actions icon.
- Select Move to Folder and choose the root or another folder as the destination.
Searching within folders
The search bar on the Workflows list page searches across all workflows regardless of which folder they are in. You do not need to navigate into each folder individually to find a specific workflow by name.Folder permissions
Folder-level access control is available on higher-tier plans. When folder permissions are enabled, you can restrict which team members or user roles can view, create, or edit workflows within a specific folder. Users without access to a restricted folder will not see that folder or any workflows it contains. This is useful for:- Keeping admin-level master workflows separate from standard users
- Restricting sensitive automation configurations (such as billing or compliance workflows) to administrators only
- Creating team-specific workflow libraries accessible only to the relevant team members
Best practices for folder organization
Create folders early. Organizing from the start is much easier than sorting through a large flat list later. When you build your second or third workflow, take a moment to create the folder structure you want to maintain long-term. Audit periodically. Review your folder structure every few months. Archive or delete workflows that are no longer active, and rename folders that no longer reflect the workflows they contain. Keep the top level clean. Avoid leaving workflows at the root level outside of any folder once your library has grown. Unorganized workflows at the top level make the folder structure less useful. Use a “Archive” folder. Rather than deleting old workflows immediately, move them to an Archive folder. This preserves the workflow and its history while removing it from your active view. Limit nesting depth. Two or three levels of folders is usually sufficient. Deeper hierarchies become difficult to navigate and often indicate that a different organizational approach would work better.FAQs
Is there a limit to how many folders I can create?
Is there a limit to how many folders I can create?
There is no fixed limit on the number of folders. However, keeping the structure simple and navigable is recommended. Very deep or very wide folder trees can become harder to use than a well-organized flat structure.
Can I rename a folder after creating it?
Can I rename a folder after creating it?
Yes. Hover over the folder name, click the Actions icon, and select Rename. Enter the new name and save.
What happens to workflows inside a folder if I delete the folder?
What happens to workflows inside a folder if I delete the folder?
Deleting a folder moves its contents to the root level rather than deleting the workflows. Always verify folder contents before deleting to avoid workflows becoming buried at the root level unexpectedly.
Do workflow statistics apply to entire folders?
Do workflow statistics apply to entire folders?
No. Workflow statistics are available only at the individual workflow level. There is no folder-level aggregation of stats.
Can I duplicate an entire folder and its workflows?
Can I duplicate an entire folder and its workflows?
Folder duplication is not currently available. To replicate a folder structure, create the folders manually and duplicate individual workflows, then move them into the appropriate folders.