Connect Google, Facebook, Instagram, Shopify, TikTok, and other third-party platforms to the HoopAI Platform.
Integrating various platforms and tools with your account enhances its functionality and streamlines your workflow. By connecting accounts like Google, Facebook, and Shopify, you can efficiently manage and track your business activities directly from your account — responding to customer messages, tracking ad performance, managing your calendar, and more.Navigate to Settings > Integrations to get started.
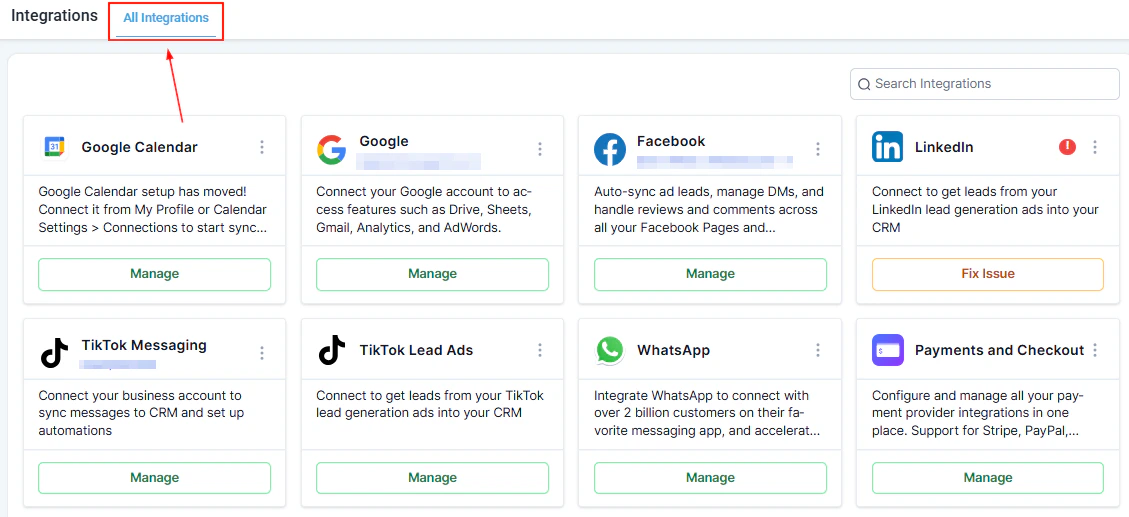
Integrations hub — connect Google, Facebook, Shopify, and more
Gmail SMTP — send emails using your Google Workspace address
Google Drive — access and attach files from Drive
Google Ads — import campaign data for reporting
Google Analytics — track website traffic and conversions
Google Calendar — sync appointments bidirectionally
Steps:
Go to Settings > Integrations.
Click Connect next to Google.
Sign in with your Google account and grant the requested permissions.
Select which Google services to enable.
Google integration
If the connection expires or disconnects, click Reconnect to re-authorize.
Google My Business
Connect Google My Business to manage your Google Business Profile listing, respond to reviews, and sync business information directly from your account.
Go to Settings > Integrations > Google My Business.
Click Connect and sign in with the Google account that manages your Business Profile.
Select the business location to connect.
Verifying Google Calendar sync
After connecting Google, verify that your calendar is syncing correctly:
Create a test appointment in the platform.
Check your Google Calendar to confirm the event appears.
Create a test event in Google Calendar and verify it appears in the platform.
If sync is not working, disconnect and reconnect the Google integration.
Connect your TikTok Ads account to import campaign performance data and track TikTok ad leads.
Go to Settings > Integrations > TikTok Ads.
Log in to your TikTok Business account.
Select your ad account and grant permissions.
LinkedIn
Connect LinkedIn for Lead Gen Forms to automatically import leads captured through LinkedIn advertising campaigns.
Microsoft Outlook
Connect Outlook for email two-way sync and calendar integration. Works similarly to the Gmail integration — sent emails sync to Outlook and replies sync back.
Zapier
Connect Zapier to build automated workflows between your account and thousands of other apps not natively supported.
Go to Settings > Integrations > Zapier.
Copy your Zapier API key.
Use it in Zapier to set up Zaps connecting your account to other tools.
QuickBooks / Xero
Connect your accounting software to sync payment and invoice data.
Xero — Go to Settings > Integrations > Xero, sign in, and authorize the connection.
QuickBooks — available via the Integrations menu, requires QuickBooks Online account.
Shipping integrations
Shippo — connect for multi-carrier shipping rate calculations and label printing
ShipStation — connect for order fulfillment and tracking in high-volume operations
Productivity integrations
Notion — connect to sync data or create Notion pages from platform triggers
ClickUp — connect to create tasks in ClickUp from your platform workflows
Airtable — connect to sync records with Airtable bases
Google Contacts — sync contacts bidirectionally with Google Contacts