Create secure OAuth access tokens with scoped permissions to connect external applications to the HoopAI Platform API v2.
Private Integrations is designed to enhance the security and functionality of your account integrations. By moving beyond the limitations of API keys, Private Integrations offers a more robust, secure, and manageable solution for connecting third-party applications to your account.Navigate to Settings > Private Integrations to get started.
Enhanced security — restrict the scopes and permissions that a developer can access on your account, providing a higher level of security compared to API keys
Feature-rich API access — Private Integrations grant access to API v2.0, which includes more API features and Webhooks, expanding the possibilities for custom integrations
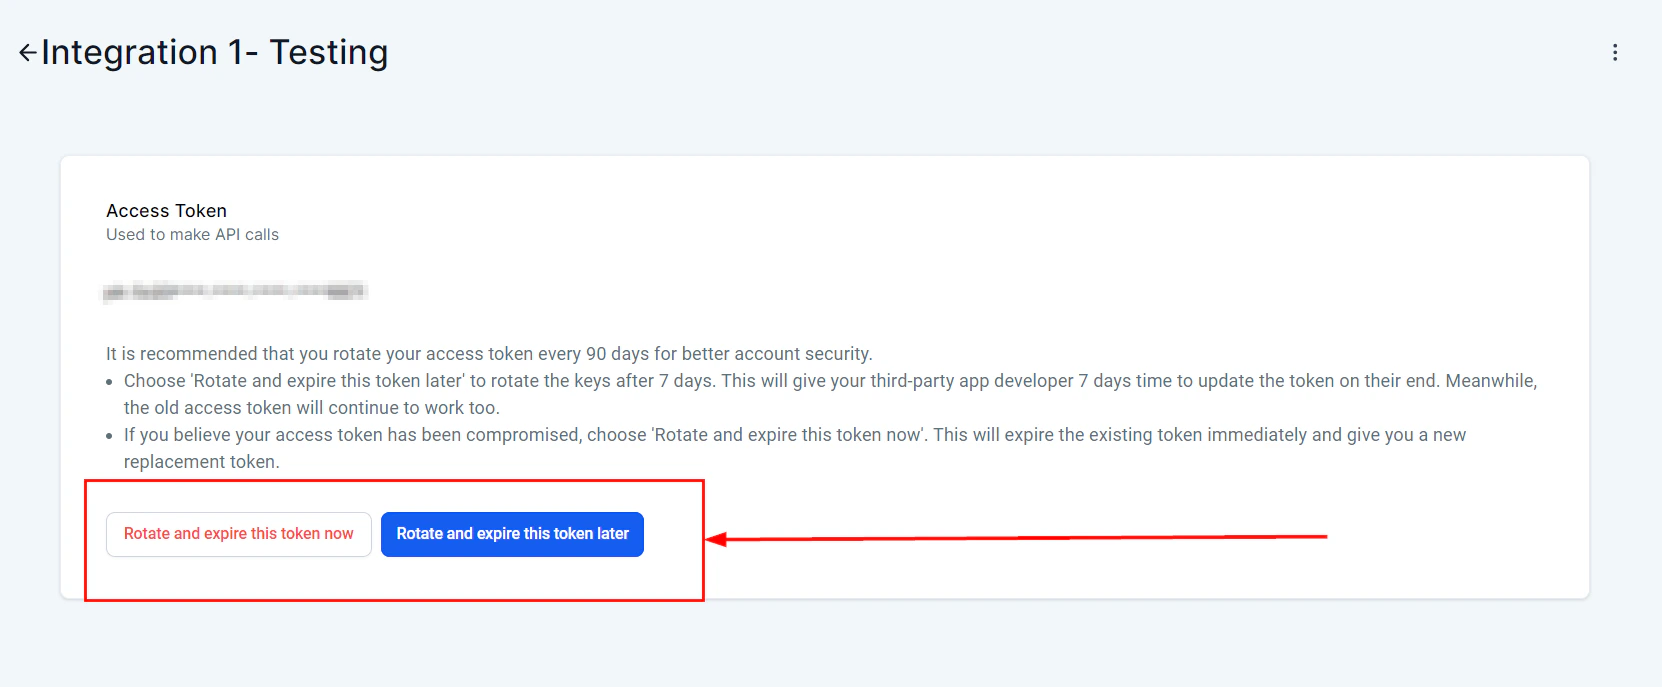
Token management — includes token management best practices such as Rotate and Expire Now/Later, making it easier to manage your integrations securely and efficiently
Private Integrations are the recommended migration path for customers using custom integrations built on API v1. API v2 offers better security, more features, and improved management controls.
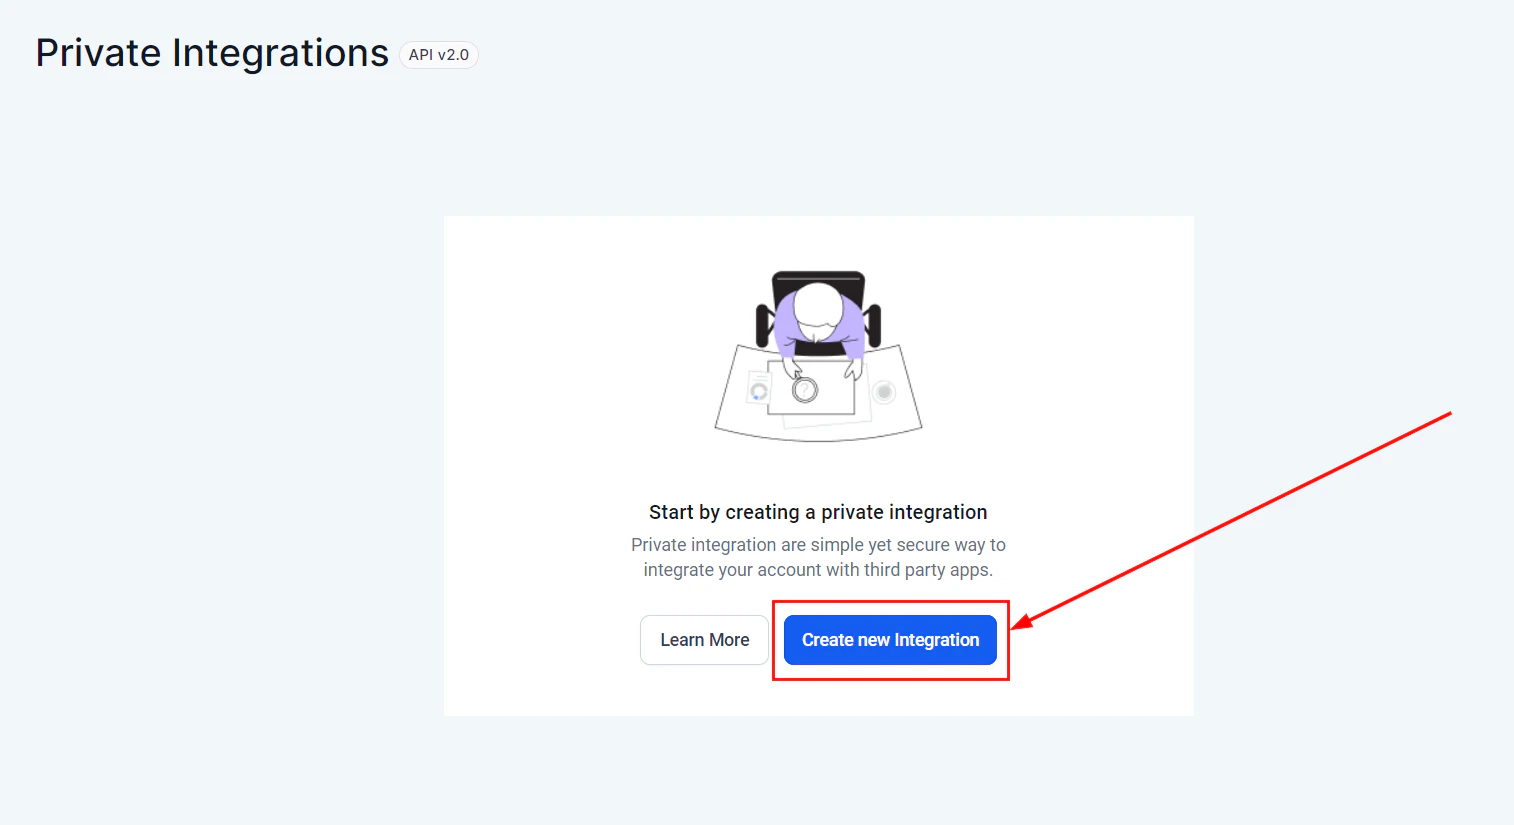
Go to Settings > Private Integrations, then click Create New Integration.
Private Integrations overview
2
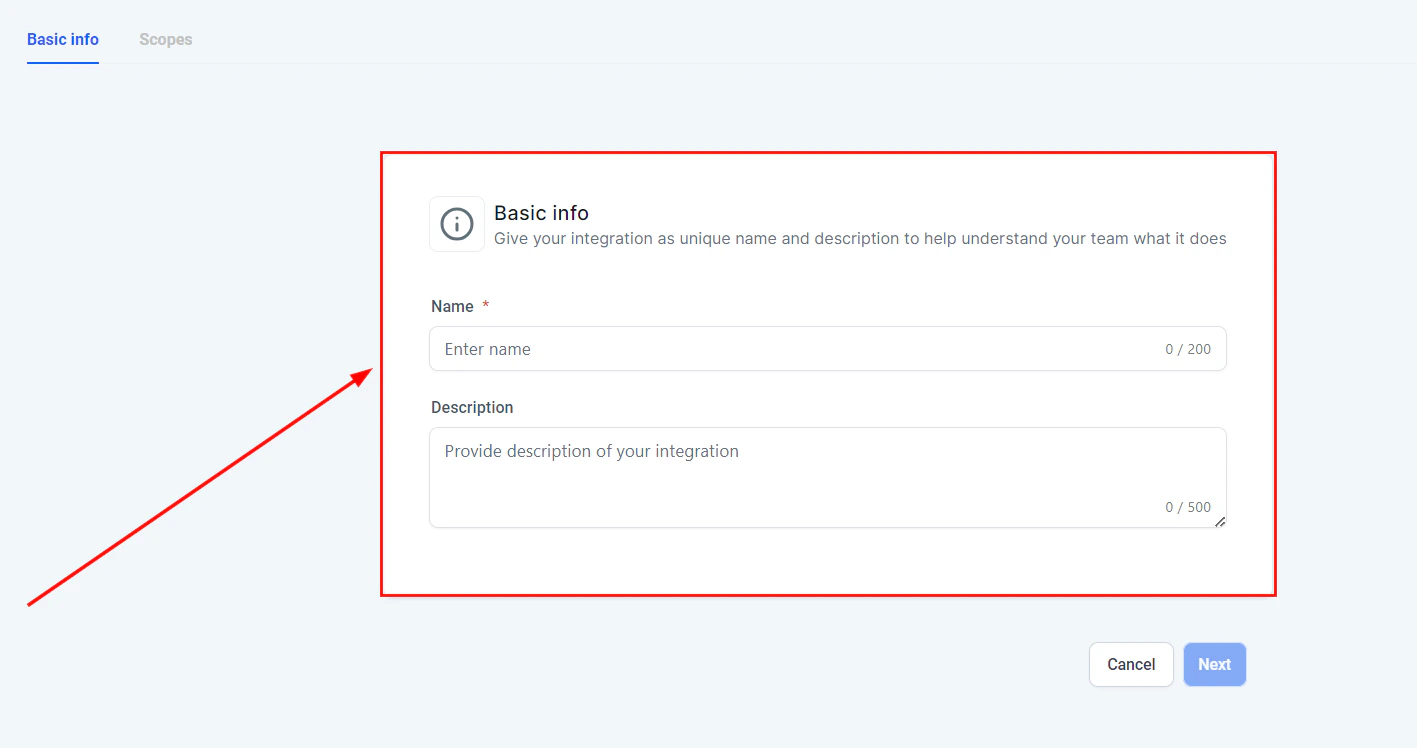
Enter basic information
Configure the integration details:
Integration name — give your integration a meaningful name to identify it easily
Description — provide a brief description of what the integration does
Basic info configuration
3
Define scopes
Define the scopes and permissions that the third-party application will have access to. Restricting scopes to only what is necessary is crucial for maintaining security.
Selecting scopes and permissions
4
Generate an access token
Click Generate Access Token. This token will be used by the third-party application to authenticate with your account.
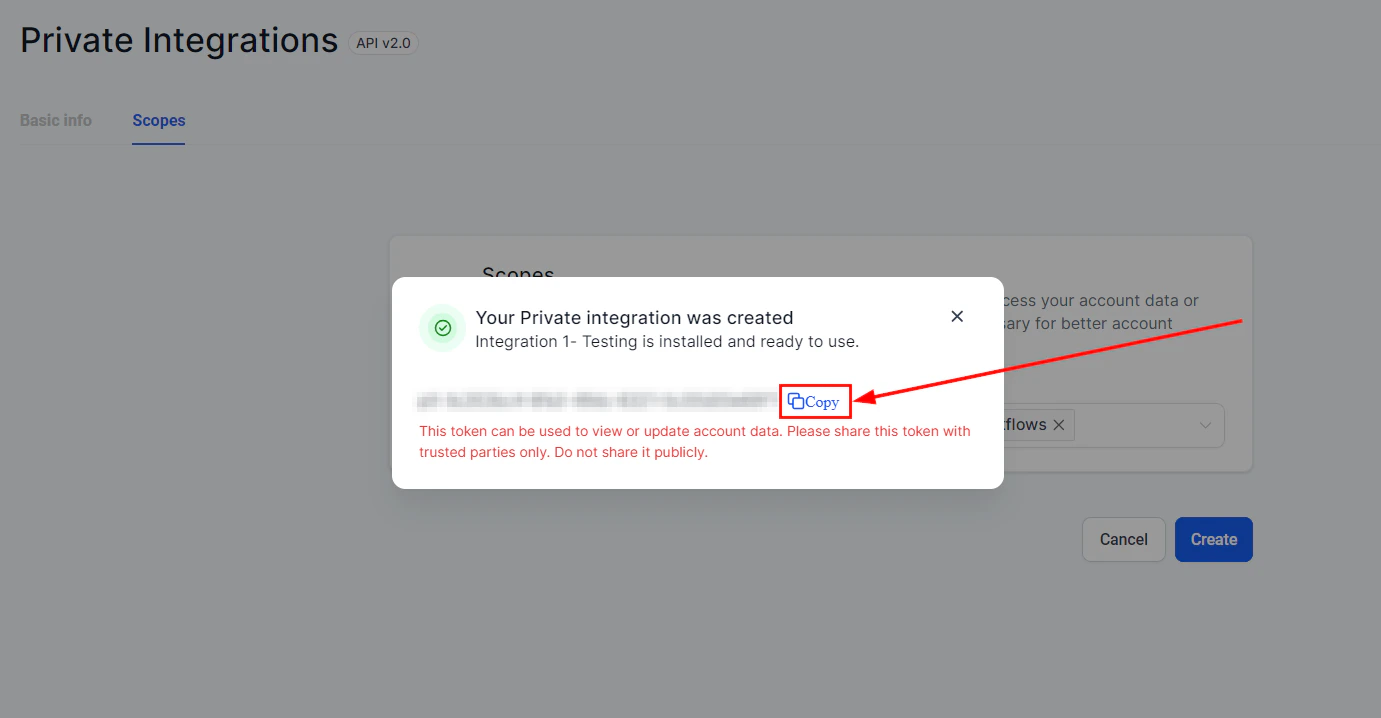
Copy the access token
Copy and store the access token securely — it will not be displayed again after you leave this screen.
5
Test the integration
Use the access token to connect your third-party application with the platform. Test the integration to ensure it works as expected and has the correct permissions.
How do Private Integrations improve security compared to API keys?
Private Integrations allow you to restrict the scopes and permissions that developers can access, reducing the risk of unauthorized access. API keys provide broad access, while Private Integration tokens can be scoped to only the specific data and actions the integration needs.
What are the benefits of API v2.0 access?
API v2.0 includes more features and Webhooks, providing greater functionality and flexibility for custom integrations compared to API v1. Private Integrations exclusively use API v2.0.
How can I manage my integration tokens effectively?
Follow these best practices:
Rotate tokens regularly using the Rotate Now feature
Expire tokens immediately if you suspect they have been compromised
Monitor token usage and set expiry dates for time-limited integrations
Keep token names descriptive so you can identify each integration’s purpose