

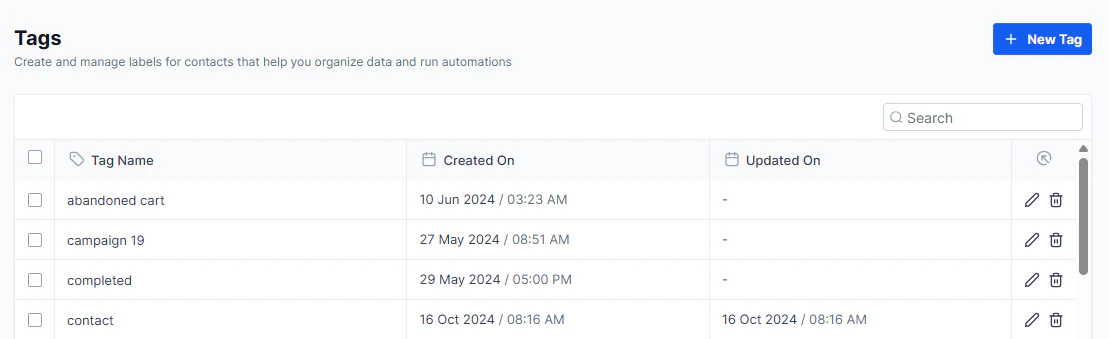
Tags management
What tags do
Tags are labels you attach to contacts for quick identification and segmentation. They are useful for:- Quick filtering — create smart lists of contacts with a specific tag
- Trigger automations — use tag additions/removals as workflow triggers
- Segment campaigns — target contacts by tag in email and SMS campaigns
- Merging contacts — tag-based deduplication and contact merge triggers
- Sales routing — automatically assign contacts to agents or pipelines based on tags
Managing tags
Creating a new tag
Tags are most commonly created directly when editing a contact record or through a workflow action. In the Tags settings page, you can also:- Click Add Tag or the + icon.
- Enter a name for the tag.
- Save.
Searching for tags
Use the search bar at the top of the Tags page to quickly find a specific tag by name.Renaming a tag
- Find the tag you want to rename.
- Click the edit (pencil) icon.
- Enter the new name and save.
Renaming a tag updates it everywhere it is used — all contacts with that tag will reflect the new name immediately.
Deleting a tag
- Find the tag you want to delete.
- Click the delete (trash) icon.
- Confirm deletion.
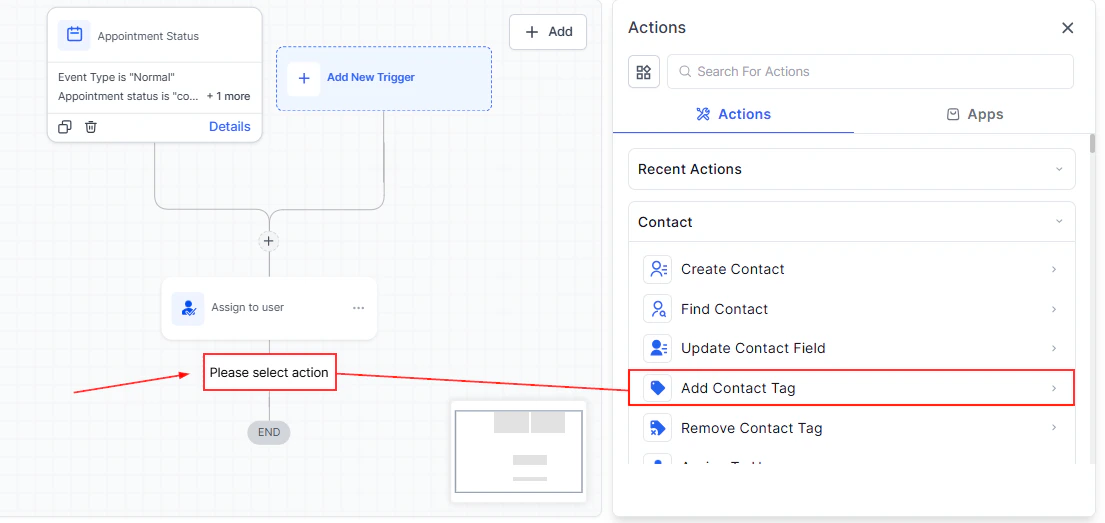
Workflow trigger — use tag added/removed as a trigger to enroll contacts in automated sequences
Contact filtering — create smart lists filtered by tag to quickly segment your audience
Tag best practices
- Use tags for contact categorization that does not fit into standard fields (status, source, campaign)
- Avoid creating too many similar tags — consolidate where possible
- Regularly audit unused tags in the Tags settings page and remove ones no longer in use
- Document your tagging conventions so your whole team applies them consistently