Configure your company name, address, logo, timezone, currency, compliance settings, and core business details in the HoopAI Platform.
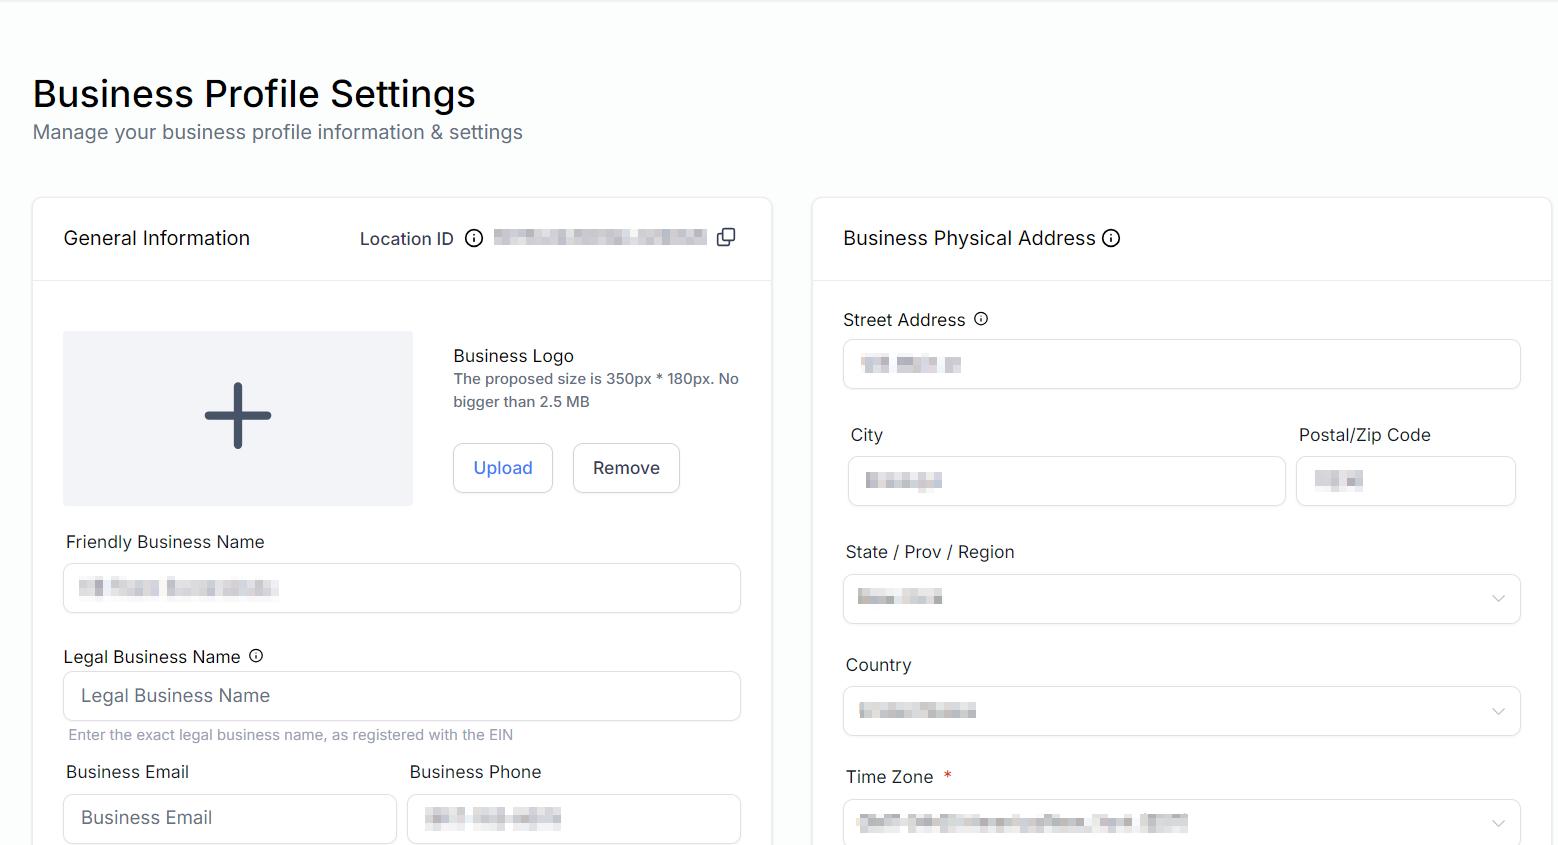
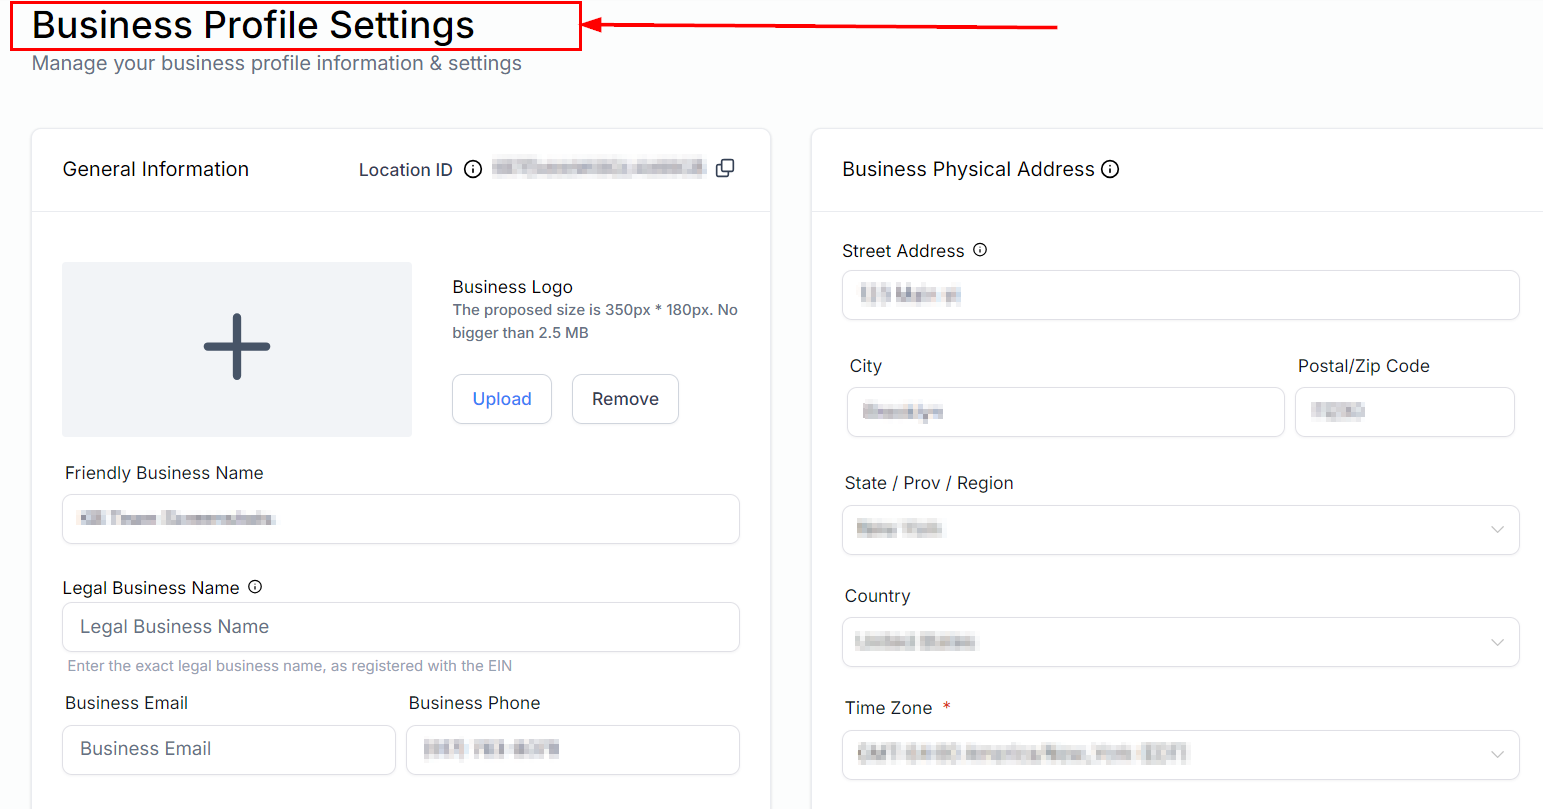
Effective management of your Business Profile is crucial for ensuring that your account operates smoothly and aligns with your business requirements. The Business Profile is the initial page displayed when you access the Settings section.Navigate to Settings in the left sidebar — the Business Profile page opens by default.
Set the timezone for your account. All appointments, automations, and timestamps will reference this timezone. You can also enable the Alternate Timezone feature to allow contacts to book appointments in their own timezone.Steps to toggle Alternate Timezone:
In Business Profile, scroll to the General section.
Locate the Alternate Timezone toggle.
Enable or disable it as needed and save your changes.
Default currency
Your account automatically sets the default currency based on your business location. For example, businesses in the United States default to USD.Steps to change the default currency:
Navigate to Settings > Business Profile.
Scroll to the General section.
Click the Currency dropdown and select your preferred currency.
Save your changes.
Currency selector
Duplicate opportunity management
By default, a contact can only exist once in any given pipeline. Enable Allow Duplicate Opportunity to add the same contact to a pipeline more than once — useful for managing repeat business or multiple service lines.
In Business Profile, scroll to the General section.
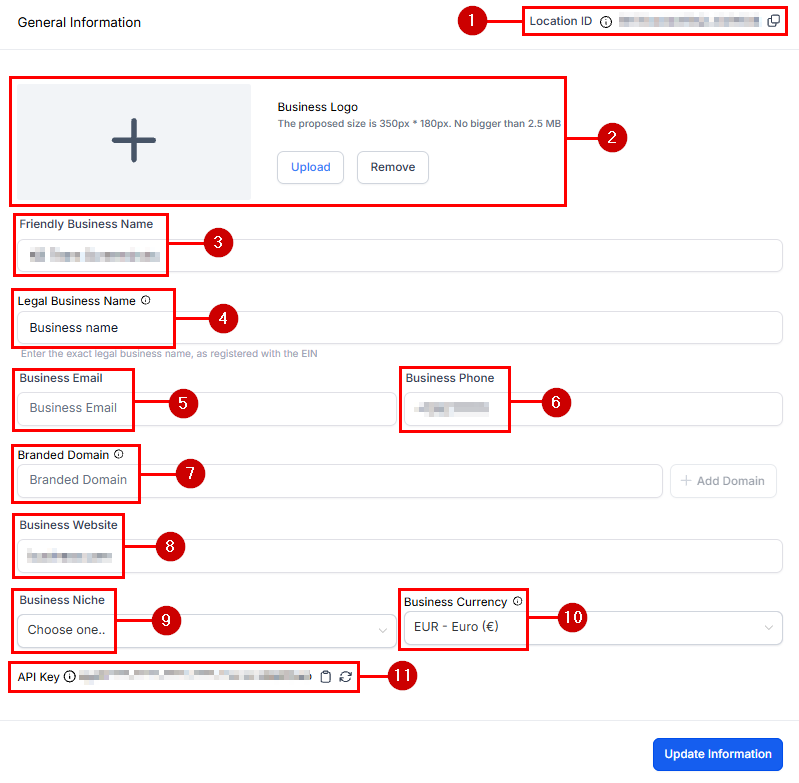
A branded domain replaces the default system domain with one that represents your brand in communications and landing pages. Only subdomains are allowed as branded domains.Steps to set up a branded domain:
Navigate to Settings > Business Profile.
Scroll to the Branded Domain section.
Click Add Branded Domain.
Enter your subdomain (e.g., go.yourbusiness.com).
Follow the DNS setup instructions for your domain provider.
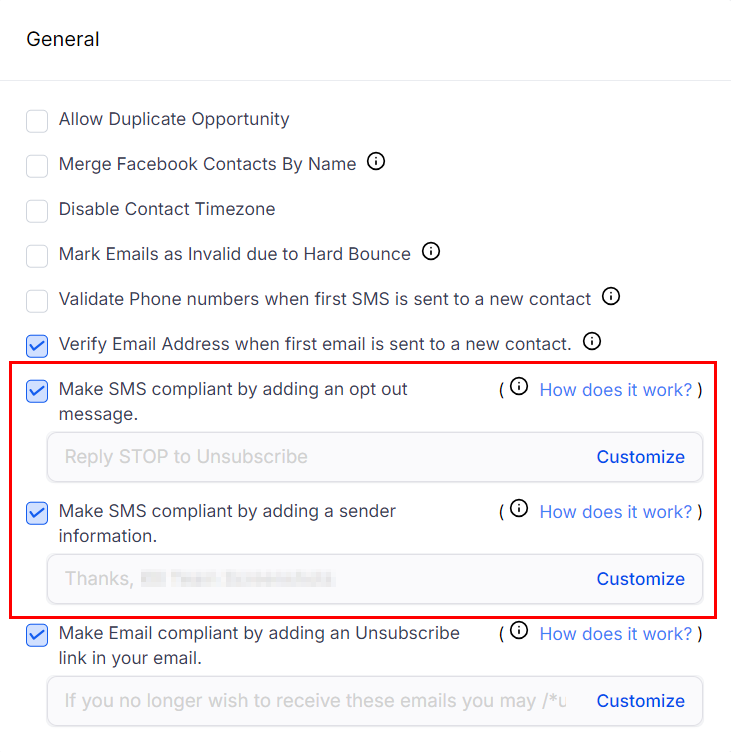
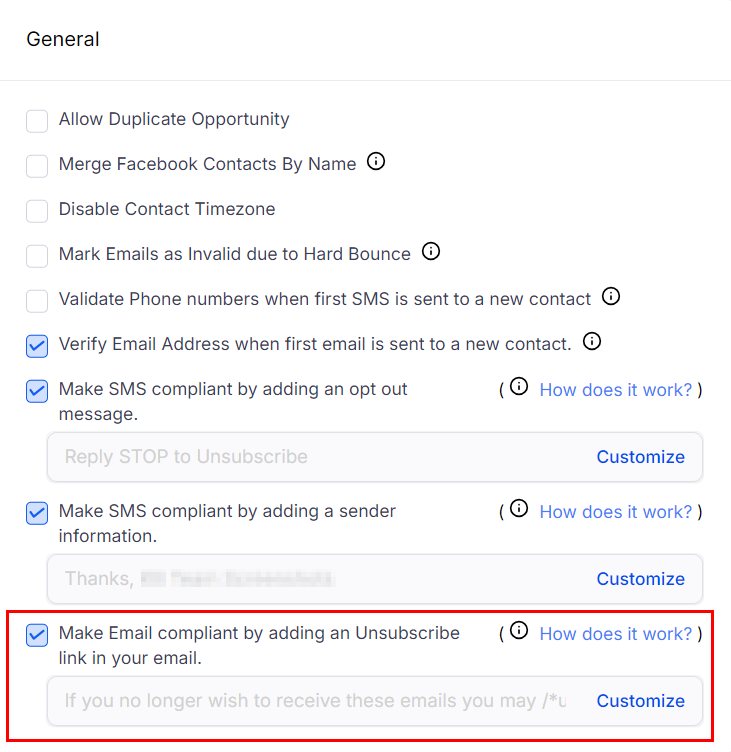
Maintaining compliance lowers the risk of your communications being marked as spam and ensures you meet provider requirements.
SMS compliance
The SMS compliance section lets you set opt-out keywords (e.g., STOP, UNSUBSCRIBE) and configure how the platform handles opt-out requests from contacts.
SMS compliance settings
Email compliance
Configure email compliance settings including unsubscribe handling, bounce management, and invalid email filtering to maintain a healthy sender reputation.
Email compliance settings
Keeping your compliance settings configured properly reduces bounce rates and improves email and SMS deliverability across your account.