> ## Documentation Index
> Fetch the complete documentation index at: https://help.hoopai.com/llms.txt
> Use this file to discover all available pages before exploring further.
# Surveys
> Create multi-slide surveys for feedback, research, and lead qualification in the Hoop platform.
Surveys let you collect structured feedback, qualify leads, and gather research data across multiple slides. Unlike forms — which are typically a single page — surveys are built as a sequence of slides that guide respondents step by step.
 ## Creating a survey
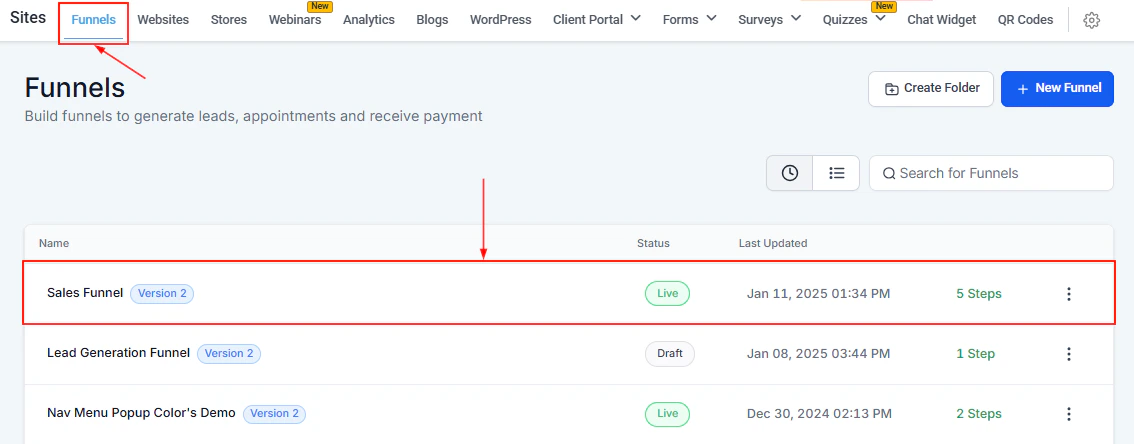
 Click **Sites** in the left sidebar, then select **Surveys**. Click **+ Add Survey**.
Select **Start from Scratch** or pick a template to get a head start.
Each slide is a page in your survey. Click the **+** button to add more slides. Rename each slide by clicking the three-dot icon and selecting **Settings**.
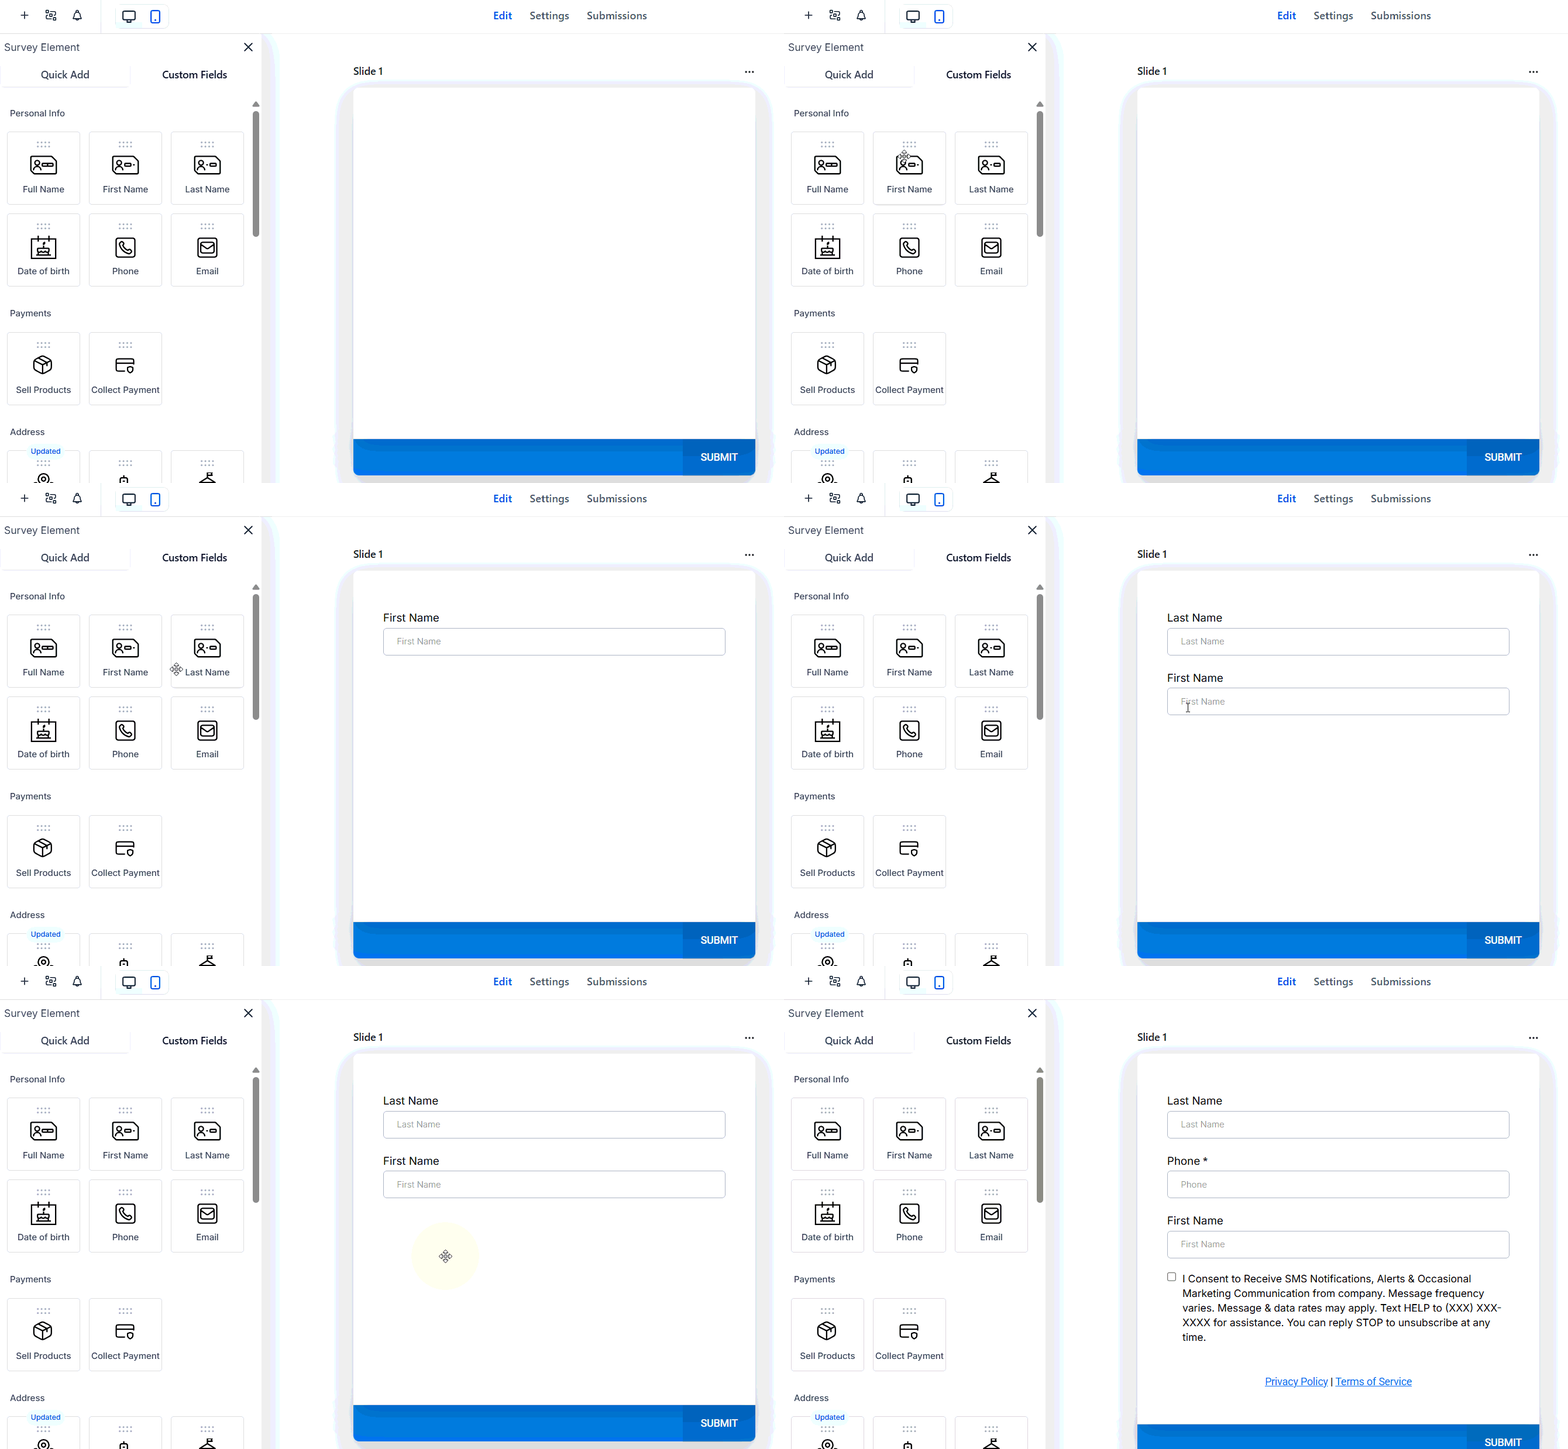
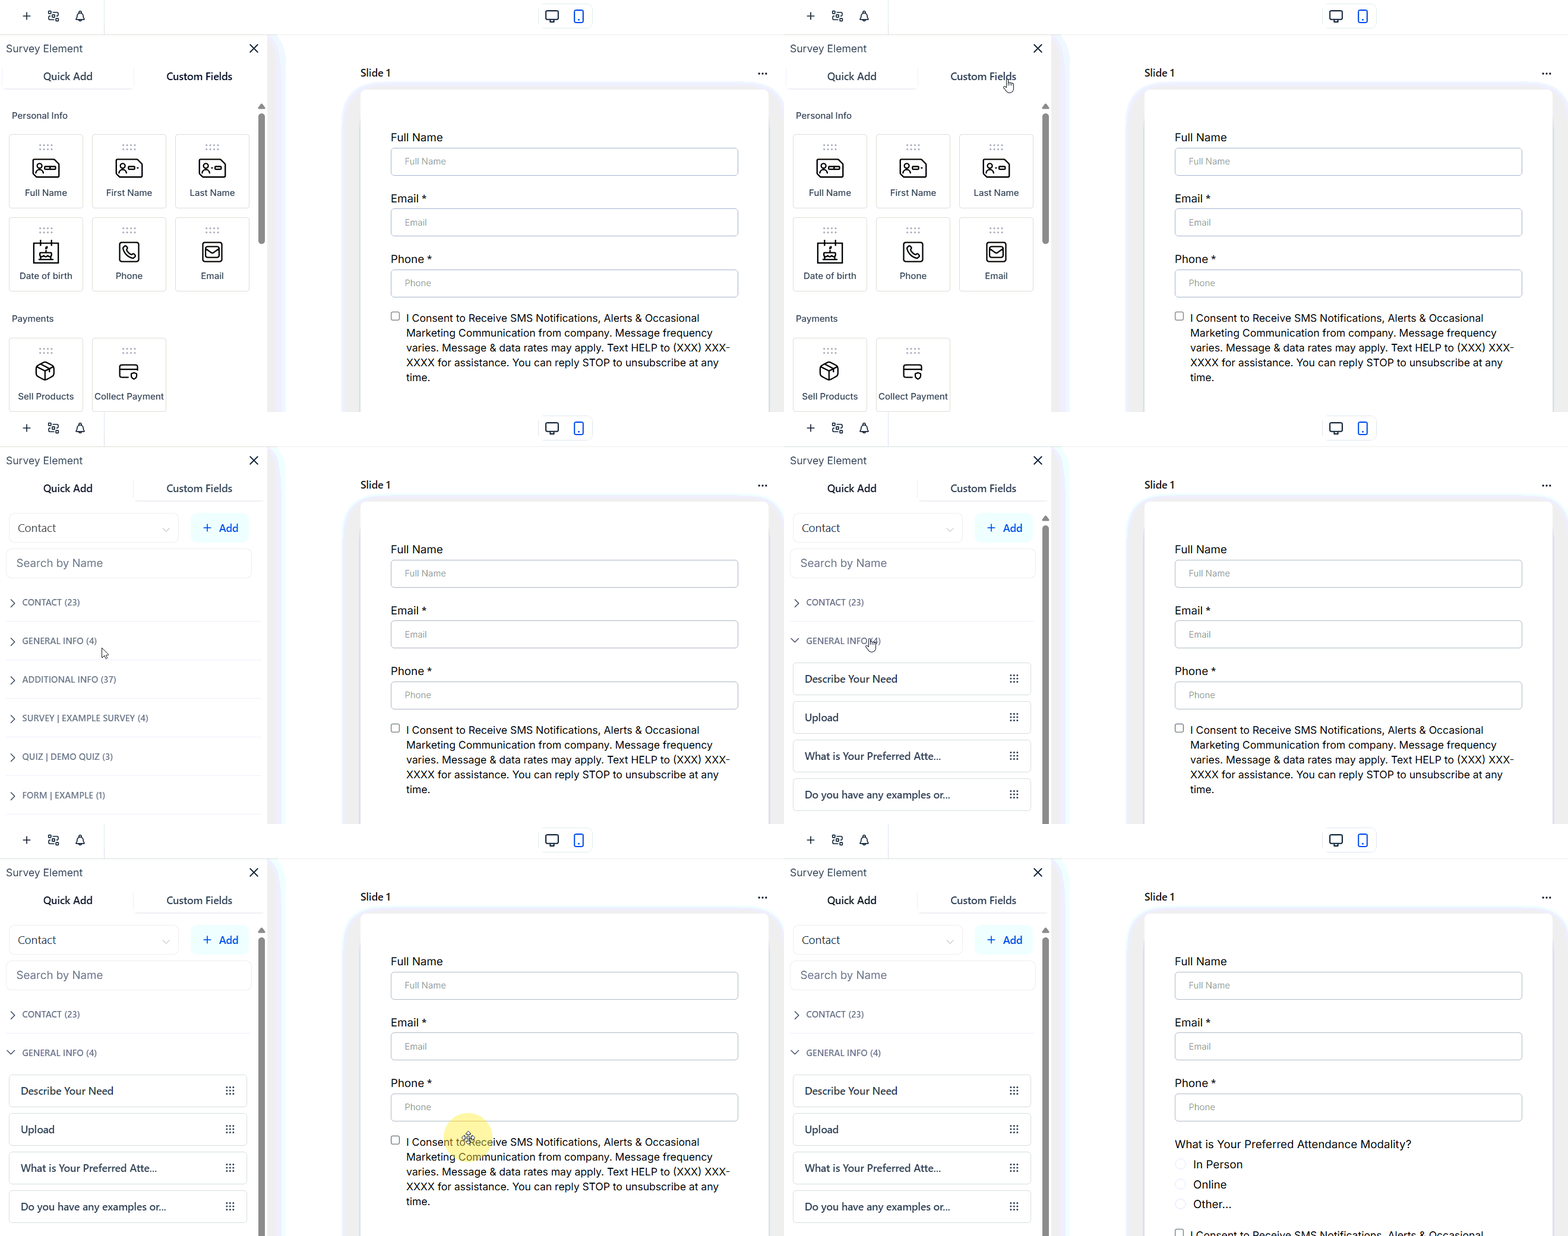
Click the **+** icon in the top-left to open the elements panel. Drag and drop fields onto the slide:
* **Quick Add** — standard fields (name, email, phone, etc.)
* **Custom Fields** — fields mapped to contact or opportunity data in your CRM
Click a field to open its settings, mark it as required if needed.
Switch to the **Styles** tab to customize colors, fonts, and layout. Use the **Themes** tab to apply a preset design.
Switch to the **Options** tab to set the on-submit behavior, notification emails, sticky contact, timezone capture, and GDPR fonts.
Click **Save**, then click **Integrate** to get the embed code for placing the survey on a funnel, website, or external page.
***
## Survey list and actions
The Surveys list shows the name, last-updated date, and the user who last edited each survey. Use the three-dot **Actions** menu to:
* **Edit** — open the survey builder
* **Preview** — view the survey as a respondent
* **View Submissions** — access all submitted responses
* **Duplicate** — copy the survey including all slides and settings
* **Upload to Survey Templates** — save the survey as a reusable template
* **Share** — share the survey to another CRM location
* **Move to Folder** — organize surveys into folders
* **Delete** — permanently remove the survey
***
## Analyzing survey responses
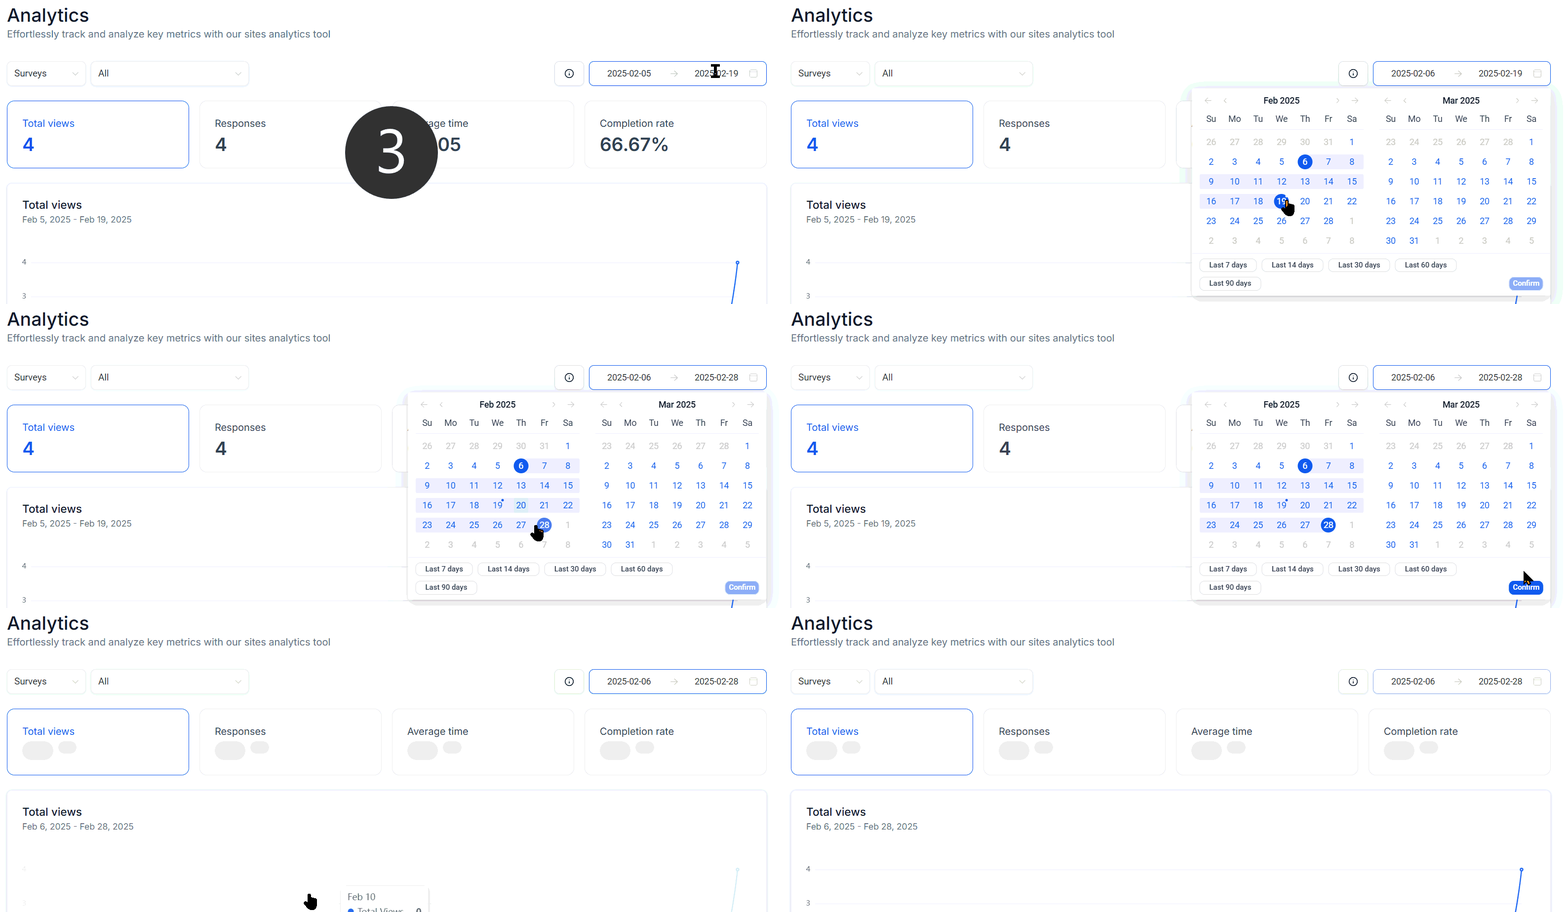
Click **Analyze Surveys** from the surveys list to view response rates, individual field completion, and aggregate answer distributions.
Click **Sites** in the left sidebar, then select **Surveys**. Click **+ Add Survey**.
Select **Start from Scratch** or pick a template to get a head start.
Each slide is a page in your survey. Click the **+** button to add more slides. Rename each slide by clicking the three-dot icon and selecting **Settings**.
Click the **+** icon in the top-left to open the elements panel. Drag and drop fields onto the slide:
* **Quick Add** — standard fields (name, email, phone, etc.)
* **Custom Fields** — fields mapped to contact or opportunity data in your CRM
Click a field to open its settings, mark it as required if needed.
Switch to the **Styles** tab to customize colors, fonts, and layout. Use the **Themes** tab to apply a preset design.
Switch to the **Options** tab to set the on-submit behavior, notification emails, sticky contact, timezone capture, and GDPR fonts.
Click **Save**, then click **Integrate** to get the embed code for placing the survey on a funnel, website, or external page.
***
## Survey list and actions
The Surveys list shows the name, last-updated date, and the user who last edited each survey. Use the three-dot **Actions** menu to:
* **Edit** — open the survey builder
* **Preview** — view the survey as a respondent
* **View Submissions** — access all submitted responses
* **Duplicate** — copy the survey including all slides and settings
* **Upload to Survey Templates** — save the survey as a reusable template
* **Share** — share the survey to another CRM location
* **Move to Folder** — organize surveys into folders
* **Delete** — permanently remove the survey
***
## Analyzing survey responses
Click **Analyze Surveys** from the surveys list to view response rates, individual field completion, and aggregate answer distributions.
 ***
## Conditional logic in surveys
Show or hide slides or fields based on a respondent's previous answers:
1. Click a field or slide.
2. Open the **Conditional Logic** tab.
3. Set the condition (e.g. if answer to Question 1 is "Yes", show Slide 3; otherwise skip to Slide 5).
Conditional logic keeps surveys relevant and reduces abandonment by only asking questions that apply to each respondent.
***
## Customizing the survey footer
The survey footer appears at the bottom of each slide and contains the navigation buttons (Back / Next / Submit). Go to **Surveys > your survey > Styles** to customize the footer text, button labels, and colors.
Enable a mobile progress bar to show respondents how far through the survey they are. Go to **Settings** inside the survey builder and toggle **Mobile Progress Bar** on.
After a survey is submitted, you can automatically send a response email. Configure this in the **Notifications** section of the survey settings. Use merge fields to personalize the email with the respondent's answers.
Keep surveys to 5 slides or fewer when possible. Shorter surveys have significantly higher completion rates. Use conditional logic to ask only the most relevant questions.
***
## Conditional logic in surveys
Show or hide slides or fields based on a respondent's previous answers:
1. Click a field or slide.
2. Open the **Conditional Logic** tab.
3. Set the condition (e.g. if answer to Question 1 is "Yes", show Slide 3; otherwise skip to Slide 5).
Conditional logic keeps surveys relevant and reduces abandonment by only asking questions that apply to each respondent.
***
## Customizing the survey footer
The survey footer appears at the bottom of each slide and contains the navigation buttons (Back / Next / Submit). Go to **Surveys > your survey > Styles** to customize the footer text, button labels, and colors.
Enable a mobile progress bar to show respondents how far through the survey they are. Go to **Settings** inside the survey builder and toggle **Mobile Progress Bar** on.
After a survey is submitted, you can automatically send a response email. Configure this in the **Notifications** section of the survey settings. Use merge fields to personalize the email with the respondent's answers.
Keep surveys to 5 slides or fewer when possible. Shorter surveys have significantly higher completion rates. Use conditional logic to ask only the most relevant questions.