> ## Documentation Index
> Fetch the complete documentation index at: https://help.hoopai.com/llms.txt
> Use this file to discover all available pages before exploring further.
# Stores
> Launch an e-commerce store powered by your Hoop platform product catalog.
The Stores feature lets you create a branded online store where customers can browse products, add items to a cart, and complete purchases — all connected to your Hoop platform product catalog, payment integrations, and order management.
 ## Three ways to create a store
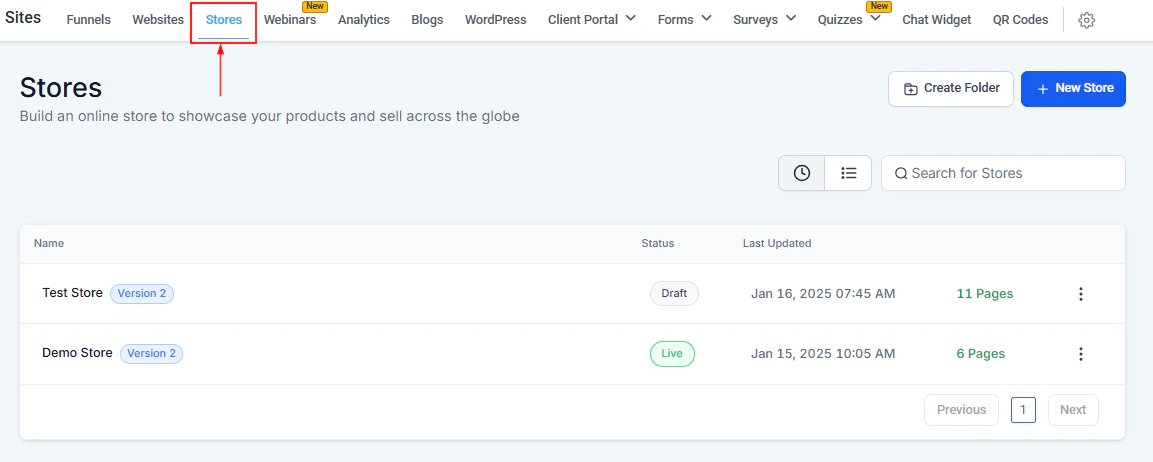
Navigate to **Sites > Stores** and click **+ New Store**. Choose from a blank canvas or a prebuilt store template, then click **Create**. This creates a fully standalone e-commerce store.
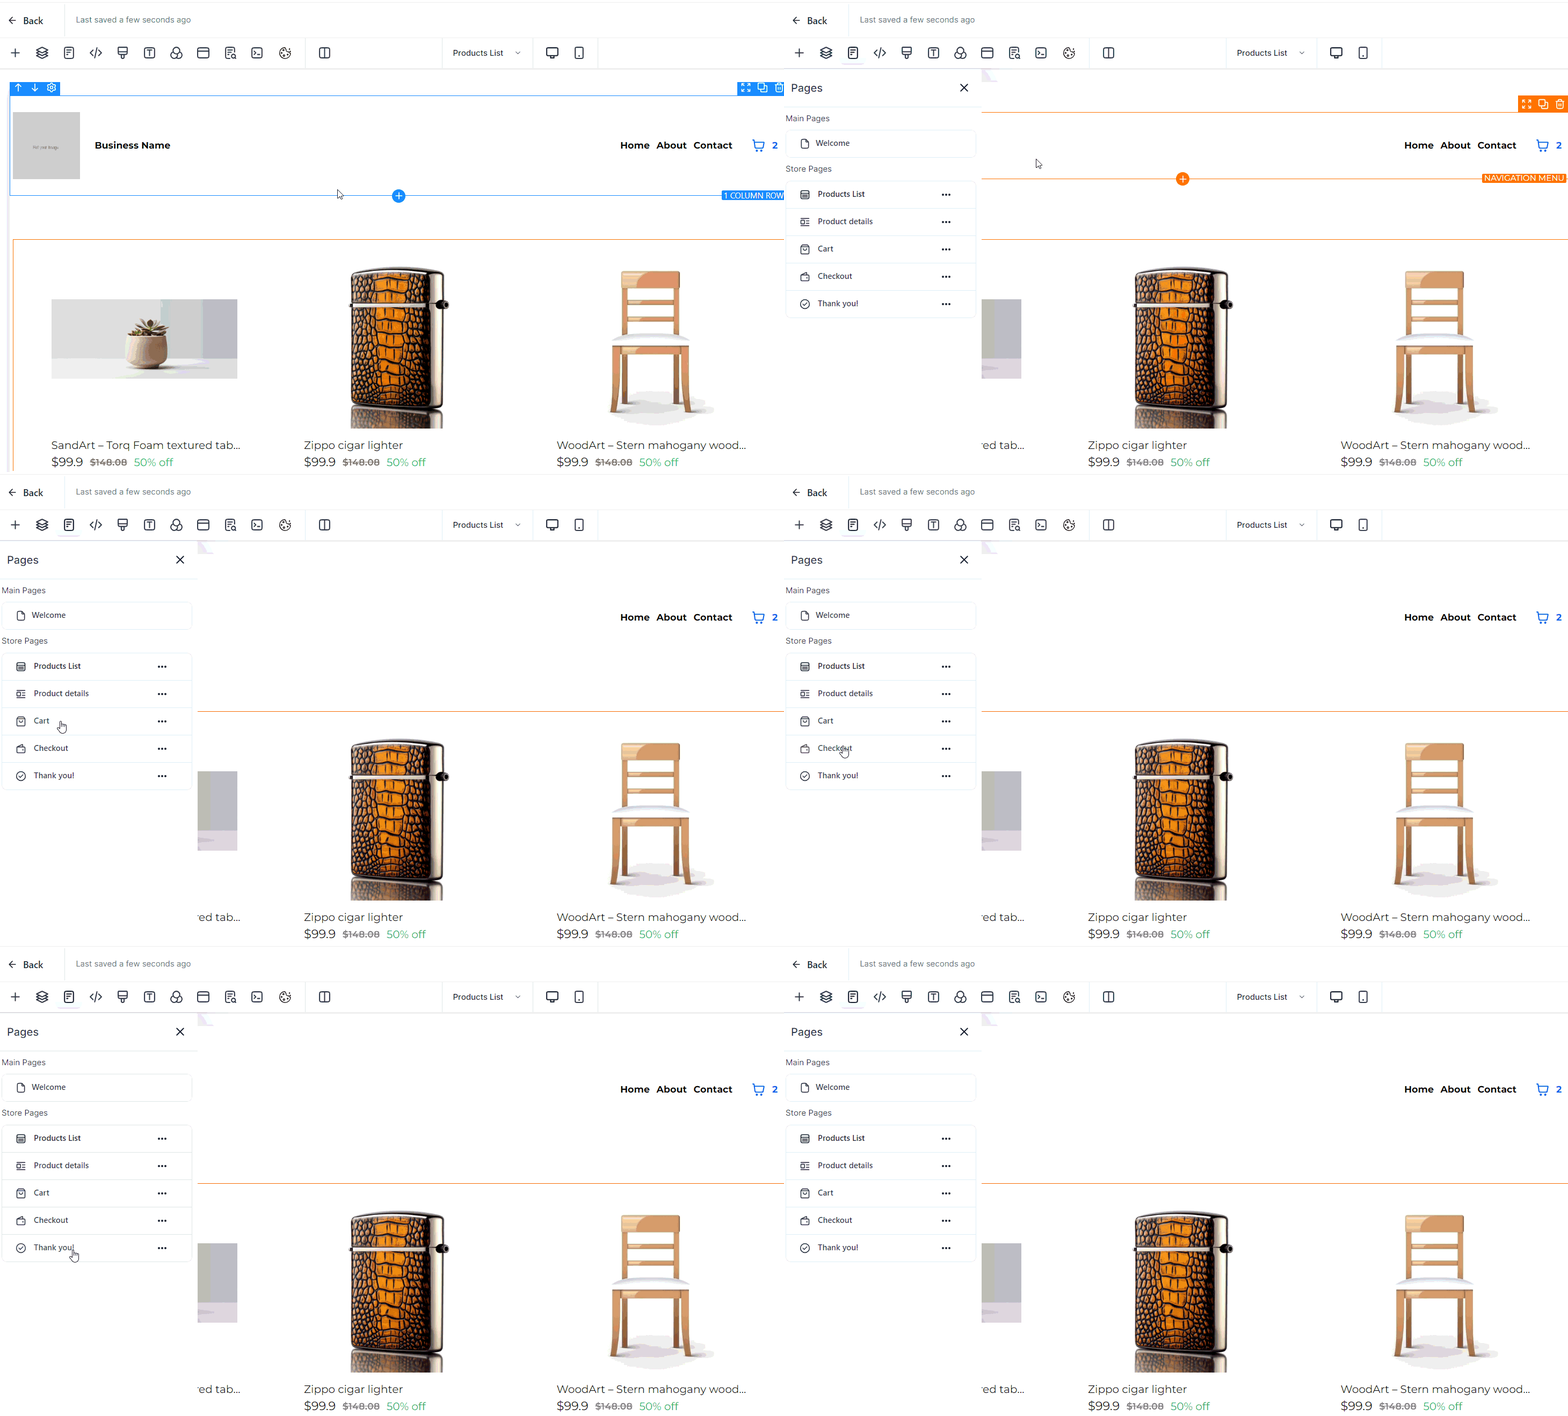
Inside the website builder, click the **+** icon to open **Add Elements**, then find and click **Store > + Add to site**. This automatically generates the essential store pages (Product List, Product Details, Cart, Checkout, Thank You) while maintaining your website's existing style.
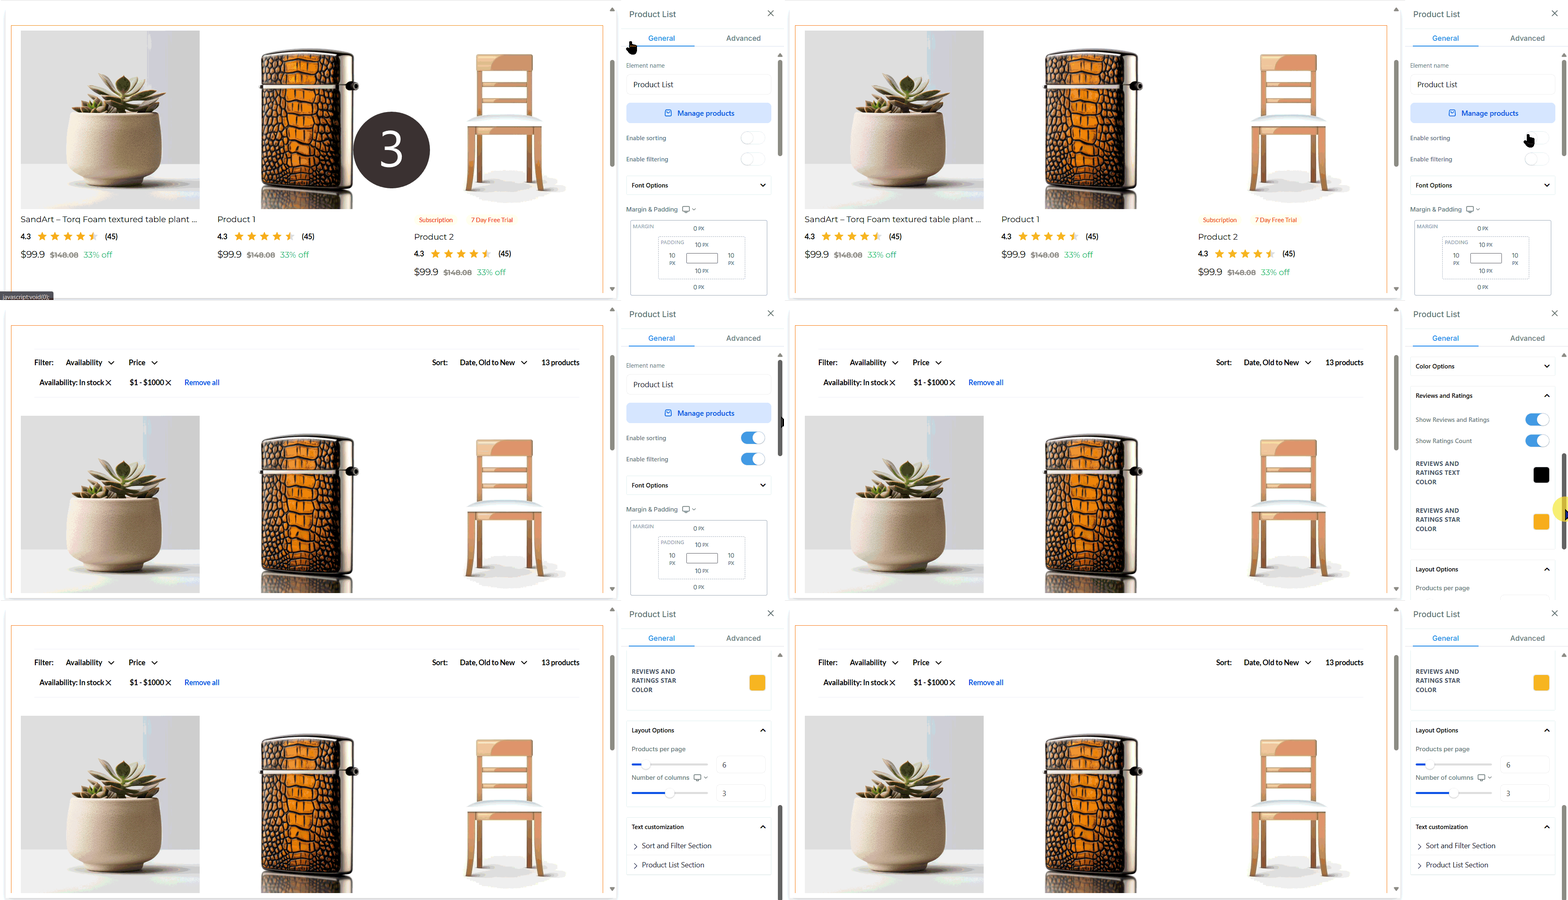
Drag a **Product List** element onto any page and click **Manage Products**. This routes you to **Payments > Products** to connect your catalog to that specific page without generating a full store.
***
## Setting up a store from scratch
Click **Sites** in the left sidebar, then select **Stores**. Click **+ New Store**.
Select a prebuilt store template or start from blank. Click **Create**. The builder generates the required store pages automatically.
Click the **Product List** element, then **Manage Products**. This opens **Payments > Products**. For each product, toggle **Include in online store** to add it to your storefront. Fill in the description, pricing, and any variants, then click **Save**.
Navigate through each auto-generated page — Product List, Product Details, Cart, Checkout, and Thank You — and customize the layout, colors, and content in the builder.
Ensure a payment method is connected under **Settings > Payment Integrations** (e.g. Stripe). The store checkout uses this to process live transactions.
Assign a custom domain in the store's **Settings** tab and click **Publish** when the store is ready to go live.
## Three ways to create a store
Navigate to **Sites > Stores** and click **+ New Store**. Choose from a blank canvas or a prebuilt store template, then click **Create**. This creates a fully standalone e-commerce store.
Inside the website builder, click the **+** icon to open **Add Elements**, then find and click **Store > + Add to site**. This automatically generates the essential store pages (Product List, Product Details, Cart, Checkout, Thank You) while maintaining your website's existing style.
Drag a **Product List** element onto any page and click **Manage Products**. This routes you to **Payments > Products** to connect your catalog to that specific page without generating a full store.
***
## Setting up a store from scratch
Click **Sites** in the left sidebar, then select **Stores**. Click **+ New Store**.
Select a prebuilt store template or start from blank. Click **Create**. The builder generates the required store pages automatically.
Click the **Product List** element, then **Manage Products**. This opens **Payments > Products**. For each product, toggle **Include in online store** to add it to your storefront. Fill in the description, pricing, and any variants, then click **Save**.
Navigate through each auto-generated page — Product List, Product Details, Cart, Checkout, and Thank You — and customize the layout, colors, and content in the builder.
Ensure a payment method is connected under **Settings > Payment Integrations** (e.g. Stripe). The store checkout uses this to process live transactions.
Assign a custom domain in the store's **Settings** tab and click **Publish** when the store is ready to go live.
 ***
## Store pages
A complete store includes these auto-generated pages:
| Page | Purpose |
| ------------------- | ---------------------------------------------------------------- |
| **Product List** | Grid or list of all published products |
| **Product Details** | Individual product page with description, images, and buy button |
| **Cart** | Review selected items before checkout |
| **Checkout** | Collect shipping and payment information |
| **Thank You** | Order confirmation shown after a successful purchase |
***
## Product catalog
Products in the Hoop platform support:
* **One-time purchases** — standard product price
* **Recurring subscriptions** — weekly, monthly, or annual billing cycles
* **Payment plans** — split a purchase into installments
* **Digital and physical products** — physical products can include shipping fees
* **Product variants** — size, color, or other options
***
## Order management
When a customer completes a purchase:
1. An **Order** is created in **Payments > Orders**.
2. The customer's contact record is created or updated automatically.
3. Configured automation triggers fire (e.g. send confirmation email, add tag, start fulfillment workflow).
***
## Store pages
A complete store includes these auto-generated pages:
| Page | Purpose |
| ------------------- | ---------------------------------------------------------------- |
| **Product List** | Grid or list of all published products |
| **Product Details** | Individual product page with description, images, and buy button |
| **Cart** | Review selected items before checkout |
| **Checkout** | Collect shipping and payment information |
| **Thank You** | Order confirmation shown after a successful purchase |
***
## Product catalog
Products in the Hoop platform support:
* **One-time purchases** — standard product price
* **Recurring subscriptions** — weekly, monthly, or annual billing cycles
* **Payment plans** — split a purchase into installments
* **Digital and physical products** — physical products can include shipping fees
* **Product variants** — size, color, or other options
***
## Order management
When a customer completes a purchase:
1. An **Order** is created in **Payments > Orders**.
2. The customer's contact record is created or updated automatically.
3. Configured automation triggers fire (e.g. send confirmation email, add tag, start fulfillment workflow).
 ***
## Store tabs
Inside each store you will find:
| Tab | Description |
| ------------ | ------------------------------------------------ |
| **Pages** | All store pages; add, edit, clone, or delete |
| **Products** | View and manage products assigned to the store |
| **Sales** | Transaction-level sales data with export |
| **Stats** | Page views, opt-ins, orders, and revenue by step |
| **Settings** | Domain, tracking codes, payment mode, and SEO |
| **Security** | Fraud protection and security settings |
| **Events** | Store event tracking configuration |
Stores share the same page builder as funnels and websites. All builder elements — custom CSS, tracking codes, brand boards, and saved sections — are available on store pages.
Toggle **Include in online store** on each product in Payments to automatically enable its **Search Engine Listing** fields, helping your products appear in search engine results.
***
## Store tabs
Inside each store you will find:
| Tab | Description |
| ------------ | ------------------------------------------------ |
| **Pages** | All store pages; add, edit, clone, or delete |
| **Products** | View and manage products assigned to the store |
| **Sales** | Transaction-level sales data with export |
| **Stats** | Page views, opt-ins, orders, and revenue by step |
| **Settings** | Domain, tracking codes, payment mode, and SEO |
| **Security** | Fraud protection and security settings |
| **Events** | Store event tracking configuration |
Stores share the same page builder as funnels and websites. All builder elements — custom CSS, tracking codes, brand boards, and saved sections — are available on store pages.
Toggle **Include in online store** on each product in Payments to automatically enable its **Search Engine Listing** fields, helping your products appear in search engine results.