> ## Documentation Index
> Fetch the complete documentation index at: https://help.hoopai.com/llms.txt
> Use this file to discover all available pages before exploring further.
# Forms
> Build and embed lead capture forms anywhere with the Hoop platform form builder.
The Forms builder lets you create fully custom forms for lead capture, appointment scheduling, event registration, payment collection, and more. Forms can be embedded on funnels, websites, or external sites.
 ## Creating a form
Click **Sites** in the left sidebar, then select **Forms**. Click **+ Add Form**.
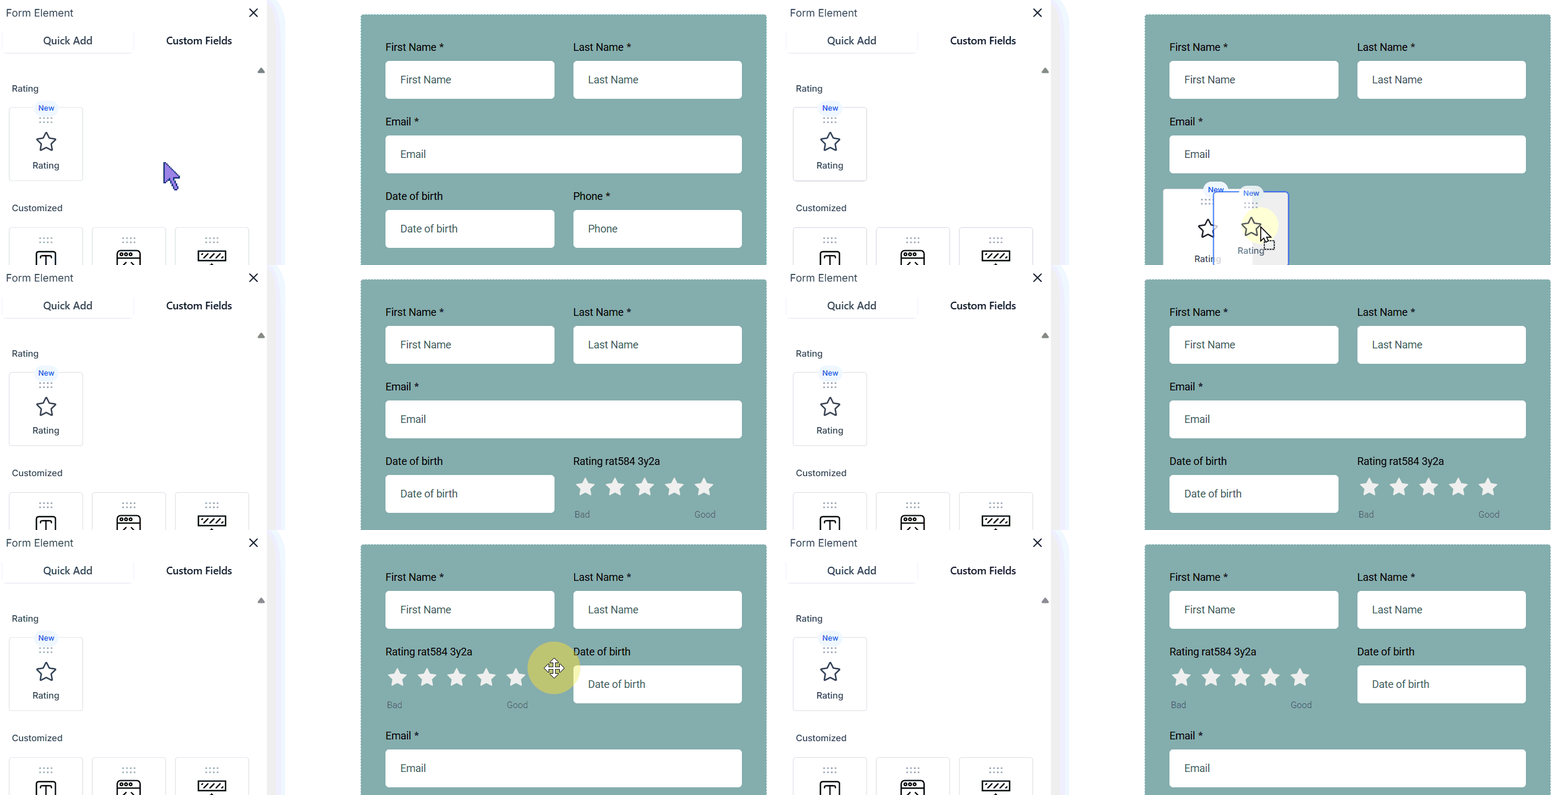
The form editor opens on the **Form Element** tab. Drag and drop fields from the left panel onto the form canvas. Use:
* **Quick Add** — standard fields like name, email, phone, and message
* **Custom Fields** — fields mapped to contact or opportunity custom fields in your CRM
Switch to the **Styles** tab to customize layout (Single Column, Two Column, Single Line), colors, and fonts. Select a field to adjust its width within a multi-column layout.
Switch to the **Options / Settings** tab to configure:
* **On Submit** — redirect to a URL, show a message, or show an order confirmation
* **Facebook Pixel ID** — track form views and submissions
* **Sticky Contact** — pre-fill fields for returning visitors using browser cookies
* **Timezone Capturing** — collect the contact's timezone on submission
* **GDPR Compliance** — use GDPR-friendly fonts
Click **Save** in the top-right corner.
## Creating a form
Click **Sites** in the left sidebar, then select **Forms**. Click **+ Add Form**.
The form editor opens on the **Form Element** tab. Drag and drop fields from the left panel onto the form canvas. Use:
* **Quick Add** — standard fields like name, email, phone, and message
* **Custom Fields** — fields mapped to contact or opportunity custom fields in your CRM
Switch to the **Styles** tab to customize layout (Single Column, Two Column, Single Line), colors, and fonts. Select a field to adjust its width within a multi-column layout.
Switch to the **Options / Settings** tab to configure:
* **On Submit** — redirect to a URL, show a message, or show an order confirmation
* **Facebook Pixel ID** — track form views and submissions
* **Sticky Contact** — pre-fill fields for returning visitors using browser cookies
* **Timezone Capturing** — collect the contact's timezone on submission
* **GDPR Compliance** — use GDPR-friendly fonts
Click **Save** in the top-right corner.
 ## Embedding a form
Click **Integrate** in the top-right corner of the form editor to get the embed code. Choose from four embed layout types:
| Layout | Description |
| ------------------- | --------------------------------------------------------- |
| **Inline** | Embedded within the page content |
| **Popup** | Appears as an overlay — can be closed but not minimized |
| **Sticky Sidebar** | Stays anchored to the side of the screen while scrolling |
| **Polite Slide-In** | Slides in from the bottom, stays briefly, then disappears |
Set the **Trigger Type** to control when the form appears:
* **Show on Scrolling** — triggers after the visitor scrolls a set percentage
* **Show after N seconds** — triggers after a time delay
* **Always show** — appears immediately on page load
## Form list and actions
The Forms list shows the name, last-updated date, and the user who last edited each form. Use the three-dot **Actions** menu to:
* **Edit** — open the form builder
* **Preview** — view the form as a visitor
* **View Submissions** — access all submitted responses
* **Duplicate** — copy the form
* **Share** — share the form to another CRM location
* **Move to Folder** — organize forms into folders
* **Delete** — permanently remove the form (all submissions are also deleted)
## Embedding a form
Click **Integrate** in the top-right corner of the form editor to get the embed code. Choose from four embed layout types:
| Layout | Description |
| ------------------- | --------------------------------------------------------- |
| **Inline** | Embedded within the page content |
| **Popup** | Appears as an overlay — can be closed but not minimized |
| **Sticky Sidebar** | Stays anchored to the side of the screen while scrolling |
| **Polite Slide-In** | Slides in from the bottom, stays briefly, then disappears |
Set the **Trigger Type** to control when the form appears:
* **Show on Scrolling** — triggers after the visitor scrolls a set percentage
* **Show after N seconds** — triggers after a time delay
* **Always show** — appears immediately on page load
## Form list and actions
The Forms list shows the name, last-updated date, and the user who last edited each form. Use the three-dot **Actions** menu to:
* **Edit** — open the form builder
* **Preview** — view the form as a visitor
* **View Submissions** — access all submitted responses
* **Duplicate** — copy the form
* **Share** — share the form to another CRM location
* **Move to Folder** — organize forms into folders
* **Delete** — permanently remove the form (all submissions are also deleted)
 ## Analyzing form performance
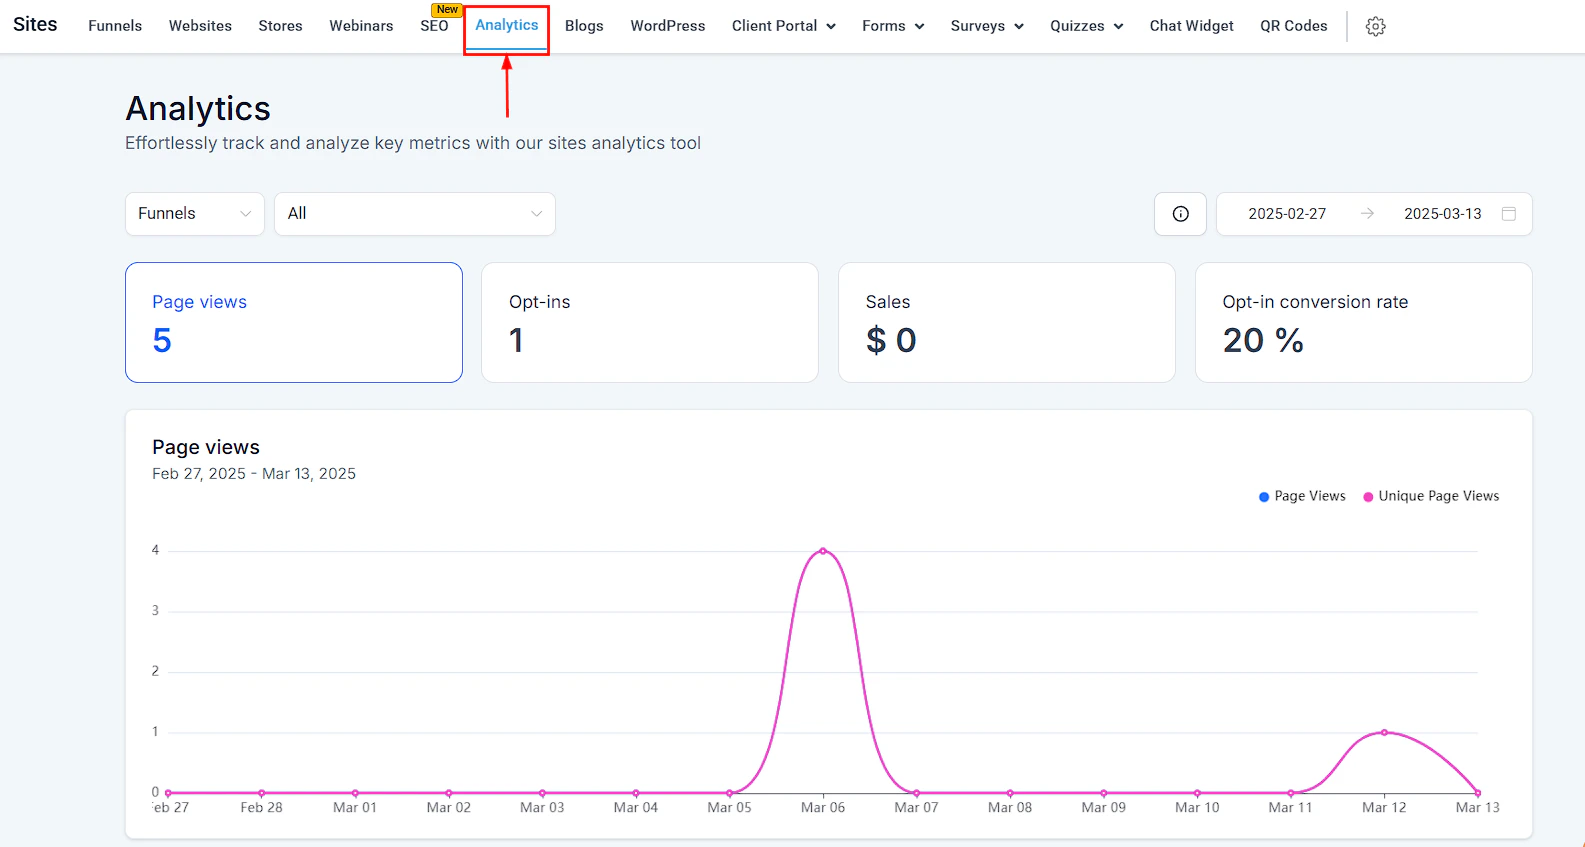
Click **Analyze Forms** from the forms list to view submission rates, conversion data, and field completion statistics. Use this data to identify which fields cause drop-off.
Show or hide fields based on a visitor's previous answers. Navigate to the form builder, click a field, and configure conditions under the **Conditional Logic** tab. This keeps forms short and relevant for each visitor.
## Analyzing form performance
Click **Analyze Forms** from the forms list to view submission rates, conversion data, and field completion statistics. Use this data to identify which fields cause drop-off.
Show or hide fields based on a visitor's previous answers. Navigate to the form builder, click a field, and configure conditions under the **Conditional Logic** tab. This keeps forms short and relevant for each visitor.
 Add a **Products** element to a form to collect payment at submission. Supports one-time and subscription products connected to your payment integration.
Pass values via URL query parameters (e.g. `?email=jane@example.com`) to pre-fill form fields. Useful for personalized campaign landing pages.
Go to the form's **Settings** tab and configure **Notifications** to receive an email alert every time a form is submitted.
If you delete a form, it is permanently deleted along with all its submission data. Export submissions before deleting if you need to retain the data.
Use **Sticky Contact** on customer-facing forms so returning visitors do not need to re-enter their details. Be aware that this feature uses browser cookies, so team members should use incognito mode when entering data for different contacts.
Add a **Products** element to a form to collect payment at submission. Supports one-time and subscription products connected to your payment integration.
Pass values via URL query parameters (e.g. `?email=jane@example.com`) to pre-fill form fields. Useful for personalized campaign landing pages.
Go to the form's **Settings** tab and configure **Notifications** to receive an email alert every time a form is submitted.
If you delete a form, it is permanently deleted along with all its submission data. Export submissions before deleting if you need to retain the data.
Use **Sticky Contact** on customer-facing forms so returning visitors do not need to re-enter their details. Be aware that this feature uses browser cookies, so team members should use incognito mode when entering data for different contacts.