> ## Documentation Index
> Fetch the complete documentation index at: https://help.hoopai.com/llms.txt
> Use this file to discover all available pages before exploring further.
# Objects
> Create custom objects to extend the HoopAI CRM data model beyond contacts and opportunities — and manage associations between objects.
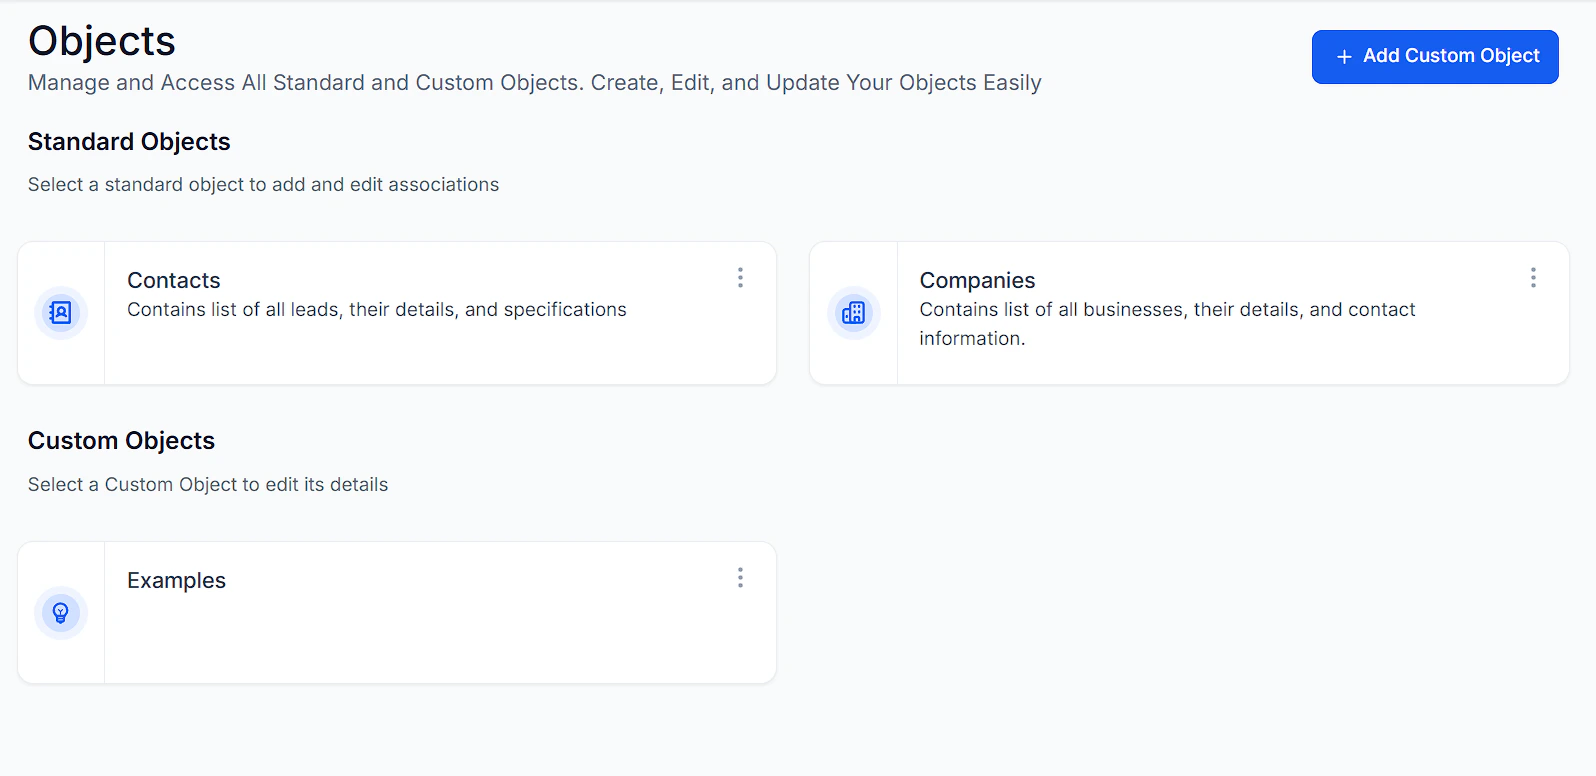
Objects enable you to organize, filter, and visualize information according to your operational needs, greatly enhancing data management. The Objects section lets you access and manage all Standard Objects (Contacts, Opportunities) and Custom Objects you create.
Navigate to **Settings > Objects** to get started.
 ## Standard objects
Standard objects are the built-in data models in your account:
* **Contacts** — individual people or organizations you track
* **Opportunities** — potential deals or sales in your pipelines
* **Companies** — business entities associated with contacts
You can rename standard objects to match your industry terminology — for example, renaming "Contacts" to "Patients" or "Clients".
### Renaming standard objects
1. Go to **Settings > Objects**.
2. Click on the standard object you want to rename.
3. Click **Rename** and enter the new display name.
4. Save — the new name appears throughout your account.
***
## Custom objects
Custom Objects offer a versatile solution for managing data structures beyond standard contact or opportunity records. This feature empowers you to organize, filter, and visualize data in alignment with your specific operational requirements.
**Common use cases:**
* Properties (for real estate businesses)
* Vehicles (for auto dealerships)
* Projects (for teams or service businesses)
* Equipment (for maintenance businesses)
* Locations (for multi-location businesses)
### Creating a custom object
Go to **Settings > Objects** and click **Create Object**.
Enter a singular and plural name for the object (e.g., "Property" / "Properties").
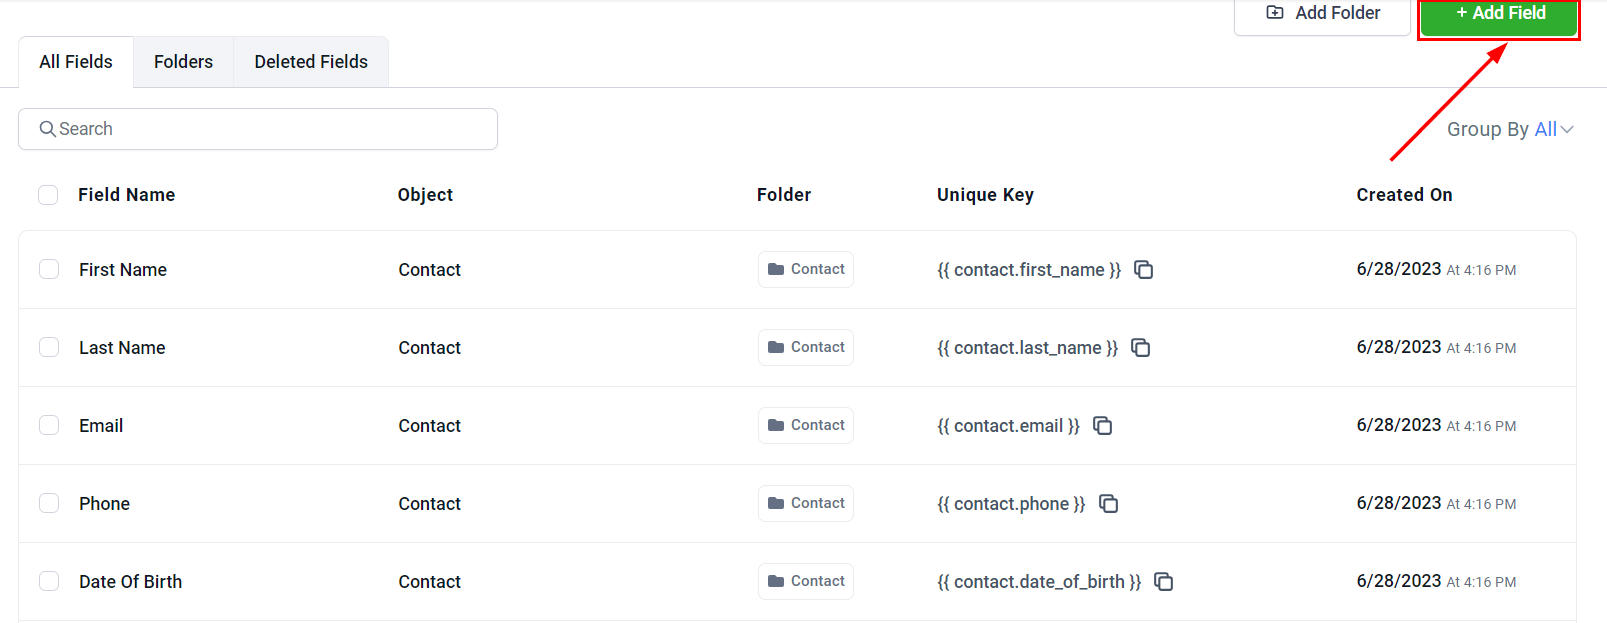
Add the custom fields your object needs. Choose from text, number, date, dropdown, and other field types.
Set up associations to link your custom object to contacts, opportunities, or other objects.
Save your object configuration. It will appear in your account navigation and can be associated with contact records.
## Standard objects
Standard objects are the built-in data models in your account:
* **Contacts** — individual people or organizations you track
* **Opportunities** — potential deals or sales in your pipelines
* **Companies** — business entities associated with contacts
You can rename standard objects to match your industry terminology — for example, renaming "Contacts" to "Patients" or "Clients".
### Renaming standard objects
1. Go to **Settings > Objects**.
2. Click on the standard object you want to rename.
3. Click **Rename** and enter the new display name.
4. Save — the new name appears throughout your account.
***
## Custom objects
Custom Objects offer a versatile solution for managing data structures beyond standard contact or opportunity records. This feature empowers you to organize, filter, and visualize data in alignment with your specific operational requirements.
**Common use cases:**
* Properties (for real estate businesses)
* Vehicles (for auto dealerships)
* Projects (for teams or service businesses)
* Equipment (for maintenance businesses)
* Locations (for multi-location businesses)
### Creating a custom object
Go to **Settings > Objects** and click **Create Object**.
Enter a singular and plural name for the object (e.g., "Property" / "Properties").
Add the custom fields your object needs. Choose from text, number, date, dropdown, and other field types.
Set up associations to link your custom object to contacts, opportunities, or other objects.
Save your object configuration. It will appear in your account navigation and can be associated with contact records.
 ***
## Object associations
Associations create relationships between different record types. For example, you can associate a custom "Property" object with a contact record to track which properties a client is interested in.
Link contacts to each other to represent relationships such as spouse/partner, employer/employee, or referrer/referred.
1. Go to **Settings > Objects**.
2. Select **Contacts**.
3. Click **Associations** and enable **Contact-to-Contact**.
4. Define the relationship type labels.
Associate a custom object with opportunities to link deals to specific records in your custom data model.
1. Go to **Settings > Objects**.
2. Open your custom object.
3. Click **Associations** and add an association to **Opportunities**.
4. Configure the association type and labels.
***
## Company settings
The **Company** object is a special standard object that allows you to group multiple contacts under a single business entity. Configure company settings in **Settings > Objects > Company**.
Key features:
* Associate multiple contacts with a single company record
* Track company-level fields (industry, size, website)
* View all contacts from a company on the company record page
***
## Object associations
Associations create relationships between different record types. For example, you can associate a custom "Property" object with a contact record to track which properties a client is interested in.
Link contacts to each other to represent relationships such as spouse/partner, employer/employee, or referrer/referred.
1. Go to **Settings > Objects**.
2. Select **Contacts**.
3. Click **Associations** and enable **Contact-to-Contact**.
4. Define the relationship type labels.
Associate a custom object with opportunities to link deals to specific records in your custom data model.
1. Go to **Settings > Objects**.
2. Open your custom object.
3. Click **Associations** and add an association to **Opportunities**.
4. Configure the association type and labels.
***
## Company settings
The **Company** object is a special standard object that allows you to group multiple contacts under a single business entity. Configure company settings in **Settings > Objects > Company**.
Key features:
* Associate multiple contacts with a single company record
* Track company-level fields (industry, size, website)
* View all contacts from a company on the company record page
 ***
## Smart lists for custom objects
Create smart lists filtered by custom object field values to build targeted views of your data.
1. Navigate to your custom object's list view.
2. Click **Create Smart List**.
3. Add filter conditions based on the object's fields.
4. Save the smart list for quick access.
***
## Audit logs for custom objects
Each custom object has its own audit trail showing changes made to records within that object. Access it by opening the custom object in **Settings > Objects** and clicking **Audit Logs**.
***
## Related articles
* [Custom fields](/settings/custom-fields)
* [Contacts overview](/contacts/overview)
* [Opportunities overview](/opportunities/overview)
* [Audit logs](/settings/audit-logs)
***
## Smart lists for custom objects
Create smart lists filtered by custom object field values to build targeted views of your data.
1. Navigate to your custom object's list view.
2. Click **Create Smart List**.
3. Add filter conditions based on the object's fields.
4. Save the smart list for quick access.
***
## Audit logs for custom objects
Each custom object has its own audit trail showing changes made to records within that object. Access it by opening the custom object in **Settings > Objects** and clicking **Audit Logs**.
***
## Related articles
* [Custom fields](/settings/custom-fields)
* [Contacts overview](/contacts/overview)
* [Opportunities overview](/opportunities/overview)
* [Audit logs](/settings/audit-logs)