> ## Documentation Index
> Fetch the complete documentation index at: https://help.hoopai.com/llms.txt
> Use this file to discover all available pages before exploring further.
# Domains and URL redirects
> Connect custom domains to your funnels and websites, and configure URL redirects in the HoopAI Platform.
The Domains & URL Redirects section lets you connect your own domains to the pages you build in Hoop — funnels, websites, and landing pages — so they appear under your brand instead of a platform subdomain.
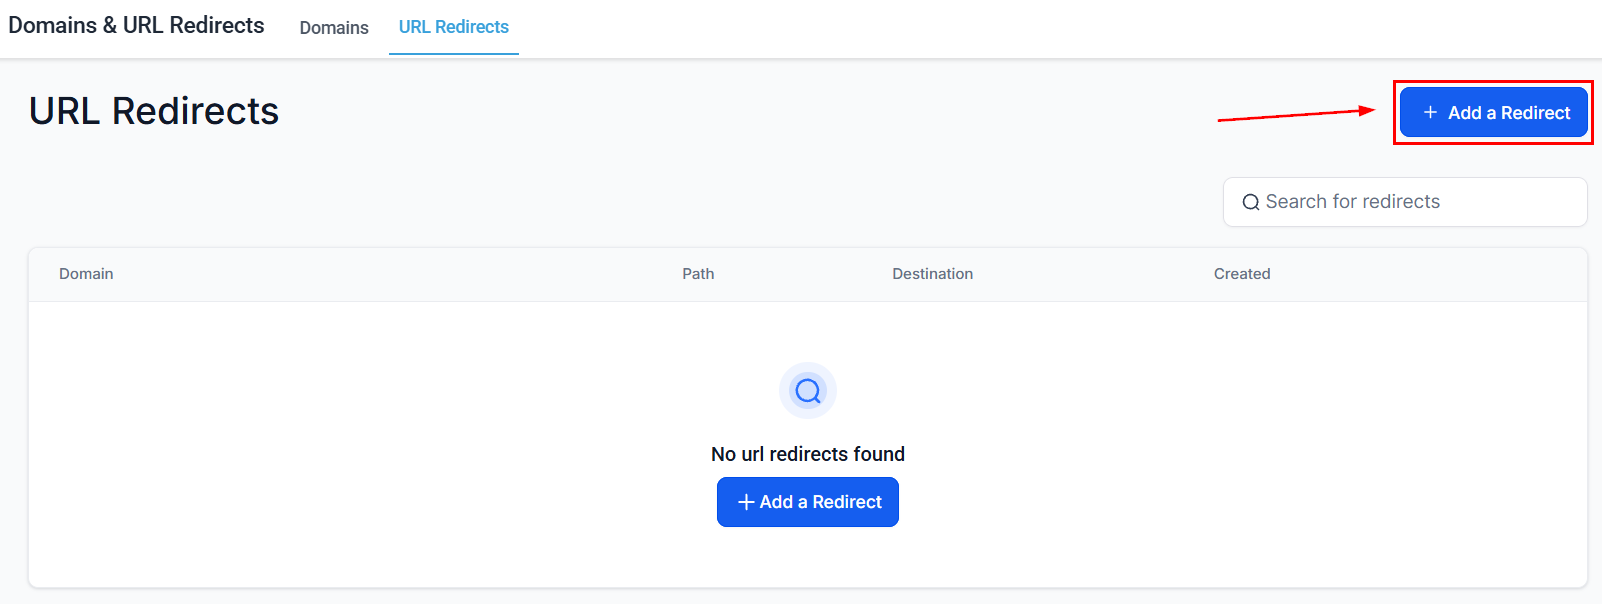 ## Accessing domains and URL redirects
Go to **Settings** in the left sidebar, then select **Domains & URL Redirects**.
***
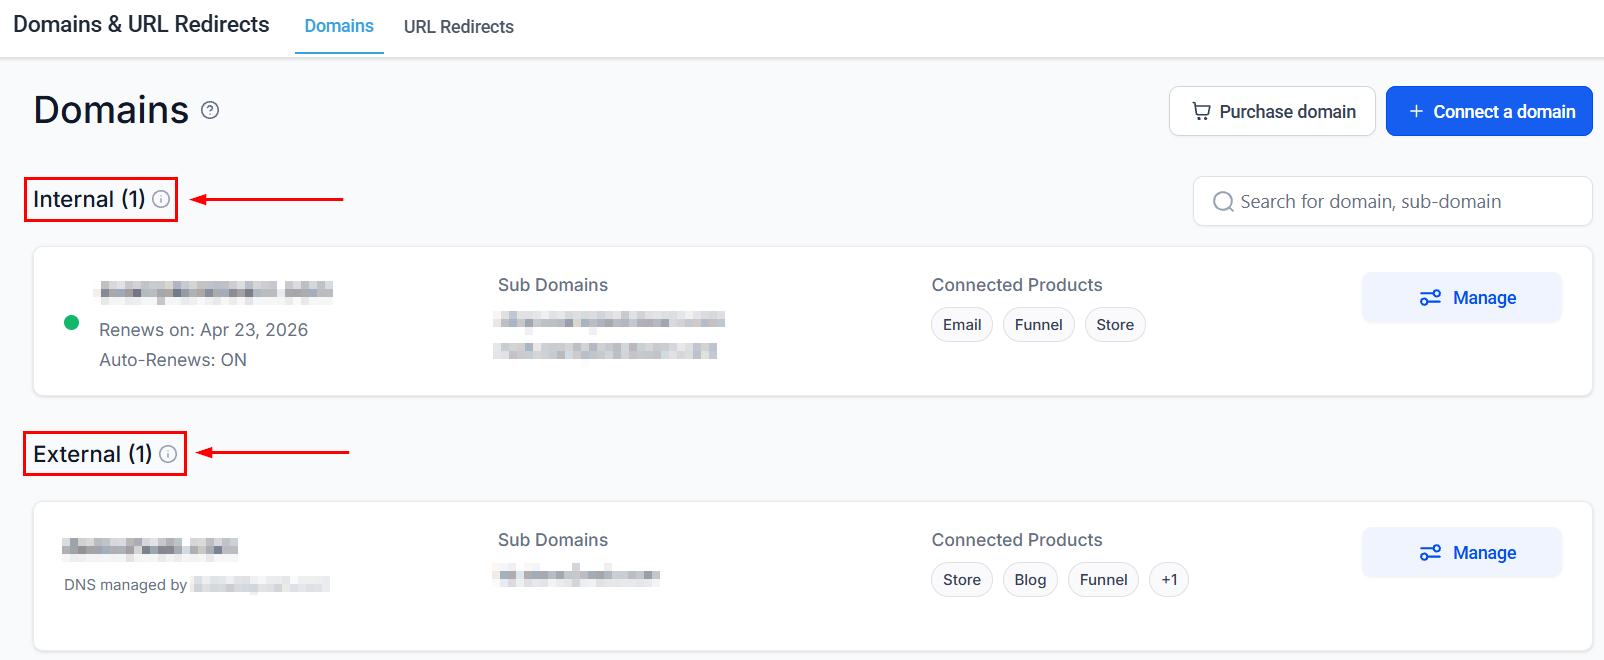
## Connecting a custom domain
Navigate to **Settings → Domains & URL Redirects**.
Click **Add Domain** and enter your domain or subdomain (e.g. `pages.yourcompany.com`).
The platform provides a CNAME record. Log in to your domain registrar (GoDaddy, Namecheap, Cloudflare, etc.) and add this record to your DNS settings.
Return to the platform and click **Verify**. DNS changes can take up to 48 hours to propagate, but usually complete within a few hours.
Once verified, you can assign the domain to a specific funnel or website from the Sites builder.
***
## Subdomains vs. root domains
| Type | Example | Notes |
| --------------- | ----------------------- | ------------------------------------------------------------------------------- |
| **Subdomain** | `pages.yourcompany.com` | Recommended — easiest to set up with a CNAME record |
| **Root domain** | `yourcompany.com` | Requires A record or ALIAS record; some registrars do not support ALIAS records |
Using a subdomain like `go.yourcompany.com` or `pages.yourcompany.com` is the simplest approach and works with all major domain registrars.
## Accessing domains and URL redirects
Go to **Settings** in the left sidebar, then select **Domains & URL Redirects**.
***
## Connecting a custom domain
Navigate to **Settings → Domains & URL Redirects**.
Click **Add Domain** and enter your domain or subdomain (e.g. `pages.yourcompany.com`).
The platform provides a CNAME record. Log in to your domain registrar (GoDaddy, Namecheap, Cloudflare, etc.) and add this record to your DNS settings.
Return to the platform and click **Verify**. DNS changes can take up to 48 hours to propagate, but usually complete within a few hours.
Once verified, you can assign the domain to a specific funnel or website from the Sites builder.
***
## Subdomains vs. root domains
| Type | Example | Notes |
| --------------- | ----------------------- | ------------------------------------------------------------------------------- |
| **Subdomain** | `pages.yourcompany.com` | Recommended — easiest to set up with a CNAME record |
| **Root domain** | `yourcompany.com` | Requires A record or ALIAS record; some registrars do not support ALIAS records |
Using a subdomain like `go.yourcompany.com` or `pages.yourcompany.com` is the simplest approach and works with all major domain registrars.
 ***
## Setting up URL redirects
URL redirects forward traffic from one URL to another. Use them to:
* Redirect old page URLs to new ones after a site restructure
* Create short, memorable links that redirect to longer funnel URLs
* Handle domain migrations without breaking existing links
### Creating a redirect
1. Go to **Settings → Domains & URL Redirects → Redirects**
2. Click **Add Redirect**
3. Enter the **source URL** (the URL you want to redirect from)
4. Enter the **destination URL** (where traffic should be sent)
5. Select the redirect type:
* **301** — permanent redirect (preferred for SEO)
* **302** — temporary redirect
6. Click **Save**
***
## Setting up URL redirects
URL redirects forward traffic from one URL to another. Use them to:
* Redirect old page URLs to new ones after a site restructure
* Create short, memorable links that redirect to longer funnel URLs
* Handle domain migrations without breaking existing links
### Creating a redirect
1. Go to **Settings → Domains & URL Redirects → Redirects**
2. Click **Add Redirect**
3. Enter the **source URL** (the URL you want to redirect from)
4. Enter the **destination URL** (where traffic should be sent)
5. Select the redirect type:
* **301** — permanent redirect (preferred for SEO)
* **302** — temporary redirect
6. Click **Save**
 ***
## SSL certificates
All custom domains connected through the platform are automatically provisioned with SSL certificates (HTTPS). No manual configuration is required.
***
## Domain purchase through HoopAI
You can purchase a domain directly through the HoopAI platform without needing a third-party registrar:
1. Go to **Settings > Domains & URL Redirects**
2. Click **Purchase Domain**
3. Search for your desired domain name to check availability
4. Select the domain and complete the purchase
5. The domain is automatically connected to your account — no DNS configuration required
Domains purchased through the platform are fully managed within your account, including renewal and DNS settings.
## Domain transfer
### Transferring a domain into HoopAI
To transfer an existing domain from another registrar into the platform:
1. Unlock the domain at your current registrar
2. Request the EPP/authorization code from your current registrar
3. In **Settings > Domains & URL Redirects**, click **Transfer Domain**
4. Enter the domain name and the authorization code
5. Follow the prompts to complete the transfer (transfers typically take 5-7 days)
### Transferring a domain out of HoopAI
To transfer a domain purchased through the platform to another registrar:
1. Contact support to unlock the domain and obtain the authorization code
2. Initiate the transfer at your new registrar using the authorization code
3. Approve the transfer confirmation email
## Domain Connect
Domain Connect simplifies DNS configuration by automatically setting up the required DNS records for your domain. If your domain registrar supports Domain Connect:
1. In **Settings > Domains & URL Redirects**, click **Add Domain**
2. Enter your domain name
3. If the registrar supports Domain Connect, a **Connect Automatically** option appears
4. Click it and authorize the DNS changes at your registrar
5. Records are configured automatically — no manual CNAME or A record entry required
Domain Connect is supported by GoDaddy, 1&1 IONOS, and several other major registrars.
***
## Related articles
* [Business profile](/settings/business-profile)
* [Email services](/settings/email-services)
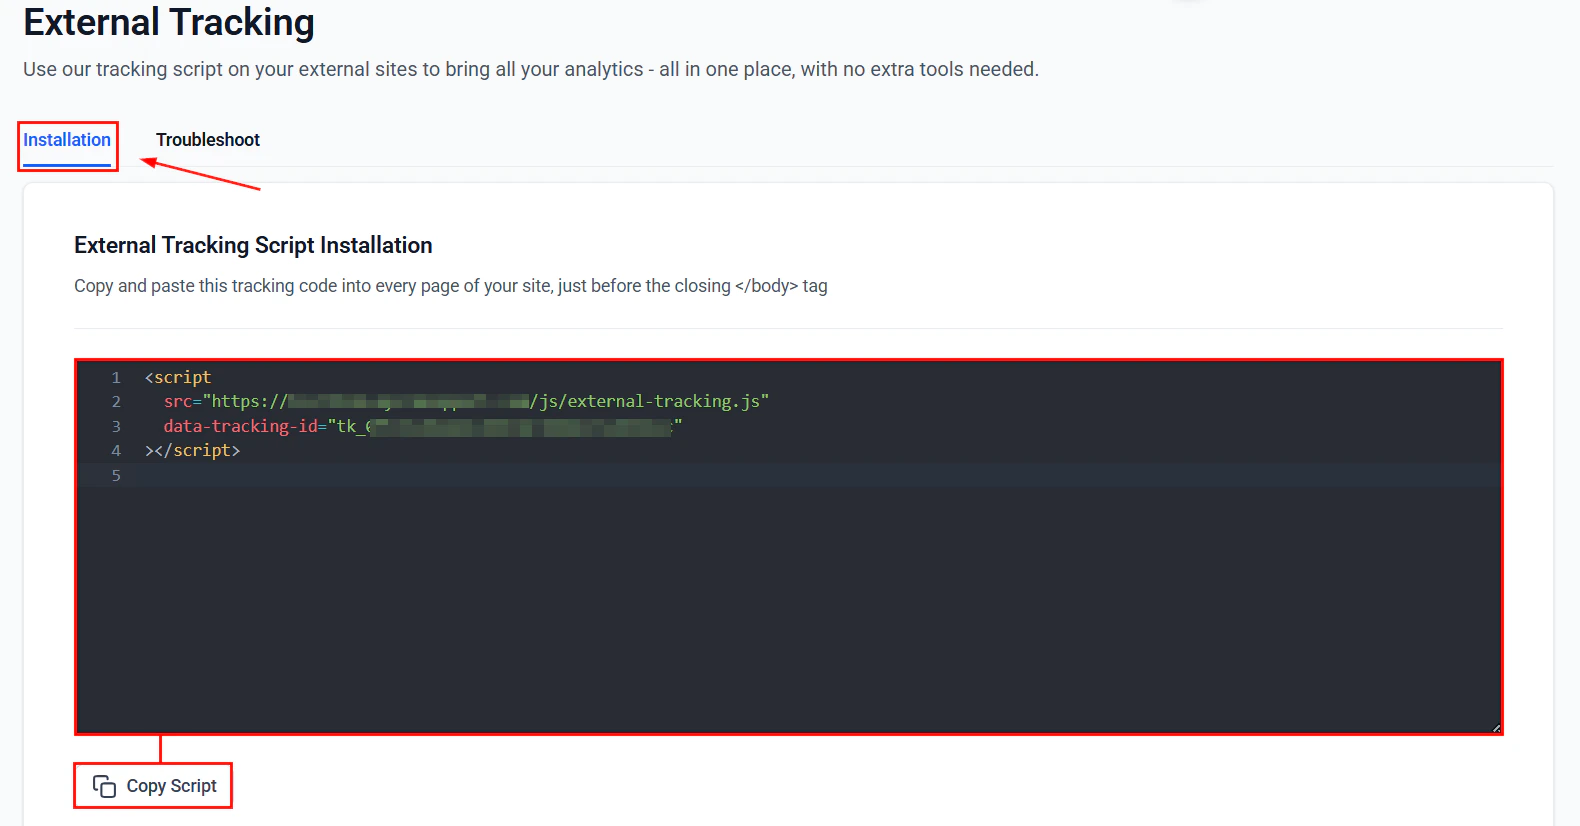
* [External tracking](/settings/external-tracking)
***
## SSL certificates
All custom domains connected through the platform are automatically provisioned with SSL certificates (HTTPS). No manual configuration is required.
***
## Domain purchase through HoopAI
You can purchase a domain directly through the HoopAI platform without needing a third-party registrar:
1. Go to **Settings > Domains & URL Redirects**
2. Click **Purchase Domain**
3. Search for your desired domain name to check availability
4. Select the domain and complete the purchase
5. The domain is automatically connected to your account — no DNS configuration required
Domains purchased through the platform are fully managed within your account, including renewal and DNS settings.
## Domain transfer
### Transferring a domain into HoopAI
To transfer an existing domain from another registrar into the platform:
1. Unlock the domain at your current registrar
2. Request the EPP/authorization code from your current registrar
3. In **Settings > Domains & URL Redirects**, click **Transfer Domain**
4. Enter the domain name and the authorization code
5. Follow the prompts to complete the transfer (transfers typically take 5-7 days)
### Transferring a domain out of HoopAI
To transfer a domain purchased through the platform to another registrar:
1. Contact support to unlock the domain and obtain the authorization code
2. Initiate the transfer at your new registrar using the authorization code
3. Approve the transfer confirmation email
## Domain Connect
Domain Connect simplifies DNS configuration by automatically setting up the required DNS records for your domain. If your domain registrar supports Domain Connect:
1. In **Settings > Domains & URL Redirects**, click **Add Domain**
2. Enter your domain name
3. If the registrar supports Domain Connect, a **Connect Automatically** option appears
4. Click it and authorize the DNS changes at your registrar
5. Records are configured automatically — no manual CNAME or A record entry required
Domain Connect is supported by GoDaddy, 1&1 IONOS, and several other major registrars.
***
## Related articles
* [Business profile](/settings/business-profile)
* [Email services](/settings/email-services)
* [External tracking](/settings/external-tracking)