> ## Documentation Index
> Fetch the complete documentation index at: https://help.hoopai.com/llms.txt
> Use this file to discover all available pages before exploring further.
# Camera and business card scanner on the HoopAI mobile app
> Scan business cards to create contacts instantly with the HoopAI mobile app AI-powered camera scanner on iOS and Android.
The HoopAI mobile app includes an AI-powered business card scanner that uses your device camera to extract contact details from a physical business card and create a new contact record in your CRM — in seconds. No manual data entry required.
The scanner uses machine learning to read printed text and parse it into the correct contact fields (name, company, phone, email, website, and address) with over 98% accuracy.
## Requirements
* HoopAI mobile app v3.74 or later (iOS or Android)
* Camera permission granted to the app
* An account with available scan credits (the first scans are included; additional scans are charged at \$0.02 per scan)
To check your remaining scan credits or purchase more, go to **Settings > Billing** on the desktop platform.
## Accessing the scanner
You can open the business card scanner from three locations within the app:
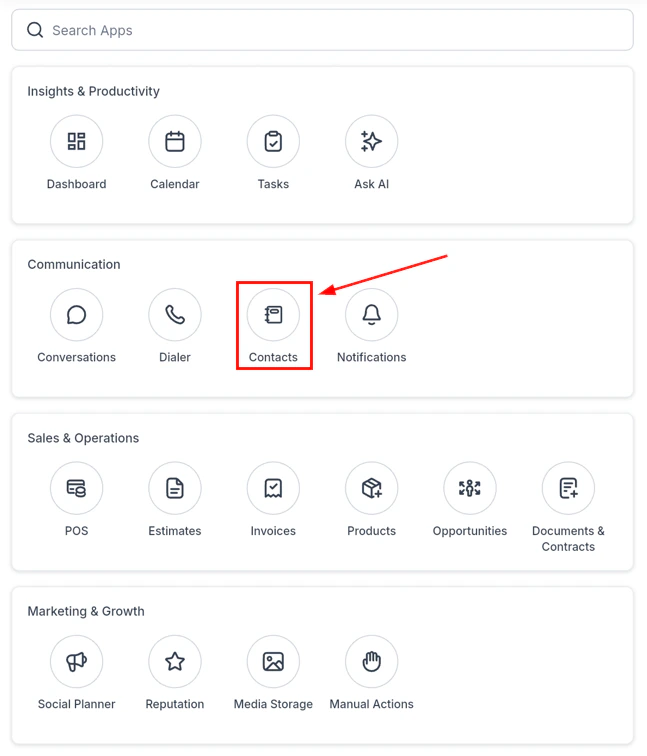
1. **Contacts screen** — tap the **+** icon and select **Scan business card**
2. **New contact screen** — tap the scan icon in the top toolbar
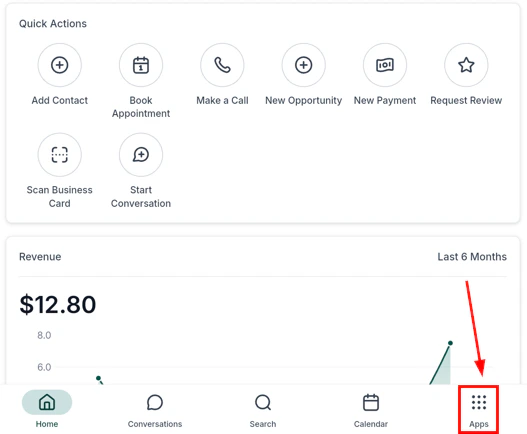
3. **Quick actions (bolt icon)** — tap the bolt icon on the home screen or bottom navigation and select **Scan business card**
 ## Scanning a business card
Use any of the access points listed above to open the camera scanner view.
Place the business card on a flat, high-contrast surface (a white card on a dark table works well). Hold your phone steady over the card and align it within the on-screen rectangular guide.
The scanner automatically detects the card edges and captures the image when it is steady and in focus. You do not need to tap a shutter button — capture is automatic.
After capturing the front, you will be prompted to scan the back of the card. This is recommended for cards that include additional contact details on the reverse side.
The extracted information appears as editable chips at the bottom of the screen. Review each field — name, company, phone number, email, website — and make any corrections by tapping a chip and editing the text.
Drag any chip to a different field if the scanner has placed information in the wrong spot. For example, if a job title was placed in the name field, drag it to the correct position.
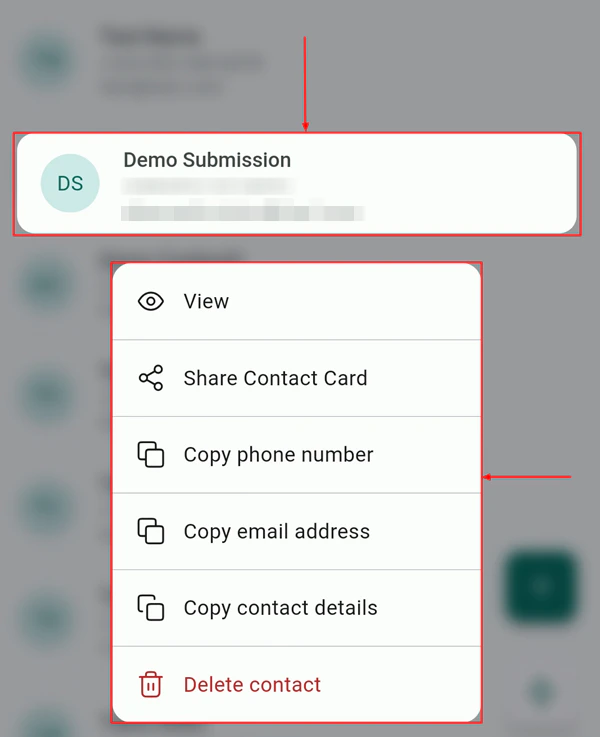
Tap **Save** to create the contact in your CRM. The contact appears immediately in your Contacts list, ready for follow-up.
## Scanning a business card
Use any of the access points listed above to open the camera scanner view.
Place the business card on a flat, high-contrast surface (a white card on a dark table works well). Hold your phone steady over the card and align it within the on-screen rectangular guide.
The scanner automatically detects the card edges and captures the image when it is steady and in focus. You do not need to tap a shutter button — capture is automatic.
After capturing the front, you will be prompted to scan the back of the card. This is recommended for cards that include additional contact details on the reverse side.
The extracted information appears as editable chips at the bottom of the screen. Review each field — name, company, phone number, email, website — and make any corrections by tapping a chip and editing the text.
Drag any chip to a different field if the scanner has placed information in the wrong spot. For example, if a job title was placed in the name field, drag it to the correct position.
Tap **Save** to create the contact in your CRM. The contact appears immediately in your Contacts list, ready for follow-up.
 ## Tips for best scan results
* Place the card on a **high-contrast background** — a dark card on a light surface or a light card on a dark surface
* Ensure **good lighting** — natural daylight or overhead office light works best; avoid harsh shadows across the card
* **Avoid glare** — tilt the card slightly if you see reflections on glossy cards
* Hold your phone **parallel to the card** rather than at an angle
* For cards with very small print, hold the phone closer and let the camera auto-focus before capture
The scanner works best on standard-sized business cards with clean, printed text. Handwritten cards or unusual card formats (very dark backgrounds with white text) may require manual correction of some fields after scanning.
## Privacy: scanned images are not stored
Once you save a contact, the scanned card image is automatically discarded. Only the parsed contact data (name, phone, email, etc.) is saved to your CRM. The image itself is never uploaded or retained on HoopAI servers.
## After scanning: next steps
Once the contact is saved, you can immediately:
* Tap **Call** to place a call to their number
* Tap **Send SMS** to start a conversation
* Tap **Add to pipeline** to create an opportunity linked to the contact
* Tap **Send review request** to request a review via the quick actions menu
## Tips for best scan results
* Place the card on a **high-contrast background** — a dark card on a light surface or a light card on a dark surface
* Ensure **good lighting** — natural daylight or overhead office light works best; avoid harsh shadows across the card
* **Avoid glare** — tilt the card slightly if you see reflections on glossy cards
* Hold your phone **parallel to the card** rather than at an angle
* For cards with very small print, hold the phone closer and let the camera auto-focus before capture
The scanner works best on standard-sized business cards with clean, printed text. Handwritten cards or unusual card formats (very dark backgrounds with white text) may require manual correction of some fields after scanning.
## Privacy: scanned images are not stored
Once you save a contact, the scanned card image is automatically discarded. Only the parsed contact data (name, phone, email, etc.) is saved to your CRM. The image itself is never uploaded or retained on HoopAI servers.
## After scanning: next steps
Once the contact is saved, you can immediately:
* Tap **Call** to place a call to their number
* Tap **Send SMS** to start a conversation
* Tap **Add to pipeline** to create an opportunity linked to the contact
* Tap **Send review request** to request a review via the quick actions menu
 ## Related articles
* [Contacts on mobile](/mobile-app/contacts)
* [Getting started with the mobile app](/mobile-app/getting-started)
* [Opportunities on mobile](/mobile-app/opportunities)
## Related articles
* [Contacts on mobile](/mobile-app/contacts)
* [Getting started with the mobile app](/mobile-app/getting-started)
* [Opportunities on mobile](/mobile-app/opportunities)