> ## Documentation Index
> Fetch the complete documentation index at: https://help.hoopai.com/llms.txt
> Use this file to discover all available pages before exploring further.
# Certificates
> Create and issue branded completion certificates and badges to course graduates in the Hoop platform.
Certificates and badges let you reward members who complete a course with a personalized credential they can download, print, and share. Certificates can be issued automatically via automation or granted manually.
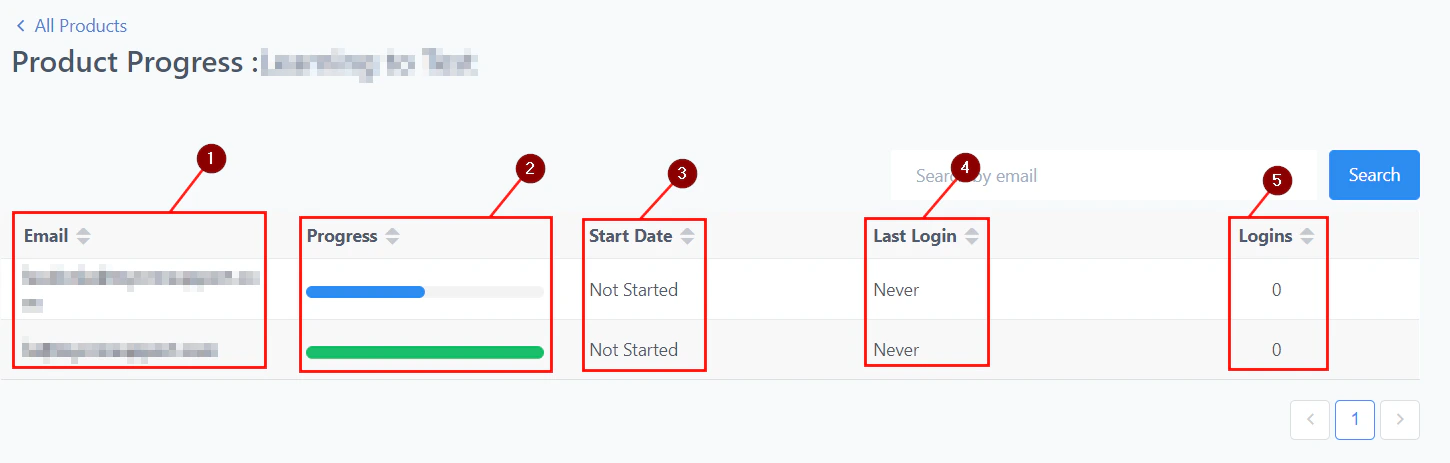 ## Certificates
### Creating and issuing certificates
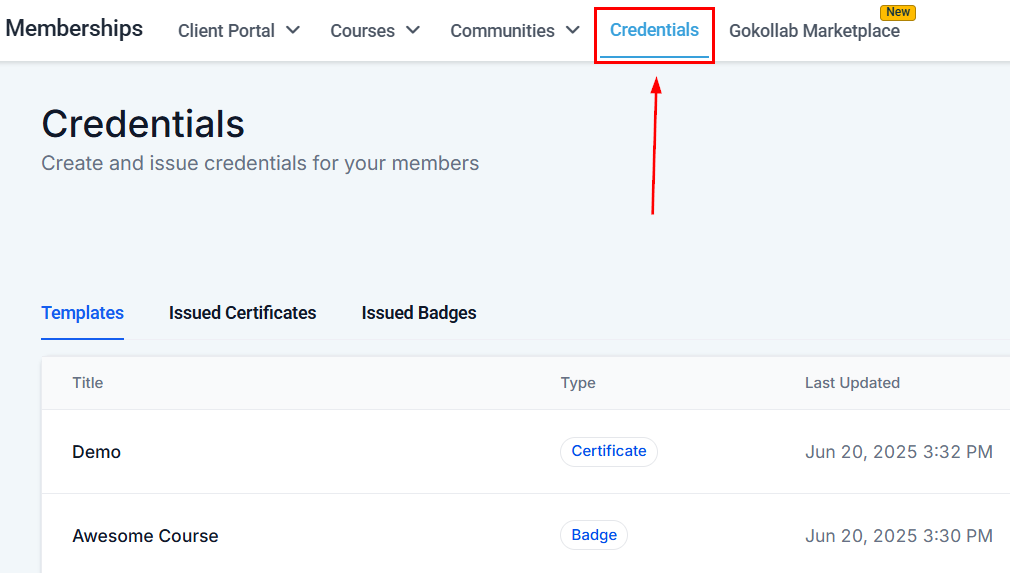
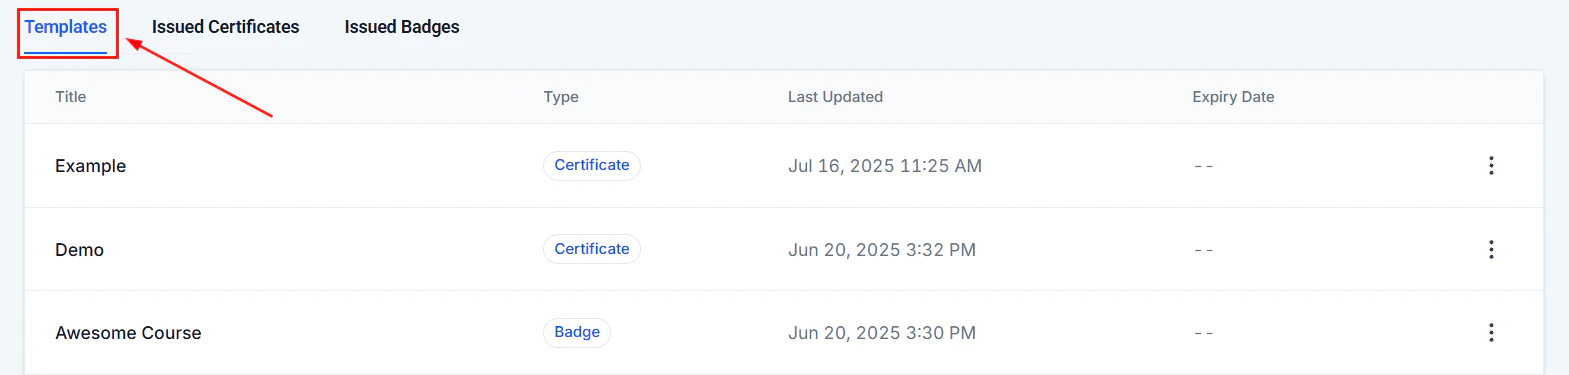
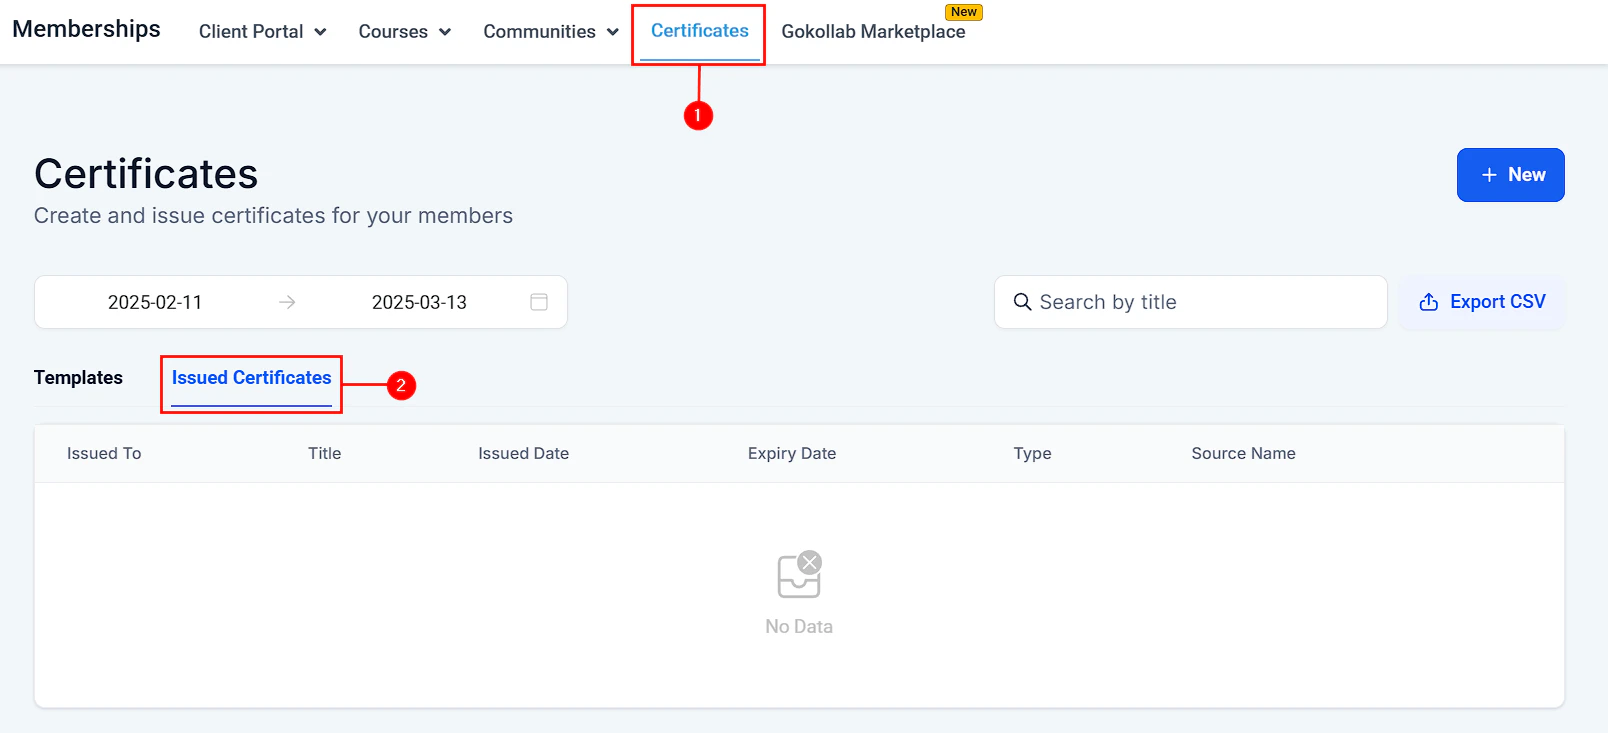
Go to **Memberships and Communities > Certificates** in the left sidebar. Click **+ New Certificate**.
## Certificates
### Creating and issuing certificates
Go to **Memberships and Communities > Certificates** in the left sidebar. Click **+ New Certificate**.
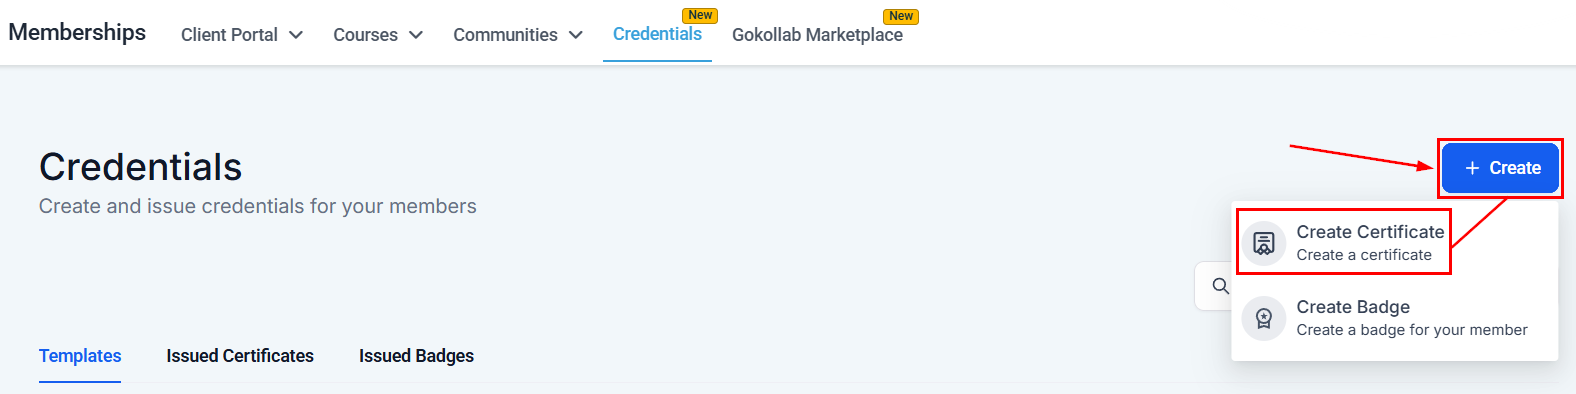 Select from built-in certificate design templates or start from a blank canvas. Templates include pre-formatted placeholder text and decorative borders.
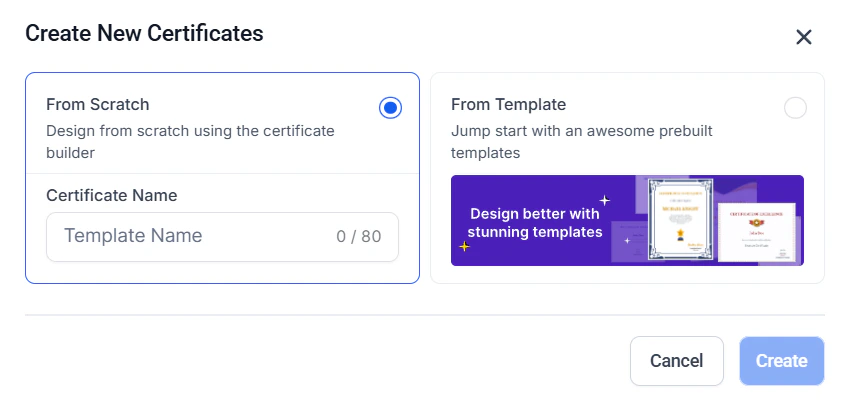 Use the certificate editor to:
* Upload your logo
* Change the title text (e.g. "Certificate of Completion")
* Add a subtitle (e.g. "This certifies that")
* Adjust fonts, sizes, and colors
* Modify border and background design
* Add a signature image or signatory name and title
Use the certificate editor to:
* Upload your logo
* Change the title text (e.g. "Certificate of Completion")
* Add a subtitle (e.g. "This certifies that")
* Adjust fonts, sizes, and colors
* Modify border and background design
* Add a signature image or signatory name and title
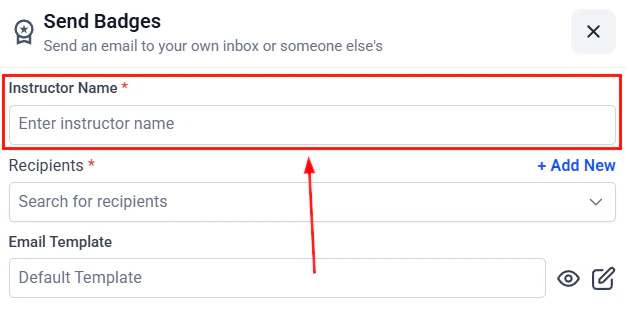 Personalize each certificate with dynamic fields:
* `{{contact.first_name}}` — member's first name
* `{{contact.full_name}}` — member's full name
* `{{course.name}}` — name of the completed course
* `{{certificate.date}}` — date the certificate was issued
* `{{certificate.id}}` — unique certificate ID for verification
Connect the certificate to a course completion trigger so it is issued automatically when a member finishes the course.
Personalize each certificate with dynamic fields:
* `{{contact.first_name}}` — member's first name
* `{{contact.full_name}}` — member's full name
* `{{course.name}}` — name of the completed course
* `{{certificate.date}}` — date the certificate was issued
* `{{certificate.id}}` — unique certificate ID for verification
Connect the certificate to a course completion trigger so it is issued automatically when a member finishes the course.

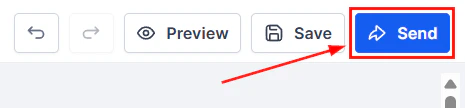 Click **Save**. The template is now available to link to courses and use in automations.
### Setting an expiry date
You can set an expiration date on certificates to indicate a validity period:
1. Open the certificate template settings
2. Enable the **Expiry Date** option
3. Set the duration (e.g. 1 year from issue date) or a fixed date
4. The expiry date appears on the certificate and is tracked in the issued certificates list
Click **Save**. The template is now available to link to courses and use in automations.
### Setting an expiry date
You can set an expiration date on certificates to indicate a validity period:
1. Open the certificate template settings
2. Enable the **Expiry Date** option
3. Set the duration (e.g. 1 year from issue date) or a fixed date
4. The expiry date appears on the certificate and is tracked in the issued certificates list
 ### Category completion certificates
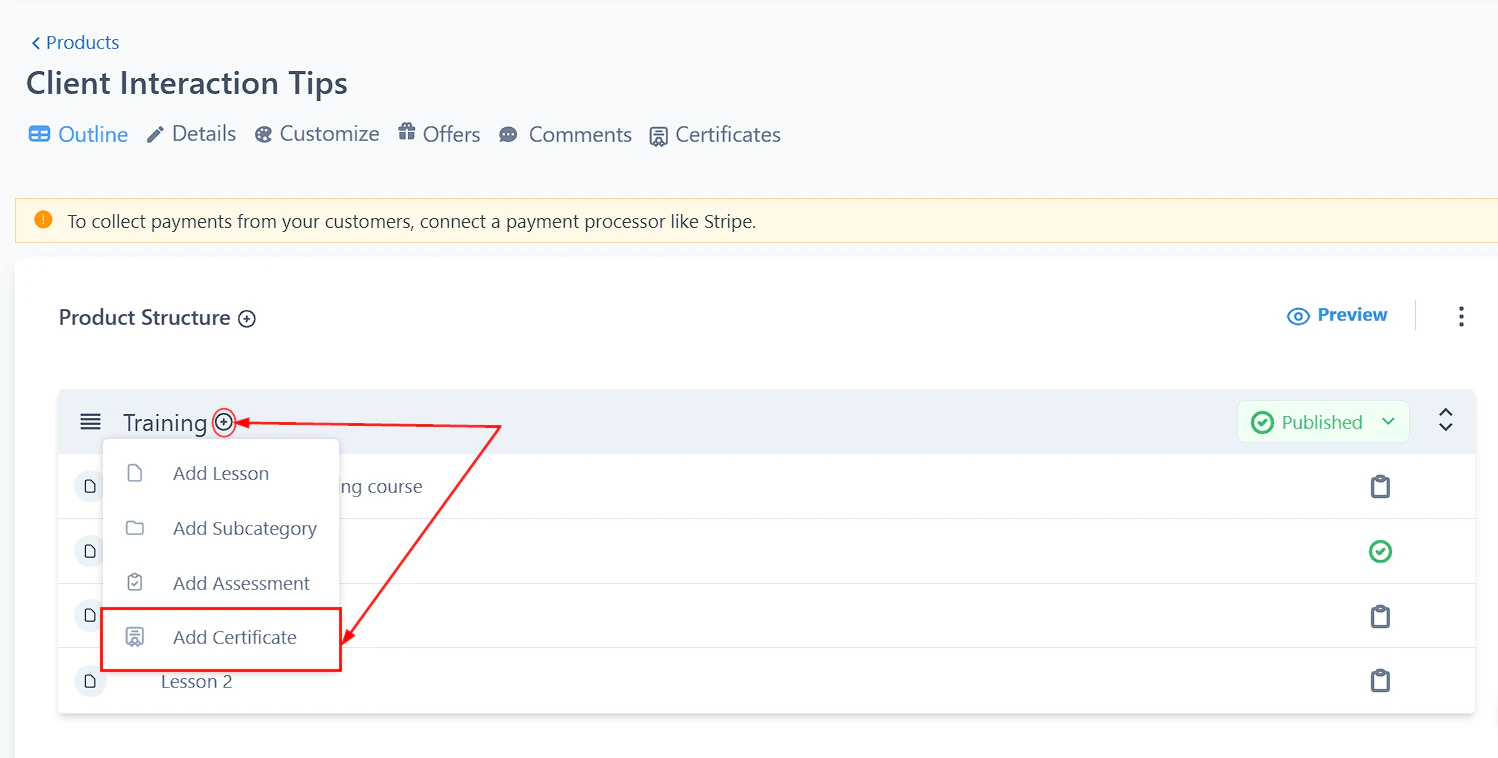
Issue certificates when a member completes a specific category (module) within a course rather than the full course:
1. In the certificate settings, select **Category Completion** as the trigger type
2. Choose the course and the specific category/module
3. The certificate is issued automatically when that module is complete
### Category completion certificates
Issue certificates when a member completes a specific category (module) within a course rather than the full course:
1. In the certificate settings, select **Category Completion** as the trigger type
2. Choose the course and the specific category/module
3. The certificate is issued automatically when that module is complete
 ### Issuing certificates automatically
Set up an automation to issue a certificate when a member completes a course:
Navigate to **Automation** and click **+ New Workflow**.
Select **Course Completed** as the trigger and choose the specific course.
Add a **Grant Certificate** action and select your certificate template.
Add a **Send Email** action to notify the member their certificate is ready. Include the certificate download link using `{{certificate.link}}`.
Toggle the workflow to **Active**.
### Manually issuing a certificate
To grant a certificate to a specific member:
1. Go to the member's contact record
2. Click **Actions > Grant Certificate**
3. Select the certificate template and confirm
### Exporting certificate data
To export a CSV of all issued certificates:
1. Go to **Certificates** in the Memberships section
2. Click the **Export** button
3. The CSV includes certificate ID, recipient name, course name, issue date, and expiry date
### Issuing certificates automatically
Set up an automation to issue a certificate when a member completes a course:
Navigate to **Automation** and click **+ New Workflow**.
Select **Course Completed** as the trigger and choose the specific course.
Add a **Grant Certificate** action and select your certificate template.
Add a **Send Email** action to notify the member their certificate is ready. Include the certificate download link using `{{certificate.link}}`.
Toggle the workflow to **Active**.
### Manually issuing a certificate
To grant a certificate to a specific member:
1. Go to the member's contact record
2. Click **Actions > Grant Certificate**
3. Select the certificate template and confirm
### Exporting certificate data
To export a CSV of all issued certificates:
1. Go to **Certificates** in the Memberships section
2. Click the **Export** button
3. The CSV includes certificate ID, recipient name, course name, issue date, and expiry date
 ## Badges
Badges are visual credentials that can be issued for course completion or other achievements, providing a lighter-weight alternative to full certificates.
### Creating and issuing badges
Go to **Memberships and Communities > Certificates** and switch to the **Badges** tab.
## Badges
Badges are visual credentials that can be issued for course completion or other achievements, providing a lighter-weight alternative to full certificates.
### Creating and issuing badges
Go to **Memberships and Communities > Certificates** and switch to the **Badges** tab.
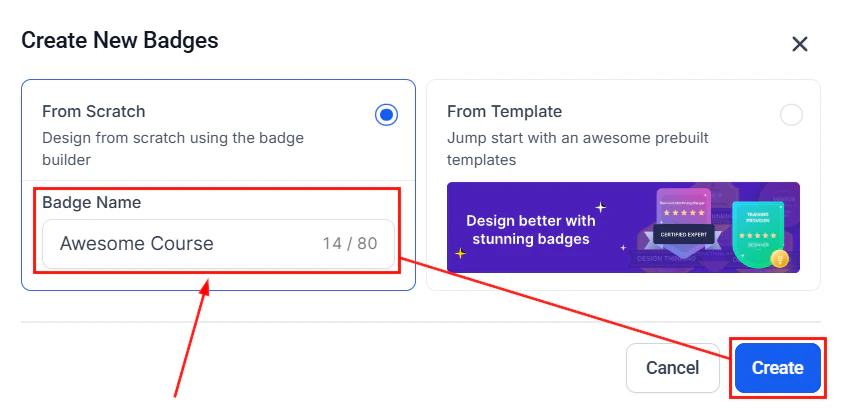
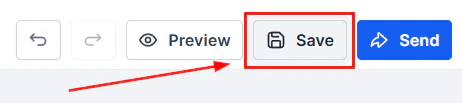
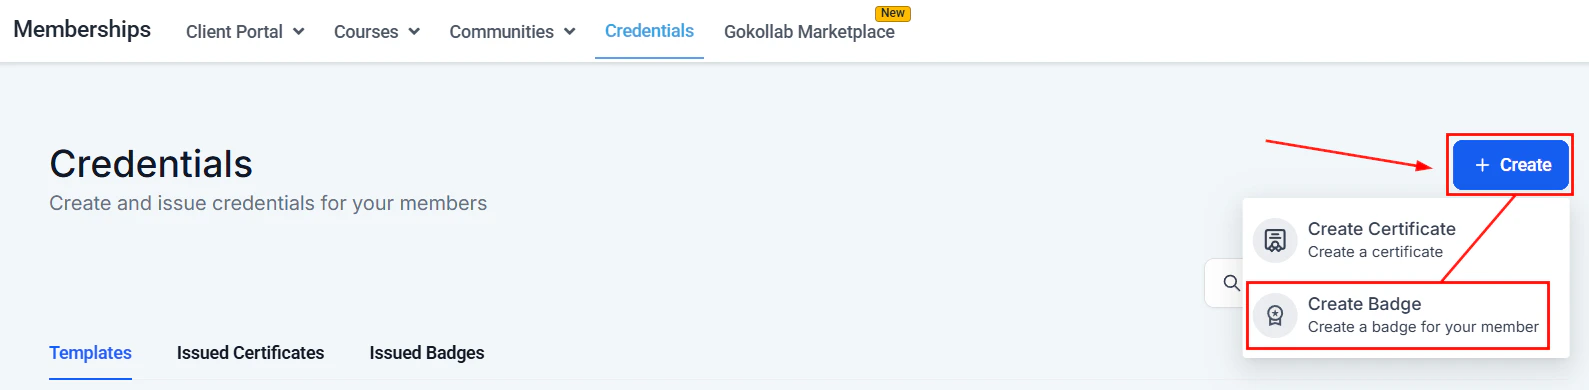 Click **+ New Badge** and design your badge — upload an icon image, set the name, and write a description.
 Link the badge to a course completion trigger in Automations, or issue it manually from a contact record.
 Badges appear in the member's portal alongside their courses and can be shared publicly.
## Member experience
Members find their certificates and badges in the **Certificates** section of the Client Portal. From there they can:
* Preview the certificate in the browser
* Download a high-resolution PDF
* Share the certificate link publicly
Add the certificate's unique ID and a "Verify this certificate" link to your design. This adds credibility and lets employers confirm authenticity — making the certificate more valuable to your members.
## Frequently asked questions
Yes. The certificate editor lets you upload your logo, change title and subtitle text, adjust fonts, sizes, and colors, modify the border and background design, and add a signature image or signatory name and title. Start from a built-in template or a blank canvas.
You can use the following dynamic merge fields: `{{contact.first_name}}`, `{{contact.full_name}}`, `{{course.name}}`, `{{certificate.date}}`, and `{{certificate.id}}`. These are replaced with real values when the certificate is generated for each member.
Create an Automation with the **Course Completed** trigger, select the specific course, then add a **Grant Certificate** action and choose your certificate template. Optionally add a **Send Email** action with `{{certificate.link}}` so the member is notified immediately.
Yes. In the certificate settings, select **Category Completion** as the trigger type, then choose the course and the specific module. The certificate is issued automatically when the member completes that module, without requiring them to finish the entire course.
Optionally. Open the certificate template settings and enable the **Expiry Date** option. Set a relative duration (e.g. 1 year from issue date) or a fixed calendar date. The expiry date is printed on the certificate and tracked in the issued certificates list.
Members find their certificates in the **Certificates** section of the Client Portal. From there they can preview the certificate in the browser, download a high-resolution PDF, or copy a public share link.
A certificate is a formal, printable credential — typically a full-page document with the member's name, course name, date, and signature. A badge is a lightweight visual credential (an icon image) that appears on the member's profile. Use certificates for formal course completions and badges for ongoing participation milestones or smaller achievements.
Go to **Certificates** in the Memberships section and click **Export**. A CSV file is downloaded containing certificate ID, recipient name, course name, issue date, and expiry date for every certificate that has been issued.
Badges appear in the member's portal alongside their courses and can be shared publicly.
## Member experience
Members find their certificates and badges in the **Certificates** section of the Client Portal. From there they can:
* Preview the certificate in the browser
* Download a high-resolution PDF
* Share the certificate link publicly
Add the certificate's unique ID and a "Verify this certificate" link to your design. This adds credibility and lets employers confirm authenticity — making the certificate more valuable to your members.
## Frequently asked questions
Yes. The certificate editor lets you upload your logo, change title and subtitle text, adjust fonts, sizes, and colors, modify the border and background design, and add a signature image or signatory name and title. Start from a built-in template or a blank canvas.
You can use the following dynamic merge fields: `{{contact.first_name}}`, `{{contact.full_name}}`, `{{course.name}}`, `{{certificate.date}}`, and `{{certificate.id}}`. These are replaced with real values when the certificate is generated for each member.
Create an Automation with the **Course Completed** trigger, select the specific course, then add a **Grant Certificate** action and choose your certificate template. Optionally add a **Send Email** action with `{{certificate.link}}` so the member is notified immediately.
Yes. In the certificate settings, select **Category Completion** as the trigger type, then choose the course and the specific module. The certificate is issued automatically when the member completes that module, without requiring them to finish the entire course.
Optionally. Open the certificate template settings and enable the **Expiry Date** option. Set a relative duration (e.g. 1 year from issue date) or a fixed calendar date. The expiry date is printed on the certificate and tracked in the issued certificates list.
Members find their certificates in the **Certificates** section of the Client Portal. From there they can preview the certificate in the browser, download a high-resolution PDF, or copy a public share link.
A certificate is a formal, printable credential — typically a full-page document with the member's name, course name, date, and signature. A badge is a lightweight visual credential (an icon image) that appears on the member's profile. Use certificates for formal course completions and badges for ongoing participation milestones or smaller achievements.
Go to **Certificates** in the Memberships section and click **Export**. A CSV file is downloaded containing certificate ID, recipient name, course name, issue date, and expiry date for every certificate that has been issued.