> ## Documentation Index
> Fetch the complete documentation index at: https://help.hoopai.com/llms.txt
> Use this file to discover all available pages before exploring further.
# Email automation
> Build automated email sequences, drip campaigns, and triggered follow-ups using the HoopAI platform workflow builder.
Email automation in the HoopAI platform lets you send the right email to the right contact at the right moment — without manual effort. Automations live in the **Workflows** section and can range from a simple one-email follow-up to complex multi-week drip sequences with conditional branching.
## How email automation works
Every automated email is delivered by a workflow. A workflow consists of:
1. **A trigger** — the event that starts the workflow (form submission, tag added, appointment booked, etc.)
2. **Actions** — the steps that execute in sequence, including email sends, wait timers, conditional branches, and tag updates
3. **Conditions** — If/Else decision points that route contacts down different paths based on their data or behavior
Workflows run continuously in the background and process each enrolled contact individually.
***
## Email triggers
The following events can start a workflow that sends email:
Fires when a contact submits a form or survey on your site or funnel
Triggers when a specific tag is applied to a contact record
Fires when a contact schedules an appointment through a calendar
Triggers when an opportunity moves to a specific stage in a pipeline
Fires the moment a new contact is added to the CRM
Triggers after a contact completes a purchase or payment
Fires when a contact opens, clicks a link in, bounces, or unsubscribes from an email
Fires at a scheduled date and time, such as a contact's birthday or a renewal date
***
## Email event triggers
The **Email Events** trigger activates a workflow based on what a contact does with an email:
| Event | Description |
| --------------------- | ------------------------------------- |
| **Opened** | Contact opened the email |
| **Clicked** | Contact clicked any link in the email |
| **Bounced** | The email could not be delivered |
| **Unsubscribed** | Contact clicked the unsubscribe link |
| **Complained (Spam)** | Contact marked the email as spam |
You can filter email event triggers to fire only for events within a specific workflow, preventing unintended cross-workflow activations.
**Common use cases:**
* Send a follow-up offer when a contact clicks a product link
* Tag contacts as "engaged" when they open an email
* Automatically mark contacts as Do Not Disturb when they unsubscribe
* Clean your list by removing bounced addresses from active sequences
***
## Building a drip campaign
A drip campaign is a series of emails sent over time, spaced by wait steps. Here is how to set one up:
Go to **Automation > Workflows** and click **+ New Workflow**. Choose a trigger that matches your enrollment event (for example, Form Submitted).
Click the **+** button below the trigger and select **Send Email**. Choose an existing template or build your first email directly in the workflow step.
After the first email action, add a **Wait** step. Set the duration — for example, 3 days. The workflow pauses here for each contact until the timer expires.
Add another Send Email action after the Wait step. Repeat this pattern to build out the full sequence.
Insert an **If/Else** branch to split contacts based on behavior. For example, check whether the contact opened the previous email and send a different message depending on the outcome.
When the sequence is ready, toggle the workflow to **Published**. Contacts who match the trigger will begin enrolling immediately.
***
## Drip action
The **Drip** action is an alternative to chaining multiple email and wait steps manually. It lets you define an entire sequence inside a single action block, with each item specifying its own delay and email content.
**When to use the Drip action:**
* You need a long sequence (10+ emails) and want to keep the workflow canvas clean
* The delays between all steps are uniform
* The sequence does not require conditional branching between emails
For sequences that need If/Else conditions or goal events, use individual Send Email and Wait steps instead.
***
## Conditional branching in email sequences
Use **If/Else** nodes to create dynamic sequences that respond to contact behavior.
**Example — re-engagement branch:**
```
Send Email: "Special offer inside"
Wait: 2 days
If/Else: Has the contact opened the email?
→ Yes: Send Email: "Glad you're interested — here's more detail"
→ No: Send Email: "Did you miss this? Here's a quick reminder"
```
Common conditions for email sequences:
* Contact has a specific tag
* Contact opened a previous email (Email Events trigger required)
* Contact field equals a specific value
* Contact is in a particular pipeline stage
***
## Goal events
A **Goal Event** watches for a contact to complete a desired action at any point while they are enrolled in the workflow. When the goal is met, the contact skips ahead to the goal step.
**Example:** If a contact purchases at any point during a 7-email nurture sequence, the goal event moves them out of the nurture path and into a post-purchase onboarding sequence.
***
## Email templates in workflows
When adding a Send Email action inside a workflow:
* Select an existing template from your template library, or
* Build the email inline using the drag-and-drop builder
Build your email content in the Templates section first, then reference templates from workflow steps. This makes it easy to update the email in one place and have the change apply to all active workflows using that template.
Changes made to a template after a workflow is published apply immediately to future sends from that workflow step.
***
 ## Workflow campaigns vs. broadcast campaigns
| Feature | Workflow emails | Broadcast campaigns |
| --------------------- | ------------------------------------ | ------------------------- |
| Sent to | Contacts individually as they enroll | Entire list at once |
| Triggered by | Workflow trigger event | Manual send or schedule |
| Conditional logic | Yes — If/Else, goal events | Limited (A/B test only) |
| Visible in Statistics | Under Workflow Campaigns tab | Under Email Campaigns tab |
***
## Managing active automations
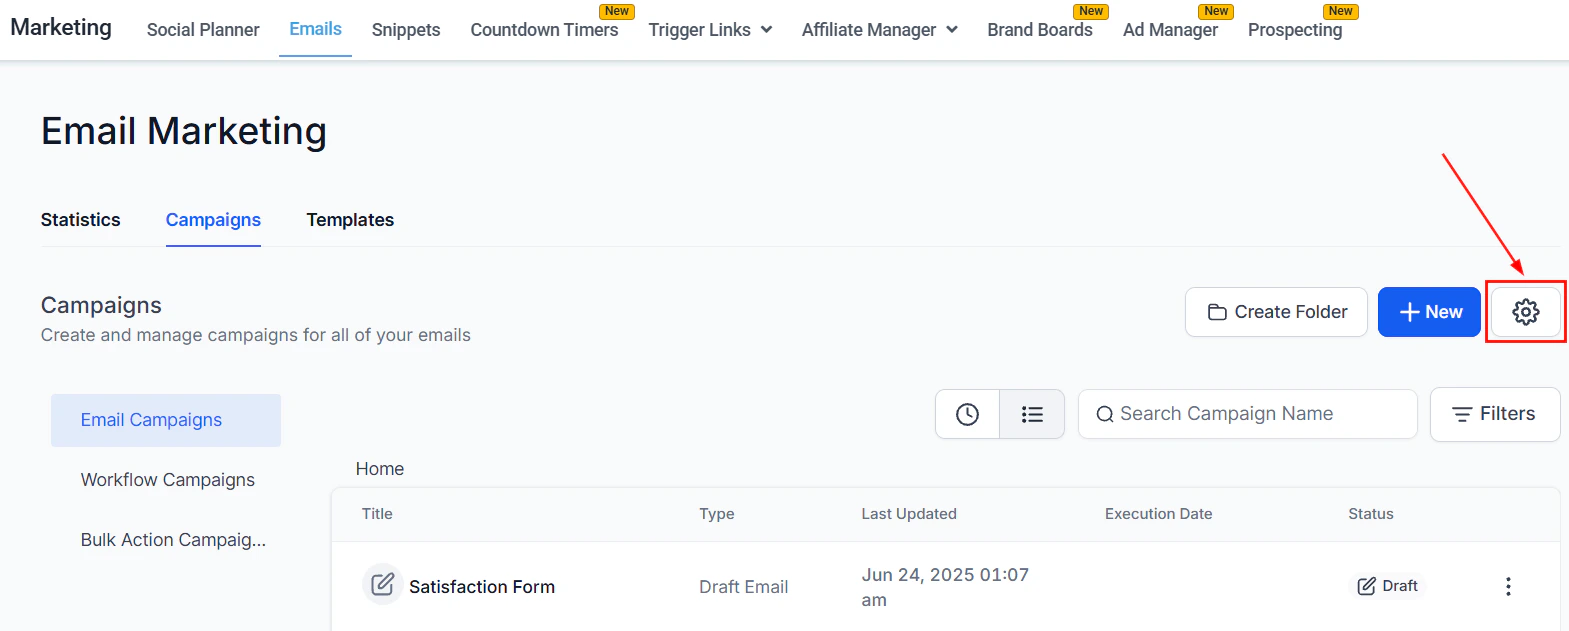
To view emails sent from workflows, go to **Marketing > Emails > Campaigns** and click the **Workflow Campaigns** tab. This shows all email actions from active workflows including delivery stats for each step.
To pause an automation: open the workflow and toggle it from Published to Draft. Contacts already enrolled will stop processing. Toggle back to Published to resume.
***
## Frequently asked questions
A broadcast campaign is sent manually to a list of contacts all at once. An automated email fires individually for each contact when they meet a trigger condition — the timing is unique to each person. Both use the same email builder and templates.
Yes. Use a Goal Event set to the purchase trigger. When a contact completes a purchase, the workflow detects the goal and skips the contact past the remaining nurture emails into your post-purchase path.
Add a Wait step between each Send Email action and set the delay to the desired number of days or weeks. You can also restrict sends to specific days of the week using the Wait step's advanced settings.
This is controlled by the workflow's Allow Re-enrollment setting. If re-enrollment is enabled, the contact can enter the workflow again if they re-trigger the enrollment condition. If disabled, they are skipped after the first enrollment.
Add an Email Events trigger to a separate workflow to detect opens, or use the If/Else condition with an email engagement filter after a wait step. For more granular control, set up a tag-based workflow that applies a tag when a contact opens an email, then use that tag as a condition in your drip sequence.
Go to Marketing > Emails > Campaigns and click the Workflow Campaigns tab. Select a workflow to see per-step delivery, open, click, and bounce stats. You can also view stats within the workflow itself by clicking a Send Email action.
## Workflow campaigns vs. broadcast campaigns
| Feature | Workflow emails | Broadcast campaigns |
| --------------------- | ------------------------------------ | ------------------------- |
| Sent to | Contacts individually as they enroll | Entire list at once |
| Triggered by | Workflow trigger event | Manual send or schedule |
| Conditional logic | Yes — If/Else, goal events | Limited (A/B test only) |
| Visible in Statistics | Under Workflow Campaigns tab | Under Email Campaigns tab |
***
## Managing active automations
To view emails sent from workflows, go to **Marketing > Emails > Campaigns** and click the **Workflow Campaigns** tab. This shows all email actions from active workflows including delivery stats for each step.
To pause an automation: open the workflow and toggle it from Published to Draft. Contacts already enrolled will stop processing. Toggle back to Published to resume.
***
## Frequently asked questions
A broadcast campaign is sent manually to a list of contacts all at once. An automated email fires individually for each contact when they meet a trigger condition — the timing is unique to each person. Both use the same email builder and templates.
Yes. Use a Goal Event set to the purchase trigger. When a contact completes a purchase, the workflow detects the goal and skips the contact past the remaining nurture emails into your post-purchase path.
Add a Wait step between each Send Email action and set the delay to the desired number of days or weeks. You can also restrict sends to specific days of the week using the Wait step's advanced settings.
This is controlled by the workflow's Allow Re-enrollment setting. If re-enrollment is enabled, the contact can enter the workflow again if they re-trigger the enrollment condition. If disabled, they are skipped after the first enrollment.
Add an Email Events trigger to a separate workflow to detect opens, or use the If/Else condition with an email engagement filter after a wait step. For more granular control, set up a tag-based workflow that applies a tag when a contact opens an email, then use that tag as a condition in your drip sequence.
Go to Marketing > Emails > Campaigns and click the Workflow Campaigns tab. Select a workflow to see per-step delivery, open, click, and bounce stats. You can also view stats within the workflow itself by clicking a Send Email action.