> ## Documentation Index
> Fetch the complete documentation index at: https://help.hoopai.com/llms.txt
> Use this file to discover all available pages before exploring further.
# First login
> How to log in to HoopAI for the first time, reset your password, and enable two-factor authentication.
## Logging in
Navigate to your HoopAI subdomain — typically `platform.hoopai.com` or a custom URL your administrator has set up. Enter your email address and password, then click **Sign In**.
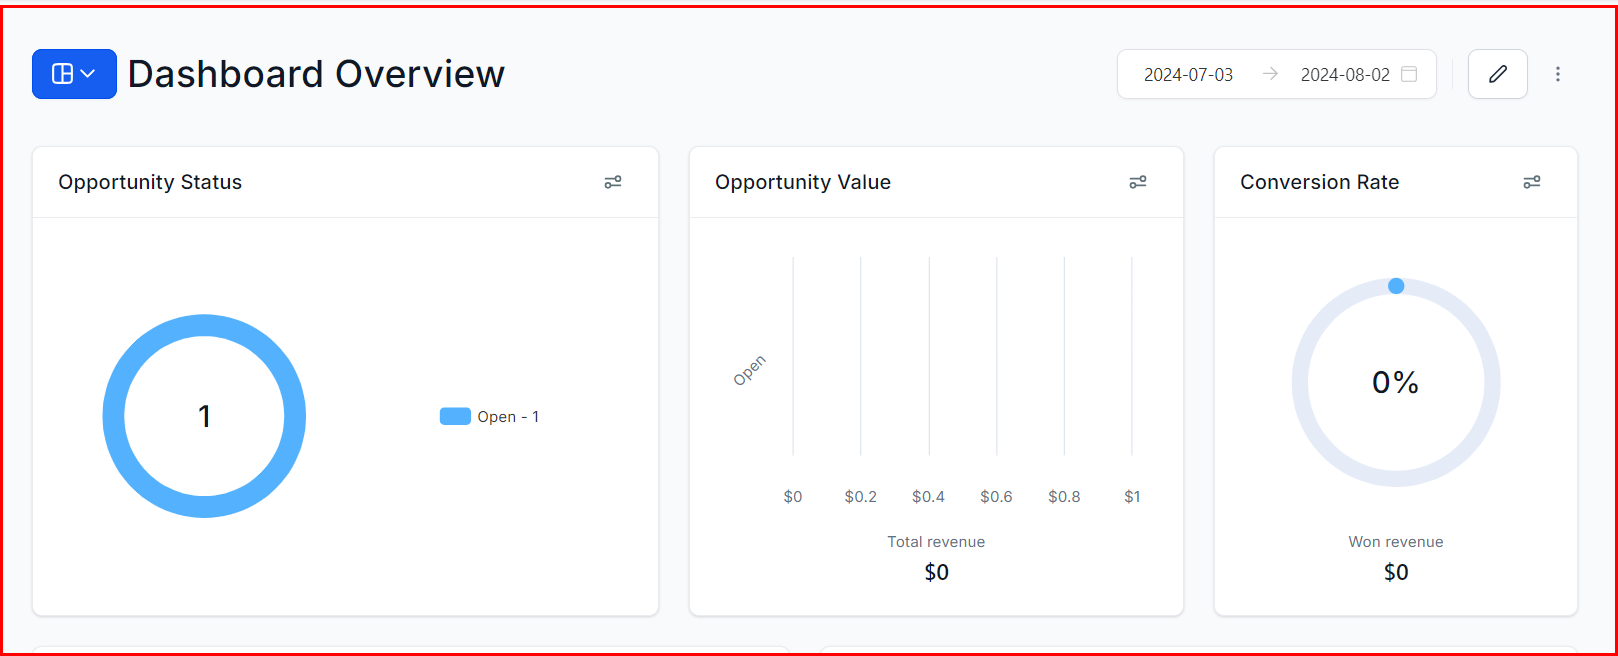 If you are a team member who was invited by an admin, check your email for an invitation from HoopAI. The email contains a link to set your password and activate your account. The link expires after 24 hours — ask your admin to resend if it has expired.
***
## Setting your password for the first time
When you receive your invitation email:
Open the invitation email and click **Activate Account** or **Set Password**. This opens a secure password-creation page.
Choose a password that is at least 8 characters and includes a mix of letters, numbers, and symbols. Avoid reusing passwords from other services.
After setting your password, you are redirected to the login page. Sign in with your email and new password.
***
## Forgot your password?
Click **Forgot password?** on the login screen. Enter your email address and you will receive a reset link within a few minutes. Check your spam folder if it does not arrive.
***
## Enabling two-factor authentication (2FA)
Two-factor authentication adds an extra layer of security to your account. After logging in, navigate to **Settings > My Profile** and scroll to the **Two-Factor Authentication** section.
If you are a team member who was invited by an admin, check your email for an invitation from HoopAI. The email contains a link to set your password and activate your account. The link expires after 24 hours — ask your admin to resend if it has expired.
***
## Setting your password for the first time
When you receive your invitation email:
Open the invitation email and click **Activate Account** or **Set Password**. This opens a secure password-creation page.
Choose a password that is at least 8 characters and includes a mix of letters, numbers, and symbols. Avoid reusing passwords from other services.
After setting your password, you are redirected to the login page. Sign in with your email and new password.
***
## Forgot your password?
Click **Forgot password?** on the login screen. Enter your email address and you will receive a reset link within a few minutes. Check your spam folder if it does not arrive.
***
## Enabling two-factor authentication (2FA)
Two-factor authentication adds an extra layer of security to your account. After logging in, navigate to **Settings > My Profile** and scroll to the **Two-Factor Authentication** section.
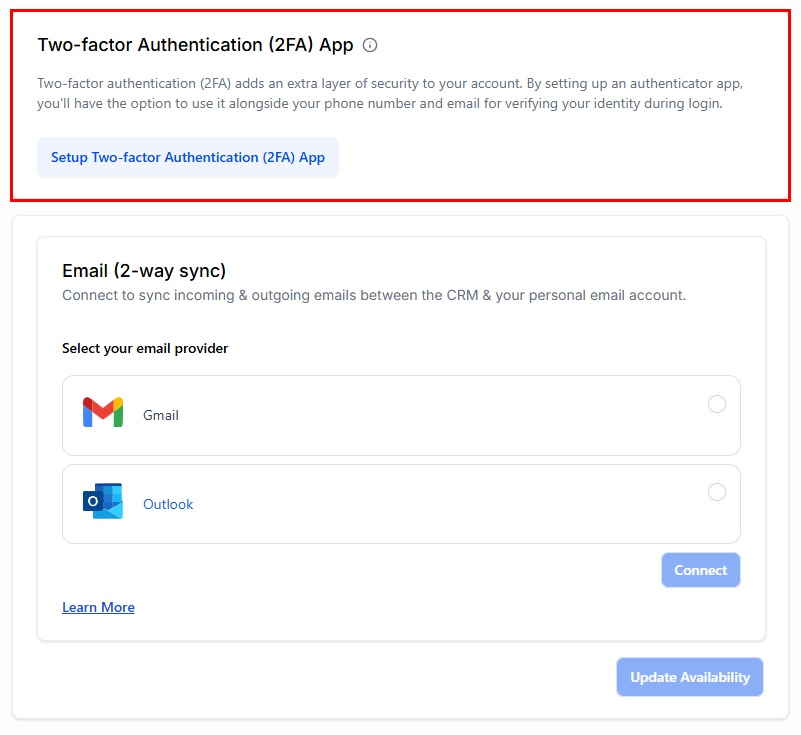 Click your name or avatar in the bottom-left corner of the sidebar, then select **Profile Settings**, or go to **Settings > My Profile**.
Toggle on **Two-Factor Authentication**. You can choose to receive a code via SMS or use an authenticator app such as Google Authenticator or Authy.
Enter the code sent to your phone or shown in your authenticator app to confirm the setup. 2FA is now active on your account.
Administrators can require 2FA for all team members under **Settings > My Staff**. Enforcing 2FA for your whole team is a best practice, especially if your account stores customer contact data.
***
## Your profile settings
After your first login, visit **Settings > My Profile** to personalise your account:
Click your name or avatar in the bottom-left corner of the sidebar, then select **Profile Settings**, or go to **Settings > My Profile**.
Toggle on **Two-Factor Authentication**. You can choose to receive a code via SMS or use an authenticator app such as Google Authenticator or Authy.
Enter the code sent to your phone or shown in your authenticator app to confirm the setup. 2FA is now active on your account.
Administrators can require 2FA for all team members under **Settings > My Staff**. Enforcing 2FA for your whole team is a best practice, especially if your account stores customer contact data.
***
## Your profile settings
After your first login, visit **Settings > My Profile** to personalise your account:
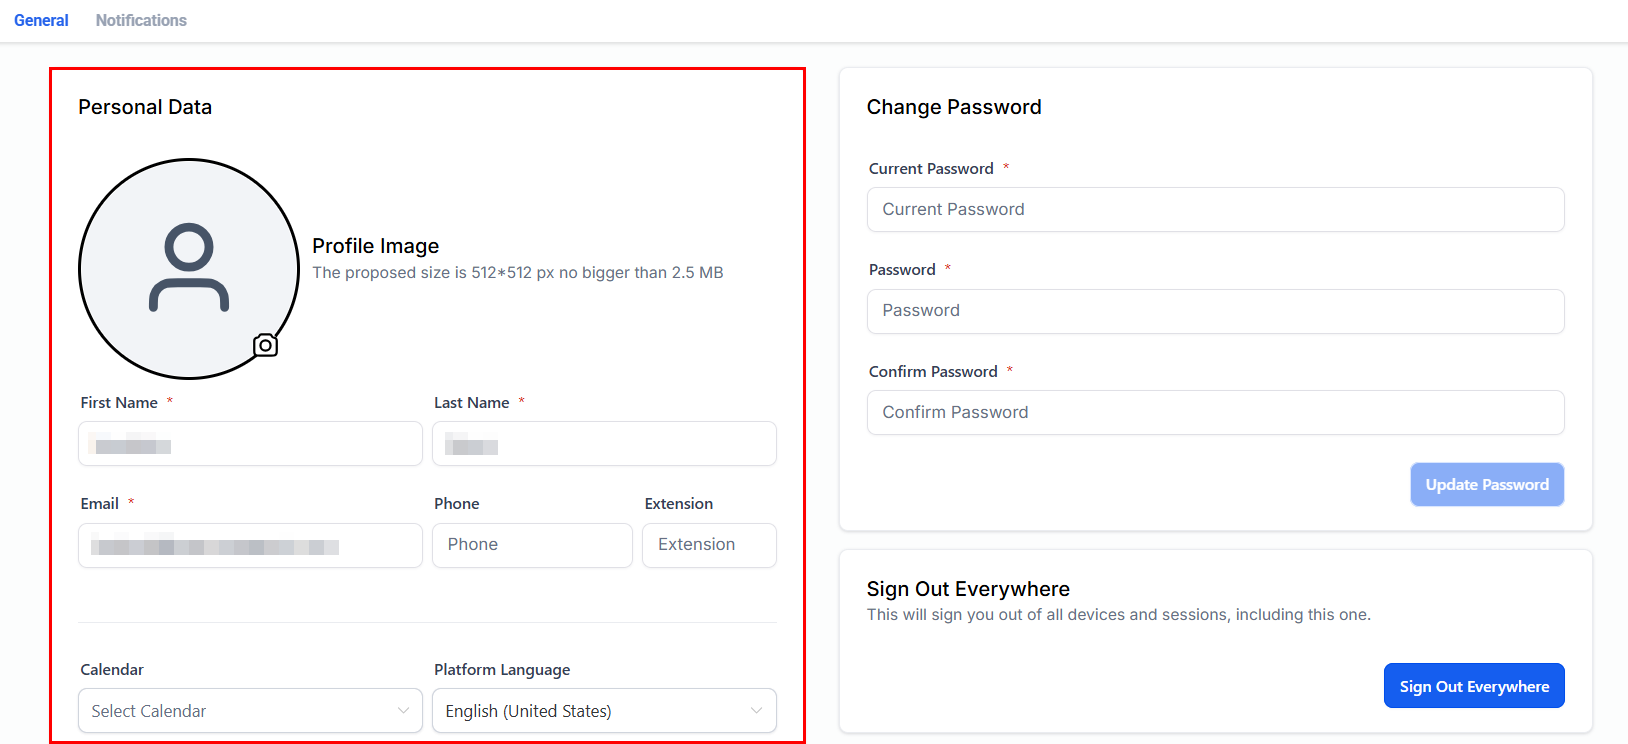 * **Name and photo** — shown in conversations and assigned records
* **Email signature** — appended automatically to outbound emails
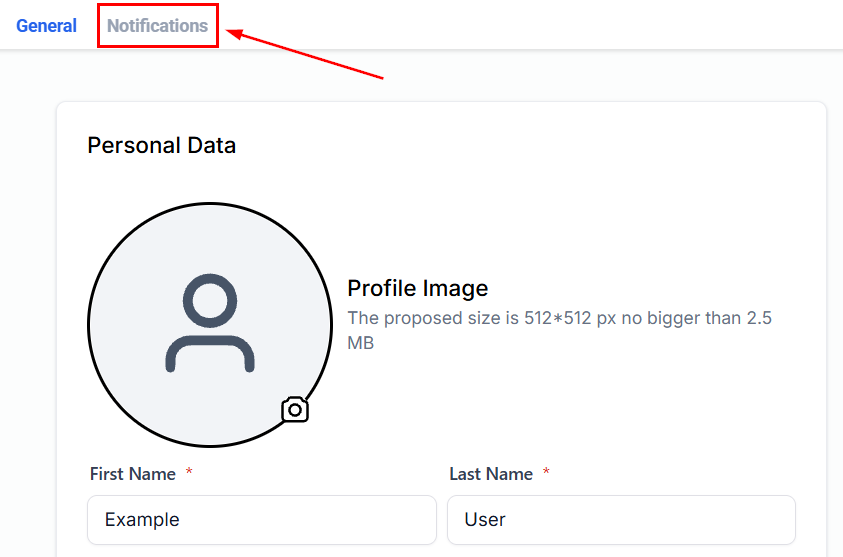
* **Notification preferences** — control which alerts you receive and how
* **Name and photo** — shown in conversations and assigned records
* **Email signature** — appended automatically to outbound emails
* **Notification preferences** — control which alerts you receive and how
 ***
## Frequently asked questions
Contact your account administrator and ask them to go to **Settings > My Staff**, find your user record, and click **Resend Invite**. A new activation email will be sent immediately.
Your admin may have deactivated your user. Ask them to check **Settings > My Staff** and reactivate your account.
Single sign-on (SSO) availability depends on your plan. Check with your admin or contact HoopAI support for SSO setup instructions.
Your personal time zone is set under **Settings > My Profile > Personal Information**. This controls how appointment times and scheduled messages appear to you. The account-wide time zone (used for automation and booking pages) is set separately under **Settings > Business Profile**.
Once you are logged in, head to the [Account setup checklist](/getting-started/account-setup) to walk through the essential configuration steps before inviting your team or importing contacts.
***
## Frequently asked questions
Contact your account administrator and ask them to go to **Settings > My Staff**, find your user record, and click **Resend Invite**. A new activation email will be sent immediately.
Your admin may have deactivated your user. Ask them to check **Settings > My Staff** and reactivate your account.
Single sign-on (SSO) availability depends on your plan. Check with your admin or contact HoopAI support for SSO setup instructions.
Your personal time zone is set under **Settings > My Profile > Personal Information**. This controls how appointment times and scheduled messages appear to you. The account-wide time zone (used for automation and booking pages) is set separately under **Settings > Business Profile**.
Once you are logged in, head to the [Account setup checklist](/getting-started/account-setup) to walk through the essential configuration steps before inviting your team or importing contacts.