> ## Documentation Index
> Fetch the complete documentation index at: https://help.hoopai.com/llms.txt
> Use this file to discover all available pages before exploring further.
# Dashboard theme
> Apply a color theme to your dashboard to match your brand and improve visual clarity for your team.
Your dashboard is the face of your account. Adding custom colors and themes makes it feel more personal, easier to read, and aligned with your brand identity. Dashboard themes let you quickly switch between preset color schemes or build a fully custom palette.
Theme settings are per-dashboard. Changes you make to a theme apply only to the dashboard you currently have selected. Custom theme colors are preserved when you clone a dashboard.
## Setting a dashboard theme
Click the **pencil icon** in the top-right corner of the Dashboard section to enter edit mode.
Click **+Add Widget** to open the right-side panel, then switch to the **Themes** tab.
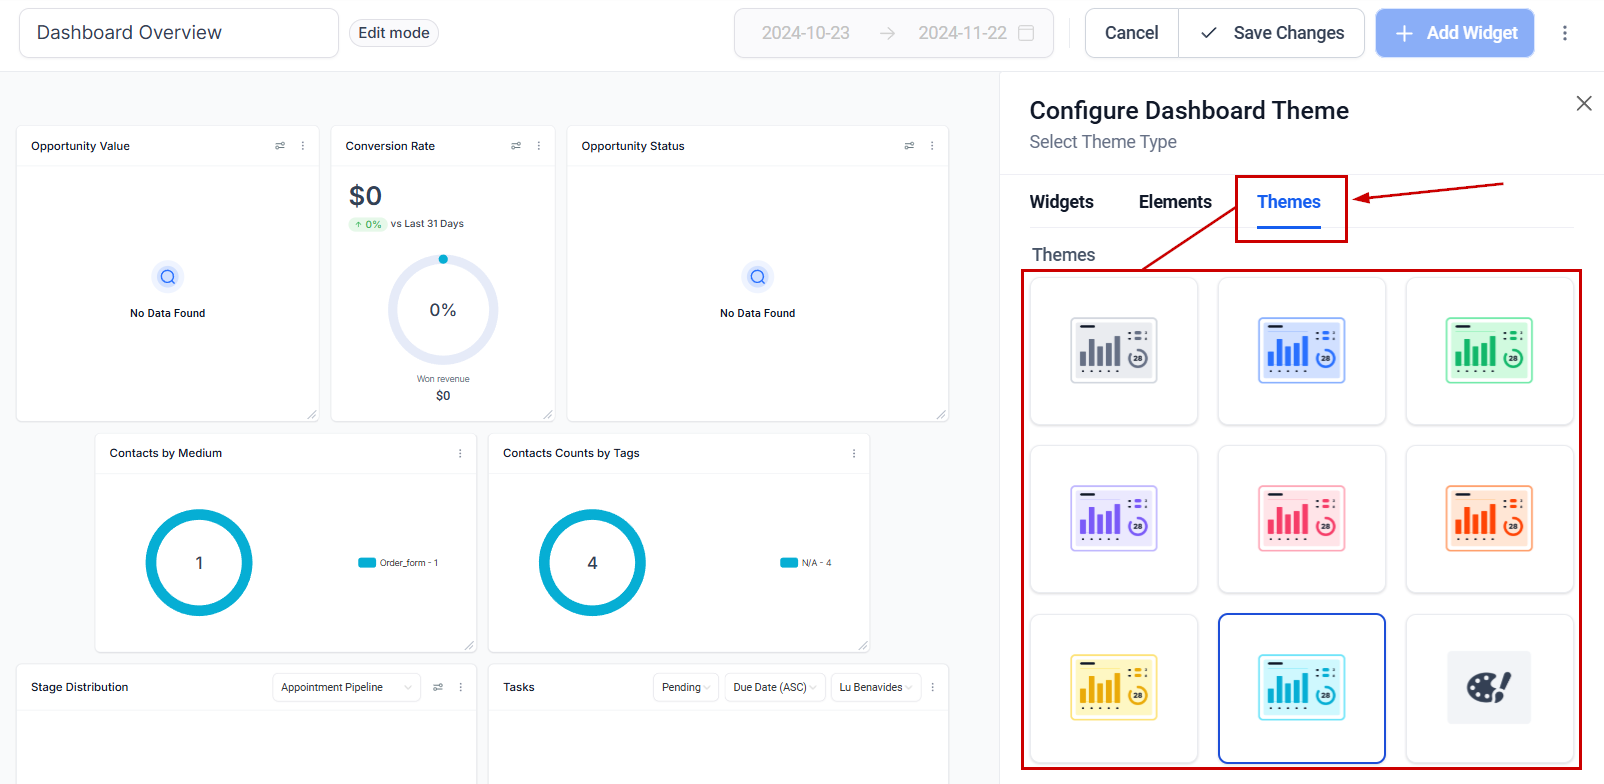 Selecting one of the predetermined options immediately switches your dashboard's color scheme.
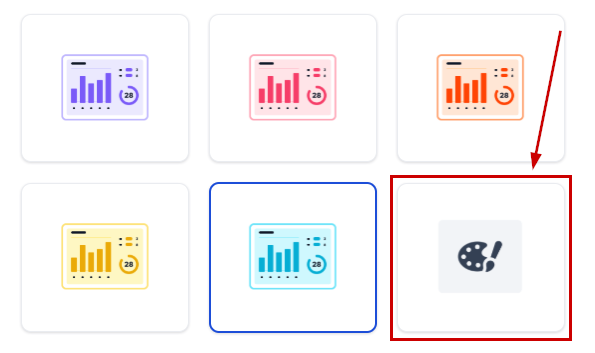
Click the **paint palette icon** to open the custom color settings.
Selecting one of the predetermined options immediately switches your dashboard's color scheme.
Click the **paint palette icon** to open the custom color settings.
 Set your desired colors for each element — including widget backgrounds, chart colors, text, and borders. You have full control over each part of your widgets and charts.
Once you are satisfied with your colors, click **Save Changes** to apply the theme to your dashboard.
Set your desired colors for each element — including widget backgrounds, chart colors, text, and borders. You have full control over each part of your widgets and charts.
Once you are satisfied with your colors, click **Save Changes** to apply the theme to your dashboard.
 ## Theme scope
* Themes are applied per dashboard — if you manage multiple dashboards, you need to configure the theme separately for each one
* When you **clone a dashboard**, the custom theme colors are carried over to the cloned copy
* Theme changes do not affect other users' dashboards or the platform's global appearance
## Theme scope
* Themes are applied per dashboard — if you manage multiple dashboards, you need to configure the theme separately for each one
* When you **clone a dashboard**, the custom theme colors are carried over to the cloned copy
* Theme changes do not affect other users' dashboards or the platform's global appearance